
Yes, a burst pipe can cause mold, and it happens faster than most homeowners realize. Within 24 to 48 hours of water flooding your floors and soaking into walls, mold spores start multiplying. That tight window means the actions you take right after discovering a burst pipe determine whether you’re dealing with a simple cleanup or a full mold remediation project weeks later. Here’s what links burst pipes to rapid mold growth, how to spot hidden contamination, and the exact steps to take when water starts spreading through your home.
The Direct Link Between Burst Pipes and Rapid Mold Development
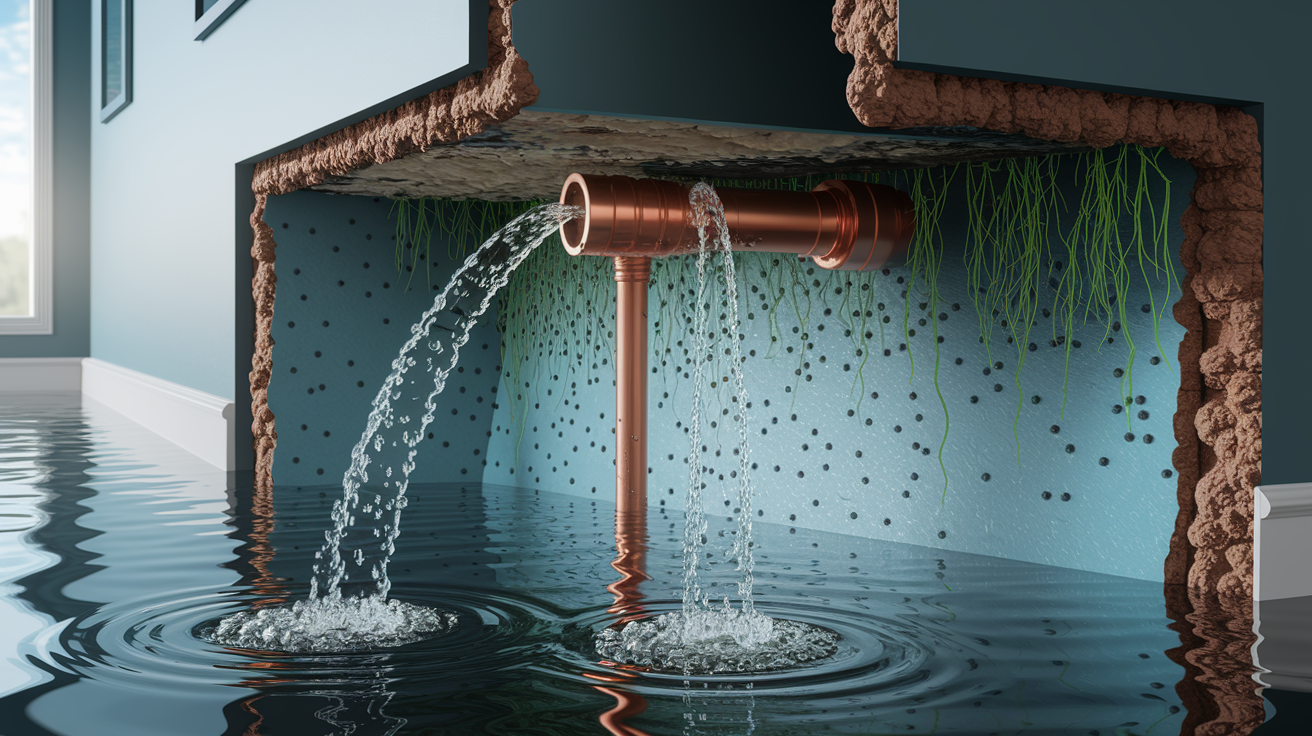
Yes, a burst pipe can absolutely cause mold, and it happens fast. When a pipe breaks and floods your home, mold growth can start within 24 to 48 hours. That’s one or two days from the moment water begins spreading across your floors, soaking into walls, and saturating everything it touches.
The mechanism is straightforward. Standing water and moisture saturation create the perfect environment for mold spores to colonize building materials. Mold spores are everywhere, floating in the air, sitting on surfaces, waiting. They don’t become a problem until they land somewhere wet. When a pipe bursts, you’re handing them exactly what they need: constant moisture, organic material to feed on, and time to multiply. Porous materials absorb water quickly, pulling it deep into their structure where it’s hard to detect and even harder to dry. That absorbed moisture doesn’t just sit there. It provides nutrients and the wet conditions mold needs to thrive. Even after you remove standing water, dampness trapped inside carpets, drywall, insulation, and wood keeps feeding the problem.
Five materials and locations where mold develops fastest after a burst pipe:
- Drywall – Absorbs water like a sponge, stays wet inside even when the surface feels dry, and provides organic material (paper backing) that mold feeds on
- Carpet padding – Traps water beneath the carpet surface, holds moisture for days, and creates a hidden breeding ground for mold and mildew
- Insulation – Soaks up water in wall cavities, attics, and crawlspaces, loses effectiveness when wet, and can’t be dried adequately once saturated
- Wood flooring and subflooring – Warps, swells, and retains moisture deep in the grain, creating long term mold risk even after surface drying
- Wall cavities behind drywall – Hidden spaces where water pools, air circulation is limited, and mold grows undetected for weeks
Temperature, humidity levels, and ventilation determine how fast mold colonizes after water exposure. Mold thrives in temperatures between 77 and 86°F, which is right around normal indoor climate. Humidity above 60% accelerates growth. Poor air circulation means moisture lingers instead of evaporating. After a pipe bursts, you’ve got all three conditions working together. Wet materials raise indoor humidity. Enclosed spaces like basements and crawlspaces trap that humidity. Without fans, dehumidifiers, or open windows, the air stays damp and still, giving mold ideal conditions to spread.
Different building materials respond to water exposure based on whether they’re porous and organic. Organic materials like wood, drywall, carpet, and insulation contain cellulose and other compounds mold can digest. Non-organic materials like metal, glass, and plastic don’t feed mold, but they can still harbor it if moisture and dust collect on their surfaces.
Hidden moisture in wall cavities, beneath flooring, and inside insulation accelerates mold formation you can’t see. Water doesn’t just sit on top of surfaces. It travels. It seeps behind baseboards, runs down inside walls, and pools under vinyl or tile flooring. Without proper air circulation, those hidden wet zones stay damp for days or weeks. By the time you notice a musty smell or see discoloration on a wall, mold has already colonized the space behind it. Air circulation helps evaporate surface moisture, but it can’t reach water trapped inside building materials. That’s why burst pipe cleanup isn’t just about mopping up. It’s about finding and drying every hidden wet spot before mold takes hold.
Health Hazards of Mold Following Water Damage

When mold spores become airborne after water damage, you breathe them in. Your immune system treats those spores as foreign invaders and triggers defensive responses: inflammation, mucus production, coughing, sneezing. For most people, short term exposure causes mild irritation. For people with allergies, asthma, or weakened immune systems, the reaction can be much more serious. Toxic mold varieties like black mold (Stachybotrys chartarum) release mycotoxins that can cause more severe health effects even in healthy individuals. Indoor air quality drops fast when mold colonizes water damaged materials, turning your home into a space that makes you sick every time you walk in.
Six common health symptoms from mold exposure:
- Respiratory irritation – Persistent cough, throat irritation, wheezing, difficulty breathing
- Allergic reactions – Sneezing, runny nose, red or itchy eyes, skin rashes
- Asthma attacks – Triggered or worsened by airborne mold spores, especially in children and adults with existing asthma
- Headaches – Frequent or chronic headaches that improve when you leave the affected area
- Fatigue – Ongoing tiredness, difficulty concentrating, general feeling of being unwell
- Skin irritation – Rashes, hives, or itching from direct contact with mold or spore contaminated surfaces
Children, elderly individuals, and anyone with existing respiratory conditions face elevated risks. Their immune systems are either still developing, already compromised, or more sensitive to irritants. Infants and young children breathe faster than adults, taking in more air and more spores relative to their body size. Older adults and people with chronic lung disease, allergies, or autoimmune disorders can experience severe reactions even to moderate mold levels.
Chronic exposure to mold over weeks or months increases the risk of long term health problems. Repeated inhalation of mold spores and mycotoxins can lead to persistent respiratory issues, chronic sinus infections, and prolonged immune system stress. Black mold and other toxic varieties carry additional dangers. Some mycotoxins have been linked to neurological symptoms, memory problems, and serious lung conditions. The longer mold stays in your living space, the more your health is at risk. That’s why addressing water damage and mold growth immediately isn’t just about protecting your house. It’s about protecting the people inside it.
Recognizing Signs of Hidden Mold After Water Damage
Mold frequently develops behind walls, under flooring, in insulation, and other concealed areas where moisture persists unnoticed. When a pipe bursts, water doesn’t always stay where you can see it. It runs down inside wall cavities, soaks into subfloors beneath carpet or tile, and saturates insulation in crawlspaces and attics. Those hidden spaces don’t get airflow. They stay damp for days or weeks, giving mold plenty of time to colonize. By the time visible growth appears on a wall or ceiling, mold has usually been spreading behind the surface for a while.
The progression from invisible spore colonization to visible surface growth happens in stages, and each stage has warning signs. Discoloration (yellow, brown, or black staining on walls, ceilings, or floors) signals water damage and possible mold growth. Musty odors, even without visible mold, indicate active growth somewhere nearby. Material deterioration like bubbling paint, warped baseboards, or soft drywall shows that water has compromised the structure and created conditions for mold. Health symptoms that appear or worsen when you’re home and improve when you leave can also point to hidden mold contamination affecting your indoor air.
| Sign Category | Specific Indicators | Where to Check |
|---|---|---|
| Visual signs | Discoloration, staining, visible mold patches (black, green, white spots), bubbling or peeling paint, warped or sagging drywall | Walls, ceilings, baseboards, around windows, in corners, under sinks, near water heater, basement walls |
| Odor signs | Musty, earthy, or damp smell that doesn’t go away, stronger odor in enclosed spaces or after rain | Basements, crawlspaces, attics, behind furniture against exterior walls, inside cabinets, closets |
| Texture/material changes | Soft or spongy drywall, crumbling plaster, warped wood, damp carpet or padding, deteriorating insulation | Wall surfaces, flooring, ceiling tiles, insulation in attic or crawlspace, around plumbing fixtures |
| Health symptoms | Respiratory irritation, coughing, sneezing, headaches, fatigue that improves when away from home | Not location specific, but indicates airborne mold spores from hidden contamination somewhere in the home |
| Moisture indicators | Condensation on windows, damp spots on walls or ceiling, water stains, high indoor humidity (above 60%), visible water pooling | Basements, bathrooms, kitchens, laundry rooms, exterior walls, under sinks, around toilets, near HVAC units |
Immediate Steps to Take When a Pipe Bursts

The actions you take in the first few hours after discovering a burst pipe dramatically impact whether mold develops and how much damage your home sustains.
Step by step immediate response protocol:
-
Shut off the main water supply – Locate your home’s main water shutoff valve (usually in the basement, crawlspace, or near the water heater) and turn it off completely to stop water flow. If you can’t find the main valve or it’s not working, shut off the water supply to the affected fixture or area if possible.
-
Call an emergency plumber – Contact a licensed plumber immediately to assess the damage, repair the burst pipe, and check for additional plumbing issues that could cause future problems. Many plumbers offer 24/7 emergency services.
-
Document the damage for insurance – Before you start cleanup, take photos and videos of all affected areas, damaged belongings, and the source of the leak. Make a written inventory of damaged items. This documentation supports your insurance claim and protects you during the settlement process.
-
Remove standing water – Use a wet vacuum, mop, towels, or buckets to extract standing water from floors and other surfaces. For large amounts of water, consider renting a sump pump or calling a water damage restoration company with industrial extraction equipment.
-
Move belongings from affected areas – Relocate furniture, electronics, clothing, and personal items away from wet zones to prevent further damage and allow better airflow for drying. Elevate items off wet floors using blocks or pallets if you can’t move them out completely.
-
Begin ventilation and drying – Open windows if weather permits, turn on fans to increase air circulation, and set up dehumidifiers to pull moisture out of the air. Direct airflow across wet surfaces and materials. The goal is to start the drying process immediately, even before professional help arrives.
That 24 to 48 hour window before mold colonization begins makes immediate response critical. Every hour of delay gives mold spores more time to settle on wet surfaces and start growing. Standing water and saturated materials don’t just sit there. They create rising humidity throughout your home, spreading moisture to areas that weren’t directly flooded. Acting within the first few hours can mean the difference between a manageable cleanup and a full scale mold remediation project. If you can’t handle the water extraction and drying yourself, calling professionals right away ensures the job gets done within that critical timeframe.
Assessing Which Materials to Remove or Salvage
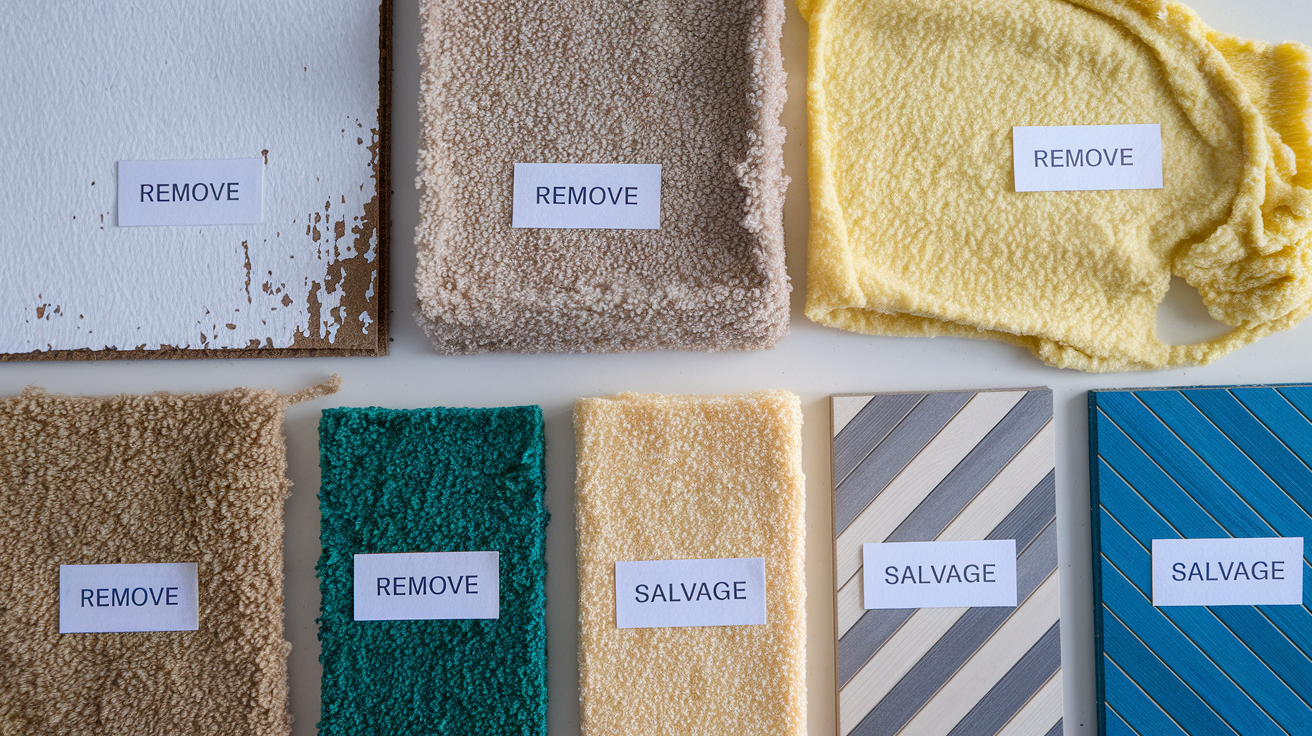
The general principle for flooded areas is simple: anything below the water line is typically discarded, and anything above the water line is inspected for damage, odor, and discoloration. This “water line rule” gives you a starting point for decision making. Materials that were submerged in standing water have absorbed contamination and moisture deep into their structure. Even if they look okay after drying, they can harbor bacteria, mold spores, and smells that won’t go away. Materials above the flood line might have splash marks or dampness, but they haven’t been saturated. Those can often be cleaned, dried, and saved if they pass inspection for odor, visible damage, and structural soundness.
Porosity science explains why some materials can be salvaged and others can’t. Porous materials (drywall, insulation, carpet padding, unsealed wood) absorb water quickly and deeply. Drywall soaks up water like a sponge through its paper backing and gypsum core. Carpet padding traps water and holds it for days. Insulation becomes waterlogged and loses its effectiveness. Once water penetrates deep into porous materials, you can’t dry them adequately with fans and dehumidifiers. Even if the surface feels dry, moisture stays trapped inside, creating perfect conditions for mold growth and bacterial contamination. Non-porous materials (metal, glass, hard plastics, sealed tile, solid hardwood that hasn’t warped) don’t absorb water into their structure. You can clean and dry them, and they’ll be fine.
Water damaged materials can compromise structural safety even if mold doesn’t develop. Wet drywall loses rigidity and can sag or crumble. Soaked wood framing can weaken and warp. Waterlogged subfloors lose their ability to support weight properly. If the structural integrity of a material is compromised, it needs to be replaced regardless of whether you see mold.
| Material Type | Typically Remove | Often Salvageable |
|---|---|---|
| Flooring | Carpet and padding, laminate, vinyl flooring, particle board subflooring | Solid hardwood (if not warped), ceramic tile, sealed concrete |
| Wall materials | Drywall, plaster, paneling that was submerged or saturated | Paint or wallpaper above water line (if no odor or discoloration), cleaned and dried plaster in some cases |
| Insulation | Fiberglass, cellulose, any insulation that got wet | Closed cell foam insulation (if dried quickly and shows no damage) |
| Furniture | Upholstered furniture that was submerged, particle board furniture | Solid wood, metal, plastic furniture (if cleaned and dried thoroughly) |
| Fixtures and cabinetry | Particle board or MDF cabinets, water damaged baseboards and trim | Solid wood cabinets, metal fixtures, ceramic sinks and toilets |
| Structural elements | Compromised framing, rotted sill plates, deteriorated joists | Solid framing that dried quickly and shows no warping or rot |
| Personal belongings | Papers, books, photos that were soaked, stuffed toys, pillows | Hard plastic items, glass, ceramics, metal objects (if cleaned), electronics (if professionally dried and tested) |
Professional Water Extraction, Drying, and Mold Remediation
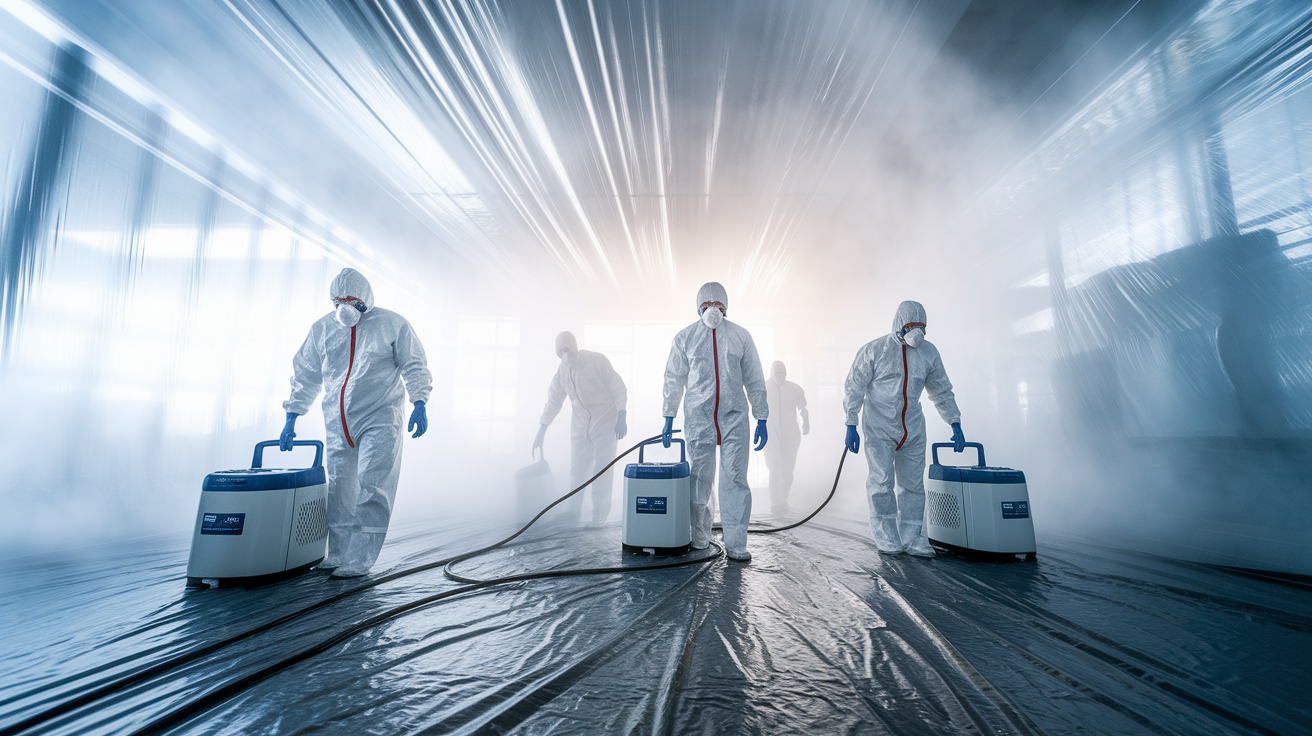
Professional restoration addresses both immediate water removal and mold prevention or remediation as integrated processes because one directly impacts the other. You can’t prevent mold without complete water extraction and drying, and you can’t remediate existing mold without eliminating the moisture source that caused it.
Water Extraction and Initial Assessment
Professional water damage restoration crews use truck mounted pumps for large volumes of standing water, commercial wet vacuums for smaller areas, and specialized extraction tools designed to pull water out of carpet, padding, and upholstery. Truck mounted equipment has the power to move hundreds of gallons per hour, clearing basements, crawlspaces, and flooded rooms fast. Industrial wet/dry vacuums handle detail work: tight corners, stairs, areas around fixtures. Extraction tools work like giant squeegees, pressing down on carpet or padding and sucking water out through powerful suction. The goal is to remove every bit of standing water as quickly as possible because water spreads and soaks deeper the longer it sits.
Before extraction even starts, professionals document the damage. They take photos and detailed notes of affected areas, water levels, damaged materials, and safety hazards. That documentation serves two purposes: it supports your insurance claim, and it creates a baseline for tracking the restoration process. Safety hazard identification happens during this initial assessment, checking for electrical hazards, gas leaks, structural instability, and contaminated water. No one enters a flooded space until it’s confirmed safe.
Structural Drying and Moisture Monitoring
The scientific drying process uses industrial dehumidifiers to pull moisture out of the air and air movers (high powered fans) to circulate air across wet surfaces and through the space. Dehumidifiers work by drawing in humid air, condensing the moisture, and releasing drier air back into the room. Air movers create airflow that speeds up evaporation from wet materials: carpet, drywall, wood. The combination of removing airborne moisture and increasing evaporation is what achieves complete structural drying. Professionals don’t just set up equipment and leave. They monitor the process using moisture meters and thermal imaging cameras.
Moisture meters measure water content in building materials (drywall, wood, concrete). They give exact readings so crews know whether a material is still holding moisture or has reached acceptable dryness levels. Thermal imaging cameras detect temperature differences that indicate hidden moisture in walls and subfloors. Wet areas appear cooler than dry areas, showing up as different colors on the camera screen. This technology finds water you can’t see or reach. Barriers and directed airflow create containment, keeping moisture and contaminants from spreading to unaffected areas. Professionals set up plastic sheeting to seal off wet zones, then direct airflow in one direction, pulling air from clean areas and pushing it out of contaminated areas. That prevents cross contamination and concentrates drying power where it’s needed. Complete structural drying must be achieved within one to two days after cleanup to prevent mold regrowth. That timeline is tight, which is why professional equipment and constant monitoring matter.
Mold Containment and Removal
Barrier systems using heavy plastic sheeting seal off the work area from the rest of your home. Negative air pressure machines pull air out of the contained space and filter it through HEPA filters before releasing it outside. This creates a vacuum effect. Air flows into the contaminated area but doesn’t flow out, keeping mold spores from spreading through your home. HEPA (high efficiency particulate air) filtration captures 99.97% of particles as small as 0.3 microns, which includes mold spores. Every bit of air leaving the work zone gets filtered to prevent contamination.
Physical removal of contaminated materials below the water line happens inside the contained space. That means pulling out wet drywall, insulation, carpet, padding, and any other materials that can’t be adequately dried. Crews work in protective gear (respirators, gloves, coveralls) because disturbing moldy materials releases spores into the air. HEPA vacuuming procedures follow each stage of material removal. As debris gets pulled out, HEPA vacuums clean surfaces to capture loose spores and dust before they resettle on cleaned areas. This prevents re-contamination and keeps the air inside the containment zone as clean as possible during the work.
Antimicrobial Treatment and Verification
Antimicrobial treatment of salvageable surfaces happens after physical removal and HEPA vacuuming. Professionals apply EPA registered antimicrobial solutions to wood framing, concrete, and other materials that are staying in place. These solutions kill mold spores and inhibit future growth. The application might be by hand using sponges and brushes, or by low pressure spraying depending on the surface. Repeated cleaning applications happen until surfaces are visibly clean and testing confirms mold levels are back to normal. One round of cleaning usually isn’t enough when dealing with active mold growth.
Post remediation testing involves air sampling and surface sampling to verify that mold levels in the treated area match levels in unaffected parts of your home or normal outdoor levels. Independent testing companies often handle this verification to ensure objectivity. If testing shows elevated mold levels, additional cleaning happens until clearance is achieved. Moisture control strategies to prevent recurrence include installing dehumidifiers, improving ventilation, sealing leaks, and addressing the root cause of the water intrusion. Mold damage restoration isn’t just about killing what’s there. It’s about creating conditions where mold can’t come back.
Professional equipment and an integrated approach achieve results impossible with household tools and address both visible and hidden contamination. Homeowner grade fans and dehumidifiers can’t move enough air or remove enough moisture to dry a flooded home in the critical 24 to 48 hour window. Detection equipment finds water and mold in places you’d never think to check. Containment and filtration keep your entire home from becoming contaminated during cleanup. That’s the difference between a DIY attempt and a professional restoration that actually solves the problem.
Insurance Coverage and Documentation for Burst Pipe Mold Damage

Typical homeowner’s insurance policies cover sudden and accidental water damage, which includes burst pipes. If a pipe breaks because it froze or a fitting failed, that’s usually covered. But gradual leaks (slow drips over weeks or months) often aren’t covered because they’re considered maintenance issues you should have caught and fixed. Mold coverage is where things get complicated. Many policies cover mold remediation only if it resulted from a covered peril like a burst pipe, and even then, coverage limits are often capped at $10,000 or less. Some policies exclude mold coverage entirely unless you purchase a separate rider. Read your policy or call your insurance company to understand exactly what’s covered before you assume anything.
Immediate notification to your insurance carrier is critical. Most policies require you to report damage promptly, within 24 to 48 hours. Delaying notification can jeopardize your claim. Call as soon as you’ve stopped the water and made the area safe. Don’t wait until after cleanup or repairs.
Required documentation includes photos and videos of all affected areas before you start cleanup, damage inventory listing every damaged item with descriptions and estimated values, repair estimates from licensed contractors, and professional inspection reports from plumbers, water damage restoration companies, or mold inspectors. Take wide shots showing the extent of flooding, then close ups of damaged materials and belongings. Capture everything: standing water, wet walls, soaked flooring, damaged furniture. The more documentation you have, the stronger your claim. Write down the date, time, and cause of the pipe burst if you know it. Keep receipts for any emergency repairs, equipment rentals, or temporary housing if you had to leave your home.
The claim process timeline and working with adjusters starts when you file your claim. An insurance adjuster will be assigned to assess the damage and determine what’s covered. They’ll visit your home, review your documentation, and create their own damage report. Be present during the adjuster’s visit so you can point out all affected areas and answer questions. Restoration companies often work directly with insurance adjusters, providing estimates and documentation that support your claim. Many restoration companies offer direct billing to insurance, which means they handle the paperwork and get paid directly by your insurer. This reduces your out of pocket costs and simplifies the process. If your adjuster’s assessment doesn’t match your documentation or the restoration company’s estimate, you have the right to negotiate or dispute the settlement. Don’t accept a settlement that doesn’t cover necessary repairs and remediation.
Preventing Future Pipe Bursts and Water Damage
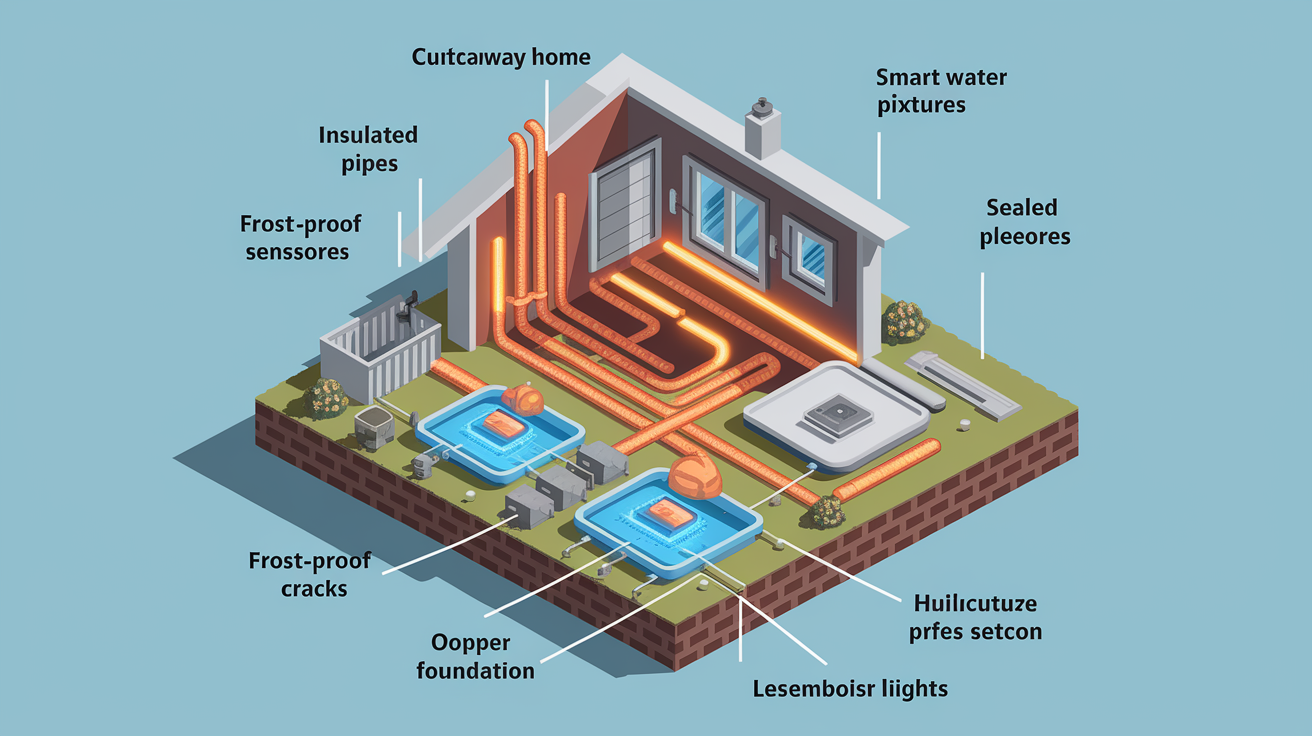
Prevention is far more cost effective than remediation. A burst pipe can cause thousands of dollars in water damage, material replacement, mold remediation, and temporary housing costs. In contrast, insulating vulnerable pipes costs a few hundred dollars. Upgrading old plumbing might run a couple thousand. Installing leak detection systems adds another few hundred. Even all together, prevention measures cost a fraction of what you’d spend cleaning up a major flood and dealing with the mold that follows.
Eight specific prevention measures to protect your home:
-
Insulate pipes in vulnerable areas – Wrap foam pipe insulation around pipes in basements, crawlspaces, attics, exterior walls, and unheated spaces. Focus on cold water lines, which sweat and freeze more easily than hot water lines.
-
Maintain minimum home temperature – Keep your home at a minimum of 55°F even when you’re away during cold weather. Lowering the thermostat too much to save energy can result in frozen pipes that cost far more to repair than you saved on heating.
-
Let faucets drip during freezing weather – When temperatures drop below freezing, open faucets slightly to allow a slow drip. Moving water is less likely to freeze than standing water. This is especially important for faucets on exterior walls.
-
Seal cracks in exterior walls and foundations – Use caulk or spray foam to seal gaps where cold air can reach pipes. Check around pipes entering the home, window frames, door frames, and foundation cracks.
-
Replace old and corroded pipes – If your home has galvanized steel pipes, polybutylene pipes, or plumbing that’s more than 50 years old, consider upgrading to modern materials like copper or PEX. Old pipes are prone to corrosion, weakening, and sudden failure.
-
Install water sensors and automatic shutoff valves – Water sensors placed near water heaters, under sinks, near washing machines, and in basements will alert you to leaks before they cause major damage. Smart shutoff valves can automatically turn off your home’s water supply when a leak is detected.
-
Upgrade to freeze resistant fixtures – Frost proof outdoor faucets and freeze resistant pipe materials reduce the risk of cold weather bursts. If you live in an area with harsh winters, these upgrades are worth the investment.
-
Winterize vacant properties – If a home will be unoccupied during winter, drain all water lines, shut off the main water supply, add antifreeze to drain traps, and consider having someone check the property regularly to catch problems early.
Modern leak detection technology and smart home water monitors provide real time alerts when they sense moisture, unusual water flow, or pressure changes in your plumbing system. Some systems integrate with your smartphone, sending notifications immediately so you can respond before a small leak becomes a flood. Annual plumbing inspections by a licensed plumber can catch early signs of corrosion, loose fittings, weakened pipes, and other issues before they fail. A professional inspection typically costs $150 to $300 and can identify problems you’d never notice until a pipe bursts. Regular maintenance (checking exposed pipes, looking for signs of moisture or corrosion, testing shutoff valves, and addressing small leaks immediately) keeps your plumbing system in good condition and reduces the risk of catastrophic failure. That ongoing attention is what prevents the emergency call, the flooded basement, and the mold remediation project that follows.
Final Words
Yes, can a burst pipe cause mold? Absolutely, and often within 24 to 48 hours if water isn’t removed and materials aren’t dried completely.
Standing water soaks into drywall, insulation, and flooring fast. Those porous materials hold moisture even after you mop up the surface water, creating ideal conditions for mold to colonize and spread.
The good news is you can stop it. Shut off the water, call help, and start drying immediately. Professional extraction, dehumidifiers, and antimicrobial treatment handle what household fans can’t reach.
Quick action protects your home and your health. Address the water, and you stop the mold before it starts.
FAQ
How can you prevent mold after a pipe bursts?
You can prevent mold after a pipe burst by extracting all standing water within hours, removing wet porous materials like carpet padding and insulation, running commercial dehumidifiers and fans continuously, and achieving complete structural drying within 24-48 hours before mold spores colonize moisture-saturated surfaces.
How long does it take for mold to form from a leaking pipe?
Mold can form from a leaking pipe within 24 to 48 hours after water saturates porous materials like drywall, carpet, and insulation. Rapid moisture removal and thorough drying within this critical window prevent mold spores from colonizing water-damaged building materials and spreading throughout affected areas.
Does homeowners insurance cover mold from a pipe leak?
Homeowners insurance typically covers mold from sudden pipe bursts but often excludes mold damage from gradual leaks or neglected maintenance. Coverage limits vary by policy, with many carriers capping mold remediation costs at specific dollar amounts. Always notify your insurer immediately and document all water damage thoroughly.
Can plumbers get rid of mold?
Plumbers cannot get rid of mold because mold remediation requires specialized containment procedures, HEPA filtration equipment, antimicrobial treatments, and certification that standard plumbing work doesn’t cover. Plumbers fix burst pipes and stop water flow, while certified restoration professionals handle mold inspection, removal, and prevention following water damage.
What are the health risks of mold exposure after water damage?
The health risks of mold exposure after water damage include respiratory irritation, allergic reactions, asthma attacks, persistent headaches, chronic fatigue, and skin rashes. Children, elderly individuals, and people with existing respiratory conditions face elevated risks from airborne mold spores circulating through indoor air after burst pipes saturate building materials.
What materials need removal after a burst pipe?
Materials needing removal after a burst pipe include anything below the water line such as carpet and padding, wet insulation, water-damaged drywall, soaked wood flooring, and saturated wallboard. Porous materials that absorb water deeply cannot be adequately dried and create perfect environments for rapid mold colonization and structural compromise.
How long does professional water extraction take?
Professional water extraction typically takes several hours to one full day depending on the volume of standing water, while complete structural drying requires 1-2 days using industrial dehumidifiers, commercial air movers, and moisture monitoring equipment. The entire restoration process from initial extraction through final mold prevention measures usually spans 3-5 days.
What temperature causes pipes to burst?
Temperatures below 32°F cause pipes to burst when water inside freezes and expands, creating pressure that cracks pipe walls. Exterior wall pipes, uninsulated crawlspace plumbing, and attic water lines face the highest burst risk. Maintaining indoor temperatures at minimum 55°F and insulating vulnerable pipes prevents freeze-related bursts.
