
Think a burst pipe is just a wet mess? Think again.
In the first 24 hours you can decide whether cleanup is quick or turns into months of mold and repairs.
Water moves fast. It travels through floors, into wall cavities, under baseboards.
This guide gives clear, fast steps you can take right away: shut off the water, kill the electricity if it’s safe, document damage, extract standing water, and start drying and dehumidifying (pulling moisture from the air).
Follow these actions now and you’ll limit damage, lower repair costs, and get your home back faster.
First Actions After a Pipe Bursts in Your Home

The first 24 hours after a pipe bursts decide whether you’re looking at a manageable cleanup or months of mold problems and serious structural work. Water moves fast. Through flooring, into wall cavities, under baseboards, soaking insulation you can’t even see. Every minute matters. Standing water can double its reach within the first hour, and mold spores start setting up shop on damp surfaces within 24 to 48 hours. What you do during this window directly controls how bad the damage gets and what the restoration ends up costing. Safety first, even before you try saving belongings or stopping the spread.
-
Find and shut off the main water valve. Usually near your water meter, in the basement, crawl space, or outside by the foundation. Turn it clockwise until it stops. This cuts off all water coming into your home.
-
Kill the electricity at the breaker box. Water and electricity create real shock and fire risks. If the breaker box sits in a flooded area, don’t go near it. Call an electrician or your utility company.
-
Turn off the gas supply if you’ve got it. Gas appliances or a gas fireplace? Locate the shutoff valve and switch it to off. Prevents leaks or fire risk in damaged spots.
-
Document everything with photos and videos. Before you move or clean a single thing, record water levels on walls (stick a measuring tape in the frame), floor damage, ceiling stains, where furniture sits, every affected item. Insurance adjusters need this visual proof.
-
Put on protective gear. Rubber gloves, work boots, safety goggles, N95 mask. Even clean water picks up nasty stuff from building materials and creates slip hazards.
-
Walk through and assess the damage. Carefully note which rooms got hit, where water’s pooling, if ceilings are sagging, whether walls feel spongy. Don’t enter rooms with structural concerns like bowed ceilings.
You’re racing the clock, but you can handle this if you stay methodical. Most water extraction and initial drying needs to happen in the first three days to stop permanent damage and mold growth.
Standing Water Extraction Methods for Different Flood Sizes
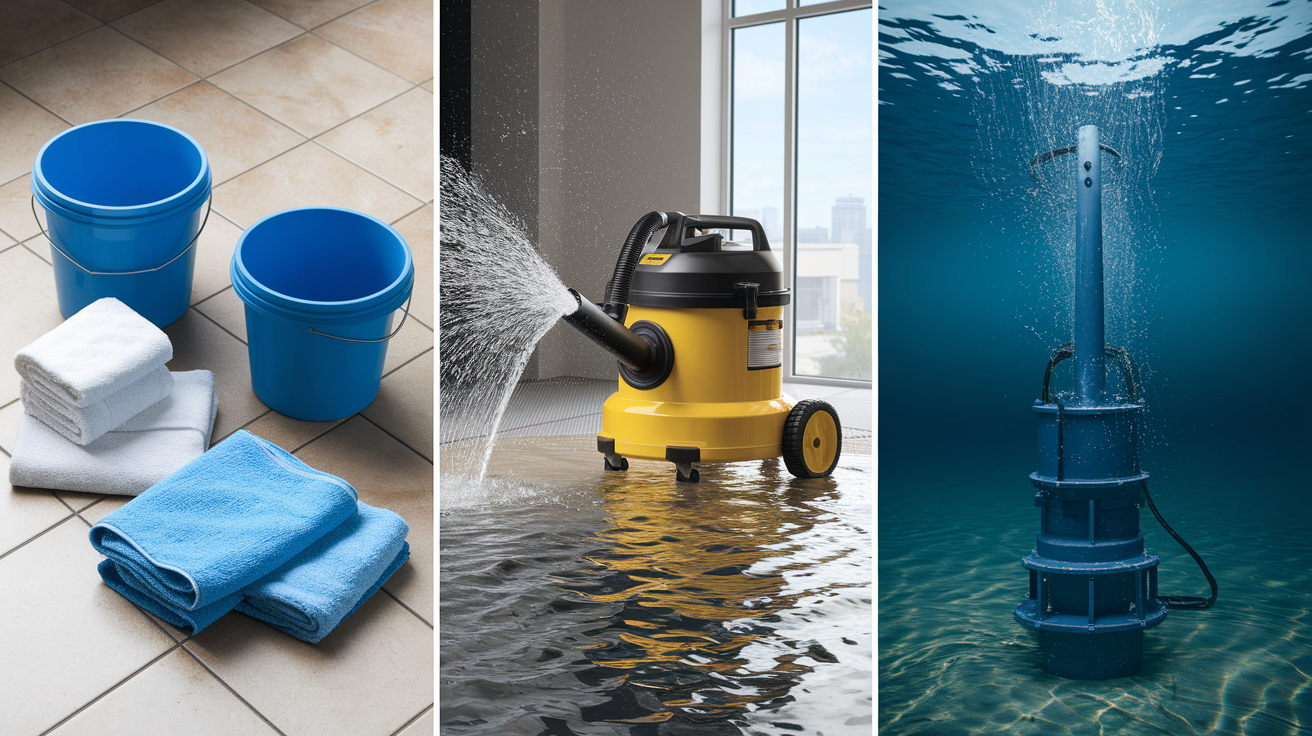
How much standing water you’re dealing with determines which removal approach makes sense. A quarter inch in a bathroom needs different tools than two inches covering your entire basement. Check the deepest point, estimate total affected square footage, then match your strategy to the severity.
For minor flooding (under one inch in a small area), buckets, mops, and towels get it done. Start closest to the burst pipe and work outward. Wring towels into buckets often, swap them out as they saturate. Old comforters and blankets soak up large amounts fast. This manual method handles bathrooms, laundry rooms, small kitchen floods fine, but it’s slow and exhausting for anything bigger.
Moderate flooding calls for a wet/dry vacuum. You need at least a 6 gallon tank for efficient work, and stronger suction means faster extraction. Switch the vacuum to liquid mode. There’s usually a foam filter or a filter removal step, check your manual. Start vacuuming from the edges and move toward the center, which stops you from pushing water into dry zones. Empty the tank every time it hits three quarters full to keep suction strong. For a 200 square foot room with one inch of water, expect to empty that tank eight to ten times. This method works well up to about two inches across medium sized rooms.
Major flooding (anything over two inches deep or covering large areas) requires a pump. Submersible pumps sit right in the water at the lowest point and move high volumes quickly. Utility pumps work similarly but may sit outside the water with an intake hose. Run the discharge hose away from your foundation, at least 20 feet if you can, so water doesn’t flow back toward the house. A standard 1/3 horsepower submersible pump moves about 30 gallons per minute. You can rent these from hardware stores if you don’t own one. Only use electric pumps if you’re certain the power is safe. No submerged outlets, no damaged wiring in the area. If there’s any doubt, stick with manual methods or wait for professional help with generator powered equipment.
Structural Drying and Dehumidification Process

Pulling out visible standing water is just step one. Materials like drywall, wood framing, subflooring, insulation hold moisture inside, even after the surface looks dry. Skip thorough drying and you’re basically rolling out the welcome mat for mold. The drying process typically takes three to five days with proper equipment and air circulation, sometimes longer if humidity’s high or materials got heavily saturated.
Equipment placement makes the difference between effective drying and wasted time. Position high velocity fans at angles pointing right at damp walls, floors, ceilings. You want airflow moving across wet surfaces, not just circulating room air. Space fans about 10 feet apart if you’re drying a large area. Set up cross ventilation when you can. One fan pushing air in, another pulling it out through a window or door. Dehumidifiers pull moisture from the air and need central placement, away from walls, with clearance for air intake and exhaust. One residential dehumidifier typically covers about 500 square feet, but check the capacity rating. Empty the collection bucket twice daily, or hook up a continuous drain hose if the unit has that option. Run both fans and dehumidifiers 24 hours a day during the drying period.
| Timeline | Target Humidity Level | Action Required |
|---|---|---|
| Day 1 (First 24 hours) | Below 60% | Set up all fans and dehumidifiers, check readings every 4 hours, adjust equipment if readings stay high |
| Days 2 to 3 | Below 50% | Monitor twice daily with hygrometer, move fans to target stubborn damp spots, empty dehumidifier reservoirs |
| Days 4 to 5 | Below 45% | Check hidden areas (behind baseboards, in closets), use moisture meter on walls and floors if you’ve got one |
| Day 6 and Beyond | Match pre-incident levels (typically 30 to 50%) | Confirm all materials register dry on moisture meter before starting repairs, keep monitoring for 24 hours after shutting down equipment |
The moisture you can’t see causes the biggest headaches. Water travels through wall cavities, soaks into subflooring under finished floors, saturates insulation behind drywall. Sometimes you’ll dry the surface while moisture stays trapped inside, creating perfect conditions for hidden mold growth. If walls still feel cool to the touch after three days of drying, or if you smell musty odors, moisture’s still there. Professional restoration teams use thermal imaging cameras to spot temperature differences that show trapped water, and moisture meters that probe into materials to measure internal dampness. If you’re dealing with more than surface level water damage, those tools become necessary to confirm complete drying before you close up walls or replace flooring.
Identifying and Removing Water Damaged Building Materials
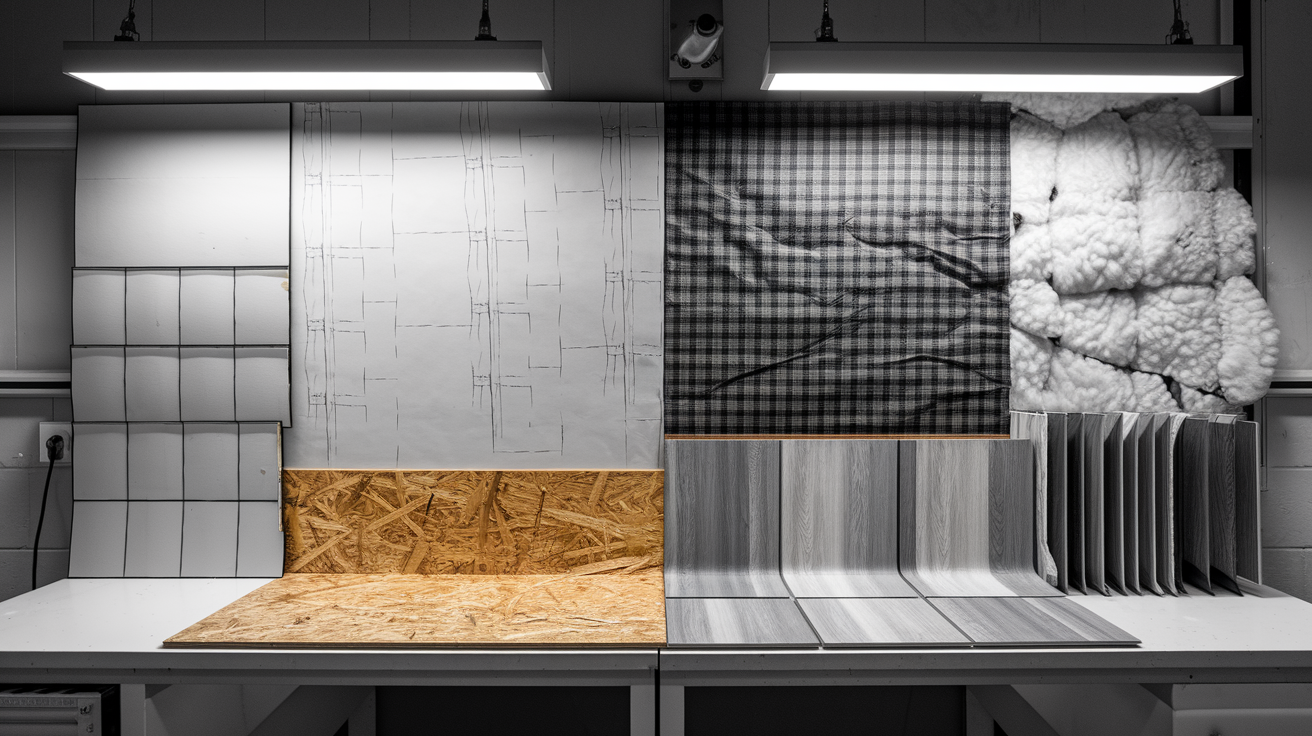
Some materials dry out and bounce back. Others absorb water, stay wet, support mold growth, and need to come out. Knowing which is which prevents you from sealing contaminated materials into your walls or leaving structural problems that surface later. Porous materials (anything with air pockets or fibrous construction) rarely survive significant water exposure. Non-porous surfaces like ceramic tile, metal, sealed concrete can be cleaned and dried.
Drywall (wet above 4 feet high or saturated for more than 24 hours). If water wicked up from the floor and stopped below 2 feet, you might save it with thorough drying. Anything higher, or material that stayed wet overnight, needs removal. Cut horizontally about 2 inches above the visible water line.
Soaked insulation. Fiberglass and cellulose insulation compress when wet and never fully recover their insulating properties. They also hold moisture against framing. Pull out any insulation that got wet.
Carpet padding acts like a sponge and stays damp even after the carpet surface dries. Remove all padding in affected areas. The carpet itself might be salvageable with professional cleaning if it’s not glued down and the water was clean.
Particleboard and MDF get used in some cabinets, shelving, underlayment. These materials swell permanently when wet and lose strength. Replace any particleboard that absorbed water.
Laminate flooring. The fiberboard core swells and warps. Even if it looks okay initially, it’ll buckle within days. Remove and replace affected sections.
Water stained ceiling tiles harbor moisture and often hide more significant ceiling damage above. Pull stained tiles and inspect the structure above before installing replacements.
Cardboard, paper products, paper backed materials. Books, documents, cardboard boxes, paper faced insulation. These materials support mold growth and break down quickly when wet. Toss anything paper based that was submerged or heavily dampened.
Baseboards and trim (if significantly swollen or pulling away from walls). Wood baseboards often absorb water from the floor, swell, separate from walls. If they’re warped or the paint’s bubbling, they need replacement.
Safe removal starts with safety gear. Gloves, eye protection, N95 mask, long sleeves. Cut drywall in straight lines with a utility knife rather than tearing it, which creates more dust and mess. Score along studs when you can so you’re cutting at a logical repair point. Bag debris as you go rather than piling it up. Wet materials are heavy. Drywall weighs about 60 pounds per 4×8 sheet when saturated. Get help moving large sections, and don’t overload bags or wheelbarrows. Watch for nails, screws, sharp edges. Pull wet insulation carefully to avoid releasing fiberglass particles into the air. Once materials are removed, the wall cavities and subfloors can finally dry properly.
Check with your local waste management about disposal. Some areas have specific requirements for construction debris or water damaged materials. Most bulk trash pickup services handle this stuff, but call ahead. If you’re removing a lot, consider renting a debris dumpster for the week. You’ll need it anyway for the reconstruction phase.
Sanitization and Mold Prevention After Pipe Damage

Even if your burst pipe released clean water from a supply line, sanitization matters. The water immediately picks up contaminants. Dust, dirt, bacteria from flooring, debris from wall cavities, whatever was sitting on the floor before the flood. Beyond that, moisture creates the conditions mold needs to grow, and spores are already present in every home, just waiting for dampness to activate them. You’ve got a 24 to 48 hour window before mold begins colonizing.
Water damage falls into three categories based on contamination level, and the category determines how aggressive your sanitization needs to be. Category 1 water comes from clean sources like supply lines and broken water heaters. This is the least contaminated, but still requires sanitization. Category 2 water (gray water) comes from appliances like dishwashers, washing machines, toilet overflows without solid waste. This water contains chemicals, detergents, bacteria and requires more thorough disinfection. Category 3 water (black water) comes from sewage backups, flooding from rivers or storms, toilet overflows with solid waste. This water requires professional remediation because of serious health hazards. If your burst pipe is on a supply line in the wall, you’re dealing with Category 1. If the water backed up from an appliance or fixture, it’s Category 2 or worse. Always err on the side of caution. When in doubt, treat it as more contaminated.
The sanitization process follows three steps. First, clean all affected surfaces with a detergent and water solution. Regular dish soap or general purpose cleaner works. This removes dirt and creates a clean surface for disinfection. Scrub with a brush or rough sponge, rinse with clean water, then move to step two. Apply a white vinegar and water mixture at a 1:1 ratio. Equal parts vinegar and water in a spray bottle. Spray all surfaces that got wet, including areas you already cleaned. Vinegar stops mold spores and treats musty odors without harsh chemicals. Let it sit for 30 minutes, then wipe clean. For persistent stains or areas with visible mildew, mix a bleach solution using 1 cup of household bleach per gallon of water. Apply with a sponge or spray bottle, let it sit for 10 minutes, then rinse thoroughly. Never mix bleach with vinegar or ammonia. The combination creates toxic fumes.
Ventilation during and after sanitization is just as important as the chemicals you use. Open windows and doors to create airflow. Keep fans running to push humid air out of the space. Bleach fumes irritate lungs, so wear your N95 mask during application and keep air moving. Monitor for musty smells over the next few days. If you smell that damp, earthy odor, moisture’s still present somewhere or sanitization wasn’t thorough enough. That smell means mold is growing, and you need to find the source before it spreads further.
DIY Cleanup Versus Professional Water Damage Restoration
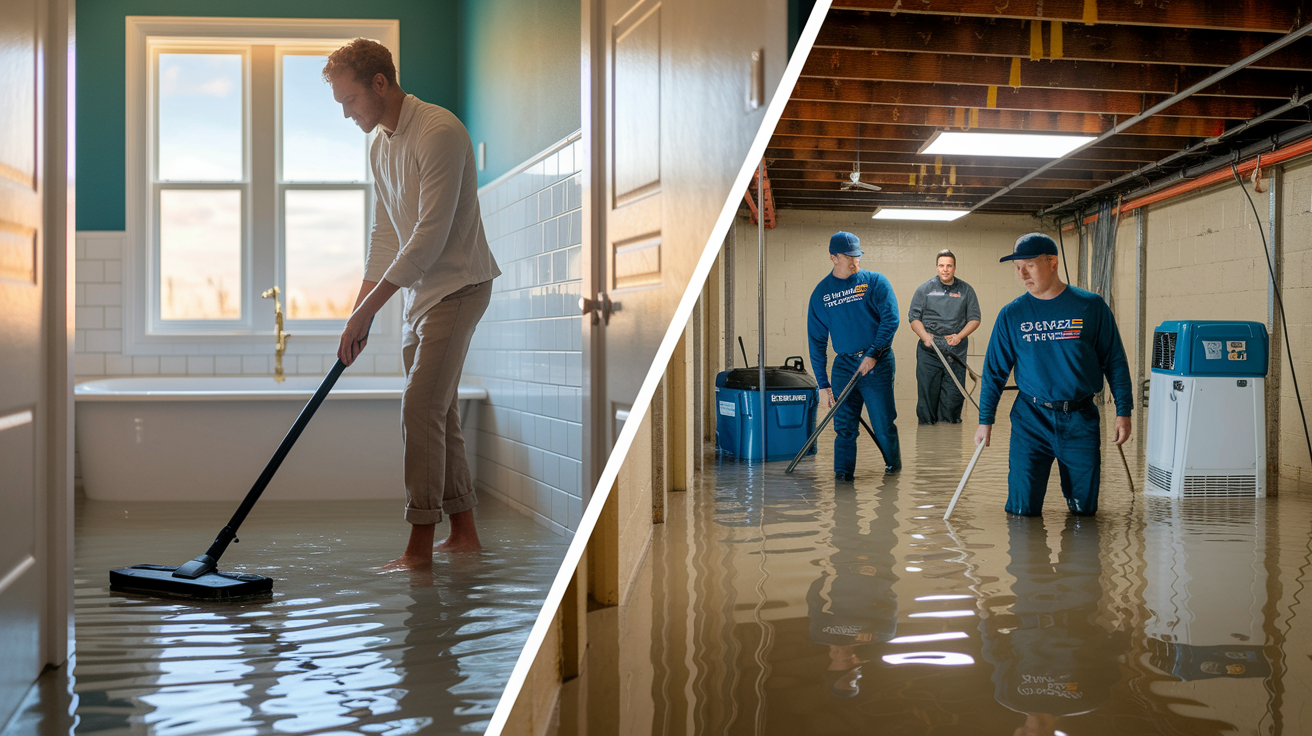
DIY cleanup makes sense when the damage is limited, the water is clean, and you have the time and physical ability to manage a multi-day drying process. Most homeowners can handle a small bathroom flood, a localized kitchen leak, a burst pipe that affected one room if the water is less than an inch deep and comes from a clean source. You’ll need at least three to five full days to extract water, set up drying equipment, monitor progress, clean everything properly. If you work full time or can’t physically move furniture and equipment, DIY gets difficult fast. If the affected area is over 100 square feet, if water soaked into wall cavities, if you see any structural sagging, if the water source was contaminated, professional help becomes necessary rather than optional.
| Factor | DIY Approach | Professional Service |
|---|---|---|
| Equipment | Homeowner wet/dry vac, rental fans and dehumidifiers, basic cleaning supplies | Commercial extractors, thermal imaging, industrial dehumidifiers (10x homeowner capacity), moisture meters, air scrubbers |
| Drying Time | 5 to 7 days typically, depends on weather and equipment quality | 3 to 5 days with continuous professional equipment and monitoring |
| Moisture Detection | Visual inspection, touch test, maybe a basic hygrometer | Thermal imaging cameras, pin and pinless moisture meters, documented readings |
| Mold Prevention | Cleaning with vinegar and bleach, surface level sanitization | EPA registered antimicrobial treatments, HEPA air filtration, treatment of wall cavities |
| Insurance Documentation | Homeowner photos and receipts | Detailed loss documentation, moisture mapping, repair estimates, direct insurance company communication |
| Cost | $200 to $800 in equipment rental and supplies | $2,000 to $10,000+ depending on damage extent, includes complete restoration |
Professional Water Damage Restoration Services bring equipment and expertise that changes the timeline and outcome. Commercial dehumidifiers pull ten times more moisture from the air than homeowner units. What takes you a week might take them three days. Thermal imaging cameras spot temperature variations behind walls that indicate trapped water you’d never find otherwise. Professionals document everything with moisture readings, photos, detailed reports that insurance companies expect and trust. Most restoration companies hold IICRC credentials, which means they’ve completed training in water damage restoration, structural drying, microbial remediation. They know how to set up proper containment barriers, calculate drying time based on material saturation levels, identify structural concerns you might miss. They also operate 24/7. You call at 2 a.m. when a pipe bursts, and a team shows up within a couple hours. That response time matters more than most people realize, because every hour of delay increases the total damage.
Insurance Claims and Damage Documentation Requirements
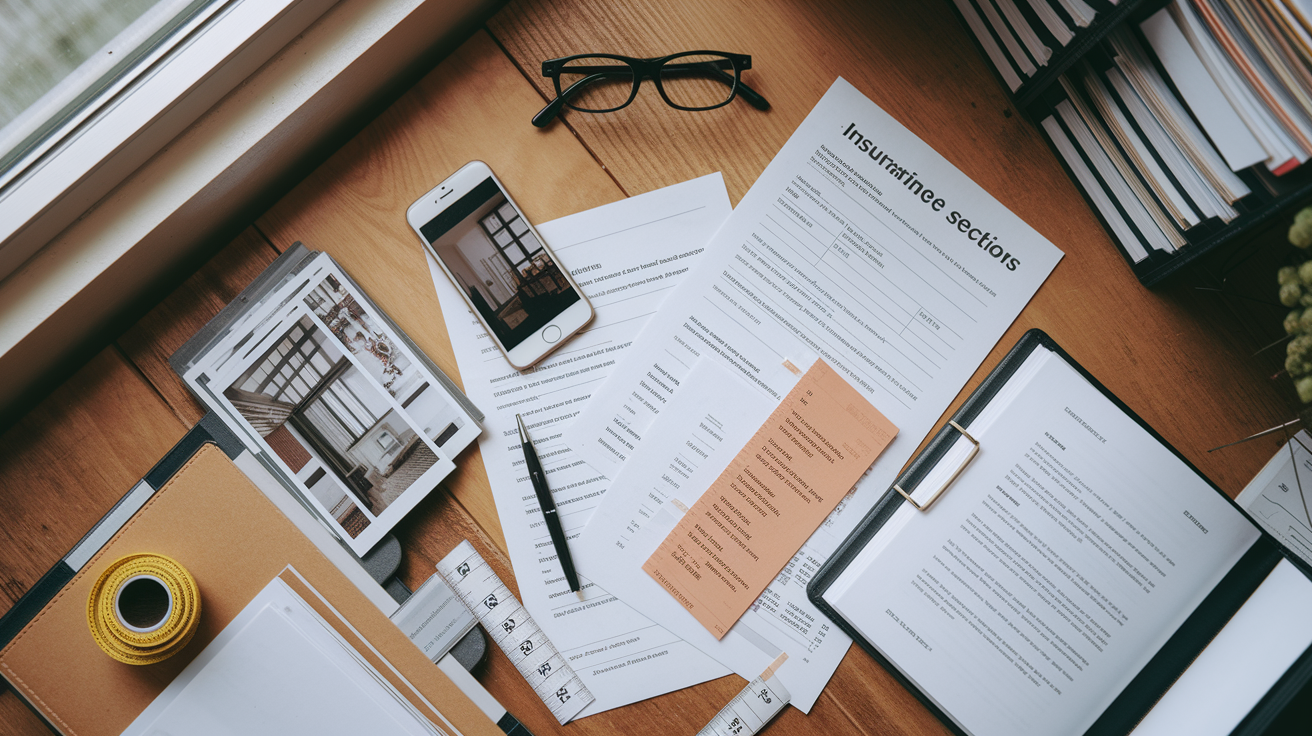
Most homeowner insurance policies cover sudden and accidental water damage, which includes burst pipes, toilet overflows, broken appliance hoses, water entering through storm damaged roofs or windows. The Texas Department of Insurance confirms this as standard coverage. What policies typically don’t cover: gradual leaks that developed over time, damage from lack of maintenance, flooding from external sources like rivers or ground water (that requires separate flood insurance), situations where the homeowner knew about a problem and didn’t fix it. Read your specific policy because coverage varies, but if a pipe suddenly burst (you didn’t ignore a slow leak for months), you should have coverage.
Document everything immediately, before cleanup begins.
Date and time stamped photos of the water source. Show the actual burst pipe, broken hose, overflow point. Capture the water still running if it’s safe to do so.
Water level markers on walls. Place a measuring tape against the wall showing how high water reached, photograph it from multiple angles. These measurements prove damage extent.
Affected rooms from multiple angles. Stand in each corner and photograph the whole room. Get wide shots showing the full scope, not just close-ups of damage.
Every damaged belonging. Furniture, electronics, clothing, boxes, everything. If it got wet, photograph it in place before moving it. Create a written inventory too.
Building materials and structural damage. Water stained drywall, warped flooring, sagging ceilings, damaged baseboards. Photograph damage to the structure of your home separately from belongings.
Temporary repairs and emergency measures. If you used a repair clamp on the pipe, if you moved furniture to prevent further damage, photograph those actions.
Receipts for everything. Emergency plumber visit, hardware store supplies, equipment rental, cleaning products, temporary lodging if you had to leave the home. Keep every receipt in a folder dedicated to this claim.
Contact your insurance company within 24 to 48 hours of the incident. Most policies require prompt notification. The insurance company will assign an adjuster to evaluate your claim. The adjuster will visit your home, assess damage, review your documentation, determine coverage amounts. Timing matters here. If possible, don’t complete all cleanup before the adjuster visits. They need to see the damage firsthand. However, you do have a responsibility to prevent further damage, so if waiting for the adjuster means water continues spreading or mold starts growing, document thoroughly and proceed with necessary mitigation. Save samples of removed materials when you can (cut sections of wet drywall, carpet, padding) in case the adjuster wants to examine them.
Throughout cleanup and restoration, maintain detailed records. Track every conversation with your adjuster. Date, time, what was discussed, what was agreed upon. Photograph the work as it progresses. If you hire a restoration company, they’ll typically handle much of this documentation and communicate directly with your insurance company, which removes a significant burden. Keep a running total of all expenses related to the incident. If your policy includes additional living expenses and you need to stay elsewhere during restoration, keep hotel receipts and food receipts. The better your documentation, the smoother your claim process and the faster you receive payment.
Estimated Costs and Timeline for Pipe Burst Recovery

The total cost to recover from a burst pipe depends on affected square footage, how much water was released, which materials need replacement, whether structural repairs are needed. A small bathroom flood with minimal damage might cost $1,500 to $3,000 for water extraction, drying, minor repairs. A finished basement with two inches of standing water covering 800 square feet can easily reach $8,000 to $15,000 when you include water removal, drying, replacing drywall and flooring, sanitization, reconstruction. Insurance deductibles typically range from $500 to $2,500, which you pay out of pocket before coverage kicks in. Your geographic location affects costs too. Labor and materials cost more in some regions.
| Service Component | Typical Cost Range | Timeline |
|---|---|---|
| Emergency Response and Water Extraction | $500 to $2,000 | Same day, 2 to 6 hours depending on water volume |
| Structural Drying (equipment setup and monitoring) | $800 to $3,000 | 3 to 5 days of continuous operation with daily check-ins |
| Material Removal and Disposal | $600 to $2,500 | 1 to 2 days for removal, plus dumpster rental time |
| Sanitization and Antimicrobial Treatment | $400 to $1,500 | 1 day application, ongoing monitoring during drying phase |
| Reconstruction (drywall, flooring, painting) | $2,000 to $10,000+ | 1 to 3 weeks depending on scope, material availability, permit requirements |
| Plumbing Repair (fixing the burst pipe) | $200 to $1,000 | Usually completed same day or next day |
The recovery timeline starts with emergency response, which happens the same day you call if you’re using a 24/7 restoration service. Water extraction takes anywhere from two to six hours depending on volume. Structural drying is the longest phase. Plan on three to five days minimum with equipment running continuously. Restoration teams monitor daily, adjusting equipment and checking moisture levels. Once everything registers dry, material removal and reconstruction begin. Simple repairs like replacing drywall in one room and repainting might take a week. Larger projects involving multiple rooms, new flooring, cabinet replacement, structural work extend to two or three weeks. If you’re coordinating multiple contractors (plumber, electrician, restoration team, general contractor), the timeline stretches further due to scheduling.
Several factors extend timelines and push costs beyond initial estimates. Hidden moisture discovered during the drying phase means additional drying time and potentially more material removal. If mold growth is found, professional mold remediation adds time and expense, sometimes $500 to $3,000 depending on the affected area. Permit requirements for significant reconstruction work add days or weeks to the timeline. Material availability matters too. If you need specialty flooring or cabinets, lead times can add weeks. Insurance approval delays can pause work if the adjuster needs additional documentation or disputes part of the claim. Stay in communication with your restoration company and contractors to manage expectations and adjust timelines as situations develop.
Preventing Future Pipe Bursts Through Home Maintenance
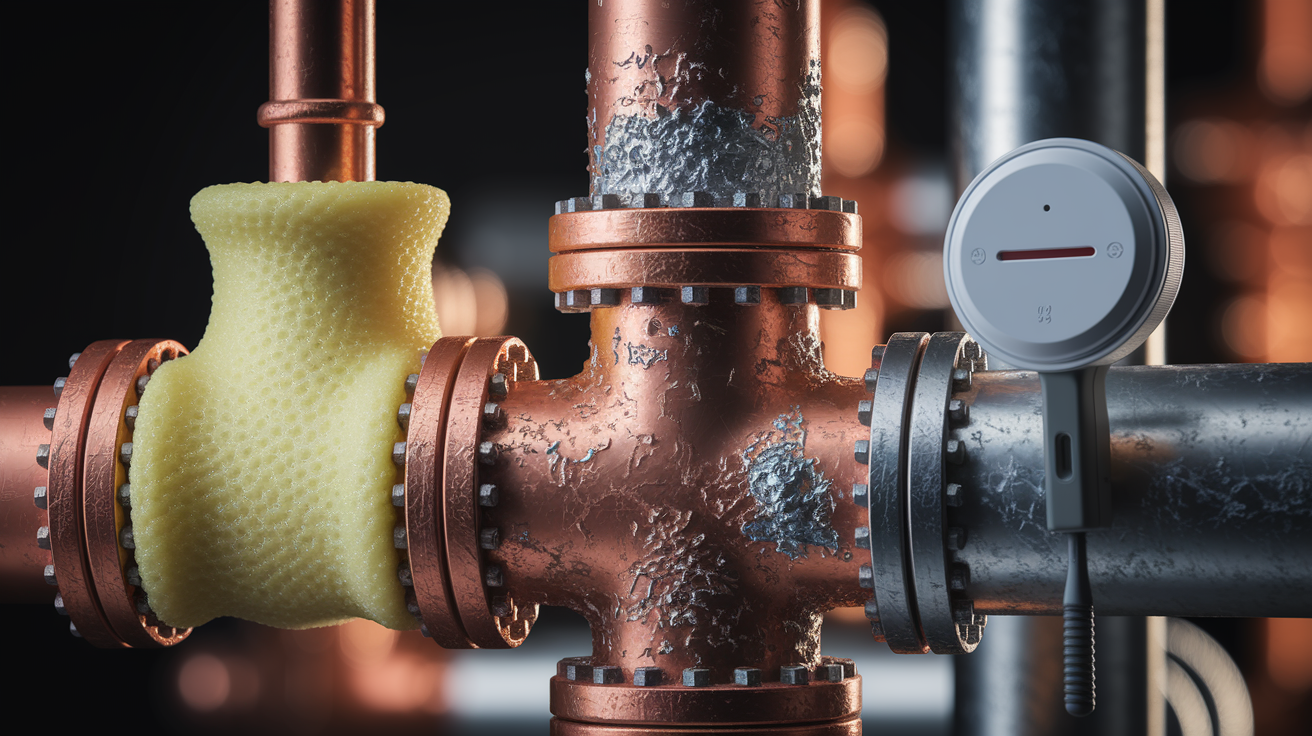
Freezing temperatures cause most winter pipe bursts, but pipes fail for other reasons year round. Corrosion gradually weakens older pipes, particularly galvanized steel that’s common in homes built before 1970. High water pressure (anything above 60 psi) stresses pipes and joints, eventually causing failures. Water hammer (that banging sound when you shut off a faucet quickly) creates pressure spikes that damage pipes over time. Thermal expansion from water heaters can burst pipes if expansion tanks aren’t installed or fail. Tree roots infiltrate underground supply lines, especially older clay or cast iron pipes. Foundation shifts from soil movement create stress on pipes, and in homes with settling foundations, this causes cracks and breaks. Age alone weakens pipes. Most copper and PVC last 50 years, but galvanized steel starts failing after 40 years.
Schedule annual plumbing inspections before cold weather. Have a plumber check for corrosion, test water pressure, examine exposed pipes for wear, identify vulnerable areas before problems develop.
Insulate exposed pipes. Wrap foam pipe insulation around water lines in crawl spaces, attics, exterior walls, unheated garages. Focus on both hot and cold water lines.
Maintain heat in vulnerable areas during freezing weather. Keep cabinet doors under sinks open so warm air reaches pipes, set thermostats no lower than 55°F even when you’re away, open interior doors to improve circulation.
Drain and shut off outdoor faucets each fall. Disconnect hoses, close interior shutoff valves for exterior faucets, open the outdoor faucet to let remaining water drain, leave it open through winter.
Fix small leaks immediately. That drip under the sink or slow leak at a joint will worsen. Small leaks signal bigger problems developing and indicate corrosion or failing seals.
Monitor water pressure. Install a pressure gauge on an outdoor faucet or laundry room connection. If pressure exceeds 60 psi, install a pressure reducing valve to protect your entire system.
Replace aging pipes proactively. If your home is 50+ years old and still has original galvanized pipes, budget for replacement before failures occur. Repiping a house isn’t cheap, but it’s less expensive than repeated burst pipe cleanups.
Insulate crawl spaces and attics properly. Pipes in these areas need both direct insulation and surrounding area insulation to maintain stable temperatures.
Know where your main shutoff valve is and test it annually. Turn the valve off and back on once a year to make sure it operates smoothly. A stuck valve in an emergency makes damage worse.
Modern technology adds layers of prevention that weren’t available a decade ago. Smart leak detectors are small sensors you place near water heaters, under sinks, behind toilets, near washing machines, anywhere else leaks commonly start. When water contacts the sensor, it sends an alert to your smartphone immediately, even if you’re not home. Some models integrate with smart home systems and can trigger automatic shutoffs. Cost runs about $30 to $100 per sensor, and you’ll want multiple sensors throughout your home. Automatic shutoff valves install on your main water supply line and close automatically if they detect unusual flow patterns indicating a leak or burst pipe. Whole house systems cost $400 to $800 plus installation, but they shut off water within seconds of detecting a problem, which can prevent thousands in damage when you’re away from home. Temperature monitoring sensors placed in crawl spaces, attics, near exterior walls alert you if temperatures drop to freezing before pipes actually burst, giving you time to add heat or shut off water. These prevention technologies pay for themselves after preventing one major incident.
Final Words
Shut off the main water and power, take photos, and put safety first. Fast action in the first 24 hours cuts mold risk and limits structural damage.
Choose the right extraction method, set up fans and dehumidifiers, and remove soaked materials. Sanitize by water category, save receipts, and know when to bring in a pro. Expect drying to take about 3–5 days, with repairs after that.
Follow these steps to keep costs down and speed burst pipe cleanup. You’ll get your home back to normal.
FAQ
Q: How to clean up after a burst pipe?
A: Cleaning up after a burst pipe means stopping the leak, ensuring safety, documenting damage, extracting standing water, removing soaked materials, then drying and sanitizing. Turn the main valve clockwise, shut power if wet, call a pro if structure is affected.
Q: Does homeowners insurance cover a burst pipe?
A: Homeowners insurance usually covers sudden, accidental burst pipe damage, but often excludes gradual leaks, poor maintenance, and external flooding; document damage with photos, save receipts, and notify your insurer within 24 to 48 hours to start a claim.
Q: How much does a plumber charge for a busted pipe?
A: A plumber typically charges $150–$500 for a basic busted-pipe repair; emergency calls, access issues, or pipe replacement can raise costs to $500–$1,500 or more. Get written estimates and call an emergency plumber for active flooding.
Q: How long to dry house after burst pipe?
A: Drying a house after a burst pipe typically takes 3 to 5 days with proper extraction, high-velocity fans, and dehumidifiers; hidden moisture can extend timelines, so monitor humidity and consider pros for wall or subfloor drying.
