
A grease fire on your stovetop looks small until you realize soot’s on the ceiling, smoke smell’s in every room, and that greasy film is coating surfaces you didn’t even know existed. Most people underestimate how far contamination spreads from a contained stovetop fire. The acidic residue keeps doing damage after flames are out, corroding metal, staining paint, and releasing odors for weeks if you don’t clean it right. This guide walks you through safe cleanup steps room by room, explains which surfaces need special attention, and helps you decide when a situation needs professional restoration instead of DIY efforts.
Essential Safety Measures and Initial Cleanup Process
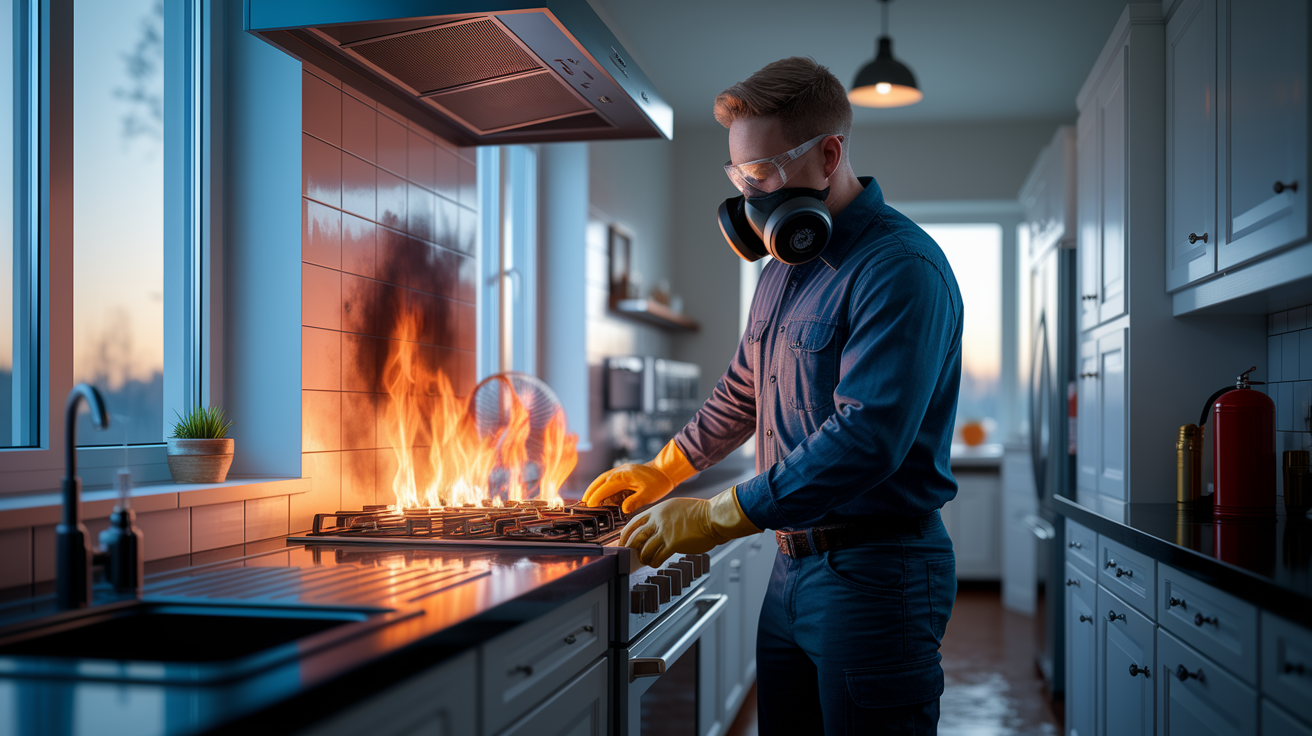
Stovetop fire cleanup needs both safety awareness and quick action to stop further damage. What you do in those first minutes after putting out flames decides whether you’re looking at a manageable cleanup or weeks of restoration work.
Wait until everything’s completely cooled before you start cleaning. Turn off the heat source if that hasn’t happened already. Shut off power to affected appliances at the breaker box so you don’t have electrical hazards to worry about. Open windows and get exhaust fans running to push smoke out and cut down on lingering fumes. Put on protective gloves, safety glasses, and a respirator mask or N95 before touching anything. You’re protecting yourself from soot in your lungs and acidic fire residue on your skin.
- Assess the damage extent by walking through the kitchen and noting which surfaces show soot, discoloration, or heat damage
- Vacuum loose fire extinguisher powder with a shop vacuum that has a HEPA filter to capture fine particles without spreading them everywhere
- Prepare a basic cleaning solution by mixing warm water with a few drops of mild dish soap in a bucket
- Begin surface cleaning starting with the least affected areas and working toward the most damaged spots, so you don’t spread soot around
- Determine whether professional help is needed based on how bad the structural damage is, whether odors stick around, or if you’re seeing electrical problems
Fire extinguisher residue needs specific attention because it corrodes surfaces when left sitting there. Create a cleaning solution using warm water and mild dish soap. Wipe residue with a damp microfiber cloth in gentle circular motions. If you’ve got stainless steel cooktops, clean with the grain to avoid scratches. For ceramic cooktops, don’t scrub hard or you might crack the surface. Rinse thoroughly with clean water to get all chemical traces off.
Protective equipment isn’t optional here. Soot has harmful particles that get deep into your lungs, and the acidic nature of grease fire residue irritates skin. If you start having trouble breathing, get dizzy, or can’t stop coughing while cleaning, leave immediately and get fresh air.
If the fire spread past the stovetop, flames got to the ceiling, or you used more than one extinguisher, evacuate and call 911 instead of trying cleanup yourself. If you put out a small contained fire successfully and damage looks limited to the immediate cooking area, you can move forward with cleanup while watching for signs the situation’s worse than it first appeared.
Comprehensive Surface Cleaning: Removing Soot, Smoke, and Grease Residue
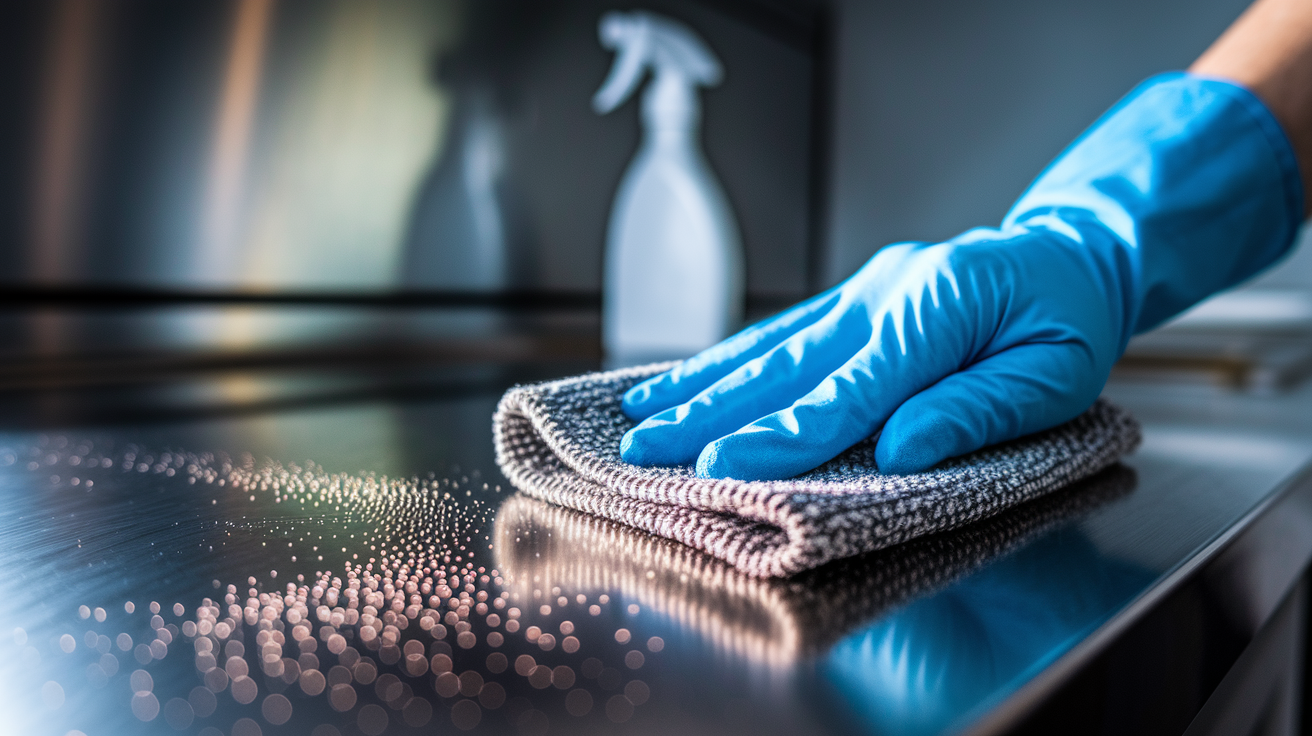
Grease fire soot creates unique challenges because it’s sticky, acidic, and gets into porous materials fast. Unlike dry soot from paper or wood fires, grease residue clings to surfaces and forms a film that regular household cleaners often can’t fully remove.
Smoke contamination goes way beyond what you can see. Particles settle inside drawers, behind appliances, on light fixtures, and across fabrics throughout the kitchen. This invisible layer keeps releasing odors and can corrode metal surfaces over time if you don’t deal with it.
Walls, Ceilings, and Painted Surfaces
Mix one gallon of warm water with 4 to 6 tablespoons of trisodium phosphate and one cup of bleach in a bucket. Wet debris down before wiping to keep dust particles from going into the air. Soak a towel in the cleaning solution and wring it until it’s damp, not dripping.
Work from the ceiling down so dirty streaks don’t run onto areas you just cleaned. Use gentle wiping on painted surfaces to avoid taking paint off along with soot. Test your cleaning solution in a hidden spot first, like behind the refrigerator or inside a cabinet, to make sure it won’t damage the finish.
For heavy smoke stains on ceilings, you might need to wipe the same area several times, rinsing your towel frequently in clean water. If discoloration sticks around after thorough cleaning, the smoke probably got into the paint and you’ll need to prime and repaint after surfaces dry completely. Rinse all cleaned surfaces with a towel dampened in plain water to get rid of chemical residue that might attract dirt or cause future corrosion.
Cabinets, Countertops, and Backsplash
Empty all cabinets before cleaning. Wipe cabinet interiors first with your TSP solution, paying attention to corners where grease residue piles up. Clean exteriors next, working from top cabinets down to lower ones.
For granite countertops, skip the bleach and use a pH neutral degreaser instead so you don’t etch the stone’s finish. Laminate countertops handle TSP solution just fine. Scrub tile grout with an old toothbrush dipped in cleaning solution, because grout soaks up smoke particles deeply. Wipe backsplash tiles with vertical strokes to prevent solution from dripping down onto counters you just cleaned.
Drawer sanitization means removing drawers completely when you can. Wipe the drawer box, sides, bottom, and runners where they slide on the cabinet frame. The sticky grease residue often concentrates in these hidden spots.
Range Hood, Ventilation, and HVAC Systems
Remove range hood filters and soak them in a sink or basin filled with hot water and degreaser. Let them sit for 15 to 20 minutes before scrubbing with a stiff brush. For mesh filters, a bottle brush works well to get between layers.
Wipe the interior hood surfaces you can reach safely. If you see heavy grease buildup in ductwork visible through the opening, that portion of the ventilation system probably needs professional cleaning. Don’t try to clean inside ductwork yourself. You could knock loose buildup that then blocks airflow or creates a fire hazard deeper in the system.
Replace all HVAC filters even if the fire seemed small. Smoke particles travel through return vents and settle in ductwork throughout your home. Check registers in nearby rooms and wipe visible surfaces clean. If smoke smell comes from vents when the system runs, you’ll need professional duct cleaning.
Fabrics, Upholstery, and Soft Materials
Wash all kitchen curtains, towels, and removable fabric items in hot water with a cup of white vinegar added to the wash cycle along with detergent. The vinegar helps break down smoke odor molecules. Run a second rinse cycle to make sure all cleaning solution is removed.
For dining chair upholstery, test a small hidden area with upholstery cleaner first. If fabric looks delicate or the smoke contamination is heavy, consider professional upholstery cleaning instead of risking damage or incomplete odor removal. For carpets or rugs that absorbed smoke, sprinkle a thick layer of baking soda across the surface, let it sit for several hours, then vacuum with a HEPA filter vacuum.
Throw away any fabric items that were directly exposed to flames or show burn marks, melting, or heavy saturation with extinguisher chemicals. These items create health risks and won’t come clean safely.
Dishware, Utensils, and Small Appliances
Wash all dishes, glasses, utensils, and cookware with hot soapy water even if they were inside closed cabinets. Smoke particles are small enough to get through cabinet gaps. Rinse thoroughly and dry with clean towels.
Inspect items for heat damage. Plastic containers or utensils that were near the fire may have warped or melted slightly. Throw these away. Warped plastic can leach chemicals when heated. Check non stick pans for coating damage. If the coating’s bubbling, peeling, or discolored, get rid of the pan.
Wipe down small appliance exteriors like toasters, blenders, and coffee makers with your cleaning solution. Unplug them first. For appliances with accessible interiors, like toaster crumb trays or coffee maker water reservoirs, clean those too. Clean light fixture globes and bulbs, because they pick up greasy soot film.
Throw out any food that wasn’t in sealed containers, including items in the refrigerator if smoke was heavy. Even packaged food absorbs smoke odor through cardboard or plastic packaging.
Keep ventilation going continuously throughout the cleaning process and for several days after. Place bowls of distilled white vinegar in corners of the kitchen and inside closed cabinets to capture lingering odors. Sprinkle baking soda across the bottom of cabinets, in drawers, and on any porous surfaces like unsealed wood or concrete. Leave it for 24 hours before vacuuming up. Put activated charcoal bags near the stove area and in cabinets. Run HEPA air purifiers continuously for at least a week. If odors stick around after you’ve done thorough cleaning, professional odor removal techniques like thermal fogging or ozone treatment might be necessary. These methods get into materials at the molecular level to neutralize stubborn smoke compounds that surface cleaning can’t reach.
Restoring Damaged Cookware and Stovetop Components
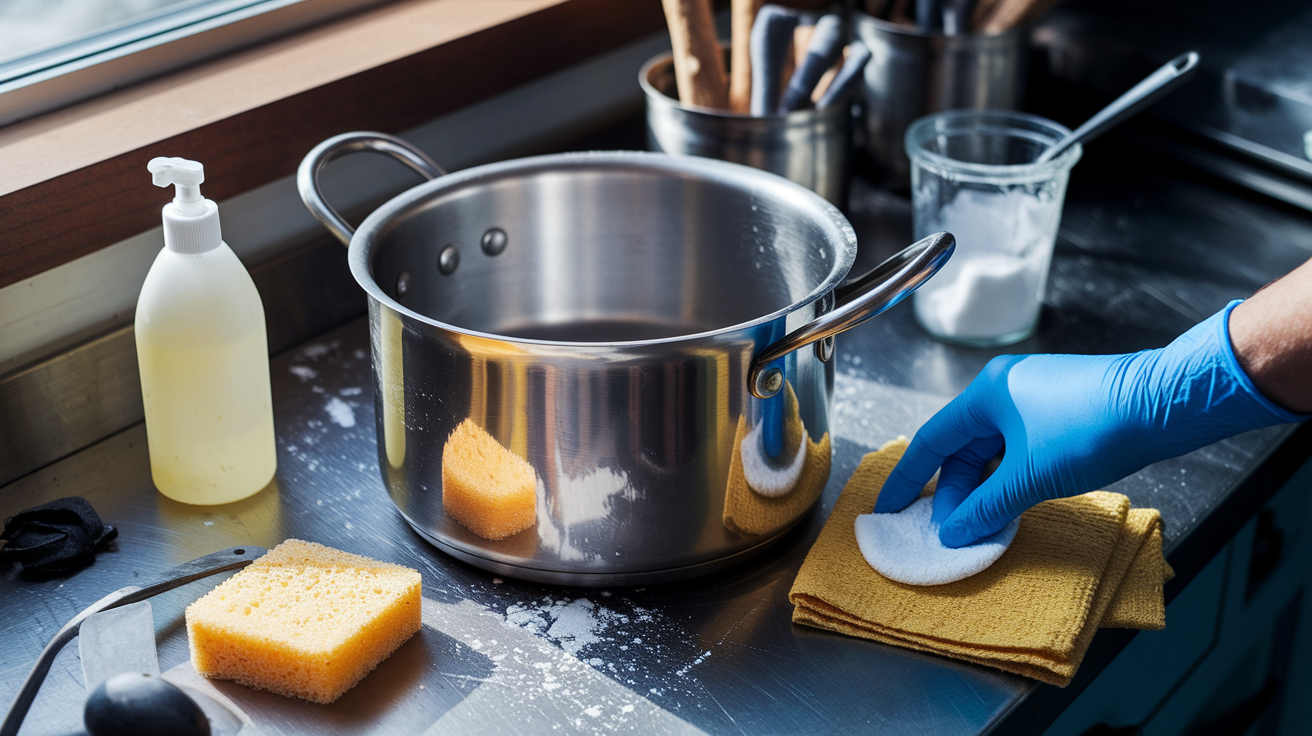
Assess whether each item can be saved or needs to be tossed for safety. Heat damage compromises the structural integrity of cookware and stovetop parts even when they look relatively normal.
For scorched pots and pans, inspect the bottom and sides for warping by placing them on a flat surface. A pan that rocks or wobbles won’t heat evenly and creates hot spots that could start another fire. Test non stick coatings by running your finger across the surface. If coating flakes off, bubbles, or feels rough, throw the pan away immediately. Damaged non stick surfaces release toxic fumes when heated. To remove carbon buildup from salvageable stainless steel or cast iron cookware, soak items in hot water mixed with baking soda for several hours, then scrub with a non abrasive pad. Copper bottom pans may show permanent discoloration, but that’s cosmetic and doesn’t affect function if the pan itself isn’t warped. Wash, rinse, and polish all salvageable kitchenware thoroughly before putting it back into use.
Stovetop component inspection starts with burner elements on electric stoves. Look for cracks, breaks, or spots where the metal coil shows burn through damage. Test each burner on low heat for a few minutes while watching for sparking, smoking, or failure to heat evenly. Any of these signals mean you need replacement. Replace drip pans that are warped or heavily stained, because buildup in these areas creates recurring fire hazards. Check control knobs by removing them and inspecting the stems underneath for melting or heat damage. On ceramic or glass cooktops, examine the entire surface under good lighting for cracks, which compromise safety and will spread with heating and cooling cycles. Enamel cooktop damage usually shows up as chips or bubbling. These spots expose raw metal that will rust and deteriorate. For gas stoves, inspect burner caps and grates for warping and check that gas ports aren’t clogged with debris.
Test appliance functionality by turning on each burner individually and confirming it heats properly and shuts off completely. Check that oven controls respond correctly and the oven reaches and maintains set temperature. If you have a gas stove, smell carefully near burners and connections with burners off. Any gas odor means there’s a leak requiring immediate professional attention. Verify electrical connections show no signs of melting, scorching, or exposed wiring at plugs and outlets. Don’t start normal cooking operations until you’ve confirmed every component functions safely and all damaged parts have been replaced.
Addressing Structural and Hidden Fire Damage in Kitchens
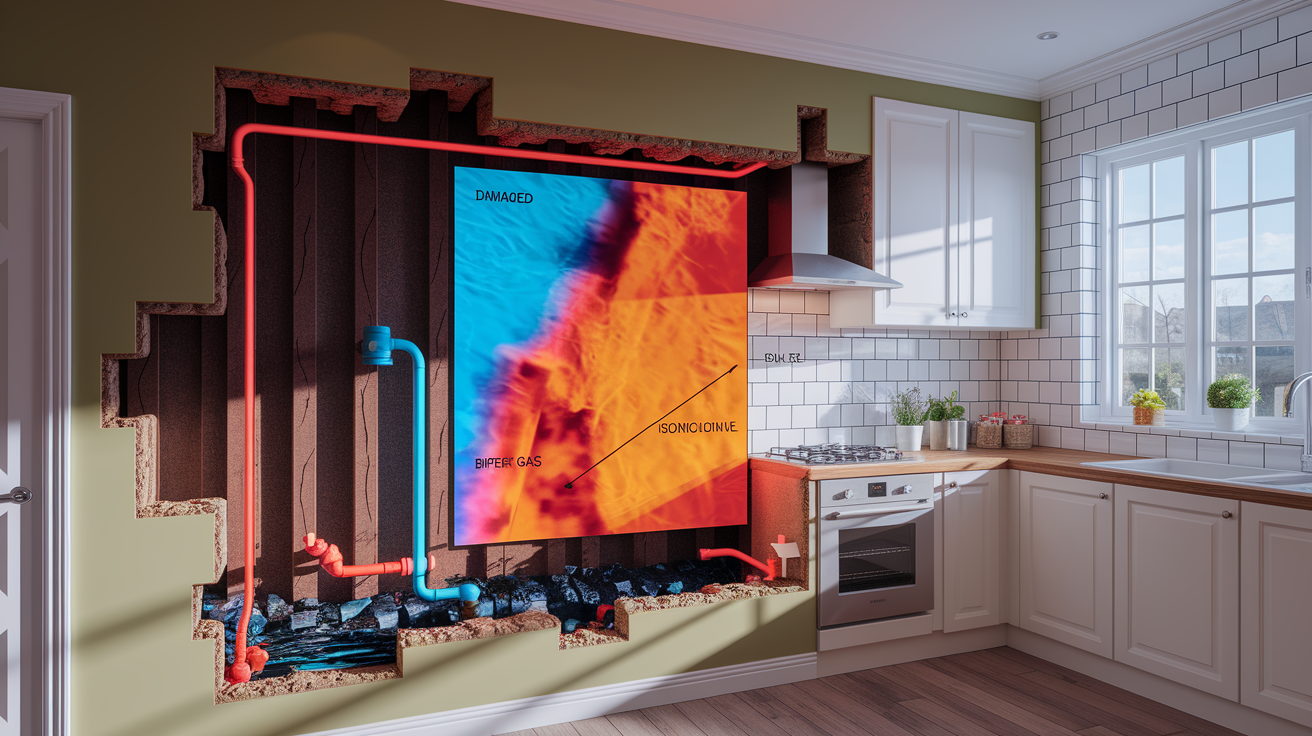
Visible cleanup represents only part of fire damage. Heat, smoke, and flame exposure compromise hidden structures in ways that surface cleaning can’t address. Even small fires that burn for less than a minute generate enough heat to damage materials behind walls and inside cabinets.
Electrical system risks need professional inspection before you restore power to affected circuits. Melted wiring insulation deep inside walls or junction boxes creates shock and fire hazards you can’t see from outside. Damaged outlets and switches may look fine but have compromised internal connections that spark or overheat with use. Heat from the fire can degrade wire insulation several feet from the actual flame point. If any outlets, switches, or light fixtures were near the fire, get a licensed electrician to inspect the entire circuit before using those components. The inspection typically involves testing connections, checking wire insulation in accessible boxes, and using thermal imaging to spot hot spots in walls. Don’t assume electrical components are safe just because they still turn on. Internal damage often works initially but fails catastrophically later.
Gas line safety concerns apply even if you have an electric stove, because many kitchens have gas connections for ranges that were later replaced. Heat can damage flexible gas connectors, copper tubing, or threaded pipe joints, creating slow leaks that build up flammable gas concentrations. Carbon monoxide risks increase if a gas oven or range was involved in the fire, because heat exposure can crack heat exchangers or damage combustion chambers. Appliance connection integrity matters because even a small gas leak can ignite from the stove’s pilot light or electric igniter. A licensed plumber or gas technician should pressure test all gas lines near the fire area and inspect appliance connections before you operate any gas equipment. This inspection usually costs less than repairs from a gas related fire or explosion.
Structural elements show damage through subtle signs that develop over days. Drywall heat damage appears as discoloration, paper separation from the gypsum core, or soft spots that compress when pressed. These weak areas can collapse or crumble, and they often hide more extensive damage to wall studs or insulation. Cabinet framework weakening happens when heat dries out wood joints or warps panels, making cabinets sag or doors misalign. Even if cabinets look intact, heat exposure reduces their load capacity and lifespan. Countertop heat cracks in laminate, granite, or tile may seem minor but allow water penetration that causes swelling, mold growth, or delamination. When you notice warped cabinet doors, walls that feel spongy, countertops with new cracks, or a burning smell that won’t go away after cleaning, professional restoration assessment becomes mandatory. These specialists use moisture meters, thermal imaging, and structural testing to identify damage your cleanup missed.
When to Call Professional Stovetop Fire Restoration Services
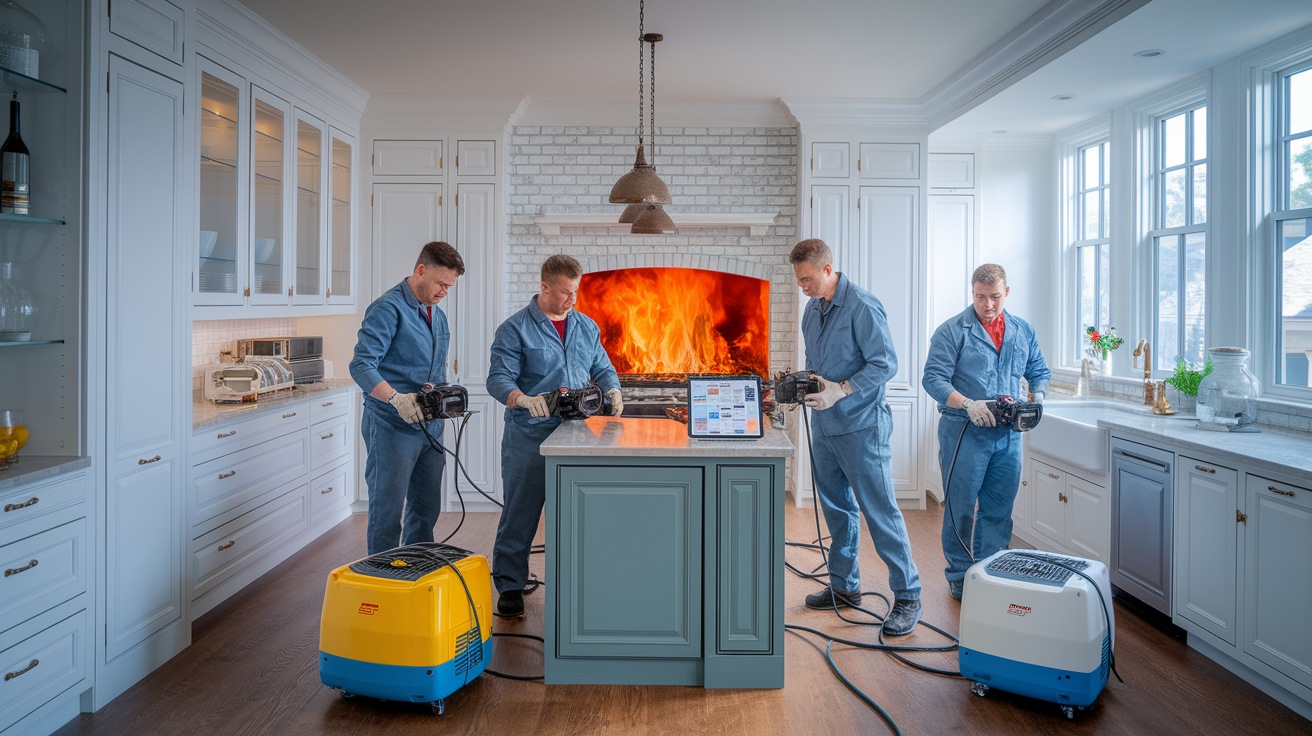
DIY cleanup handles surface level damage, but professional restoration services use specialized equipment to address contamination and damage you can’t reach with household tools. Thermal imaging cameras detect heat damage inside walls and under flooring. Industrial dehumidifiers prevent mold growth after water based fire extinguisher use. Ozone generators and hydroxyl machines neutralize smoke odor molecules embedded in porous materials. Thermal fogging equipment releases deodorizing particles that penetrate the same spaces smoke reached. Air scrubbers with HEPA and activated carbon filters remove microscopic particles and chemical odors from indoor air.
Call restoration professionals if:
- Smoke odor stays after you’ve done thorough cleaning and ventilation
- Soot is visible on walls or ceilings in rooms beyond the kitchen
- Cabinets or drywall feel warped, soft, or discolored from heat exposure
- You used water based fire extinguisher or wet towels to fight the fire, introducing moisture that risks mold growth
- Insurance requires professional documentation and estimates for your claim
- You notice electrical issues, gas smell, or structural concerns like sagging ceilings or cracked countertops
The professional restoration process typically takes three to ten days depending on damage extent. Initial assessment happens within hours of your call, with technicians documenting damage and creating a remediation plan. Emergency services like board up or power shutoff happen immediately if needed. Soot and debris removal follows, then deep cleaning, deodorization, and structural repairs. Costs range from a few hundred dollars for minor cleanup assistance to several thousand for extensive restoration involving drywall replacement, cabinet refinishing, and appliance repair. Most restoration companies work directly with insurance carriers, handling documentation, estimates, and direct billing to reduce your out of pocket costs and paperwork burden.
Act within the first 24 to 48 hours to prevent secondary damage. Mold growth can develop within this window when moisture from fire suppression soaks into porous materials. Smoke residue becomes harder to remove as it sets, requiring more aggressive cleaning methods that risk damaging surfaces. Corrosion from acidic soot speeds up as time passes, permanently etching metal and degrading finishes. The critical window for stopping these issues is short, making rapid professional response valuable when damage goes beyond simple surface cleaning.
Preventing Future Stovetop Fires During Cleanup and Beyond
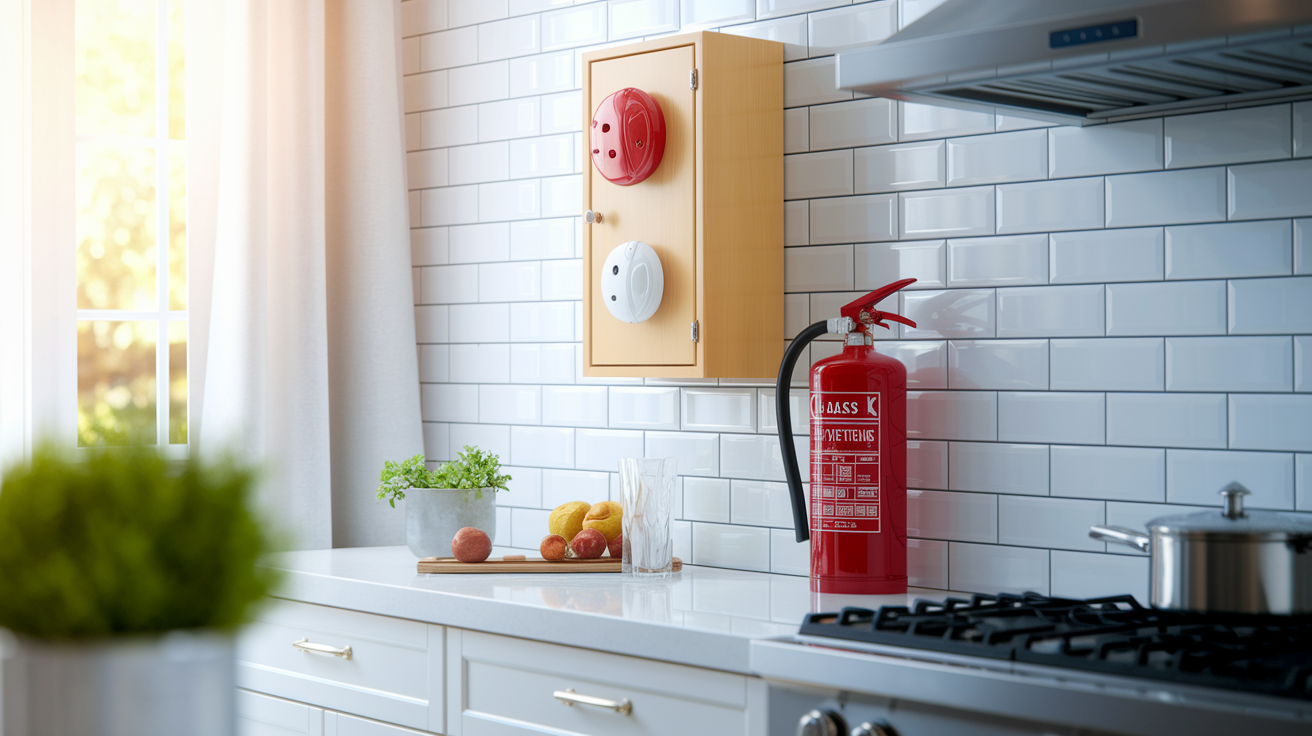
Prevention starts the moment you finish cleanup and extends through every cooking session going forward.
Cooking Safety Practices
Never leave cooking unattended, even for a minute. Most stovetop fires start when someone steps away and forgets they left a burner on. Set a timer that stays with you if you need to leave the kitchen briefly. Monitor oil temperatures carefully. Smoking oil is too hot and will ignite within seconds. Use a cooking thermometer when deep frying to maintain safe temperatures, typically between 350 and 375 degrees for most foods.
Keep flammable items like paper towels, dishcloths, wooden utensils, food packaging, and cookbooks at least three feet away from the stovetop. This clearance prevents accidental ignition from gas flames or radiant heat from electric burners. Roll up long sleeves and tie back hair when cooking over open flames. Don’t wear loose clothing that might drag across burners.
Regular Maintenance Schedule
Clean your stovetop after each use once it cools. Wipe up grease spills immediately. They harden into flammable buildup. Deep clean your oven monthly by removing racks and scrubbing interior surfaces with oven cleaner. Built up grease in ovens catches fire easily when drippings fall on it during roasting or baking.
Clean the exhaust system every 3 to 6 months depending on how often you cook. Remove and soak filters in degreaser. Wipe accessible duct surfaces. Schedule professional duct cleaning annually if you cook frequently with high heat methods like frying or wok cooking. Grease accumulation in vents and ductwork creates a hidden fire hazard that spreads flames rapidly through ventilation systems.
Inspect burners and drip pans weekly. Remove food debris and check that gas burner ports aren’t clogged. Clean any grease buildup around burner edges or control knobs.
Safety Equipment Readiness
Keep a Class K fire extinguisher mounted in an easily accessible spot near the kitchen exit, not directly beside the stove where flames might block access to it. Check the pressure gauge monthly to make sure it stays in the green zone. Replace any extinguisher that shows damage, corrosion, or low pressure. Most residential extinguishers need replacement or professional recharge every 10 to 12 years even if never used.
Keep metal lids or a baking sheet accessible near the stove for smothering small flames. A fire blanket stored in a wall mounted case provides a clean alternative to chemical extinguishers for very small fires. These blankets smother flames without creating the mess that extinguisher powder leaves behind.
Test smoke detectors monthly by pressing the test button. Replace batteries annually, or sooner if the low battery chirp sounds. Install smoke detectors both inside the kitchen and in the hallway leading to it. Replace the entire smoke detector unit every 10 years regardless of whether it seems to work. Internal sensors degrade over time and become unreliable.
Final Words
Stovetop fire cleanup starts with safety first, then moves through surface cleaning, hidden damage assessment, and deciding when pros should step in.
Each step matters. Cooling surfaces, protecting yourself with gloves and masks, removing soot properly, checking what you can’t see behind walls and inside appliances.
If the smoke smell won’t leave or you’re staring at warped cabinets, that’s when a restoration team makes sense. They handle the deep work, fast.
Get the kitchen stabilized. Then keep it that way with simple prevention: stay present while cooking, clean regularly, keep an extinguisher close.
FAQ
How do you clean up after a stovetop fire?
To clean up after a stovetop fire, first ensure all surfaces have cooled completely, then turn off power to affected appliances, open windows for ventilation, and wear protective gloves and masks. Vacuum loose fire extinguisher powder with a HEPA filter, then wipe surfaces with warm water and mild dish soap, working from least to most affected areas.
What does the 30/30/30 rule mean for fire cleanup?
The 30/30/30 rule for fire cleanup refers to acting within the first 24 to 48 hours to prevent secondary damage like mold growth, persistent odors, and corrosion. Quick professional response within this critical window significantly reduces repair costs and prevents smoke residue from causing long-term staining, structural issues, and reduced home value.
How long do toxic fumes stay in the air after a kitchen fire?
Toxic fumes after a kitchen fire can linger for several days or longer if ventilation is inadequate, especially since smoke particles settle into cabinets, walls, behind appliances, and within HVAC systems. Maintain continuous ventilation, replace HVAC filters, and use air purifiers with HEPA filters to eliminate lingering smoke particles and improve air quality.
What should you do if your stovetop catches fire?
If your stovetop catches fire, turn off the heat source immediately if safe to do so, never use water on grease fires, and use a Class K or ABC fire extinguisher following the PASS method (Pull, Aim, Squeeze, Sweep at the base of flames). If the fire persists despite extinguishing attempts, evacuate immediately and call 911.
When should you call professional restoration services after a stovetop fire?
You should call professional restoration services if smoke odor remains after cleaning, soot is visible on surfaces, cabinets or drywall feel warped or discolored, water was used to extinguish the fire, or your insurance requires documentation. Professionals have specialized equipment like thermal imaging, industrial dehumidifiers, and ozone generators that DIY methods can’t match.
Why is grease fire soot harder to remove than regular soot?
Grease fire soot is harder to remove because it’s sticky, acidic, and penetrates porous materials like drywall, wood cabinets, and fabric, coating not just visible surfaces but also ventilation systems and hidden areas. Regular household cleaners remove visible soot but don’t eliminate smoke odor or microscopic residue embedded in materials.
Can you reuse cookware damaged by a stovetop fire?
You can sometimes reuse cookware damaged by a stovetop fire if you inspect it carefully for warping, test non-stick coatings for damage, and remove carbon buildup through thorough cleaning. However, discard pots and pans with significant warping, compromised non-stick surfaces, or structural damage, as they pose safety risks during future cooking.
What protective equipment do you need for stovetop fire cleanup?
For stovetop fire cleanup, you need protective gloves, respiratory masks or N95 respirators, and safety glasses to guard against soot exposure, chemical cleaning solutions, and dust particles. Wet debris down before cleaning to avoid inhaling airborne particles, and work in well-ventilated areas throughout the cleanup process.
