
You might think mold only grows where you can see it, but the worst damage happens in the dark, damp spaces behind your bathroom tiles. By the time grout turns black or tiles sound hollow, mold has often been spreading for weeks or months, eating through adhesive and releasing spores into the air you breathe. This guide breaks down how to spot hidden mold early, what causes it to thrive behind tiles, and the most effective removal and prevention methods to protect your home and health.
Identifying Mold Growth Behind Your Bathroom Tiles
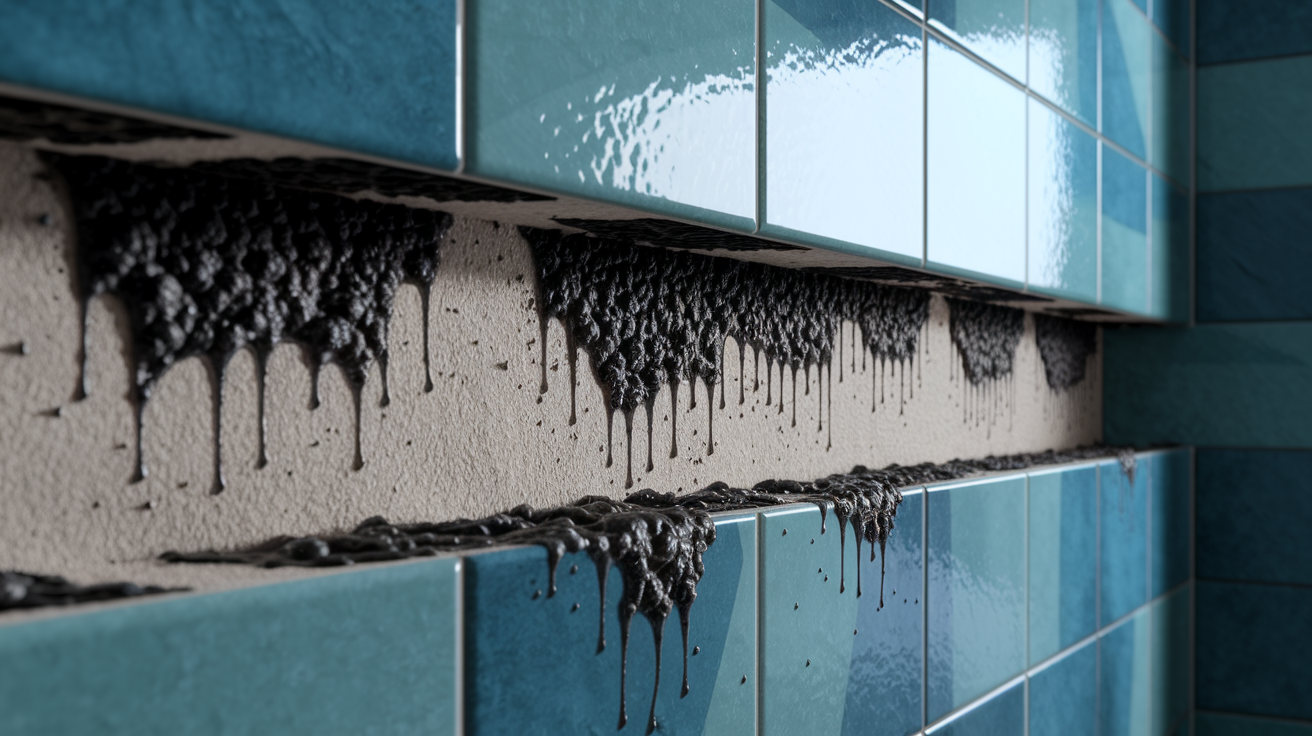
This guide covers everything you need to know about mold behind bathroom tiles: how to spot it, what causes it, removal methods, costs, and prevention strategies that actually work.
Mold doesn’t just grow where you can see it on tile surfaces. The real problem develops in warm, dark, moist spaces behind your tiles and inside your walls. When moisture gets trapped between tile and drywall, mold spreads quietly, eating away at grout, compromising adhesive, and releasing spores into your bathroom air. By the time you notice visible signs, the growth might already be substantial. Detection matters because hidden mold affects both your home’s structure and your family’s health. The longer it grows, the more expensive and invasive the fix becomes.
According to the EPA, mold can begin growing on damp surfaces within 24 to 48 hours after water exposure.
The visible warning signs show up gradually. Grout that turns black after you’ve just cleaned it signals growth underneath. Tiles that sound hollow when you tap them mean water has compromised the adhesive. Wall surfaces near tile edges show discoloration, bubbling paint, or soft spots. Caulk shrinks away from fixtures, creating gaps where water sneaks behind the tile. And that persistent musty smell, the one that doesn’t go away even after you scrub everything, means mold is actively growing somewhere out of sight.
Watch for these specific indicators:
- Grout that repeatedly turns black within days or weeks after cleaning
- Loose or shifting tiles that weren’t loose before
- Hollow sounds when tapping tiles with your knuckle
- Caulk that’s shrinking, cracking, or pulling away from tub edges
- Persistent mildew odor that lingers even after cleaning and ventilation
- Discoloration or staining on drywall adjacent to tile areas
- Bubbling or peeling paint on walls near shower or tub
- Water stains on ceiling below bathroom or on walls behind fixtures
Early detection means smaller repairs, lower costs, and less health risk. Catching mold when it’s still contained to a small area behind a few tiles is manageable. Wait until tiles are falling off and drywall is rotting? You’re looking at a complete bathroom gut job.
Root Causes of Mold Development Behind Tile Surfaces

Mold needs three things to grow: moisture, warmth, and a surface to attach to. Bathrooms provide all three, especially the hidden spaces behind tiles. Moisture is the biggest factor. Water vapor from hot showers condenses on cool tile and grout surfaces. That water seeps through grout lines, penetrates porous cement-based adhesive, and sits against drywall or cement board. Add warmth from your shower and hot water pipes, and you’ve created ideal conditions. The organic materials in drywall, paper backing, and even some tile adhesives provide nutrients mold feeds on.
Water intrusion happens in predictable ways. Grout is porous by nature and absorbs moisture like a sponge, especially when it’s not sealed or when the sealer has worn off. Caulk fails over time, cracking and shrinking to create gaps where water flows directly behind tiles. Plumbing leaks from shower valves, tub spouts, or pipes hidden in walls send water into spaces that never dry out. Even properly installed tile can leak if the waterproofing membrane underneath wasn’t applied correctly or has degraded. Water seepage through these pathways is constant and invisible until mold growth or structural damage makes it obvious.
Environmental factors compound the problem. Poor ventilation traps humidity inside your bathroom. Indoor humidity levels above 50 percent give mold the moisture it needs, even without direct water contact. If your exhaust fan is weak, broken, or rarely used, humid air lingers for hours after showers, condensing behind tiles and feeding mold growth.
Health Risks Associated with Tile-Hidden Mold

Mold behind your tiles doesn’t stay contained. It releases airborne spores that circulate through your bathroom every time you turn on the shower, open the door, or run the exhaust fan.
The CDC warns that extended mold exposure can trigger asthma attacks, allergic reactions, and chronic sinus problems. Specific symptoms include sneezing, runny nose, coughing, wheezing, and skin rashes. Your eyes might feel irritated, your throat scratchy. For some people, prolonged exposure causes persistent headaches or fatigue. These aren’t minor annoyances. Repeated exposure can worsen existing respiratory conditions and create new sensitivities that didn’t exist before. Black mold species like Stachybotrys chartarum, which thrives in the damp conditions behind bathroom tiles, is particularly concerning because of the potency of the mycotoxins it produces.
Children, older adults, and anyone with compromised immune systems face higher risks. If someone in your home already has asthma, COPD, or other respiratory conditions, mold exposure can trigger severe attacks. Pregnant women, people undergoing chemotherapy, and those with autoimmune disorders should treat hidden bathroom mold as a priority health concern. Even healthy adults experience symptoms when spore concentrations get high enough, especially in small bathrooms with poor ventilation.
Detection and Inspection Methods for Hidden Mold
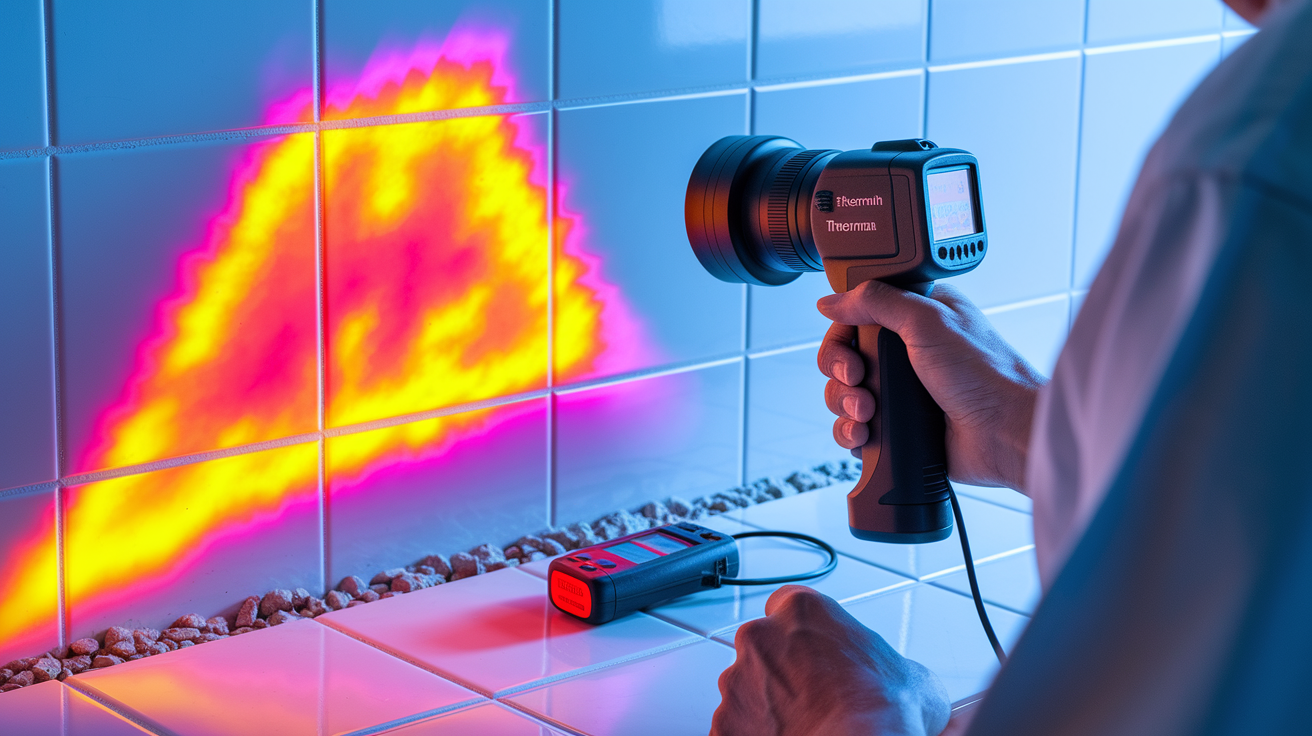
Start with a simple visual and tactile inspection. Walk around your tiled areas and look for the warning signs mentioned earlier: discolored grout, loose tiles, wall staining. Tap tiles with your knuckle, listening for hollow sounds that indicate water damage underneath. Press gently on grout lines to check for softness or crumbling. Run your hand along caulk joints to feel for gaps, cracks, or areas that have pulled away. These methods cost nothing and often reveal problems before you need equipment.
Professional detection uses technology to see what your eyes can’t. Thermal imaging cameras detect temperature differences in wall surfaces. Areas with moisture show up cooler than dry areas because water retains cold. Moisture meters measure water content in walls without cutting holes. Inspectors insert probes into grout lines or drill tiny test holes to check moisture levels in substrate materials behind tiles. These tools locate hidden problems without tearing apart your bathroom. Testing is especially valuable when you smell mold but can’t find visible growth, when family members have unexplained allergy symptoms, or when you’ve had plumbing work done and want to verify everything dried properly.
| Detection Method | Application | Best For |
|---|---|---|
| Visual inspection | Checking grout color, tile condition, wall staining | Initial assessment and routine monitoring |
| Tap test | Knuckle tapping tiles to listen for hollow sounds | Identifying loose tiles and adhesive failure |
| Moisture meter | Measuring water content in walls and substrates | Confirming suspected moisture intrusion |
| Thermal imaging | Detecting temperature variations indicating moisture | Locating hidden leaks and wet areas without demolition |
| Laboratory testing | Identifying mold species from collected samples | Determining if black mold or toxic species present |
DIY Mold Removal Process for Minor Tile Issues
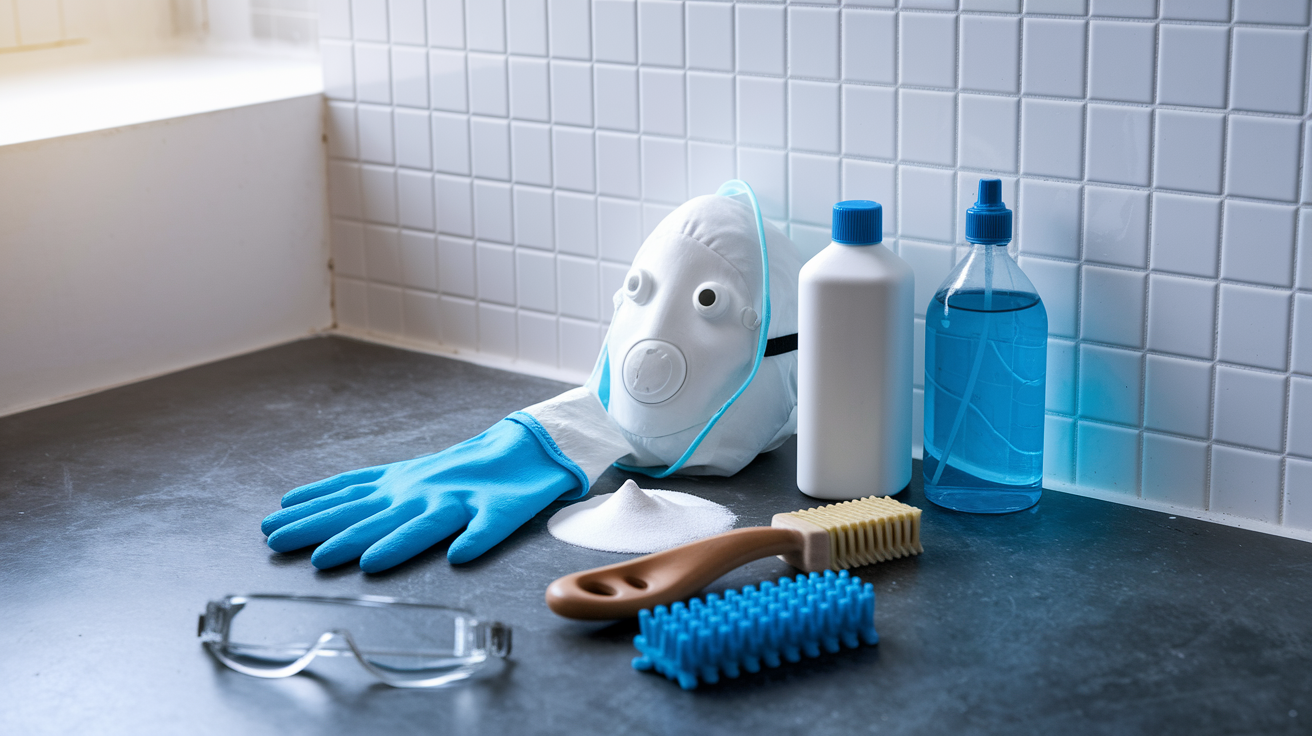
The EPA sets a clear limit: if mold covers more than 10 square feet (roughly a 3 foot by 3 foot area), you need professional remediation to prevent dangerous spore dispersal during cleanup.
Before you start any DIY mold removal, gear up properly. You need an N95 mask or respirator to avoid breathing spores. Protective gloves keep mold off your skin. Safety goggles protect your eyes from cleaning solution splashes and airborne particles. Wear long sleeves and pants you can wash immediately after the job, or use disposable protective clothing if the affected area is particularly bad.
You have several cleaning solution options depending on the severity and your preferences. White vinegar kills up to 80 percent of mold species and works well for light surface mold on grout. It’s non-toxic and won’t damage most surfaces. Hydrogen peroxide at 3 percent concentration (the brown bottle from any drugstore) can be sprayed directly onto moldy grout as an eco-friendly disinfectant without harsh fumes. For more advanced mold, use a bleach solution: one part bleach to three parts water creates a reliable disinfectant. Baking soda paste (half cup baking soda mixed with a few tablespoons of water) works as a mild abrasive cleaner that also absorbs odors.
Here’s the step by step cleaning process:
- Open windows and turn on exhaust fan for ventilation, then put on all protective equipment
- Apply your chosen cleaning solution generously to affected grout and tile, ensuring complete coverage
- Let the solution sit for the appropriate time: 10 to 15 minutes for bleach, up to one hour for vinegar, 10 minutes for hydrogen peroxide
- Scrub thoroughly with a stiff-bristled brush or old toothbrush (never use metal brushes as they erode grout)
- Rinse surfaces completely with clean water, wiping away all cleaning solution and loosened mold
- Dry the area thoroughly with towels or fans, removing all standing water
Sometimes surface cleaning isn’t enough. If tiles are loose, if grout crumbles when you touch it, or if mold keeps returning within days despite cleaning, you’re dealing with growth behind the tile that requires tile removal and substrate treatment.
Remember that cleaning mold without fixing the moisture source guarantees it’ll come back. If you’re cleaning the same spots every few weeks, stop treating symptoms and find the leak.
Professional Mold Remediation: When and What to Expect

The 10 square foot threshold isn’t arbitrary. Larger areas mean higher spore concentrations and greater risk of contamination spreading to other rooms during cleanup. Professional remediation follows EPA and IICRC standards to ensure mold is fully contained and eliminated, not just cleaned off surfaces where you can see it. Certified remediation experts have the training, equipment, and protocols to handle significant mold safely.
Beyond size, other scenarios demand professional help. If mold keeps coming back after you’ve cleaned it multiple times, you’ve got a hidden water source that needs professional leak detection and repair. When you notice structural concerns like soft drywall, sagging ceilings, or widespread tile failure, the damage extends beyond surface mold into building materials. If family members’ health symptoms are worsening despite your cleaning efforts, spore levels are too high for DIY management. Mold spreading to adjacent rooms, unknown moisture sources, and situations requiring tenant notification or home sale disclosure all need professional documentation and certified remediation.
Situations requiring professional remediation:
- Mold covering more than 10 square feet of surface area
- Recurring growth that returns within weeks despite proper cleaning
- Structural concerns including soft walls, sagging surfaces, or widespread tile failure
- Health symptoms worsening in household members despite cleaning attempts
- Multiple affected areas or mold spreading beyond the bathroom
- Unknown water source requiring professional leak detection
- Tenant or buyer disclosure requirements for rental properties or home sales
Professionals use containment to prevent mold from spreading during removal. They seal off the work area with plastic sheeting, creating negative air pressure with HEPA filtration systems that pull air and spores into filters instead of letting them circulate through your home. This is similar to the containment standards used in fire and smoke damage restoration, where preventing cross-contamination is critical.
The remediation process starts with inspection. Professionals use thermal imaging cameras and moisture meters to map exactly where moisture exists, identifying the full extent of contamination without guessing. They remove affected tiles carefully to minimize spore dispersal. Once tiles are out, they assess substrate damage. Sometimes a targeted antimicrobial treatment and thorough drying is enough. Often, though, you’re replacing drywall or cement board that’s too compromised to save. They apply antimicrobial solutions to all surfaces, treat the framing and any remaining substrate, then install fresh materials: mold-resistant drywall or cement board, proper waterproofing membrane, and finally new tile. The key difference between professional and DIY work is the attention to substrate preparation and waterproofing, which prevents recurrence.
Choose contractors with proper certifications (IICRC or similar), current insurance including mold liability coverage, and verifiable references from recent mold jobs. Ask about their process: how they contain the area, what equipment they use, what substrate materials they recommend, and what warranty they provide. For active water intrusion from burst pipes or major leaks, emergency response time matters because mold starts growing within 24 to 48 hours.
Cost Factors and Time Estimates for Tile Mold Projects

DIY mold removal for small areas runs relatively cheap if you already have basic tools. Cleaning solutions cost $5 to $20 depending on what you choose. Protective equipment (N95 masks, gloves, goggles) adds another $20 to $40. If you need to replace grout or caulk, figure $10 to $30 for materials. A stiff brush, spray bottle, and rags might add $15 if you’re starting from scratch. Total DIY cost for cleaning and minor grout repair typically lands between $50 and $150, plus your time.
Professional remediation pricing depends on several variables. Square footage is the primary factor: small areas (under 10 square feet) might run $500 to $1,500. Moderate projects covering 10 to 30 square feet typically cost $1,500 to $4,000. Extensive damage requiring wall cavity treatment, substrate replacement, and waterproofing installation can reach $3,000 to $8,000 or more, especially if tile replacement is included. Severity matters too. Surface mold on intact substrate costs less than situations where water damage has rotted framing or compromised structural elements.
Insurance coverage for mold is tricky. Policies typically cover mold damage if it resulted from a sudden, accidental event like a burst pipe or appliance overflow. Long term neglect, poor maintenance, or gradual leaks usually aren’t covered. Read your policy carefully and document everything if you’re filing a claim. Mold issues affect property value and must be disclosed during home sales in most jurisdictions. Buyers will want proof of professional remediation and source repair before closing.
| Project Type | Cost Range | Typical Timeline |
|---|---|---|
| DIY surface cleaning | $50 – $150 | 2 – 4 hours |
| DIY tile replacement (small area) | $200 – $500 | 1 – 2 days |
| Professional remediation (under 10 sq ft) | $500 – $1,500 | 1 – 3 days |
| Professional extensive damage | $3,000 – $8,000+ | 5 – 14 days |
Repairing Moisture Sources Behind Bathroom Tiles
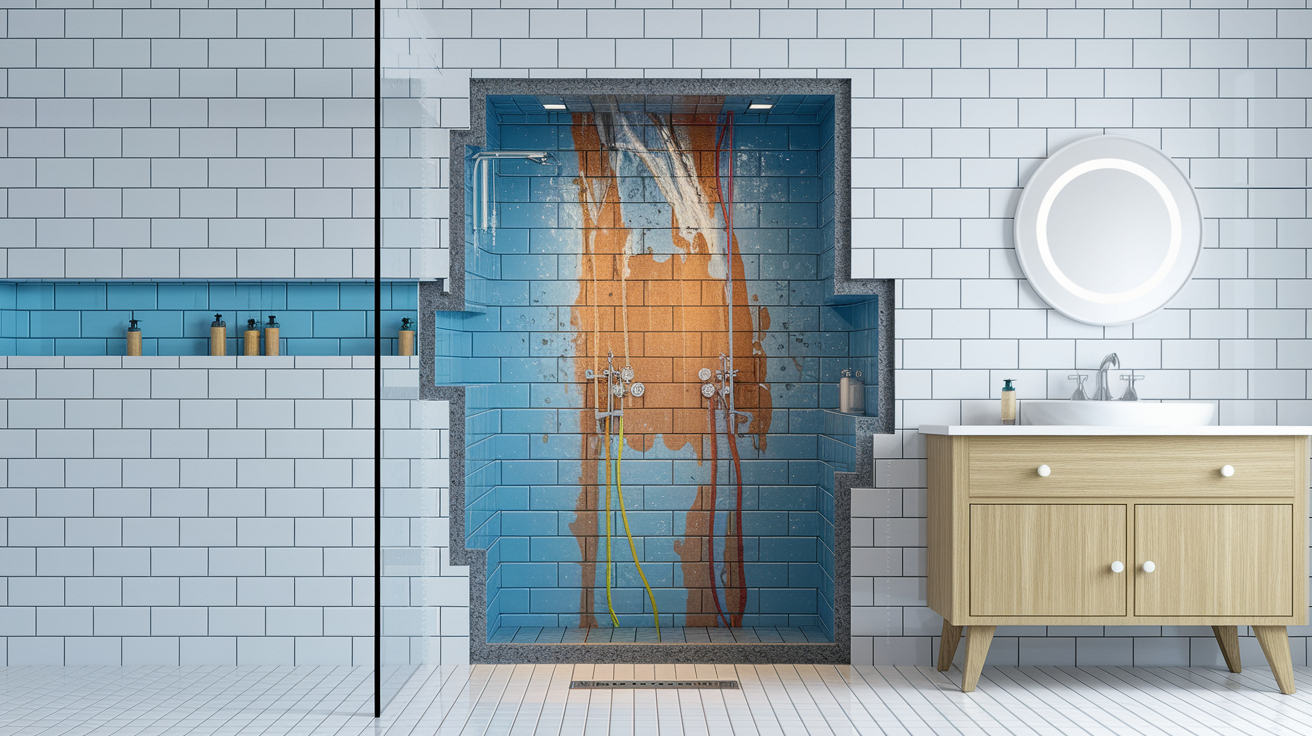
Recurring mold growth is your bathroom telling you there’s a hidden water leak, poor ventilation, or chronic humidity problem that cleaning alone won’t fix. Common moisture sources include failed shower pans, plumbing leaks inside wall cavities, drainage issues, and compromised waterproofing membranes. Water intrusion happens through cracked grout where sealer has worn off, through caulk that’s failed and pulled away from fixtures, and from pipe leaks you can’t see until you open the wall. If you’re cleaning the same moldy spots every month, stop treating the symptom and find the leak.
Shower pan failure is particularly sneaky. The pan sits under your tile, creating a waterproof barrier that directs water toward the drain. When pans crack, deteriorate, or weren’t installed correctly in the first place, water leaks through and sits against your subfloor or the ceiling below. You might not see evidence until significant damage has occurred.
Plumbing leaks in wall cavities are another major culprit. Shower valves, tub spouts, and supply lines hidden behind tile can develop slow leaks that run for months before you notice. Look for water stains on ceilings or walls in rooms below or adjacent to your bathroom. Listen for running water when all fixtures are off. Feel walls for dampness or temperature differences. Professional leak detection uses pressure testing, thermal imaging, and moisture mapping to locate hidden problems without tearing apart your entire bathroom. This is similar to the diagnostic approach used in water damage and flooding cleanup, where source identification is the critical first step before any remediation begins.
The point is this: cleaning mold without repairing the moisture barrier or fixing the leak guarantees mold will return. You can bleach, scrub, and seal all you want. But if water is still getting behind your tiles, you’re wasting time and money on a temporary fix.
Prevention Strategies for Bathroom Tile Areas
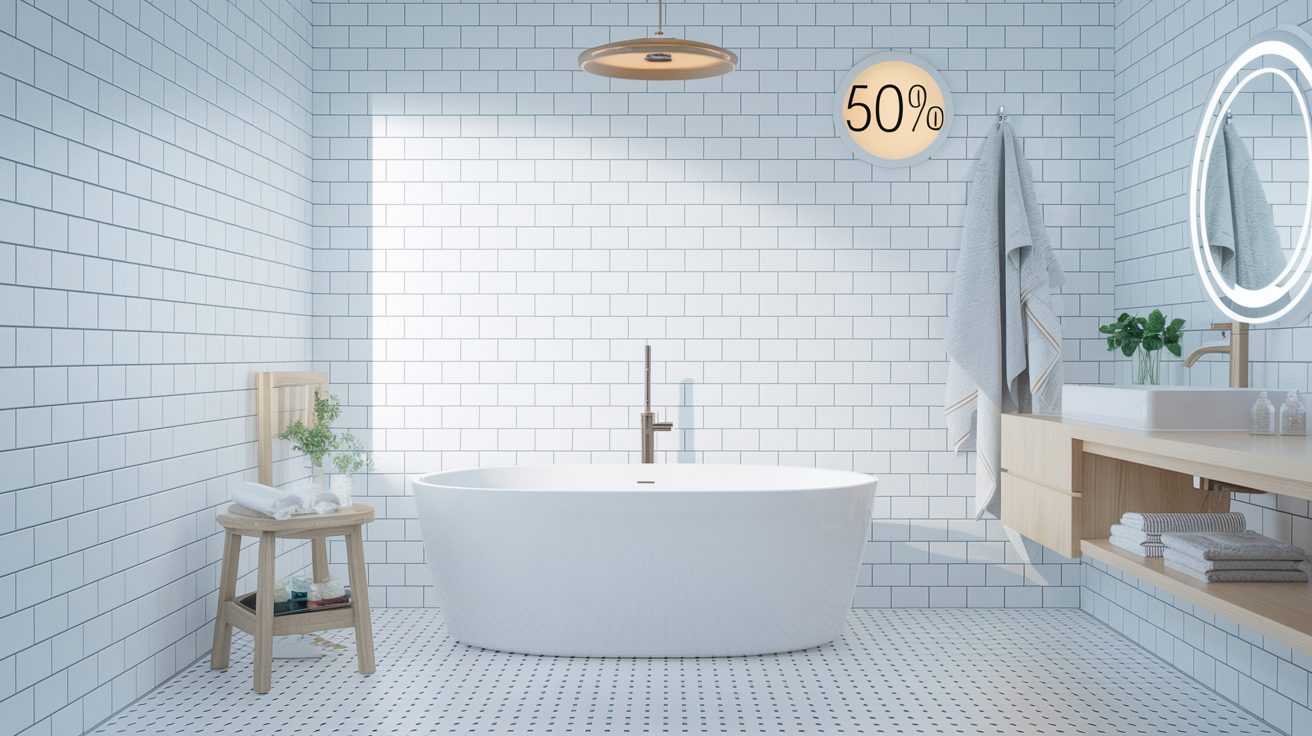
Indoor humidity should stay below 50 percent to prevent mold growth. Your exhaust fan is the primary tool for moisture control. Run it during every shower and keep it running for at least 20 to 30 minutes after you’re done. That extra time pulls out the humid air that condenses on surfaces and seeps behind tiles. If your current fan is weak or loud (which discourages use), upgrade to a quieter model with higher CFM (cubic feet per minute) rating appropriate for your bathroom size.
Regular cleaning prevents mold from establishing itself in the first place. Clean your shower at least once weekly with a mold-killing cleaner or white vinegar spray. Don’t just wipe surfaces. Actually spray grout lines, let the cleaner sit for a few minutes, then scrub and rinse. This routine maintenance keeps mold populations low before they become visible problems. Daily habits matter too. Wipe down shower walls after each use to remove standing water. Use a squeegee or towel to clear water from tile and glass surfaces. This simple step removes the moisture mold needs to start growing.
Daily and weekly prevention tasks:
- Wipe shower walls and glass with squeegee or towel after each use
- Run exhaust fan for 30 minutes during and after every shower
- Spray grout lines with white vinegar solution weekly as preventative treatment
- Inspect caulk around tub, shower pan, and fixtures for gaps or cracks
- Squeegee or towel-dry tile surfaces to remove standing water
- Perform thorough bathroom cleaning weekly with mold-killing products
Beyond weekly routines, schedule maintenance tasks to keep your bathroom’s mold defenses strong. These tasks take more time but prevent the expensive problems that develop when systems fail.
Long term maintenance schedule:
- Check ventilation system annually to ensure exhaust fan is working at full capacity and venting properly to the outside
- Inspect caulk every three months for shrinkage, cracking, or separation, replacing worn sections immediately
- Deep clean bathroom monthly including grout scrubbing, thorough rinsing, and antimicrobial treatment
- Assess grout condition annually and reseal grout lines every 6 to 12 months to maintain moisture barrier
Selecting Mold-Resistant Materials for Tile Installation

When you’re replacing tile or remodeling your bathroom, substrate selection makes a huge difference in long term mold resistance. Cement board (also called backer board) is the gold standard for wet areas. It’s completely waterproof, doesn’t support mold growth, and holds up indefinitely in damp conditions. Mold-resistant drywall (often purple or green colored) is an acceptable alternative for areas that don’t get direct water exposure, like bathroom ceilings or walls away from the shower. It has additives that inhibit mold growth and better moisture resistance than standard drywall. Never use regular drywall behind shower or tub tile, period. It absorbs water, deteriorates quickly, and feeds mold.
Waterproofing membrane installation is critical and often skipped or done incorrectly. Apply membrane over your cement board before tiling. Use sheet membrane or liquid-applied products designed for continuous wet environments. Cover all seams, corners, and penetrations for plumbing fixtures. The membrane creates a continuous barrier that directs any water that gets through grout back down to the drain instead of into your wall cavity.
Grout and caulk selection matters too. Standard cement-based grout is porous and requires regular sealing. Epoxy grout costs more but provides superior mold resistance because it’s non-porous and doesn’t need sealing. It’s harder to work with, but worth it in high moisture areas like shower floors and walls. For caulk, always choose mold-resistant silicone formulated for wet environments. Use it at expansion joints where tile meets tubs, shower pans, corners, and around all fixtures. Check the label to confirm it’s specifically rated for continuous water exposure.
Common installation mistakes compromise even the best materials. Inadequate waterproofing, especially at corners and seams, creates pathways for water infiltration. Improper slope on shower floors causes water to pool instead of draining. Ventilation gaps or undersized exhaust fans fail to remove moisture fast enough. And never use bleach excessively on silicone caulk, as it can break down the material over time and reduce its effectiveness.
Common Mistakes Homeowners Make with Tile Mold
Improper mold remediation often creates bigger problems than doing nothing at all. The consequences include rapid mold return, structural damage you didn’t see, health exposure from disturbed spores, and wasted money on fixes that don’t last.
Surface cleaning with mold sprays only addresses what you see. It doesn’t touch the growth inside walls behind tiles. You might remove visible black spots from grout, but if mold is growing on the drywall, paper backing, or inside the wall cavity, surface treatment accomplishes nothing. Bleach has significant limitations despite being many people’s first choice. It works on non-porous surfaces like ceramic tile, but it doesn’t penetrate porous materials like grout effectively. Bleach also damages surfaces over time. It can discolor grout, weaken silicone caulk, and create a false sense of success because it lightens stains without killing subsurface growth. Painting over mold is possibly the worst mistake. Paint seals in moisture, traps mold against the surface, and actually provides additional nutrients for growth. Never paint over mold. Remove it first, fix the moisture source, then paint.
Never mix cleaning products. Bleach combined with vinegar creates toxic chlorine gas. Bleach mixed with ammonia (found in many household cleaners) produces deadly chloramine vapors. Use one product at a time, rinse thoroughly between applications if you switch cleaners, and ventilate your bathroom during all cleaning. Excessive bleach use causes its own problems. It erodes grout over time, increasing porosity and making future mold growth easier. It degrades silicone caulk, leading to shrinkage and gaps where water penetrates. It corrodes metal fixtures and discolors colored grout. More isn’t better.
The biggest mistake is cleaning repeatedly without fixing the water source. If you’re scrubbing mold every few weeks and it keeps coming back in the same spots, you have a leak or ventilation problem. Stop treating the symptom. Find the moisture source, repair it properly, then address the mold. Cleaning without source repair is like bailing water from a boat without plugging the hole.
Grout and Caulk Maintenance for Tile Mold Prevention
Grout is inherently porous, made from a mixture of cement, sand, and water. Its rough, absorbent surface soaks up moisture like a sponge. Once wet, it holds water against the substrate behind your tile. This is why grout turns black with mold faster than tile surfaces. The porosity creates an ideal environment where mold spores land, find moisture, and establish colonies that penetrate deep into the grout structure.
Sealing grout is your primary defense. Sealer creates a moisture-repelling barrier on the surface, preventing water absorption and making it harder for mold to establish. Apply grout sealer once or twice a year, or every 6 to 12 months depending on water exposure and product recommendations. The key is timing: seal only after grout is completely clean and dry. Sealing over mold or dirty grout traps contamination underneath and makes future cleaning harder. Use a penetrating sealer designed for grout in wet areas. Apply it carefully with a small brush or applicator, covering all grout lines without getting excess on tile surfaces. Let it cure according to manufacturer instructions before exposing it to water.
Caulk requires different maintenance because it serves a different purpose. Caulk seals expansion joints, places where different materials meet and slight movement occurs. Check caulk regularly for failure signs: cracking, shrinking, discoloration, or gaps where it’s pulled away from surfaces. These failures create direct pathways for water to flow behind tiles and into wall cavities. Replace caulk at first signs of deterioration, not after it’s completely failed. Remove old caulk completely using a caulk removal tool or utility knife, clean the joint thoroughly with rubbing alcohol, let it dry, then apply fresh mold-resistant silicone caulk. Smooth it with a wet finger or caulk tool to ensure good adhesion and a clean seal. The industry standard is inspecting and potentially replacing caulk around tubs and showers every year or two as preventative maintenance.
Proper cleaning technique protects grout instead of degrading it. When cleaning moldy grout, let your cleaning solution sit for 10 to 15 minutes to break down mold structure and penetrate deep into grout pores. Use a stiff-bristled nylon brush or old toothbrush for scrubbing. Apply firm pressure but avoid aggressive scrubbing that erodes grout surface. Never use metal brushes or abrasive pads on grout. They scratch and remove material, increasing porosity and making mold problems worse. Rinse thoroughly after scrubbing to remove all cleaning solution and loosened mold. Residual cleaner, especially bleach, can weaken grout over time.
Long Term Solutions and Bathroom Redesign Considerations
Sometimes repeated repairs cost more than fixing the problem correctly one time. Bathroom redesign becomes the most practical solution when you’re dealing with repeated mold issues, chronically outdated materials, significant structural damage, or building code violations from previous poor quality work. If you’ve remediated mold multiple times and it keeps returning, the underlying systems (waterproofing, ventilation, substrate materials) are failing. Throwing more money at surface fixes doesn’t make sense when the entire installation is compromised.
Design improvements prevent future mold by addressing the root environmental conditions. Enhanced ventilation means properly sized exhaust fans venting directly outside, not into attics or soffits. Proper drainage slope on shower floors ensures water flows to the drain instead of pooling in corners or against walls. Accessible maintenance areas allow you to inspect and repair plumbing without tearing apart finished surfaces. Thoughtful material selection using mold-resistant substrates, epoxy grout, and quality waterproofing membranes costs more upfront but eliminates the cycle of remediation and repair.
Contractor selection for bathroom renovation is critical. Look for proper certifications showing expertise in waterproofing and tile installation. Verify current insurance including liability coverage for water damage and mold. Ask for references from jobs completed in the last year and actually call them. Review the proposed process in detail: what substrate materials they plan to use, how they’ll install waterproofing membrane, what ventilation improvements they recommend, and what warranty they provide for mold-related failures. Building code compliance isn’t optional. Verify your contractor pulls permits and schedules required inspections. This oversight ensures work meets minimum standards for waterproofing and ventilation. For comprehensive bathroom renovation, working with contractors experienced in full restoration and rebuild ensures you’re getting systems level solutions, not just cosmetic fixes.
Quality workmanship during installation prevents future mold issues more than any other single factor. Proper waterproofing membrane installation with sealed seams and corners, correct substrate selection and attachment, appropriate drainage slope, and thorough caulking of all penetrations create long term mold resistance. Shortcuts during installation guarantee future problems. Consider the cost comparison: if you’ve spent $2,000 on mold remediation twice and you’re facing a third occurrence, that’s $6,000 for temporary fixes. A proper bathroom renovation addressing substrate, waterproofing, and ventilation might cost $8,000 to $15,000 but solves the problem permanently with warranty protection. One-time proper renovation often costs less than repeated remediation over five to ten years, plus you avoid the ongoing health exposure and stress.
Final Words
Mold behind bathroom tiles needs fast action and the right approach. Surface cleaning won’t fix growth hiding in wall cavities or substrate layers. If you’re dealing with more than 10 square feet, recurring spots after cleanup, or structural concerns, call in a certified team.
Fix the moisture source first. Whether it’s a failed shower pan, leaky pipe, or poor ventilation, stopping water intrusion is the only way to prevent mold from coming back.
Seal grout every 6 to 12 months, run the exhaust fan for 30 minutes after showers, and wipe down wet surfaces daily. Small maintenance steps now save big headaches later.
FAQ
How do you know if there’s mold behind bathroom tiles?
You know there’s mold behind bathroom tiles by checking for grout that repeatedly turns black after cleaning, tiles that sound hollow when tapped, persistent musty odors, loose tiles, shrinking caulk, and water stains or bubbling on adjacent walls.
What does toxic mold look like in a bathroom?
Toxic mold in a bathroom typically appears as black, dark green, or brown patches on grout lines, tile surfaces, caulking, or walls, often accompanied by a strong musty smell and slimy or fuzzy texture when moisture is present.
Will mold go away if moisture is removed?
Mold will not go away if moisture is removed, but it will stop spreading and growing. You still need to physically clean or remove existing mold growth and repair the moisture source to prevent recurrence.
Is bathroom mold harmful?
Bathroom mold is harmful as it releases airborne spores that can trigger asthma attacks, allergic reactions including sneezing and skin rashes, respiratory problems like coughing and wheezing, and chronic sinus issues, especially for children and immunocompromised individuals.
How quickly can mold grow behind bathroom tiles?
Mold can grow behind bathroom tiles within 24 to 48 hours after water exposure if moisture is not controlled. Bathrooms provide the ideal warm, dark, moist environment mold needs to thrive behind tile surfaces.
Can you remove mold behind tiles yourself?
You can remove mold behind tiles yourself only if the affected area is under 10 square feet according to EPA guidelines. Larger areas, recurring growth, or structural concerns require professional remediation to prevent spore dispersal.
What cleaning solutions kill mold on bathroom tiles?
Cleaning solutions that kill mold on bathroom tiles include white vinegar (kills 80% of species), 3% hydrogen peroxide, bleach solution (1 cup to 1 gallon water), and baking soda paste, applied for 10-15 minutes before scrubbing.
How often should you seal grout to prevent mold?
You should seal grout to prevent mold every 6 to 12 months after thorough cleaning. This creates a moisture-repelling barrier that prevents water penetration into porous grout, which is where mold grows most easily.
Does insurance cover mold damage behind bathroom tiles?
Insurance covers mold damage behind bathroom tiles when caused by sudden plumbing failures like burst pipes, but typically excludes damage from long-term neglect, poor maintenance, or gradual moisture buildup that wasn’t promptly addressed.
What causes mold to keep coming back behind tiles?
Mold keeps coming back behind tiles when the underlying moisture source isn’t fixed, such as hidden plumbing leaks, failed waterproofing membranes, poor ventilation, high humidity above 50%, or compromised shower pans that allow water seepage.
