
After a kitchen fire, you might think wiping down the walls and counters is enough. It’s not. Soot isn’t just messy—it’s acidic, it spreads fast, and if you clean it wrong, you’ll smear it deeper into your walls and make the damage permanent. The right method matters because soot keeps corroding surfaces for days after the fire’s out. This guide walks you through the proven cleaning steps that actually work, from immediate safety prep to surface-specific techniques that remove soot without spreading it or creating new problems.
Immediate Steps to Start Removing Kitchen Fire Soot Safely
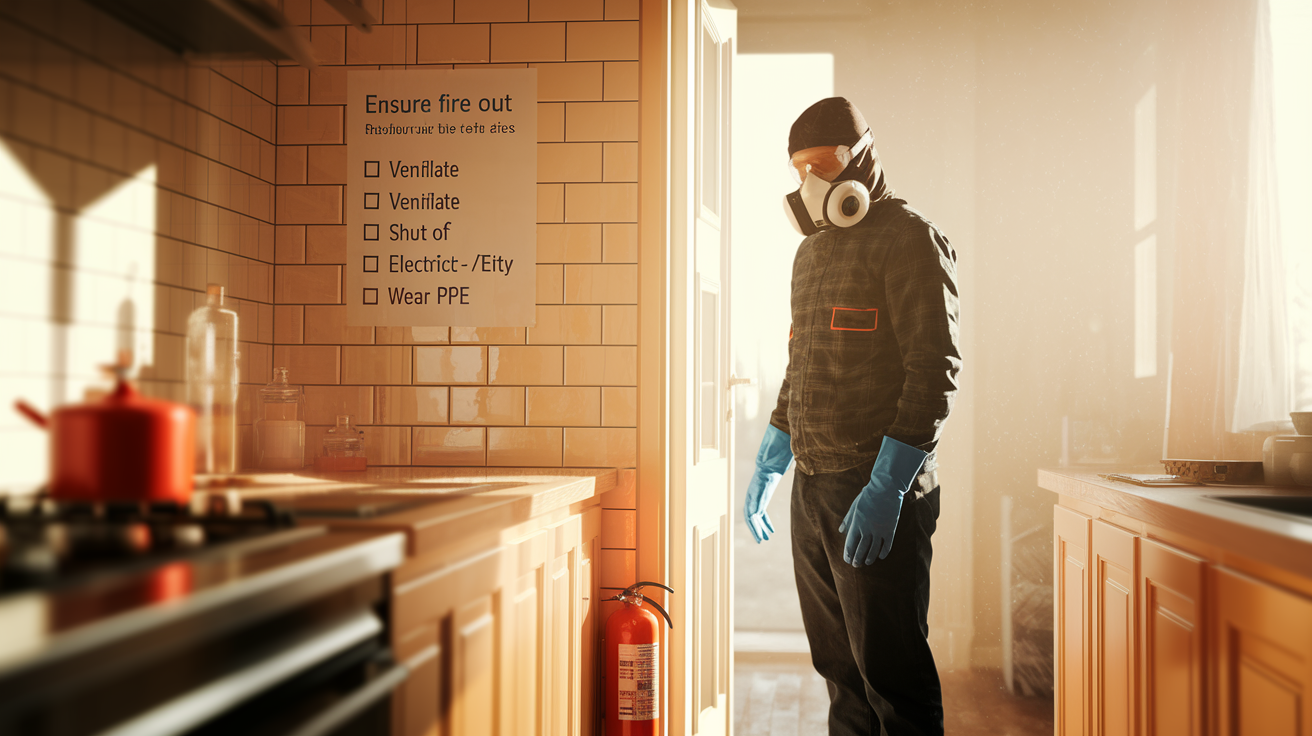
Before you touch any soot or start scrubbing, you’ve got to handle critical safety prep to protect yourself and avoid making things worse.
Here’s what to do right now, in order:
-
Make sure the fire’s completely out and the fire department has cleared the scene for re-entry. Don’t just assume it’s safe because you can’t see flames.
-
Check for structural problems like sagging ceilings, soft spots in floors, or walls that look like they’re bulging. If you spot any of this, stop immediately.
-
Shut off electricity at the main breaker if outlets, wiring, or appliances got hit by fire or water from firefighting.
-
Open every window and exterior door to ventilate the space and cut down on airborne soot.
-
Set up fans for cross-ventilation by pointing them to push air out through windows and doors. Do NOT turn on your HVAC system. That’ll just spread contaminated air everywhere.
-
Put on an N95 respirator or better before you step into areas with visible soot. Paper dust masks won’t do anything for you.
-
Wear safety goggles to keep soot particles from irritating your eyes.
-
Use rubber gloves and long sleeves to avoid direct skin contact with soot.
-
Take photographs of all damage from multiple angles before you touch anything. Your insurance claim depends on this.
-
Look at three damage types: structural issues with walls, ceilings, and floors, soot deposits on surfaces, and water damage from hoses and sprinklers.
Soot’s got toxic particles, chemicals from burned materials, and irritants that mess with your respiratory system, skin, and long-term health when you breathe it or touch it. These particles get airborne easily during cleanup, which is why protective gear isn’t optional. Even what looks like a light dusting can contain harmful stuff that settles deep in your lungs.
If you see major structural damage, smell gas, spot exposed wiring, or find extensive fire damage beyond a small contained area, stop right here. Call professional restoration services before you do anything else. Some situations are too dangerous to handle yourself, and pushing forward can get you hurt or make the damage worse.
Surface-Specific Soot Removal Techniques for Kitchen Areas
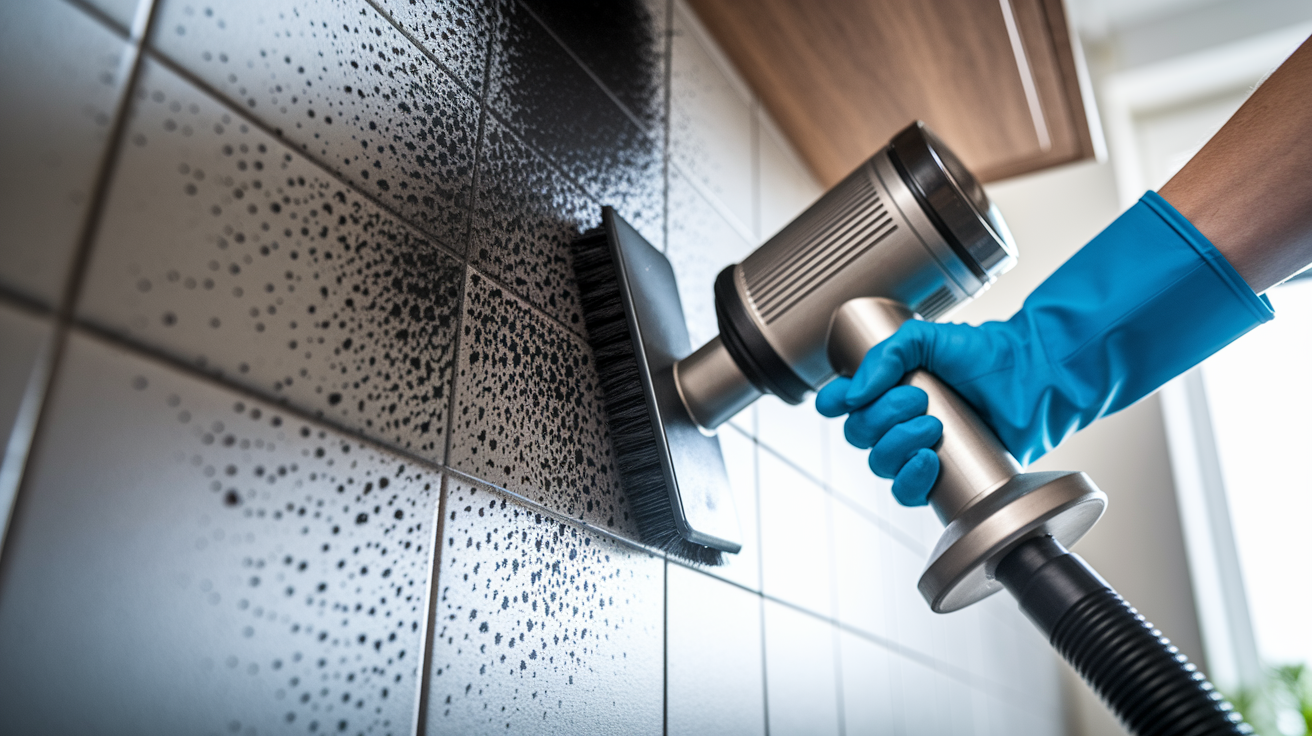
Every surface needs dry soot removal first using a HEPA vacuum or dry chemical sponge before any wet cleaning. Skip this step and go straight to wet cleaning? You’ll smear soot into the material and create stains that are nearly impossible to remove later.
Walls and Ceilings
Start with dry soot removal using a HEPA vacuum with a soft brush attachment or a dry chemical sponge. Work from the top of the wall down toward the floor. This captures loose particles without pushing them deeper into the paint.
For wet cleaning, mix one tablespoon of trisodium phosphate (TSP) in one gallon of warm water. Dip a sponge in, wring it out so it’s damp but not dripping, and wipe the wall using gentle circular motions. Rinse your sponge frequently in clean water so you’re not spreading contamination back across the surface.
For stubborn soot that won’t budge with TSP, try a 50/50 vinegar and water solution. Flat paint often absorbs soot deeper than semi-gloss or gloss finishes, which means you might need to repaint after cleaning to fully restore how it looks.
Cabinets and Wooden Surfaces
Remove dry soot with a lambswool duster or HEPA vacuum on all cabinet surfaces. Inside, outside, including the tops of upper cabinets where soot settles but you can’t see it.
Apply a degreaser made for kitchen use to break down grease-laden soot. Spray it on a soft cloth instead of directly on the cabinet. This gives you better control and prevents oversaturation. Scrub gently to avoid damaging wood finishes, especially on stained or varnished cabinets.
Follow up with a deodorizer to neutralize smoke smell that’s penetrated the wood grain. If soot has deeply stained the wood or the finish has bubbled or cracked from heat, you might need cabinet refacing or repainting to restore appearance.
Countertops and Appliances
For metal appliances like refrigerators, stoves, and dishwashers, scrub with dishwashing liquid mixed in hot water using a soft sponge. For stubborn residue, use a 50/50 vinegar and water solution and let it sit for a few minutes before wiping. Never use metal brushes or abrasive scrubbers on stainless steel or painted appliance surfaces. They’ll create permanent scratches.
Stone countertops like granite or marble need pH-neutral cleaners only. Acidic cleaners including vinegar can etch or dull the surface. Laminate countertops handle mild detergent solutions well but avoid abrasive powders that scratch the finish.
Flooring and Tile
Remove dry debris and loose soot first by sweeping gently or using a HEPA vacuum. Aggressive sweeping just kicks particles back into the air.
For tile floors, use the same TSP solution described for walls (one tablespoon per gallon of warm water). Clean grout lines with a soft brush and the TSP solution, scrubbing gently to lift soot without damaging grout. Vinyl floors respond well to mild detergent and warm water. For hardwood, use minimal moisture and cleaners made specifically for wood to prevent warping or finish damage. Ceramic tile can handle more aggressive scrubbing than other flooring types.
Rinse all flooring thoroughly with clean water to remove chemical residues that leave a sticky film and attract dirt.
Work from ceiling to floor to prevent recontaminating areas you’ve already cleaned. Change your cleaning water frequently. Dirty water just spreads soot around instead of removing it. Thorough rinsing removes chemical residues that can cause long-term damage or leave surfaces sticky.
Understanding Protein Soot and Grease Fire Residue

Protein soot forms when meat, poultry, or other high-protein foods burn during kitchen fires. This happens fast when you’re cooking bacon, grilling steaks, or roasting chicken and the heat gets too high or you step away for just a minute. Unlike black, powdery soot from burning wood or paper, protein soot creates a greasy, varnish-like coating that’s nearly invisible but produces persistent odors that smell like burned bacon or charred meat days after the fire.
This soot type bonds with porous materials like drywall, wood, and ceiling tiles instead of just sitting on the surface where you can wipe it off. It penetrates into microscopic spaces in these materials and becomes part of them. Your kitchen ceiling might look fine, but the smell tells you otherwise. The protein oils have soaked in where you can’t see them.
Regular cleaning methods and over-the-counter cleaners can’t remove the deep penetration of protein oils. Worse, improper cleaning can spread the residue further across surfaces or embed it deeper by rubbing it in. This is why a kitchen fire that seems small can create odor problems that last for months if you don’t address protein soot correctly. Standard household cleaners are designed to remove surface dirt, not oils that have bonded with building materials.
Required Tools and Cleaning Products for Effective Soot Removal
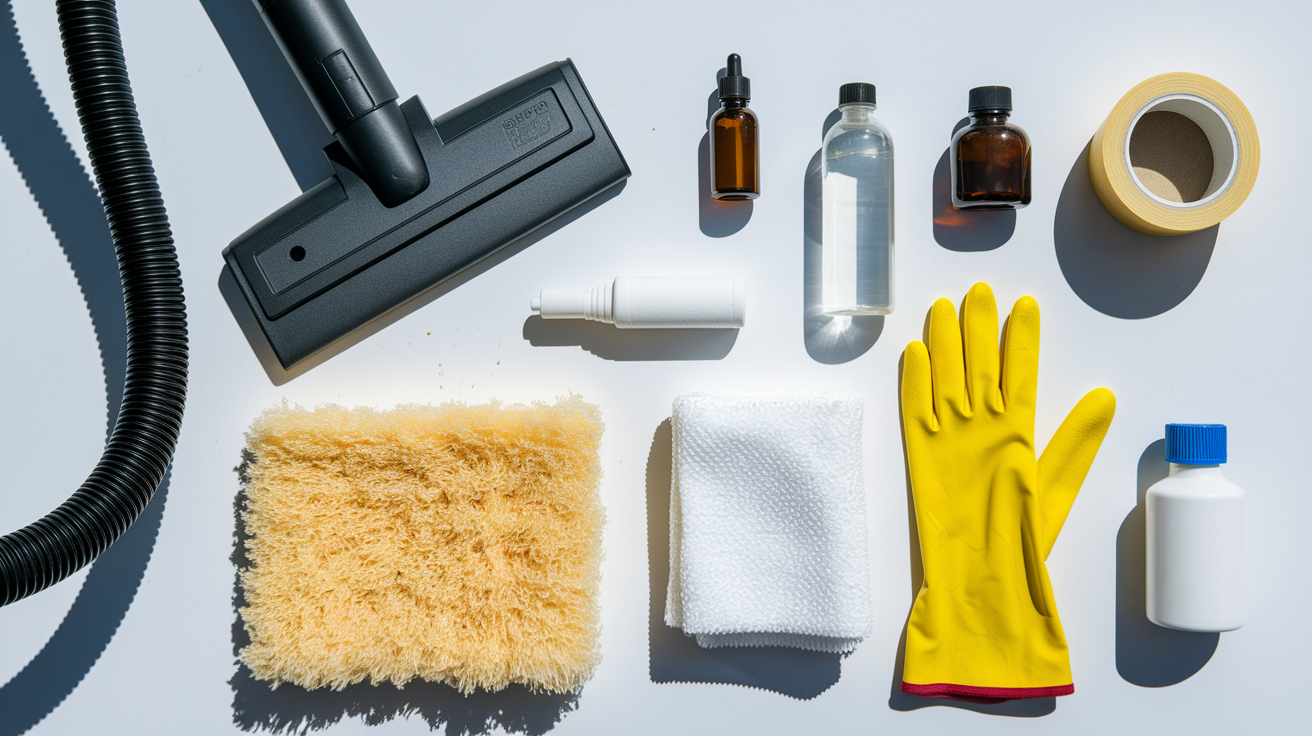
Common household cleaners work for some tasks, but certain specialized tools dramatically improve efficiency and results when you’re dealing with fire soot.
HEPA-filter vacuum with attachments for dry soot removal without recirculating fine particles back into the air. Standard shop vacuums don’t have filtration tight enough to capture soot particles.
Dry chemical sponges for initial wall and ceiling cleaning without water. These sponges look like large erasers and work by attracting soot particles to the sponge surface.
Lambswool dusters for delicate surfaces and hard-to-reach areas like the tops of cabinets, crown molding, and light fixtures where regular cloths can’t conform to the shape.
EPA-registered antimicrobial cleaners like Disinfectant Spray Plus for breaking down organic soot residue safely without harsh chemicals that damage surfaces or create fumes.
Plastic sheeting and painter’s tape for creating containment barriers that prevent soot from spreading to unaffected rooms during cleanup.
Heavy-duty trash bags rated for construction debris that won’t tear when filled with soot-contaminated materials.
These items are available at home improvement stores, janitorial supply companies, or restoration supply retailers. Some specialized products like dry chemical sponges might need to be ordered online if your local stores don’t stock them.
Eliminating Smoke Odor and Improving Air Quality After Soot Cleanup
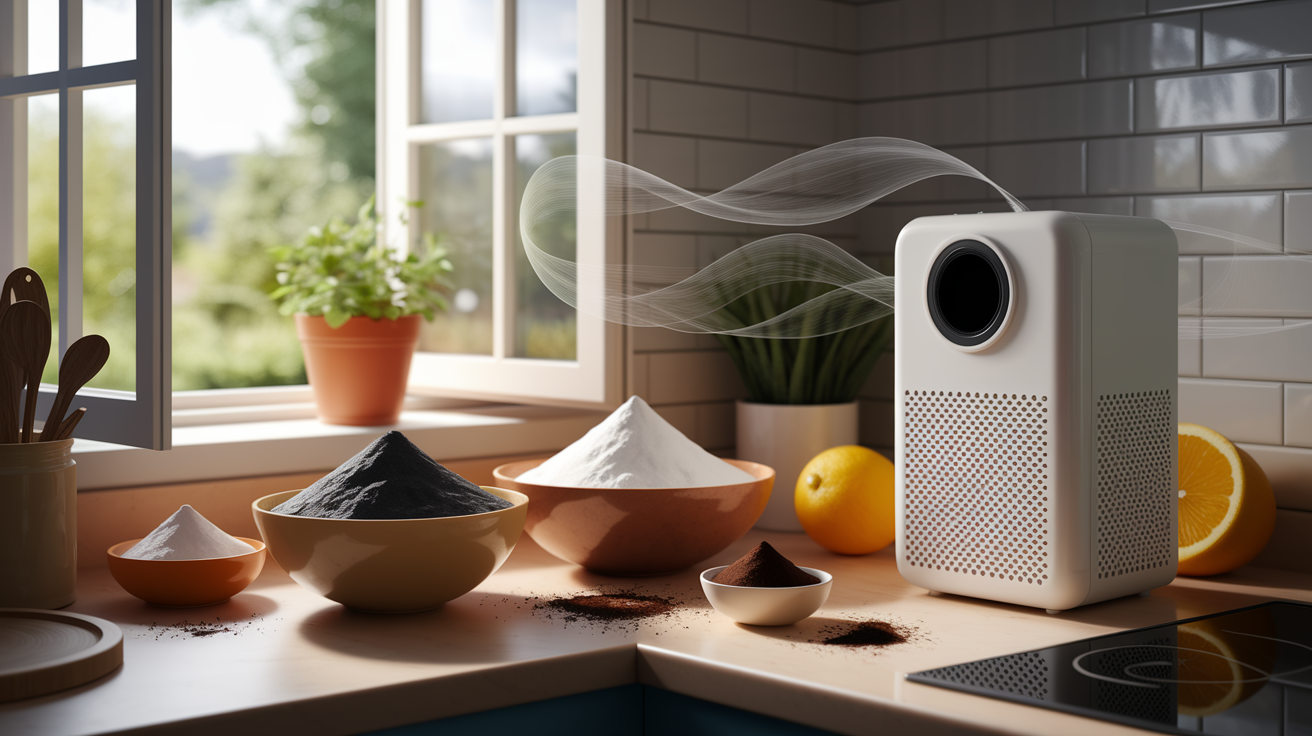
Smoke odor sticks around even after visible soot’s removed because odor molecules penetrate deep into porous materials like drywall, insulation, and wood framing.
Natural and mechanical odor removal methods work together to address both surface odors and molecules trapped in materials.
Open windows and doors to create continuous ventilation, using fans positioned to push contaminated air outside instead of recirculating it.
Place bowls of activated charcoal throughout the kitchen and adjacent rooms to absorb lingering odors naturally over several days.
Set bowls of baking soda on counters and in cabinets where smoke smell concentrates.
Use coffee grounds in open containers as a natural odor absorber, though they add a coffee scent.
Run air purifiers with activated carbon filters specifically designed for smoke odor, not just HEPA filters that only capture particles.
Clean all surfaces with vinegar and water mixture (one part vinegar to one part water) which neutralizes odor molecules on contact.
Replace HVAC air filters immediately to remove smoke particles from the ventilation system before running heating or cooling.
Your HVAC system needs special attention because smoke odor travels through ductwork and settles throughout your home. Replace air filters even if they don’t look dirty. Smoke particles are often invisible but still there. Have ductwork professionally cleaned if smoke smell persists after replacing filters, and clean or replace exhaust fan filters in range hoods. Check ductwork for visible soot accumulation that shows contamination has spread beyond the kitchen. Running your HVAC system before addressing these issues recirculates smoke odor every time the system turns on.
When to Call Professional Fire Damage Restoration Services

Extensive damage or protein soot often exceeds DIY capabilities, even if you’re handy and have tackled major home projects before.
Professionals bring specialized equipment like industrial air scrubbers, thermal imaging cameras, moisture meters, and commercial-grade cleaning solutions that aren’t available to homeowners. They’ve also got training in identifying hidden damage you might miss during visual inspection.
You need professional Fire and Smoke Damage Restoration services when you see:
Fire damage that extends beyond one small area or involves structural elements like framing or ceiling joists.
Persistent smoke odor that remains after thorough cleaning and ventilation efforts.
Protein soot from grease fires, which needs specialized treatment methods.
Hidden contamination in wall cavities, above ceilings, or in HVAC systems detected by smell but not visible.
Structural concerns including warped framing, compromised drywall, or foundation issues.
Complex insurance claims requiring professional documentation and communication with adjusters.
Look for restoration companies with IICRC (Institute of Inspection, Cleaning and Restoration Certification) credentials, which show training in industry-standard methods. Check online reviews focusing on recent customer experiences and responsiveness. Ask about their insurance claim experience. Professionals who regularly work with insurance companies document damage thoroughly, prepare paperwork correctly, and communicate with adjusters on your behalf. This reduces your stress and improves claim outcomes.
Advanced Professional Deodorization and Treatment Methods

Advanced deodorization chemically alters odor molecules instead of just covering them up with pleasant scents. These methods go beyond anything available in consumer products.
Thermal fogging uses a machine that heats a deodorizing solution into a fine mist that behaves like smoke, penetrating the same places smoke traveled during the fire. The fog particles are small enough to reach behind walls, into ceiling spaces, through light fixtures, and into HVAC returns where odors hide beyond visible surfaces. The deodorizing chemicals bond with odor molecules and neutralize them on contact. Technicians control temperature, coverage patterns, and dwell time based on the specific soot type and affected materials. This process needs sealing the space and allowing the fog to work for several hours before ventilation.
Ozone treatment generates ozone gas that breaks apart odor molecules at the molecular level. Ozone works really well but it’s also highly dangerous to people and pets, so this treatment requires complete evacuation of the home and careful monitoring by trained technicians. The treatment area gets sealed, ozone generators run for a specific duration based on space size and contamination level, then the area gets thoroughly ventilated before re-entry. This method works particularly well for protein soot odors that resist other treatments. Never attempt ozone treatment yourself with rental equipment. Improper use creates health risks and can damage sensitive materials.
Sealing and priming procedures lock in any remaining odors before repainting. After cleaning and deodorization, professionals apply specialized primer-sealers to walls and ceilings that encapsulate residual odor molecules. These primers prevent odors from bleeding through new paint over time. Standard primer doesn’t provide this sealing function, which is why repainting without proper sealing often results in odors returning after a few weeks.
Navigating Insurance Claims for Kitchen Fire Soot Damage

Thorough documentation before cleanup begins determines whether your insurance claim succeeds or struggles.
Photograph everything from multiple angles before touching any soot. Document structural damage to walls, ceilings, and floors including cracks, warping, or discoloration. Photograph soot deposits on all surfaces including areas that might seem minor. Insurance adjusters need to see the full extent of damage. Document water damage from firefighting efforts including wet flooring, stained ceilings, and damaged belongings. Take close-up photos of specific damaged items and wide shots showing the overall affected area. Keep all receipts for cleaning supplies, replacement items, temporary housing if needed, and professional services. Save damaged items until the adjuster has seen them, even if they’re not salvageable.
Professional restoration companies assist with insurance communication and claims processing by providing detailed written estimates, creating photo documentation that meets insurance requirements, and communicating directly with adjusters about scope of work and necessary treatments. They understand what insurance companies require for approval and how to document damage in ways that support your claim. This removes the burden of fighting with your insurance company while you’re already dealing with fire recovery stress.
Preventing Cross-Contamination During Soot Cleanup
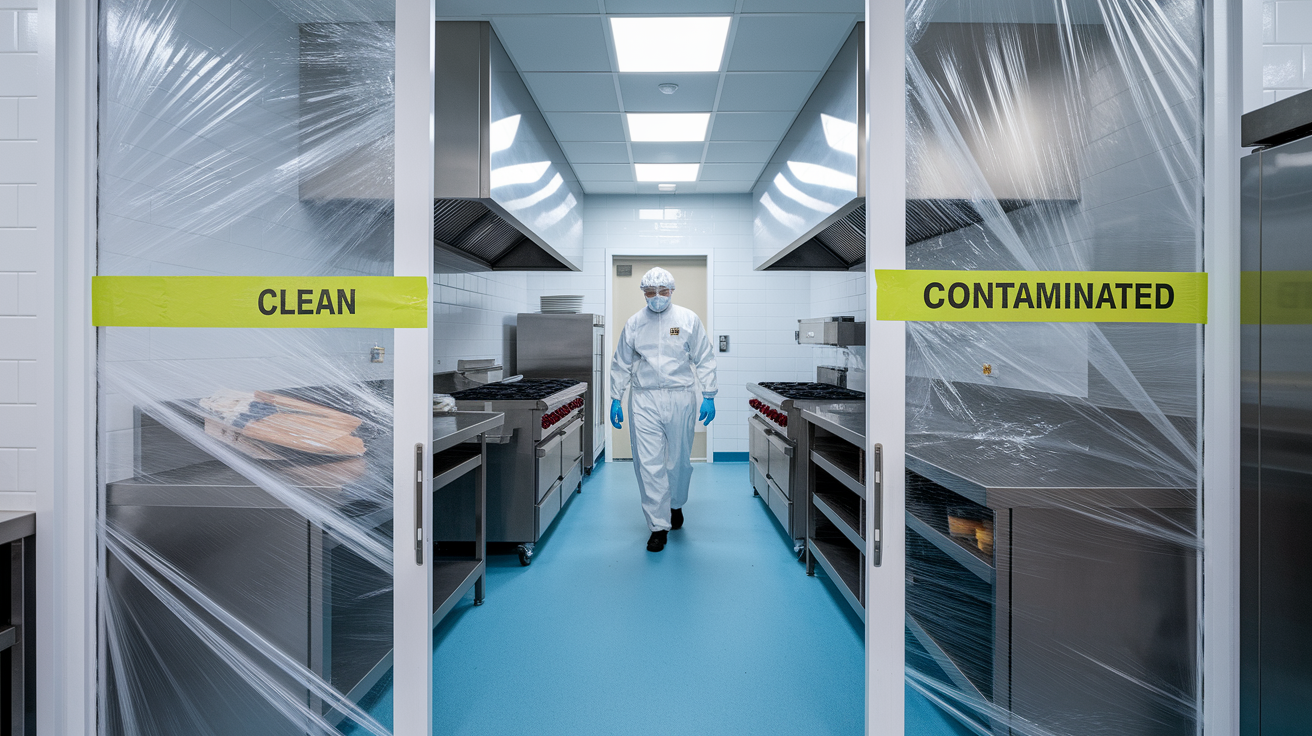
Isolating affected areas prevents soot from spreading to rooms that weren’t touched by fire. Use plastic sheeting to seal doorways and openings between the contaminated kitchen and adjacent spaces. Tape the sheeting completely around all edges. Gaps allow soot particles to travel on air currents. Create an airflow pattern that pushes air from clean areas toward contaminated areas and then outside through windows, never the reverse.
Set up clean and dirty zones with clear boundaries. Remove shoes before stepping from the contaminated kitchen into clean areas. Change gloves between working in soot-covered areas and touching clean surfaces or materials. Keep cleaning supplies and equipment in the contaminated zone to avoid carrying soot particles on tools. Don’t use the same rags, sponges, or mop between contaminated and clean areas. If you need to move through clean spaces to reach disposal areas outside, lay down a clean pathway using plastic sheeting or cardboard to protect floors.
Dispose of soot-contaminated materials in heavy-duty trash bags, seal them completely, and remove them from the house immediately instead of storing them in the garage or basement where particles can escape. Disposable cleaning supplies like paper towels, rags, and sponges should go directly into sealed bags after use. Don’t try to wash and reuse cleaning cloths that have been used on heavy soot. The contamination doesn’t fully wash out and you’ll spread it through your washing machine and dryer.
Long-Term Effects and Secondary Damage from Untreated Soot

Untreated soot continues to degrade indoor air quality and surfaces over time, even if the visible damage seems minor right after the fire. Soot particles remain airborne for weeks, circulating through your HVAC system and settling on surfaces throughout your home. Breathing these particles causes respiratory irritation, aggravates asthma, and creates long-term health risks, especially for children and anyone with existing lung conditions. The persistent burned smell isn’t just unpleasant. It means continued exposure to harmful particles.
Soot’s acidic and causes progressive corrosion and discoloration of materials it contacts. Metal fixtures tarnish and corrode. Painted surfaces yellow and deteriorate. Plastics become brittle and crack. These effects accelerate over months and years if you don’t fully remove soot residue. What looks like a light haze on your ceiling today becomes a permanent stain that bleeds through new paint layers next month.
Mold growth potential increases significantly when soot residue combines with moisture from firefighting water. Soot provides nutrients for mold, and porous materials damaged by fire often retain moisture for weeks even after surfaces feel dry to the touch. Professional Water Damage Restoration Services address both the visible water and hidden moisture in wall cavities and under flooring. Mold can start growing within 24 to 48 hours in damp conditions, and soot-contaminated materials create ideal conditions for rapid spread.
Cost Breakdown and Time Requirements for Kitchen Soot Removal
Costs and timelines vary significantly based on damage extent and the cleanup method you choose. A small fire contained to one area has completely different requirements than a grease fire that spread soot throughout the home.
Professional services include insurance coordination, which can affect your out-of-pocket costs depending on your coverage and deductible.
| Cleanup Scope | DIY Cost Range | Professional Cost Range | Typical Duration |
|---|---|---|---|
| Light soot, small area (one wall or appliance) | $50-$150 for supplies | $500-$1,200 | 1-2 days DIY, 1 day professional |
| Moderate damage, multiple surfaces | $200-$400 for supplies and equipment rental | $2,000-$5,000 | 3-5 days DIY, 2-3 days professional |
| Extensive soot throughout kitchen | $400-$800 for supplies (often inadequate) | $5,000-$12,000 | 1-2 weeks DIY, 5-7 days professional |
| Protein soot or grease fire damage | Not recommended for DIY | $8,000-$20,000 | Not applicable, 1-2 weeks professional |
| Complete kitchen restoration with structural repairs | Not feasible for DIY | $15,000-$50,000+ | Not applicable, 3-6 weeks professional |
Kitchen Fire Prevention Tips to Avoid Future Soot Damage
Prevention’s far easier and less costly than cleanup and restoration. Most kitchen fires start from common, avoidable mistakes.
Never leave cooking unattended, especially when frying, grilling, or using high heat. Most kitchen fires start when someone steps away for “just a minute.”
Keep flammable items like dish towels, paper products, and packaging at least three feet away from the stove during cooking.
Clean grease buildup from stovetops, oven interiors, and range hood filters monthly to prevent grease fires.
Have electrical outlets, wiring, and appliances inspected by a qualified electrician every few years, especially in older homes where wiring may not handle modern appliance loads.
Install smoke detectors inside the kitchen and in adjacent areas, testing them monthly and replacing batteries twice yearly.
Keep a fire extinguisher rated for grease fires (Class B or K) within easy reach of the stove, and know how to use the PASS method. Pull the pin, Aim at the base of the fire, Squeeze the handle, and Sweep side to side.
Schedule regular professional inspection and cleaning of your range hood exhaust system, which accumulates grease that can ignite.
Turn pot handles toward the back of the stove to prevent accidental spills or knocking pots onto the floor.
Simple safety habits dramatically reduce kitchen fire risk. Most fires are preventable with attention and basic maintenance, which takes far less time than recovering from fire damage.
Final Words
Kitchen fire soot removal starts with safety checks, ventilation, and protective gear before you touch anything. Then it’s surface-by-surface cleaning with the right products, working from top to bottom, changing water often, and rinsing thoroughly.
Protein soot and deep odor issues usually need professional equipment and techniques you can’t replicate at home.
If you’re dealing with extensive damage, persistent smells, or hidden contamination, call a certified restoration team. They’ll stabilize the space, eliminate odors at the source, and handle the insurance paperwork so you can focus on getting your kitchen back to normal.
FAQ
How do you clean soot from a kitchen fire?
To clean soot from a kitchen fire, start by removing dry soot with a HEPA vacuum or dry chemical sponge, then wash surfaces with a TSP solution (one tablespoon per gallon of warm water) or dish soap in hot water, working from top to bottom.
How long does soot stay in the air after a fire?
Soot stays in the air after a fire for several hours to days depending on ventilation. Opening windows, using fans for cross-ventilation, and running HEPA air purifiers helps clear airborne particles faster and improves air quality.
Does Dawn dish soap remove soot?
Dawn dish soap removes soot from non-porous surfaces like metal appliances and countertops when mixed with hot water and scrubbed with a sponge. For walls and ceilings, TSP solution or vinegar-water mixture works better on stubborn residue.
What chemical breaks down soot?
Trisodium phosphate (TSP) breaks down soot when mixed with warm water (one tablespoon per gallon). For stubborn areas, a 50/50 vinegar-water solution works well. EPA-registered antimicrobial cleaners break down organic protein soot that standard cleaners can’t remove.
When should you call professional fire restoration services?
You should call professional fire restoration services when damage extends beyond a small area, protein soot is present, structural damage exists, odors persist after cleaning, or insurance claims require professional documentation and specialized equipment like thermal foggers.
Can you stay in your home during kitchen soot cleanup?
You can stay in your home during minor kitchen soot cleanup if the fire was contained to a small area and proper ventilation exists. For extensive damage or persistent smoke odor, temporary relocation may be necessary during professional restoration.
What surfaces are hardest to clean after a kitchen fire?
Porous surfaces like drywall, wood cabinets, and ceiling tiles are hardest to clean after a kitchen fire because soot penetrates deep into materials. Protein soot creates invisible, varnish-like coatings that bond with porous materials and resist conventional cleaning.
How do you remove smoke smell after cleaning soot?
You remove smoke smell after cleaning soot by placing bowls of activated charcoal or baking soda throughout the space, replacing HVAC filters, cleaning ductwork and exhaust fans, and running air purifiers. Professional thermal fogging or ozone treatment may be needed for persistent odors.
Is soot from a kitchen fire toxic?
Soot from a kitchen fire is toxic because it contains carbon particles, chemicals, and irritants that cause respiratory issues and skin reactions. Protein soot from burning meat creates additional health hazards. Always wear N95 respirators, goggles, and gloves during cleanup.
Can you paint over soot-stained walls?
You can paint over soot-stained walls only after thorough cleaning and applying an odor-sealing primer. Painting without proper cleaning and sealing traps odors and allows stains to bleed through. Flat-painted walls often require repainting even after successful cleaning.
