
You probably think a little kitchen smoke just wipes off with soap and water, right? That’s exactly how people end up with permanent yellow stains bleeding through three coats of fresh paint six months later. Smoke particles don’t just sit on your walls, they soak into drywall like tiny invisible splinters you can’t scrub away. The good news is there’s a specific order of cleaning steps that actually works if you follow them exactly. We’re going to walk through the dry cleaning, wet cleaning, priming, and painting process that stops stains and kills odors for good.
Quick Start Guide and Safety Preparation

You need to dry clean first with a chemical sponge before you introduce any water. Wet cleaning comes second using TSP or degreasing solution, then stain-blocking primer, and finally paint. If you spray water on soot before dry cleaning, you’re going to smear that residue and permanently set it into your kitchen walls. This order matters way more than most people think.
Get yourself an N95 mask, chemical-resistant gloves, and safety goggles before you touch anything. Turn off your HVAC system so it doesn’t spread smoke particles through the whole house. Open your windows to ventilate. Put drop cloths across floors and counters. Take clear photos of the damage from different angles for your insurance claim before you start cleaning.
What you need to do before touching walls:
- Gather protective gear (N95 mask, chemical-resistant gloves, safety goggles, old clothes)
- Ventilate by opening windows and doors, shut off HVAC to stop soot from circulating
- Cover floors and furniture with plastic sheeting or drop cloths
- Test your cleaning method on a small hidden wall area first
- Figure out if the damage is bad enough that you need professional help
Comprehensive Cleaning Methods for Kitchen Wall Smoke Damage
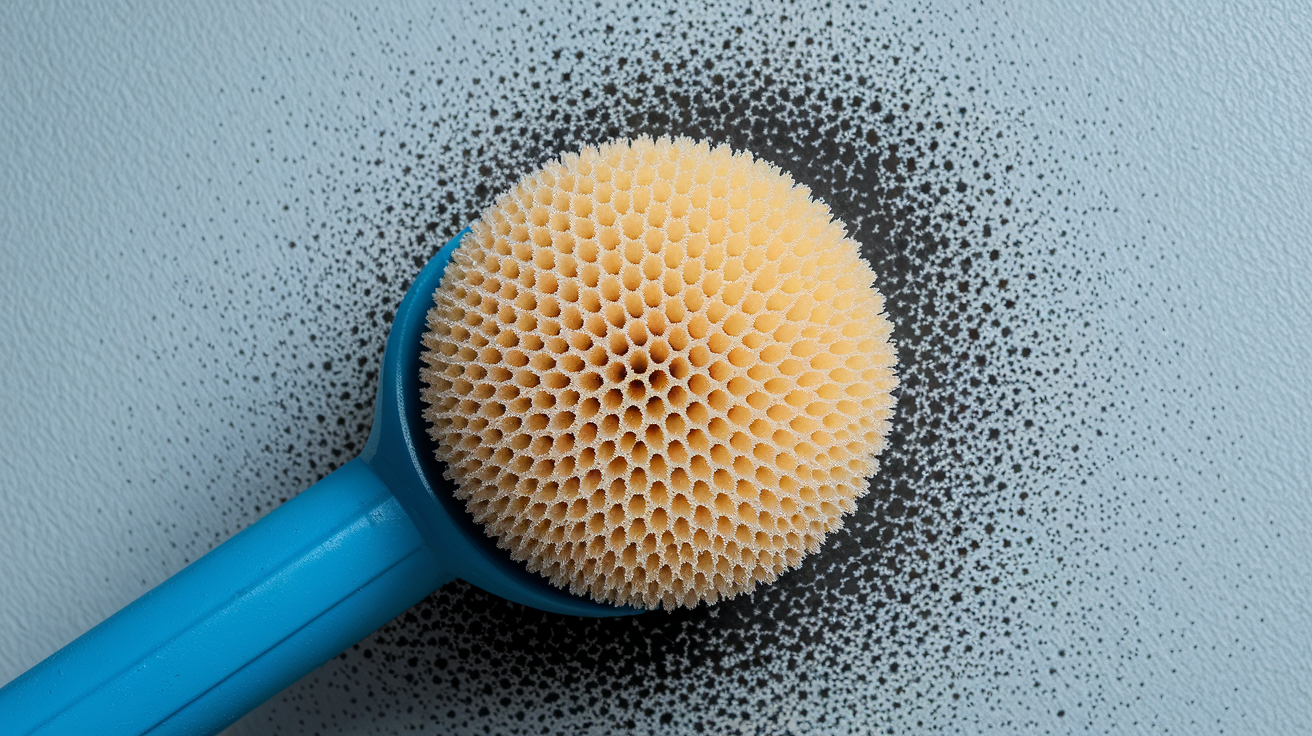
Chemical sponges are made of vulcanized rubber that pulls smoke residue into tiny pores without spreading it across your walls. This dry cleaning step gets rid of loose soot particles before you add any moisture. Skip this and you’ll just smear black streaks everywhere.
Use straight, parallel, overlapping strokes from top to bottom. Don’t scrub in circles. That pushes residue deeper into the wall. When the sponge surface gets clogged with soot, slice off the dirty layer with a razor blade or break away knife. Never rinse chemical sponges with water. It ruins their absorption and they’ll just smear soot around like a regular sponge.
After dry cleaning removes loose particles, wet cleaning targets stubborn stains, grease buildup, and embedded smoke residue. TSP (Trisodium Phosphate) is the most effective heavy-duty degreasing solution for this. Mix the powder with warm water according to the package instructions. TSP cuts through that combination of smoke residue and cooking grease that builds up on kitchen walls.
Apply the TSP solution with a regular sponge using overlapping parallel strokes. Work from bottom to top to prevent streaking and dripping down the wall. Don’t use abrasive scrubbers that can damage paint or drywall. After you clean a section, wipe it down with a sponge and clean warm water to remove all the cleaner residue. Let everything dry completely before you move to priming.
| Surface Type | Cleaning Approach | Special Considerations |
|---|---|---|
| Painted drywall | Gentle pressure, blotting motions | Too much scrubbing removes paint; test small area first for paint adhesion |
| Tile backsplash | Aggressive scrubbing allowed | Focus extra attention on grout lines where residue embeds deeply |
| Wood cabinets | Wood-safe cleaners, minimal moisture | Excess water warps wood; dry immediately after cleaning |
| Textured/popcorn ceiling | Extremely gentle dabbing only | Texture breaks off easily; excess water causes sagging and collapse |
| Laminate panels | Standard cleaning with quick drying | Moisture can seep into seams and cause swelling if not dried promptly |
Painted drywall needs gentle pressure and blotting so you don’t remove the paint along with the soot. Tile can handle more aggressive scrubbing, especially in the grout lines where smoke residue hides. Wood surfaces require wood-safe cleaners and minimal moisture. Wipe them dry right away. Textured ceilings are extremely delicate and prone to sagging with excess water, so use the lightest touch possible.
Priming, Sealing, and Odor Elimination for Kitchen Walls
Microscopic smoke particles penetrate deep into porous drywall where surface cleaning can’t reach them. Stain-blocking primer creates a barrier that prevents both visible stains and persistent odors from bleeding through new paint. Without this step, brown or yellow stains will eventually show through even multiple coats of paint.
Oil-based primers like Zinsser Cover Stain work well for moderate cooking smoke damage. For severe stubborn stains and the strongest odor blocking, use shellac-based primers like BIN Primer. Specialized smoke odor sealers such as ULTRA RECON provide maximum odor blocking on multiple surface types and stop tough stains that have soaked into porous surfaces.
Apply primer with a brush for small areas and edges, a roller for large wall sections, or airless spray for extensive coverage. All of these methods require excellent ventilation because of strong fumes. BIN Primer specifically has a thin consistency that drips easily and an extremely pungent odor that requires a respirator, not just a dust mask.
BIN Primer has a thin formula that runs and drips if you’re not careful during application. The smell is overpowering. Open every window and wear a proper respirator rated for organic vapors. But the blocking power is unmatched for severe smoke damage and persistent cooking odors that have soaked into drywall over time.
Additional ways to get rid of odors if smells stick around after priming:
- Place activated charcoal in bowls around the kitchen to absorb lingering odors from the air
- Apply baking soda paste to walls, let it sit for hours, then wipe clean before priming
- Spray diluted vinegar solution on walls after cleaning, allow to dry completely
- Run fans and keep windows open for extended ventilation periods of several days
- Hire professional services with ozone or hydroxyl generators for severe cases where odors remain after all other steps
Let the primer dry completely according to manufacturer times before you figure out whether you need a second coat for heavy staining. Proper sealing is the only permanent solution for cooking smoke smells embedded in kitchen walls. Surface treatments and air fresheners just mask the problem temporarily.
Repainting Kitchen Walls After Smoke Damage Cleanup
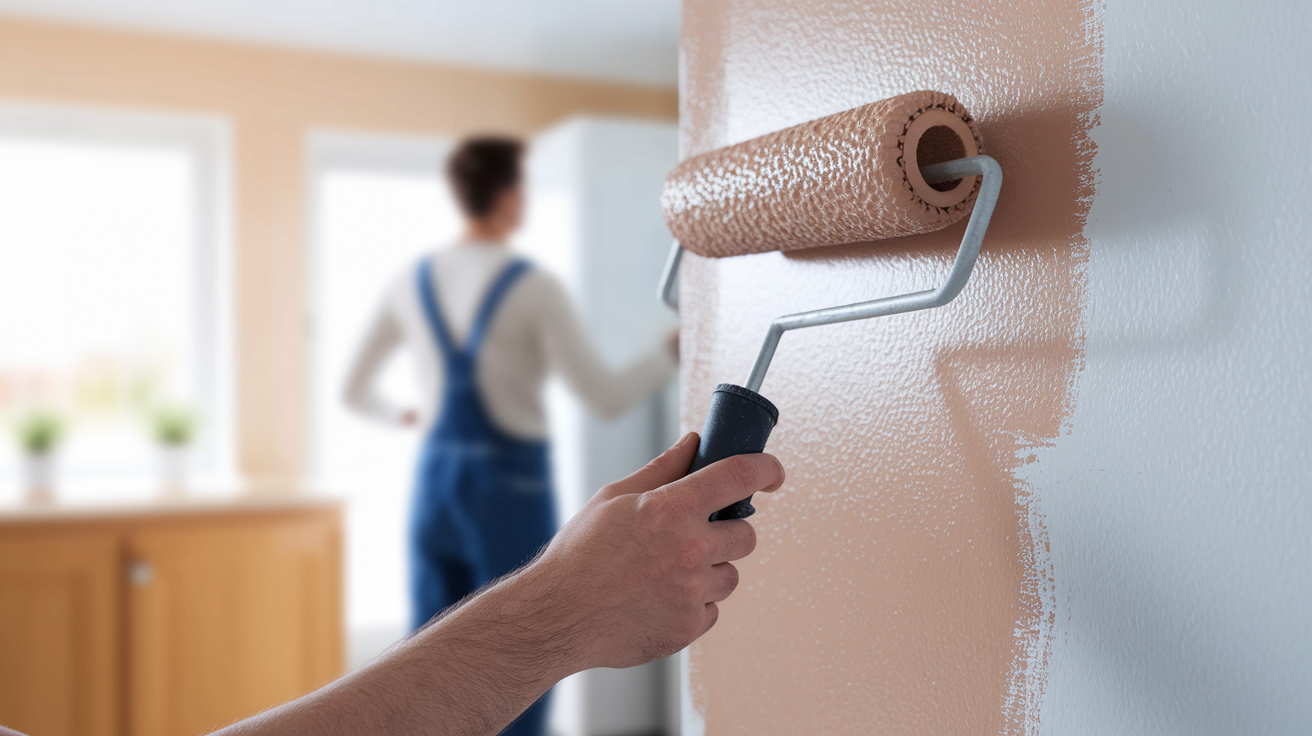
Proper cleaning and priming are complete. Now standard painting techniques apply to restore your kitchen walls. The hard work of removing smoke residue and blocking stains is done.
Semi-gloss or satin finishes are best for kitchens because they’re washable and resist future grease buildup and cooking smoke better than flat paint. These finishes also make it easier to wipe down walls regularly as part of kitchen maintenance.
Painting process:
- Inspect the primed surface for any missed spots or areas needing touch-up before opening paint cans
- Apply first coat using roller for large areas, brush for edges and corners, maintaining even coverage
- Allow proper drying time per paint manufacturer instructions, typically 2-4 hours between coats
- Apply second coat for even coverage and accurate color matching to surrounding walls
- Conduct final inspection under good lighting to identify any thin spots requiring additional attention
Two coats are typically needed for even coverage and proper color matching. Don’t rush the drying time between coats per paint manufacturer instructions. Applying the second coat too soon can cause the first coat to lift or create an uneven finish that shows through once everything dries.
Preventing Future Smoke Buildup on Kitchen Walls

Inadequate ventilation during cooking lets smoke particles and grease settle on kitchen walls instead of being exhausted outside. This gradual buildup eventually creates the same staining and odor problems you just spent days cleaning up.
Your range hood should vent to the exterior, not just recirculate air through a filter back into the kitchen. Turn it on before you start cooking, not after smoke is already visible. Clean or replace the filters monthly. Clogged filters can’t capture grease and smoke effectively.
Practical prevention habits:
- Use lids when frying to contain smoke and grease splatters
- Adjust cooking temperatures to avoid excessive smoke from overheating oils
- Avoid burnt food by monitoring cooking closely and using timers
- Clean range hood filters monthly or replace disposable filters regularly
- Run exhaust fans during cooking and for 10-15 minutes after you finish
- Open windows while cooking, especially when frying or using high heat
- Wipe down walls near the stove weekly with damp cloth to remove light grease buildup
Washable paint finishes and periodic wall cleaning work as maintenance strategies to prevent heavy buildup requiring full restoration. A quick wipe-down every week beats scrubbing smoke damage every few years.
DIY Smoke Cleaning Versus Professional Kitchen Wall Restoration

DIY cleaning makes sense for light cooking smoke staining, small affected areas, surface level residue, and odors that respond to cleaning and sealing. If you can see clean results after one round of dry cleaning, wet cleaning, and priming, you’re probably fine handling it yourself.
Professional help becomes necessary when odors persist after multiple cleaning attempts, damage extends into drywall or insulation, HVAC contamination has spread smoke throughout the house, you’re dealing with large-scale fire damage restoration, or health hazards are present. Professionals have specialized equipment like thermal foggers, ozone generators, and industrial-grade sealers that aren’t available to homeowners.
| Situation | DIY Approach | Professional Needed |
|---|---|---|
| Light cooking smoke (burnt dinner, small grease fire) | Dry clean, TSP wash, prime affected area, repaint | Not typically necessary unless odor persists |
| Heavy grease/nicotine buildup (years of accumulation) | Possible with multiple cleaning rounds and shellac primer | Recommended for faster results and thorough odor elimination |
| Small kitchen fire (contained to stove area) | DIY if damage is surface level on walls only | Required if smoke reached other rooms or HVAC system |
| Major fire event (structural damage, whole-house smoke) | Not recommended. Safety and thoroughness concerns | Always required for proper remediation and safety assessment |
DIY saves money but requires significant time investment and physical effort. Professionals complete restoration faster with specialized equipment and experience, but it costs more. For moderate damage, expect to invest 4-5 full days of work doing it yourself versus 1-2 days with a professional crew.
Insurance implications matter here. Delayed professional intervention can reduce claim payouts because policies require prompt mitigation steps. Documentation and quick action improve coverage approval, whether you’re handling cleanup yourself or hiring pros. Waiting weeks to address smoke damage gives insurance companies grounds to deny part of your claim.
Timeline and Cost Expectations for Kitchen Wall Smoke Restoration
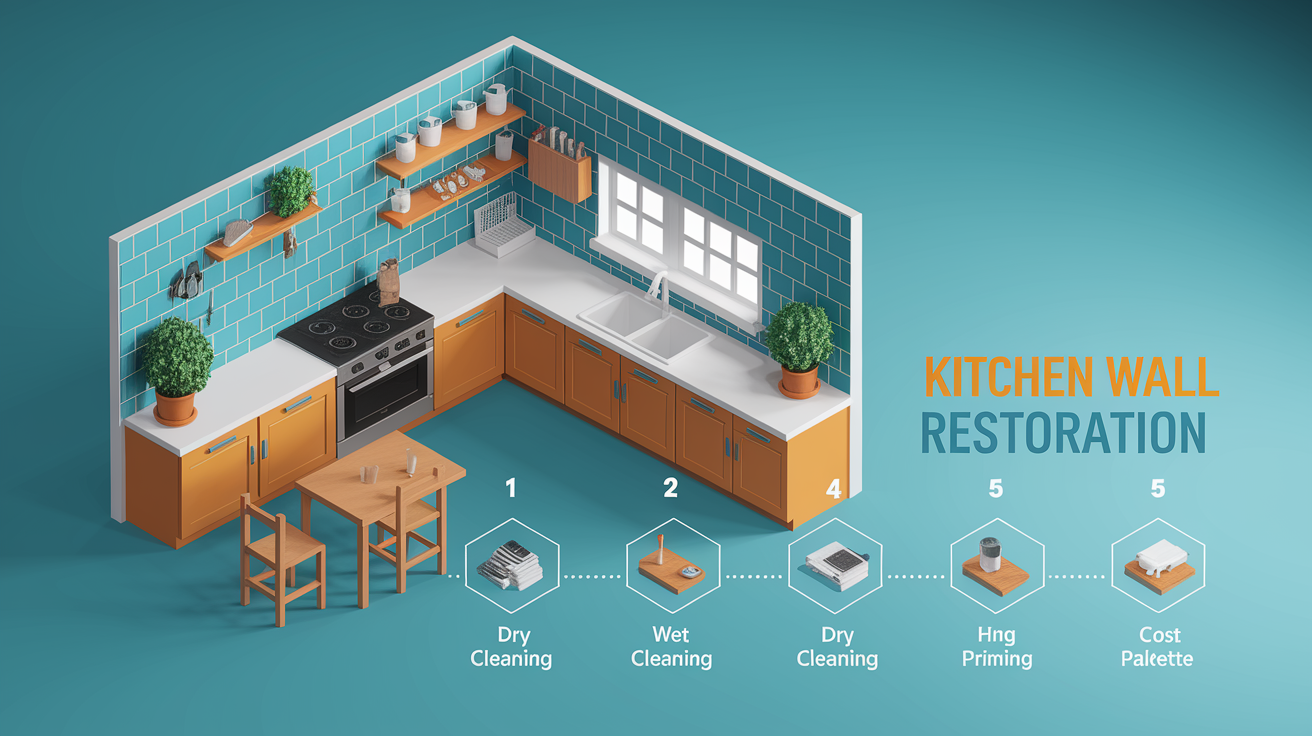
The typical DIY timeline runs about 4-5 days with proper drying between steps. Day one covers dry cleaning with chemical sponges and wet cleaning with TSP. Days two and three allow for complete drying, which you can’t rush without trapping moisture behind primer. Day four is for priming and sealing. Day five handles painting with two coats and drying time between them.
DIY supplies cost $50-$150 depending on the size of your affected area and what equipment you already own. Professional services run $500-$3,000 or more depending on damage severity, wall size, and whether full repainting is included or just restoration and sealing.
Cost breakdown:
- Cleaning supplies (chemical sponges, TSP, buckets, rags): $20-$40
- Protective equipment (N95 masks, gloves, goggles, drop cloths): $15-$30
- Primers and sealers (stain-blocking primer, odor sealer): $30-$80
- Paint (two coats for typical kitchen): $40-$100
- Tools and ladders (if you don’t already own them): $50-$200
- Professional labor rates: $300-$2,500 depending on scope and location
Several things affect the final cost. Extent of damage determines how many products you’ll need and how much wall area requires treatment. Wall material matters. Tile and wood need different cleaning products than painted drywall. Room size obviously impacts paint and primer quantities. If you need to move heavy furniture or appliances away from walls, that adds time and potentially labor costs. Local contractor rates in your area also vary significantly.
Insurance Claims for Kitchen Fire and Smoke Damage

Homeowner’s insurance typically covers sudden fire and smoke damage but may exclude gradual damage from cooking smoke buildup or nicotine staining over time. The key difference is whether the damage happened from a single event (covered) or accumulated slowly (often not covered).
Documentation is critical before you start cleaning. Photograph the damage from multiple angles showing the full extent of affected areas. Keep receipts for all cleaning supplies, materials, primers, and paint. Write down the incident date and cause while details are fresh. “Grease fire from unattended frying pan on March 15” is more useful than “sometime last month.”
File your claim immediately. Contact your insurance company within 24-48 hours of the damage. Request an adjuster inspection so they can assess the situation firsthand. Get their written damage assessment before starting major repairs. Get repair estimates from licensed contractors even if you plan to do the work yourself. This establishes fair market value for the repairs.
Your insurance policy requires you to prevent additional damage, so immediate action is necessary and reimbursable. You don’t need to wait for the adjuster to arrive before cleaning soot off walls. In fact, waiting could be considered failure to mitigate, which reduces your payout. Just document everything thoroughly before, during, and after cleanup.
Several scenarios affect coverage approval and payout amounts. Tenant-caused damage in rental properties may be denied under your policy but covered under the tenant’s renter’s insurance. Previous unreported damage that you’re trying to bundle into a new claim will likely be excluded. Inadequate ventilation maintenance or deferred repairs that contributed to the damage can reduce payouts because insurance covers sudden accidents, not neglect.
Health Risks Associated with Kitchen Wall Smoke Residue
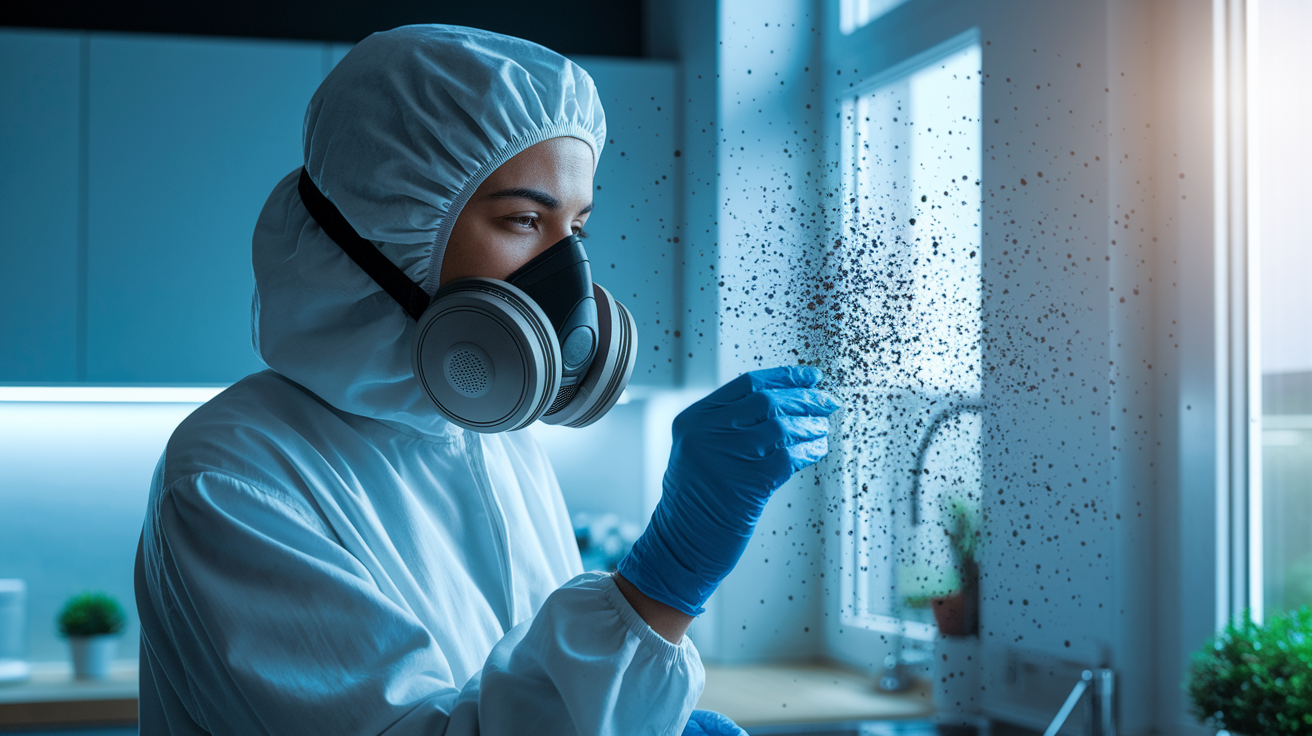
Smoke residue contains toxic compounds including carbon deposits, acidic soot particles, chemical residues from burnt materials, and grease oxidation products. These contaminants affect indoor air quality long after the smoke has cleared. Soot is highly acidic and corrosive, eating into wall materials while releasing particles into the air you breathe.
Respiratory risks from continued exposure include irritated airways, aggravated asthma, and allergic reactions. Children and elderly household members are particularly vulnerable because their respiratory systems are more sensitive. Even low level ongoing exposure can trigger coughing, wheezing, and breathing difficulty in people with existing lung conditions.
Nicotine stains specifically contain carcinogens that off-gas over time, creating third-hand smoke exposure even when no one is actively smoking. These residues absorb into porous materials like drywall and continue releasing harmful chemicals for months or years. Simply painting over them without proper sealing doesn’t stop the off-gassing.
Secondary concerns include acidic soot deterioration of wall materials that weakens structural integrity over time. Moisture damage from cleaning can lead to mold growth if walls aren’t properly dried before sealing. If your HVAC system circulated smoke throughout the home during the incident, contamination extends beyond just the kitchen walls to ductwork, filters, and other rooms. That creates ongoing exposure every time the heating or cooling runs.
Final Words
Smoke damage on kitchen walls won’t fix itself, and waiting makes it worse.
Start with the dry sponge to lift loose soot. Move to TSP or degreaser for stubborn stains. Seal everything with the right primer so smells and stains stay trapped. Then paint.
If you’re dealing with light cooking smoke and small areas, you can handle this. If the damage runs deeper or the smell won’t quit, call someone who does this full-time.
Either way, your kitchen can look clean again. Just take it one step at a time.
FAQ
How do you fix a smoky kitchen?
You fix a smoky kitchen by first dry-cleaning walls with a chemical sponge to lift loose soot, then wet-cleaning with TSP or degreaser, applying stain-blocking primer to seal odors, and finishing with two coats of washable paint. Proper ventilation during cooking prevents future buildup.
What does cigarette smoke damage look like on walls?
Cigarette smoke damage on walls looks like yellowish-brown nicotine stains, darkened areas around light fixtures and vents, and a sticky residue that collects dust. The discoloration typically appears first on upper walls and ceilings where smoke rises and settles over time.
Can you paint over smoke-damaged walls?
You cannot paint directly over smoke-damaged walls without preparation because smoke stains and odors will bleed through new paint. Walls must be cleaned with TSP, sealed with stain-blocking primer like BIN or Cover Stain, then painted with standard interior latex for lasting results.
Can smoke damage be repaired?
Smoke damage can be repaired through dry cleaning with chemical sponges, wet cleaning with degreasers, sealing with odor-blocking primer, and repainting. Light cooking smoke is DIY-appropriate, while extensive fire damage requires professional restoration to address structural contamination and persistent odors.
How long does it take to clean smoke damage from kitchen walls?
Cleaning smoke damage from kitchen walls takes 4-5 days total when done properly: one day for dry and wet cleaning, 1-2 days for drying, one day for priming, and one day for painting with proper drying time between coats.
What’s the difference between dry and wet cleaning for smoke damage?
Dry cleaning uses chemical sponges to absorb loose soot without smearing, while wet cleaning uses TSP or degreasers to remove stubborn embedded residue. Always dry clean first because introducing moisture before removing loose particles permanently sets stains into porous walls.
What type of primer blocks smoke stains and odors best?
Shellac-based primers like BIN Primer block smoke stains and odors best for severe damage, while oil-based primers like Zinsser Cover Stain work for moderate cooking smoke. Specialized smoke odor sealers like ULTRA RECON provide maximum malodor encapsulation on multiple surface types.
Does homeowner’s insurance cover smoke damage to kitchen walls?
Homeowner’s insurance typically covers sudden fire and smoke damage but may exclude gradual damage from cooking smoke buildup or nicotine staining. Document damage with photos immediately, contact your insurance company before cleaning, and keep all receipts for materials and contractor estimates.
When should you call professional restoration for smoke damage?
You should call professional restoration for smoke damage when odors persist after multiple cleanings, damage extends into drywall or insulation, HVAC systems show contamination, or a major fire event occurred. Professionals have specialized equipment and can complete restoration faster than DIY methods.
What health risks come from leaving smoke residue on walls?
Leaving smoke residue on walls creates health risks from toxic carbon deposits and acidic soot that affect indoor air quality. Respiratory irritation, aggravated asthma, and allergic reactions can occur, especially for children and elderly household members exposed to ongoing chemical off-gassing.
How do you prevent smoke buildup on kitchen walls?
You prevent smoke buildup on kitchen walls by running your range hood before cooking begins, using lids when frying, cleaning or replacing range hood filters monthly, and opening windows during cooking. Washable semi-gloss or satin paint finishes resist future grease and smoke better than flat paint.
How much does it cost to fix smoke-damaged kitchen walls?
Fixing smoke-damaged kitchen walls costs $50-$150 for DIY supplies including cleaners, primers, and paint, or $500-$3,000+ for professional services depending on damage severity, wall size, and whether complete repainting is included in the restoration scope.
