
If a pipe just burst in your home, you’re about to make decisions that determine whether this is a quick cleanup or a months-long nightmare. The difference between minor damage and structural repairs often comes down to what happens in the first hour, not the first day. This guide walks you through immediate shutdown, safe water extraction, proper drying techniques, and the cleanup steps that stop mold before it starts, so you can contain the mess and get your home stable again.
Immediate Actions When Your Burst Pipe Emergency Occurs
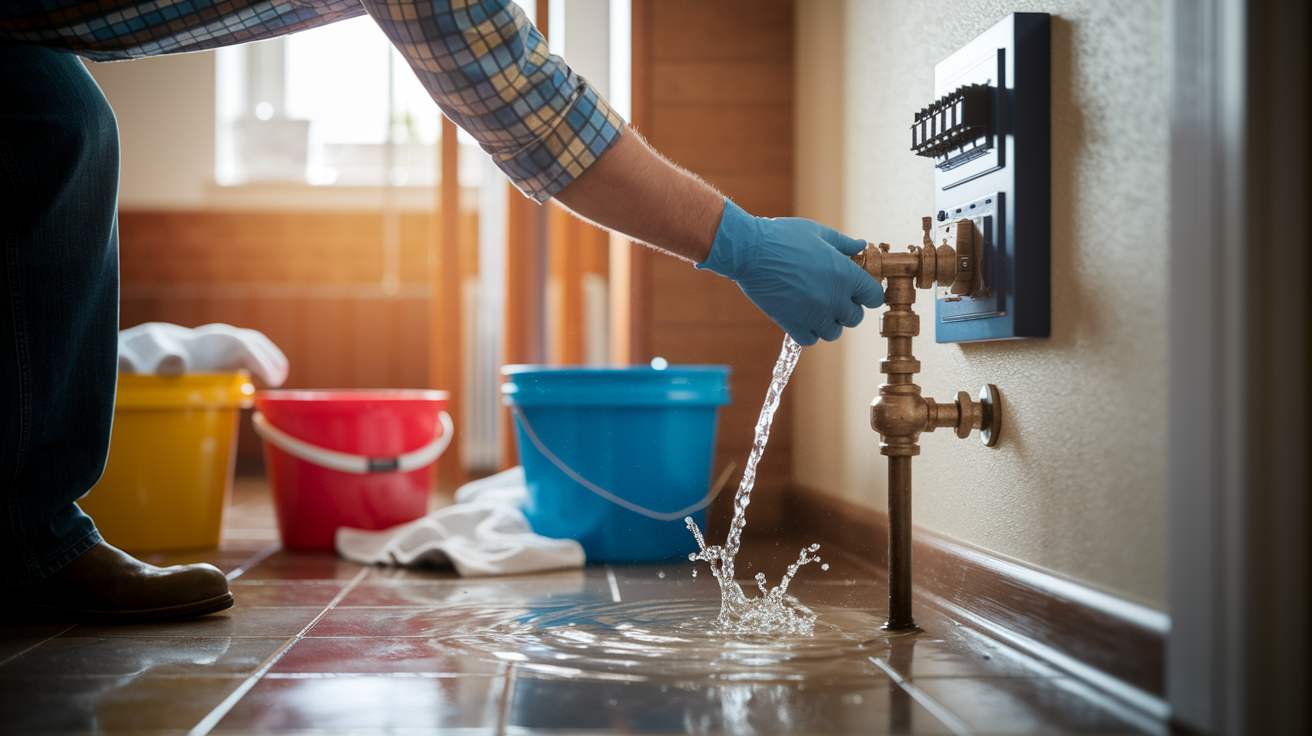
If water’s shooting out of a wall or ceiling, the next few minutes matter more than anything else. The faster you shut down the source, the less you’ll be dealing with later.
Here’s what you need to do right now:
-
Find the main water valve and turn it clockwise until it stops. Usually it’s near your water meter, basement, garage, or outside by the foundation. Turn it all the way to cut off the flow.
-
Shut off electricity in the affected area. Water and electricity don’t mix. If you can’t safely reach your panel, stay back and wait for help.
-
Use individual shut-off valves if you can’t locate the main valve. Most sinks, toilets, and water heaters have their own shutoffs. Turn them clockwise to stop water flowing to specific fixtures.
-
Drain whatever’s left in the pipes by opening all faucets. Start on the lowest level and work up. This relieves pressure and clears out standing water in the lines.
-
Start containing the water immediately. Grab towels, buckets, whatever you can find to keep it from reaching other rooms or soaking deeper into floors.
Acting within five minutes can mean the difference between a manageable cleanup and thousands in structural damage. These steps won’t fix the pipe, but they’ll stop things from getting worse and set you up for proper restoration. Every gallon you keep from soaking into floors, walls, and belongings is water you won’t be extracting later.
Water Extraction Services and Standing Water Removal Techniques
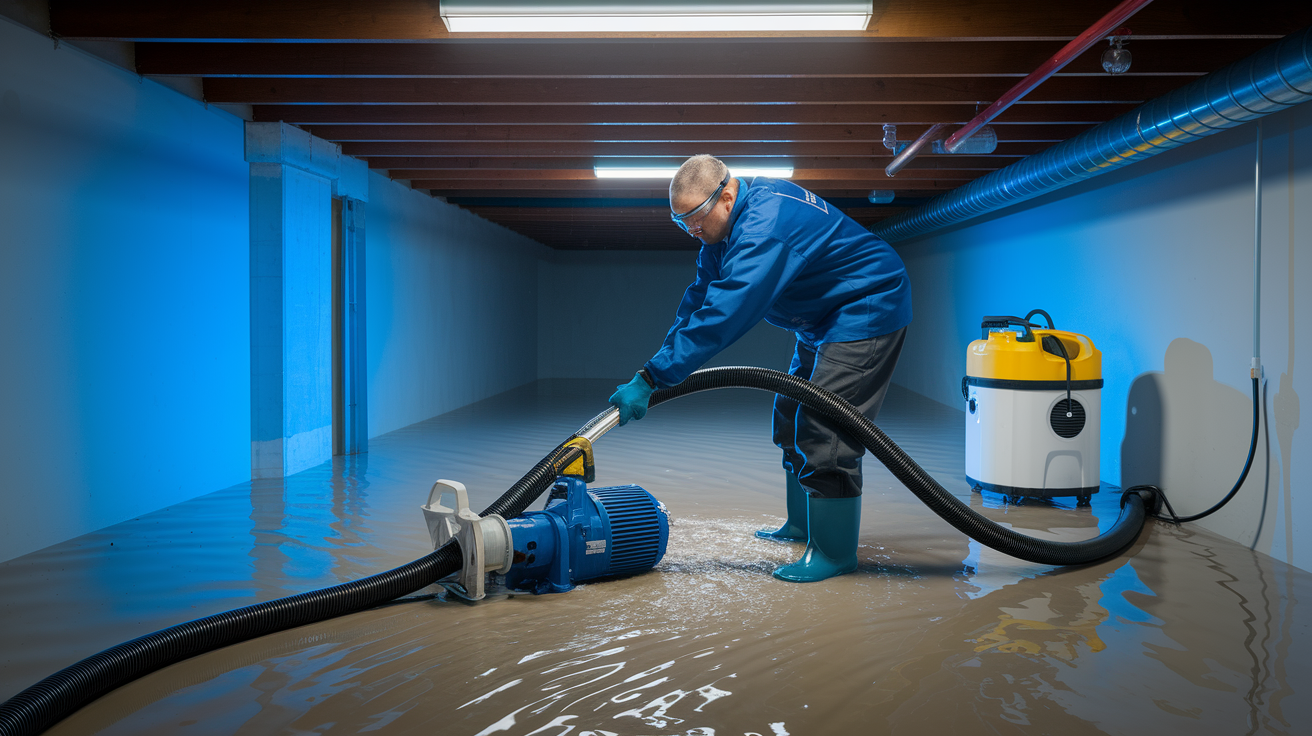
How much water you’re dealing with determines how you get rid of it. Small puddles under a sink or a wet hallway section? Buckets, mops, and towels work fine. You’re soaking up what you can see and wringing it out until the surface feels mostly dry.
Bigger situations call for wet/dry vacuums or pumps. Just make sure electricity’s completely off before you plug anything in. Submersible pumps handle big volumes fast, especially in basements or garages where water pools deep.
Start closest to the burst pipe and work outward. This keeps water from pushing farther into walls, subfloors, and adjacent rooms. If you’re using a wet/dry vac, get one with strong suction and empty it frequently so it keeps pulling efficiently. Work from the edges inward so you’re not leaving water behind.
Here’s how to handle extraction:
- Match your equipment to what you’re facing. Small spills get towels. Flooded basements need pumps.
- Double check electrical safety before using vacuums or pumps. Wet floors and live outlets are dangerous.
- Place pumps where water’s deepest and clean intake filters regularly. Clogs slow everything down.
- Empty wet/dry vacs before they’re full. Overfilled tanks lose suction fast.
- Work from the burst pipe outward. Keeps water from migrating into dry areas.
- Switch to drying equipment once standing water’s gone. Fans and dehumidifiers take over when floors are damp but not pooling.
Structural Drying and Dehumidification Process Requirements
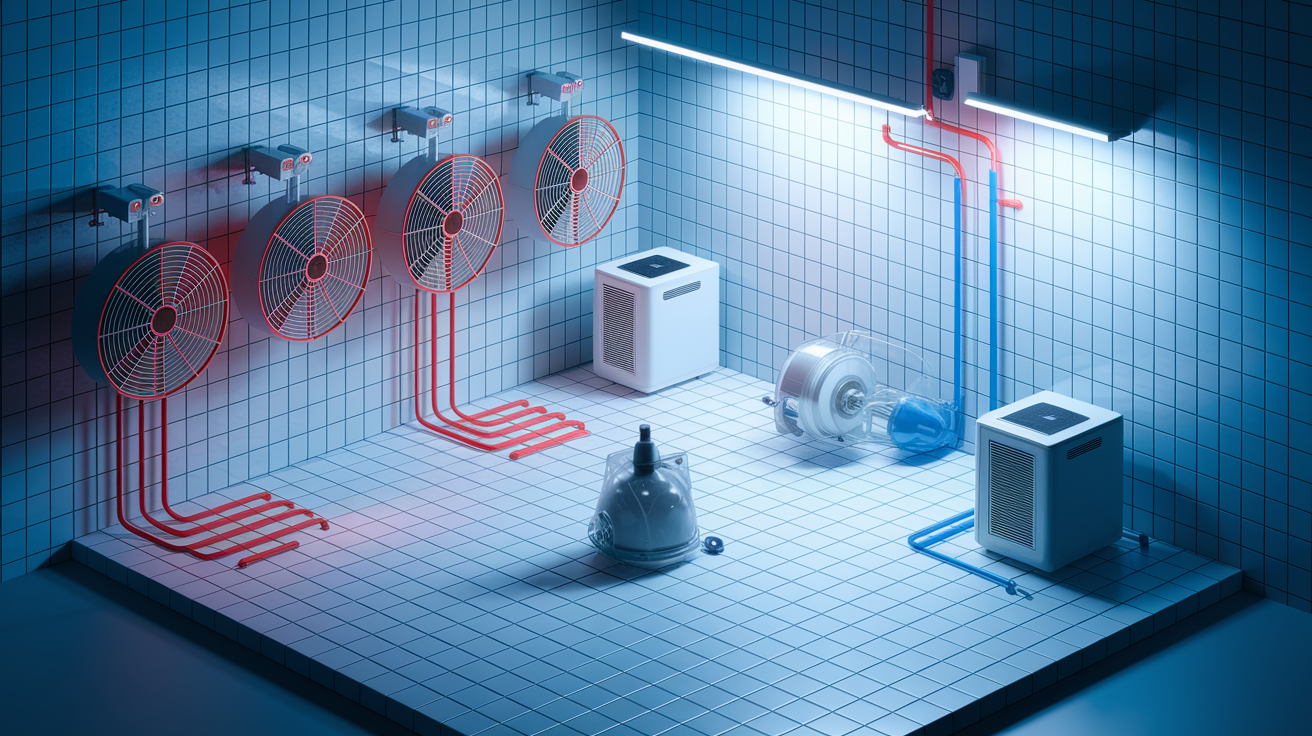
Getting rid of standing water is just the beginning. Moisture soaks into drywall, wood framing, insulation, subfloors. Surfaces might look dry, but humidity stays trapped in the air and inside materials. That’s when mold starts, usually within 24 to 48 hours.
High velocity fans push air across damp surfaces to speed evaporation. Position them so airflow hits wet walls, floors, and ceilings directly. Dehumidifiers pull moisture out of the air itself. Place them in the most humid spots, usually basements or closed off rooms where air doesn’t move well. If you can safely open windows without letting in rain, do it. Fresh airflow helps, especially combined with fans running full speed.
Use a hygrometer to measure humidity in the affected area. You want it below 60% to stop mold growth. Moisture meters check how much water’s still inside walls and floors. A surface might feel dry but still be holding water behind the paint or finish. Keep fans and dehumidifiers running until readings drop to normal dry building levels. Depending on how much soaked in, this can take days.
| Drying Equipment | Purpose | Placement Strategy |
|---|---|---|
| High-velocity fans | Push air across damp surfaces to speed evaporation | Aim directly at wet walls, floors, and ceilings; space multiple fans throughout the room for full coverage |
| Dehumidifiers | Extract moisture from the air to lower humidity levels | Place in the most humid areas, typically closed-off rooms or basements; run continuously until humidity drops below 60% |
| Moisture meters | Measure water content inside walls, floors, and other materials | Test multiple spots in affected areas daily; compare readings over time to confirm materials are drying properly |
Damaged Materials Assessment and Removal Decisions
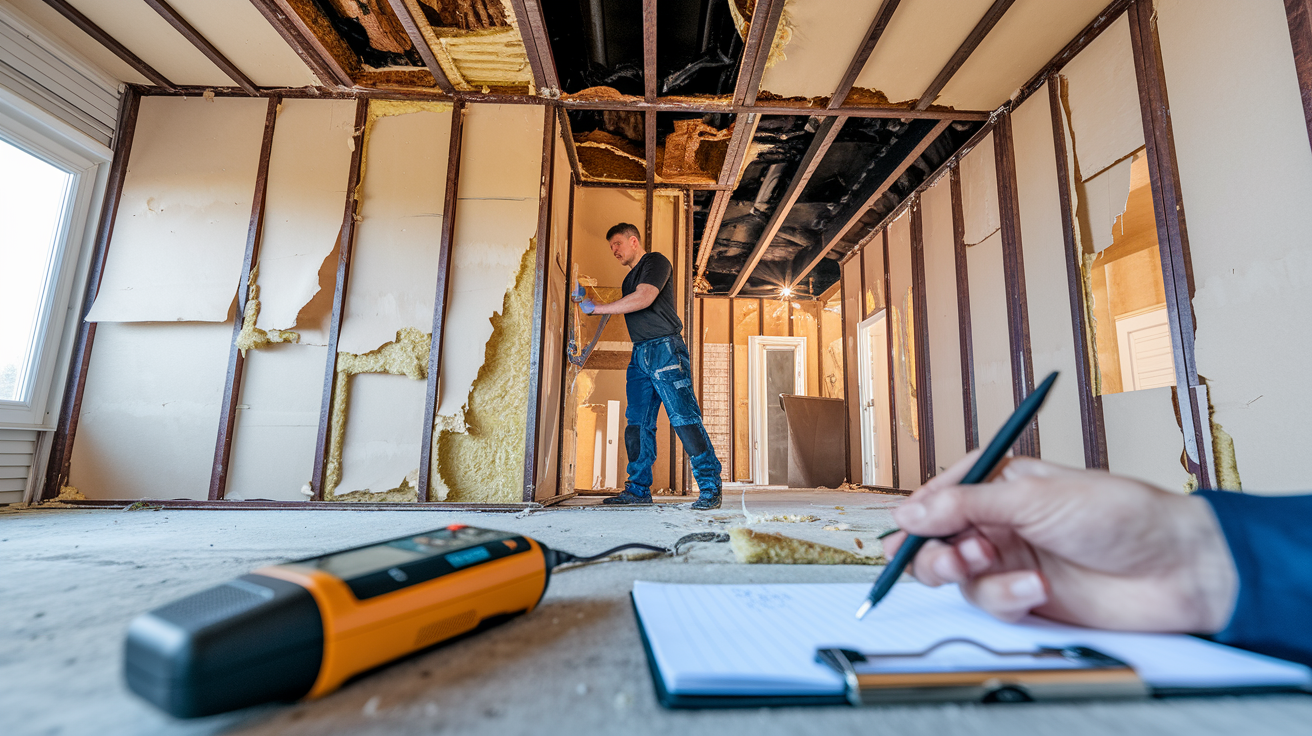
Once the area’s drying, walk through and check everything for water damage. Walls, ceilings, floors, baseboards. You’re looking for stains, warping, soft spots, buckling, peeling paint, anything showing water soaked in.
Here’s what you’re assessing:
- Drywall and plaster. If they’re soft, stained, or sagging, they’ve absorbed too much and need to come out.
- Insulation. Wet insulation doesn’t dry right and loses effectiveness. Usually needs replacing.
- Carpeting and padding. Padding stays wet longer than carpet. If water sat more than a day, the padding’s done.
- Hardwood and laminate flooring. Look for cupping, buckling, or gaps. Some hardwood can dry and recover. Laminate usually can’t.
- Baseboards and trim. These swell and warp when wet. Damaged pieces come off easily and should be replaced.
- Ceiling tiles. Waterlogged tiles sag and stain. They’re not salvageable.
- Subfloor. If water got down to the subfloor, check for soft spots and rot. This is structural and needs professional eyes.
Waterlogged ceilings and floors can collapse without warning. Stay out of rooms with heavy ceiling staining or sagging until a pro evaluates structural integrity. When you pull damaged materials, follow local disposal rules, especially if you’re dealing with asbestos, lead paint, or treated wood. Bag materials as you remove them and get them outside quickly so they’re not adding moisture back into the air.
Cleaning and Sanitizing After Burst Pipe Water Damage

Even if the water came from a clean supply line, it picks up dirt, dust, and bacteria as it spreads. Cleaning and sanitizing prevent mold, bacteria, and odors from developing in the days after extraction.
Start with basic cleaning. Scrub all affected surfaces with water and detergent. This removes surface dirt and prepares the area for disinfection. Rinse with clean water, then move to the next step.
Here’s the sanitization process:
-
Mix water and white vinegar in equal parts and apply to all cleaned surfaces. Vinegar stops mold spores without harsh chemicals. Wipe it on walls, floors, and any hard surfaces that got wet.
-
Prepare a bleach solution for tougher contamination. Mix 1 cup bleach with 1 gallon water. Use this on areas with visible staining, heavy dirt buildup, or anywhere you’re worried about bacteria. Don’t mix bleach with other cleaners.
-
Work the solution into corners, crevices, and edges. Water accumulates in these spots, and that’s where mold starts first. Scrub baseboards, door frames, closet corners, anywhere water pooled or splashed.
-
Ventilate while you’re sanitizing. Open windows, run fans, keep air moving. This speeds drying and keeps fumes from building up while you’re working with bleach.
Humidity control matters during and after sanitization. Keep levels below 60% with dehumidifiers running. Mold can start within 24 to 48 hours in damp conditions, even after you’ve cleaned. For high risk areas like basements, bathrooms, or places where water sat for hours, antimicrobial treatments add extra protection. These are sprays or foggers that coat surfaces with mold resistant compounds. If you’re smelling mustiness in carpets or fabric, sprinkle baking soda, let it sit a few hours, then vacuum it up. The odor means moisture’s still present, so keep drying equipment running until the smell clears.
Documentation and Insurance Coverage for Pipe Burst Claims

Before you move furniture or start mopping, grab your phone and document everything. Insurance claims depend on proof of damage, and once you clean up, that proof’s gone.
Take photos and videos of all affected areas from multiple angles:
- Wide shots showing the full extent of water spread across rooms
- Close-ups of water damage on walls, floors, ceilings, and furniture
- Video walkthroughs narrating what you’re seeing and where the water came from
- Written notes with timestamps detailing when you discovered the burst pipe and what actions you took
- Inventory of damaged personal belongings with descriptions and estimated values
- Receipts for any emergency repairs, equipment rentals, or temporary fixes
- Plumber’s assessment notes and repair cost estimates
- Moisture readings and humidity measurements if you have access to meters
- All communication records with your insurance company, including claim numbers and adjuster contact info
Most homeowners policies cover sudden pipe bursts, but coverage varies depending on the cause. If the pipe froze because you left the heat off for weeks, the claim might get denied. If it burst due to age or a pressure surge, you’re usually covered. Professional restoration companies often work directly with insurance providers and can bill them directly, which means fewer out of pocket costs upfront. Ask about direct billing when you’re selecting a restoration team.
When to Hire Professionals vs. DIY: Making the Right Decision

You can handle some temporary measures yourself. Shutting off water, draining faucets, mopping small spills, these are things you do while waiting for help. A pipe sleeve or clamp from the hardware store can stop a small leak temporarily until a plumber shows up.
But consumer grade wet/dry vacs, box fans, and home dehumidifiers have limits. They’re fine for minor water exposure in a single room. They can’t handle what pros deal with every day.
Call a professional restoration company when you’re facing:
- Water affecting multiple rooms or levels
- Subfloor or structural penetration where water soaked through flooring into framing below
- Sewage or contaminated water mixed in with supply line water
- Ceiling or wall cavity saturation where water’s trapped inside and can’t be reached with fans
- HVAC system exposure where water got into ductwork or heating and cooling equipment
- Presence of asbestos or lead materials in affected areas, especially in older homes
When you’re selecting a restoration company, look for IICRC certification. That’s the industry standard for water damage restoration training. Certified techs know proper drying protocols, contamination categories, and structural assessment. Verify the company’s licensed, insured, and bonded. Check local references or online reviews, but focus on companies offering true 24/7 Emergency Water Damage Restoration response. A burst pipe doesn’t wait for business hours, and neither should your restoration team.
Professional teams bring truck mounted extraction equipment, industrial dehumidifiers, air movers, moisture detection tools, thermal imaging cameras, and antimicrobial treatments. They also bring experience. They’ve seen hundreds of burst pipe scenarios and know what hidden damage to look for, how long drying should take, and what materials can be saved versus what needs replacing. That expertise prevents mistakes that cost more later.
Long-Term Monitoring and Damage Prevention Strategies
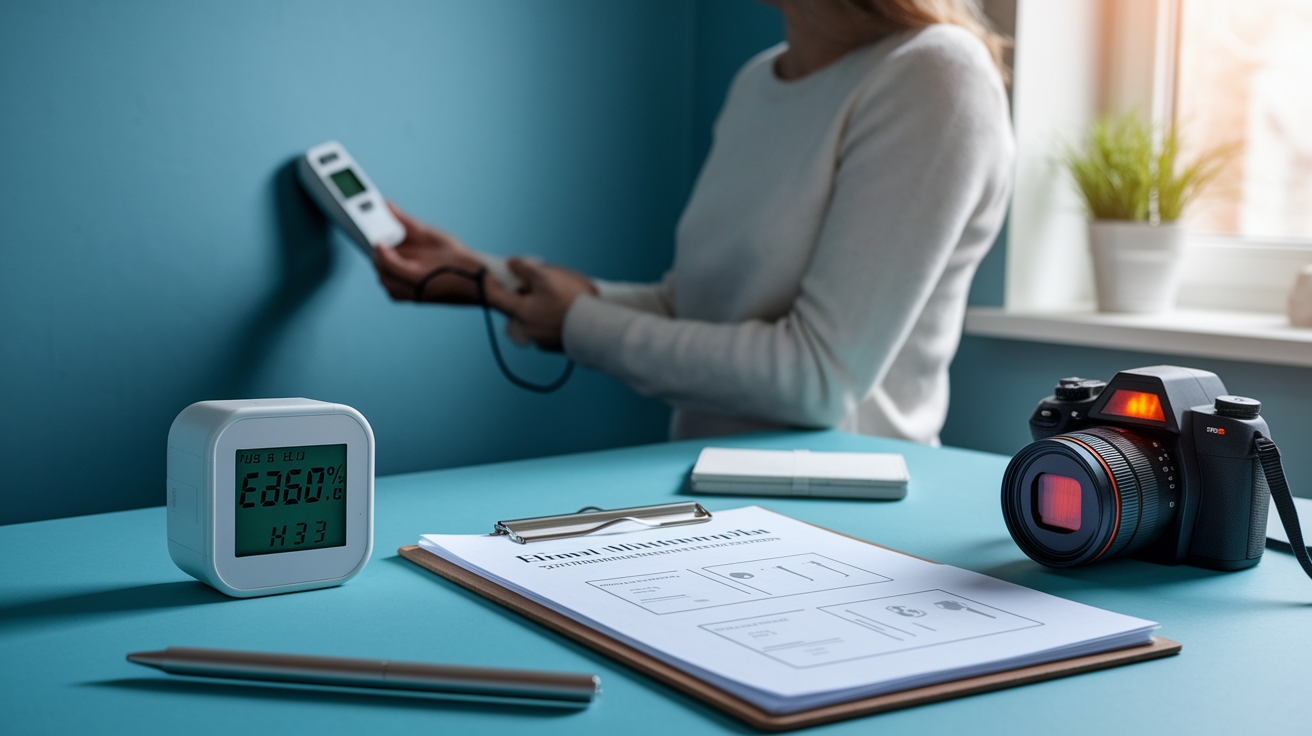
Secondary damage shows up after the visible cleanup’s done. It’s mold growth inside a wall you thought was dry. It’s subfloor rot you didn’t catch because the surface looked fine. It’s the slow development of structural issues that started with moisture you didn’t fully extract.
Immediate restoration handles what you can see. Long term monitoring handles what you can’t. Keep checking affected areas even after everything looks and feels dry.
Follow these monitoring and prevention steps:
- Run weekly moisture checks in affected areas for the first month. Use a moisture meter on walls, floors, and ceilings. Compare readings to baseline dry levels.
- Do monthly visual inspections of restored surfaces for six months. Look for new stains, soft spots, peeling paint, or warping that signals hidden moisture.
- Keep tracking humidity levels throughout your property. If readings creep above 60%, run dehumidifiers again.
- Schedule air quality testing after restoration’s complete. This confirms no mold spores are circulating from hidden growth.
- Arrange follow-up inspections for hidden moisture in wall cavities. Pros use thermal imaging to spot trapped water you can’t see.
- Document baseline moisture readings for future comparison. If another leak happens, you’ll know what normal levels should be.
Health risks increase when monitoring’s skipped. Mold exposure causes respiratory issues, allergic reactions, and persistent coughing. Some mold species produce mycotoxins that are more serious. Kids, elderly family members, and anyone with asthma or compromised immune systems are most vulnerable. Proper long term monitoring prevents these risks and catches small problems before they become expensive structural repairs. If professional restoration handled your initial cleanup, ask about follow-up inspection schedules. Most companies recommend at least one follow-up visit within 30 days to verify complete drying and confirm no secondary issues developed.
Burst Pipe Causes and Winter Plumbing Hazards

Understanding why pipes burst helps you prevent the next one. It’s not always just freezing temperatures, though that’s the most common trigger in cold climates.
| Cause Category | Contributing Factors | Risk Level |
|---|---|---|
| Freezing temperatures | Pipes in unheated areas (crawl spaces, attics, exterior walls); sudden cold snaps; inadequate insulation; pipes near drafty windows or vents | High in winter months, especially during temperature drops below 20°F |
| Aging pipes | Corrosion in copper pipes; brittleness in older galvanized steel; deterioration of joints and connections; decades of mineral buildup weakening pipe walls | Increases significantly after 50+ years of service |
| Pressure issues | Water hammer from quick valve closures; pressure surges from municipal systems; faulty pressure regulators; thermal expansion in closed systems | Moderate but increases with age and wear |
| Corrosion | Acidic or hard water eating through pipe interiors; galvanic corrosion where different metals connect; rust buildup in steel pipes; pitting corrosion in copper | Gradual but cumulative over years |
| External forces | Tree root intrusion into underground lines; soil shifting and settling; ground freezing and thawing cycles; construction or landscaping damage | Variable depending on property location and landscaping |
| Installation defects | Improper soldering or fitting connections; incorrect pipe sizing for water pressure; lack of expansion allowances; poor placement in high-risk areas | Present from installation but may not fail until years later |
Preventive Maintenance and Pipe Freeze Prevention Strategies
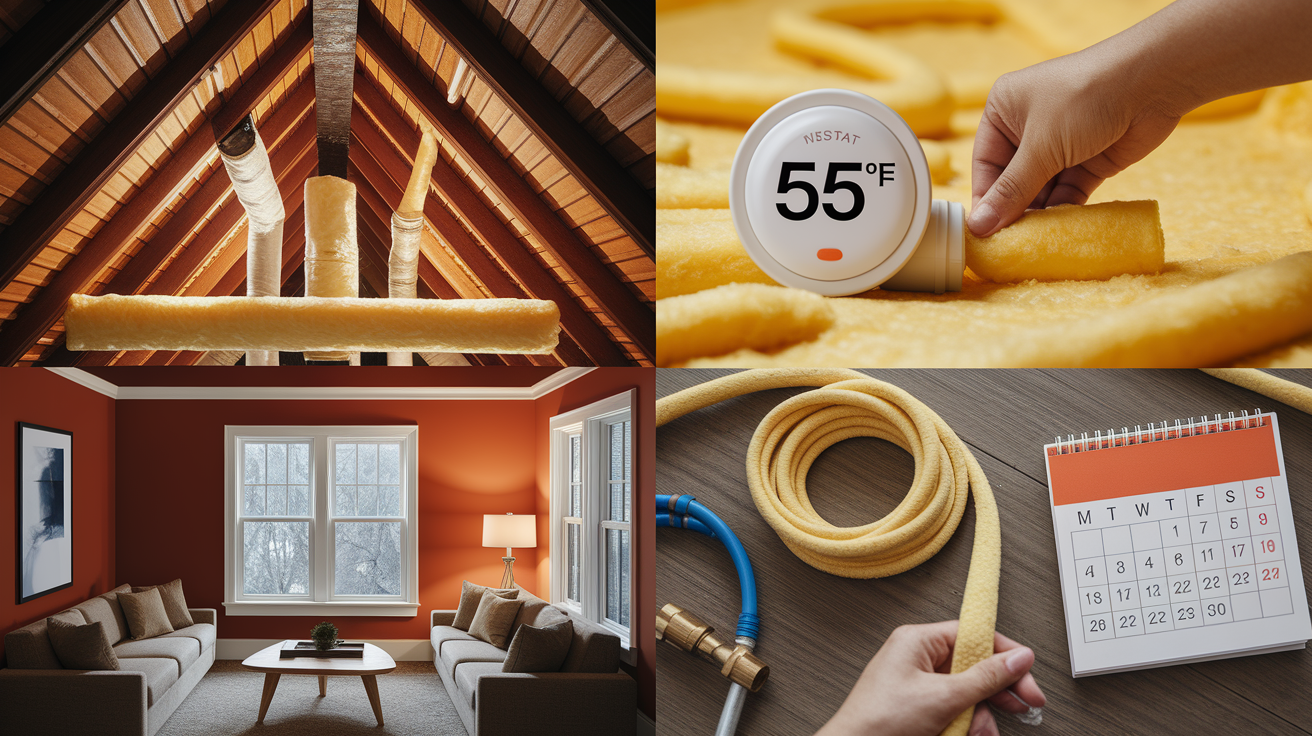
Prevention costs a fraction of what emergency repairs run. A little preparation before winter and some basic maintenance habits keep pipes intact through temperature swings and aging.
Schedule a plumbing inspection every fall before cold weather hits. A pro can spot corrosion, weak joints, and pipes in vulnerable locations before they fail. If you have pipes in unheated spaces like crawl spaces, attics, garages, or exterior walls, insulate them with foam pipe sleeves. These are cheap and available at any hardware store. Just slip them over the pipes and secure with tape.
When you’re away from home in winter, keep your thermostat set to at least 55°F. Pipes can freeze in hours when indoor temperatures drop too low. During extreme cold snaps, let faucets drip slightly overnight. Moving water’s harder to freeze than standing water, and the tiny flow relieves pressure buildup that causes bursts. For comprehensive help with emergency prevention measures and professional inspection services, consider Emergency Plumbing Services that can assess your system before problems develop.
Here are the prevention strategies that make the biggest difference:
- Schedule annual plumbing inspections before winter. Pros catch weak spots, corrosion, and pressure issues before pipes fail.
- Install foam pipe insulation in unheated areas. Wrap pipes in crawl spaces, attics, garages, and along exterior walls.
- Maintain thermostat at minimum 55°F when away. Don’t let indoor temperatures drop so low that pipes freeze.
- Allow faucets to drip during extreme cold. A slow drip keeps water moving and relieves pressure.
- Seal cracks in exterior walls near pipes. Drafts bring cold air directly onto pipes and speed freezing.
- Disconnect and drain outdoor hoses before first freeze. Water trapped in hoses can freeze back into the pipe and cause a burst.
- Insulate crawl spaces and attics. Warmer spaces mean warmer pipes, even during cold snaps.
- Know the location of your main shut-off valve. Mark it clearly so anyone in the household can find it fast in an emergency.
Cost Factors and Timeline Expectations for Burst Pipe Restoration
Burst pipe damage can run anywhere from a few hundred dollars for a small localized leak to tens of thousands for extensive multi-room flooding with structural issues. Total cost depends on how much water spread, how long it sat, what materials got damaged, and whether you’re dealing with clean supply water or contaminated water.
Factors that influence your final restoration bill include the number of affected rooms, whether water reached subfloors or wall cavities, the type of flooring and walls you have (hardwood and tile cost more to replace than vinyl or laminate), how quickly you started mitigation, and whether mold developed before drying was complete. Labor, equipment rental, material disposal, reconstruction, and plumber fees all add up.
Timelines vary just as much. A small pipe leak in a bathroom might be dried, cleaned, and repaired within a few days. A basement flood with structural damage could take weeks, especially if you’re waiting on insurance approvals, material orders, and contractor schedules.
| Damage Extent | Typical Timeline | Cost Range Factors |
|---|---|---|
| Minor localized (single room, surface water only) | 1-3 days for drying and cleanup; 3-7 days total including minor repairs | Water extraction, surface drying, cleaning, minor drywall or flooring repairs; typically $500-$2,000 |
| Moderate single-room (water soaked into walls or subfloor) | 5-7 days for complete drying; 2-3 weeks total including reconstruction | Equipment rental for extended drying, partial drywall replacement, subfloor drying or replacement, baseboard and trim; typically $2,000-$8,000 |
| Extensive multi-room (water spread across multiple areas or levels) | 7-14 days for drying; 3-6 weeks total with reconstruction and material replacement | Large-scale extraction, dehumidification, multiple room drywall replacement, flooring replacement, insulation, potential HVAC cleaning; typically $8,000-$25,000 |
| Severe structural (subfloor damage, ceiling collapse risk, contaminated water) | 2-3 weeks for drying and assessment; 6-12 weeks total including structural repairs and reconstruction | Structural engineering assessment, framing repairs, subfloor replacement, extensive drywall and ceiling work, mold remediation if present, complete reconstruction; typically $25,000-$75,000+ |
Final Words
Pipe burst cleanup isn’t something you plan for, but knowing these steps keeps you from making a stressful situation worse.
Shut off the water, contain what you can, and get the drying process started right away. The faster you act, the less damage spreads through your walls, floors, and belongings.
If water’s reached multiple rooms, soaked into subfloors, or you’re just not sure what you’re dealing with, call in a restoration team. They’ve got the equipment and the experience to handle what most homeowners can’t.
Your home can come back from this. It just takes the right response at the right time.
FAQ
How do you clean up after a pipe burst?
Cleaning up after a pipe burst starts by shutting off the main water valve and electricity near wet areas, then removing standing water with pumps or wet/dry vacuums. After water extraction, position high-velocity fans and dehumidifiers to dry all surfaces thoroughly. Remove damaged materials like wet drywall and insulation that can’t be saved. Sanitize all affected surfaces with detergent solution followed by vinegar mixture to prevent mold growth.
How much does a plumber charge for a busted pipe?
A plumber typically charges between $150 to $350 for emergency pipe repair, though costs vary based on pipe location, damage extent, and time of service call. Complete restoration including water damage cleanup can run into thousands depending on how many rooms are affected and what materials need replacement. Your homeowners insurance may cover some or all restoration costs depending on your policy and the cause of the burst.
Does homeowners insurance cover a burst pipe?
Homeowners insurance typically covers burst pipe damage if the break was sudden and accidental, such as freezing or age-related failure, but not if caused by neglect or lack of maintenance. Coverage usually includes water extraction, structural drying, damaged material replacement, and sanitization services. Document all damage with photos and videos before cleanup begins, and contact your insurance company immediately to start the claims process and verify your specific coverage.
How do you dry out a house after a pipe burst?
Drying out a house after a pipe burst requires removing all standing water first, then positioning high-velocity fans to direct airflow toward damp surfaces while running dehumidifiers in humid areas. Keep humidity levels below 60% and maintain good ventilation by opening windows when weather permits. Use moisture meters to monitor progress in walls, floors, and ceilings, as complete drying typically takes three to five days depending on damage extent and affected materials.
When should you call a professional instead of handling burst pipe cleanup yourself?
You should call a professional restoration company when water affects multiple rooms, penetrates subfloors or wall cavities, involves sewage contamination, or saturates ceilings. Professional help is also needed if your home contains asbestos or lead materials in affected areas, or if HVAC systems were exposed to water. Look for IICRC-certified technicians with 24/7 emergency response availability and specialized extraction equipment beyond consumer-grade wet/dry vacuums.
What materials need to be removed after a burst pipe?
Materials requiring removal after a burst pipe include wet drywall that stayed saturated for more than 24 hours, soaked insulation that loses effectiveness when wet, and carpeting with padding that can’t dry properly. Waterlogged ceiling tiles, damaged baseboards and trim, and compromised subfloor sections also need replacement. Have a professional assess structural elements like wall cavities and floor joists for hidden moisture before making removal decisions.
How long does it take to restore a home after a burst pipe?
Restoration time after a burst pipe depends on damage extent, ranging from three to five days for minor localized damage to two to three weeks for extensive multi-room flooding. The drying phase alone typically takes three to five days with proper equipment positioning and humidity control. Structural repairs, material replacement, and final sanitization add additional time based on what needs rebuilding and whether custom materials require ordering.
What causes pipes to burst in homes?
Pipes burst in homes primarily from freezing temperatures that cause water to expand inside the pipe, creating pressure that splits the metal or plastic. Age-related deterioration, corrosion in copper pipes, high water pressure, and faulty installation also contribute to burst pipes. External forces like tree root intrusion, soil shifting, and temperature fluctuations weaken pipes over time, making them more likely to fail suddenly.
How can you prevent pipes from bursting in winter?
You can prevent pipes from bursting in winter by installing foam insulation on exposed pipes in unheated areas like basements, crawl spaces, and attics. Maintain your thermostat at minimum 55°F even when away, and allow faucets to drip slightly during extreme cold snaps. Seal cracks in exterior walls near plumbing, disconnect outdoor hoses before freezing weather, and schedule a plumbing inspection before cold months to identify vulnerable areas.
What should you document for insurance claims after a burst pipe?
Document for insurance claims by taking photos from multiple angles of all water damage before starting any cleanup, including walls, floors, ceilings, and personal belongings. Record a video walkthrough showing the full extent of flooding and affected areas. Keep written notes detailing when you discovered the burst, actions you took immediately, moisture readings, and all communication with your insurance company. Save receipts for emergency repairs, equipment rentals, and the plumber’s assessment.
How do you sanitize after burst pipe water damage?
Sanitizing after burst pipe water damage starts with scrubbing all affected surfaces using water and detergent solution to remove dirt and debris. Apply a water and white vinegar mixture to inhibit mold spores on cleaned surfaces. For tougher contamination, use diluted bleach solution (one cup bleach per gallon of water) with proper ventilation. Pay special attention to corners, crevices, and hidden areas where moisture accumulates and mold risk is highest.
What humidity level prevents mold growth after water damage?
Maintaining humidity levels below 60% prevents mold growth after water damage, as mold spores need moisture to develop and spread. Use dehumidifiers continuously during the drying process and monitor levels with a hygrometer to ensure conditions stay unfavorable for microbial growth. Remember that mold can begin developing within 24 to 48 hours of water exposure, making quick drying and humidity control critical in the first days after a burst pipe.
