
You can kill most bathroom mold yourself with products you already own, but here’s the part nobody mentions. If your mold patch is bigger than 10 square feet, or if you find it behind walls, you need professional help. This guide covers simple removal steps for smaller jobs, breaks down which cleaning solutions actually work on different surfaces, and shows you how to stop mold from coming back after you’ve cleaned it up.
Complete DIY Bathroom Mold Removal Guide with Solutions

Before you touch any mold, put on your safety gear. The second you spot growth covering more than 10 square feet, stop. Call professional mold remediation services instead.
Proper removal starts with protection. You’ll need rubber or nitrile gloves, safety goggles, and a respirator or mask rated for mold spores. Open all bathroom windows and run the exhaust fan throughout the entire process. Never mix cleaning products, especially bleach with ammonia. This creates toxic fumes that can send you to the hospital.
| Solution Type | Mixture Ratio | Application Time | Best For | Effectiveness |
|---|---|---|---|---|
| White Vinegar | Undiluted | 15 minutes | Most surfaces, grout, tiles | Kills over 80% of mold species |
| Hydrogen Peroxide | 3% concentration (undiluted) | 10 minutes | Colored surfaces, fabric | Effective but test first for discoloration |
| Bleach | 1 part bleach to 3 parts water | 10-15 minutes | Non-porous surfaces, ceilings | Strong but avoid on wood |
| Tea Tree Oil | 1 teaspoon per cup of water | 1 hour | Natural alternative, all surfaces | Natural antifungal, mild odor |
| Borax | 1 tablespoon per cup of water | Leave on after scrubbing | Prevention, all surfaces | Prevents regrowth, low toxicity |
| Baking Soda | 1 tablespoon per cup of water | 5-10 minutes | Deodorizing, mild cases | Gentle, safe for all surfaces |
| Commercial Cleaners | Follow label directions | Varies by product | Stubborn mold, convenience | Formulated for mold, EPA registered |
Here’s your step by step removal process:
-
Put on your respirator or N95 mask first, then goggles, then rubber gloves. Change into old clothing you can wash in hot water or throw away.
-
Open the bathroom window completely. Turn on the exhaust fan. If you don’t have a window, place a box fan in the doorway pointing outward.
-
Tape plastic sheeting over the bathroom doorway to contain mold spores. Leave a small opening at the bottom for airflow from your fan setup.
-
Remove any towels, bath mats, shower curtains, or decorative items from the bathroom. Bag moldy fabric items in sealed plastic bags for washing or disposal.
-
Choose your cleaning solution based on your surface type. Use vinegar for most bathroom surfaces. Bleach solution works for ceilings and painted walls. Avoid bleach entirely on wood surfaces since only the water penetrates.
-
Pour your chosen solution into a spray bottle. Don’t dilute vinegar. For bleach, mix 1 part bleach with 3 parts water. For tea tree oil, add 1 teaspoon to 1 cup of water.
-
Spray the moldy area thoroughly until it’s dripping wet. Make sure you’ve covered all visible growth and a few inches beyond the edges.
-
Set a timer based on your solution. 15 minutes for vinegar, 10 to 15 minutes for bleach, 1 hour for tea tree oil, 10 minutes for hydrogen peroxide. Don’t wipe yet.
-
Use a soft bristled brush to scrub the area in circular motions. Work from the outside edges toward the center to avoid spreading spores. Rinse the brush frequently in clean water.
-
Wipe the area with microfiber cloths dampened with clean water. For borax solution, skip this step and leave the solution on the surface as a protective barrier.
-
Dry the area completely with clean towels or aim a fan directly at it for several hours. Damp surfaces will just grow more mold.
-
Place all used cloths, paper towels, and disposable materials into a sealed plastic garbage bag. Wash reusable items in hot water with detergent immediately.
After cleaning, inspect the treated area in bright light. Run your hand along the surface with gloves still on to check for any remaining texture or slime. The area should feel smooth and look the same color as the surrounding unaffected surface. If you still see discoloration, that’s likely staining rather than active mold, but repeat the treatment if you’re not sure.
Choose natural solutions like vinegar or tea tree oil when you’re dealing with small patches on surfaces your family touches often. They’re safer around kids and pets. Switch to bleach or commercial cleaners when you’re facing stubborn ceiling mold or need stronger antimicrobial action on non-porous surfaces where safety concerns are lower.
Identifying Bathroom Mold Types and Locations
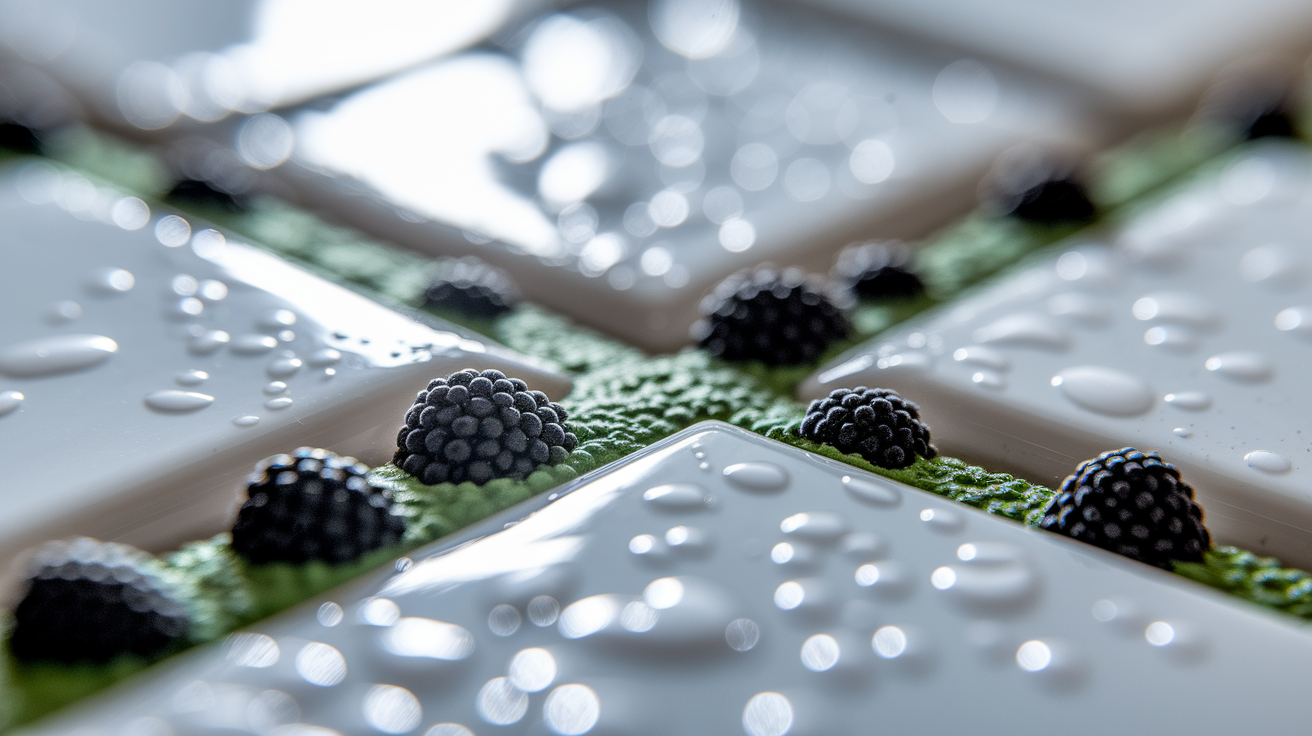
Knowing what type of mold you’re fighting and where it hides helps you target your cleaning efforts. It also tells you if you need professional help.
Common bathroom mold appears in these locations:
- Between shower tiles and grout lines where water sits after every shower
- Along caulking and silicone seals around tubs, showers, and sinks
- In ceiling corners where warm moisture condenses and pools
- Behind and under the toilet where slow leaks often go unnoticed
- Under the bathroom sink in cabinets with dripping pipes
- On shower curtains and liners that stay damp between uses
- Around window sills where condensation collects
- Behind towel racks and toilet paper holders mounted to walls
- In exhaust fan grilles that never get cleaned
- Along the bottom edge of baseboards near the shower or tub
The most common bathroom molds include Alternaria, which shows up as black or dark green fuzzy patches. Aspergillus appears green, yellow, or white with a powdery or fuzzy texture. Mucor looks white or gray. Stachybotrys chartarum appears as dark greenish black growth with a slimy texture. Mildew, technically a type of mold, shows up as powdery white or gray substance that’s easier to remove than true mold.
Try the cotton swab bleach test when you’re not sure if you’re looking at mold, mildew, or just dirt. Dip a cotton swab in bleach and dab it on the stain. If it lightens within a couple of minutes, you’ve got mildew. If nothing changes, it’s probably dirt or staining. If it darkens or the area around it starts showing more growth, stop using bleach and switch to another method.
What you see on the surface might just be the beginning. Mold growing on grout or caulking has usually spread deeper into the porous material. Wall mold might indicate a bigger problem behind the drywall from a hidden leak.
Surface-Specific Mold Removal Techniques for Bathrooms

Different bathroom surfaces absorb moisture differently. Your cleaning approach needs to change based on what you’re treating. A technique that works perfectly on glass shower doors will damage painted walls or fail completely on porous grout.
Non-Porous Surfaces (Tiles, Glass, Fixtures)
Ceramic tiles, glass shower doors, chrome faucets, and glazed porcelain are the easiest bathroom surfaces to clean. Mold can’t penetrate them. The growth stays on top where you can reach it.
Spray undiluted white vinegar directly on moldy tiles, glass, or fixtures. Let it sit for 15 minutes, then wipe with a microfiber cloth. For stubborn spots on faucets or shower door tracks, make a paste from baking soda and water. Apply it with an old toothbrush, scrub, then rinse. Window sills respond well to hydrogen peroxide sprayed on and left for 10 minutes before wiping.
These surfaces handle stronger cleaning solutions without damage. You can use the bleach solution, 1 part bleach to 3 parts water, if natural methods don’t get everything on the first try.
Grout Lines and Porous Materials
Grout is your bathroom’s weak spot. Those lines between tiles are porous cement that sucks in moisture and gives mold a perfect place to dig in deep. Surface cleaning only removes what you can see.
For light mold in grout, spray with undiluted vinegar and let it sit for 30 minutes instead of 15. Use a stiff grout brush to scrub along the lines with firm pressure. If that doesn’t work, make a paste from baking soda and hydrogen peroxide. Apply it to the grout lines, let it sit for 10 minutes, then scrub hard. Rinse thoroughly and dry completely.
When grout turns dark all the way through or crumbles when you touch it, cleaning won’t fix it. You’ll need to remove the damaged grout with a grout saw and replace it with fresh grout. Seal new or cleaned grout with a penetrating grout sealer after it dries to prevent mold from moving back in.
Caulking and Silicone Seals
That rubbery seal around your tub or shower base gets moldy faster than anything else in your bathroom. Caulk is designed to flex and stay waterproof, but it’s also porous enough for mold to grow inside it.
Clean surface mold on caulking with hydrogen peroxide or vinegar. Spray it on, wait 15 minutes, scrub gently with an old toothbrush, then rinse and dry.
Replace the caulking completely when you see any of these signs. The mold comes back within a week after cleaning. Dark discoloration goes all the way through the caulk. The caulk feels soft or peels away from the wall. You see gaps where water could get behind it. Cut out old caulk with a utility knife, scrape away all residue, let the area dry for 24 hours, then apply fresh silicone caulk with mold inhibitors in the formula.
Painted Ceilings, Walls, and Corners
Bathroom ceilings collect the most moisture because warm shower steam rises and condenses on the coolest surface in the room. Paint is somewhat porous, so you need to clean mold without scrubbing so hard you damage the finish.
Mix 1 part bleach with 3 parts water in a spray bottle for ceiling mold. Spray the affected area and let the solution sit for 10 to 15 minutes. Wipe gently with a damp sponge, working from the outside edges toward the center. Don’t scrub or you’ll remove paint along with the mold.
Ceiling corners where two walls meet are mold magnets. These spots stay damp longer because air doesn’t circulate there. Clean them with the same bleach solution, using a sponge on the end of a long handle to reach without climbing.
If mold keeps coming back on ceilings or walls after cleaning, or if the paint bubbles and peels, you might have water damage from above. Check for roof leaks, bathroom plumbing issues on upper floors, or condensation problems in the attic. You may need water damage restoration services to fix the source before the mold problem stops for good. After the area dries completely, repaint with mold resistant paint that contains antimicrobial additives.
Hard-to-Reach Problem Areas
Shower curtains and liners develop mold along the bottom edge and in the folds. Throw fabric shower curtains in the washing machine with hot water, detergent, and a cup of white vinegar. Vinyl liners either go in the washer on gentle cycle or get replaced if they’re heavily moldy since they’re cheap.
The space behind the toilet collects moisture from condensation on the tank and bowl. Pull the toilet away from the wall if possible, or use a long handled brush to reach back there. Spray with hydrogen peroxide, let it sit, then scrub and wipe dry.
Under the bathroom sink, mold grows when pipes drip slowly onto the cabinet bottom. Empty everything out, check for leaks, spray moldy areas with vinegar, scrub, dry thoroughly, then fix any plumbing problems before putting items back.
Common Causes of Bathroom Mold Growth
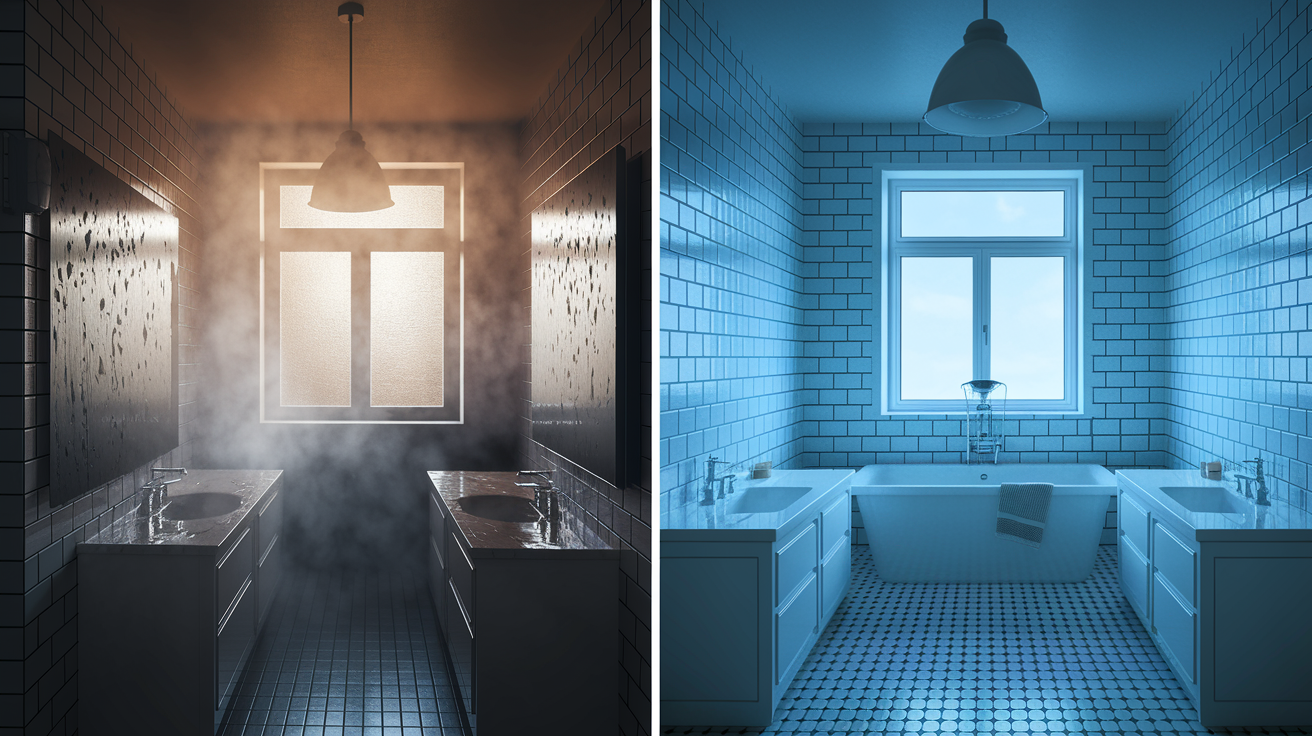
Mold doesn’t show up randomly. It needs specific conditions to grow, and bathrooms hand those conditions over on a silver platter multiple times every day.
Mold thrives in warm, humid environments with poor ventilation and excess moisture. Your bathroom creates all of these conditions every time someone takes a hot shower. The steam raises humidity levels, warm air holds more moisture, and without proper airflow, that moisture sits on surfaces until mold spores floating in the air land and start growing.
Bathrooms are naturally the most vulnerable room in your home because they’re designed to get wet. The difference between a bathroom that stays mold free and one that grows new colonies every month usually comes down to moisture control and ventilation. If you can keep humidity between 30 and 50 percent and dry damp areas within 1 to 2 days, mold won’t establish itself.
| Cause | How It Creates Mold | Quick Fix |
|---|---|---|
| Poor Ventilation | Traps humid air inside, moisture condenses on cool surfaces | Run exhaust fan during and 20 minutes after showers |
| Shower Steam Buildup | Raises humidity to 90%+, saturates grout and caulk | Keep bathroom door open after showering, use squeegee on walls |
| Leaky Pipes and Fixtures | Provides constant moisture source in hidden areas | Check under sinks and behind toilets monthly, repair drips immediately |
| Condensation on Cold Surfaces | Warm humid air meets cold toilet tank or mirror, water droplets form | Increase room temperature, improve air circulation, wipe down surfaces |
| Wet Towels and Bath Mats | Stay damp for hours, raise humidity, spread moisture to walls | Hang towels to dry completely, wash bath mats weekly |
| Standing Water | Pools in shower corners or tub edges, never fully dries | Squeegee shower after use, check for drainage problems |
Use a small hygrometer to monitor your bathroom’s humidity level. These inexpensive devices tell you exactly what the moisture level is in the air. When it stays above 50 percent for extended periods, mold growth is inevitable. When you can keep it between 30 and 50 percent through ventilation and moisture control, mold struggles to establish colonies. If you notice water damage or persistent dampness that won’t dry within 1 to 2 days even with fans running, you’ve got a bigger problem. Hidden leak or structural issue that needs professional attention.
Comprehensive Bathroom Mold Prevention and Long-Term Solutions

Cleaning mold away today doesn’t mean much if it’s back next month. Prevention takes less effort than repeated removal. It starts with daily habits that keep moisture under control.
The single most effective prevention strategy is controlling humidity through consistent ventilation. Every time someone showers, moisture enters the air and lands on surfaces. The faster you remove that humid air and dry those surfaces, the less opportunity mold gets to grow. Think of prevention as closing the door before mold walks in, instead of trying to kick it out after it’s settled in.
Here are the specific actions that stop mold before it starts:
-
Run your exhaust fan during every shower and for 20 to 30 minutes after you finish. Set a timer if you forget.
-
Open the bathroom window during and after bathing if you have one, even in winter for just 10 to 15 minutes.
-
Squeegee shower walls and glass doors after each use to remove standing water that would otherwise sit and evaporate slowly.
-
Hang wet towels on racks with space between them so air circulates. Don’t pile them on hooks or leave them crumpled on the floor.
-
Wash bath mats at least weekly. Hang them to dry between uses instead of leaving them damp on the floor.
-
Wipe down the shower, sink, and countertops with a dry towel after use to remove water droplets before they evaporate into the air.
-
Leave the shower curtain or door partially open after bathing so the enclosure dries out instead of staying humid.
-
Check under sinks, behind toilets, and around fixtures monthly for signs of leaks. Fix drips within 1 to 2 days before mold forms.
-
Clean your bathroom weekly with mold inhibiting cleaner or vinegar to remove soap scum and organic matter that mold feeds on.
-
Keep humidity between 30 and 50 percent. Use a hygrometer to monitor levels. If humidity stays high, you need better ventilation or a dehumidifier.
-
Remove or reduce the number of plants in your bathroom since they release moisture into the air and create favorable conditions for mold.
-
Seal grout lines every 6 to 12 months with penetrating grout sealer to close the pores and prevent moisture absorption.
-
Inspect caulking around tubs, showers, and sinks twice a year. Replace any sections that show gaps, cracks, or early mold growth.
-
Clean exhaust fan covers quarterly and vacuum out dust buildup that reduces airflow efficiency.
-
After cleaning mold, apply a mold inhibitor or borate based solution to the treated area to prevent regrowth for several months.
For permanent improvements that address mold at the structural level, start with your exhaust fan. Many builder grade fans move too little air for the bathroom size. Calculate your bathroom’s cubic footage, length times width times height, and get a fan rated for at least 8 air changes per hour. A 50 square foot bathroom with 8 foot ceilings needs a fan rated for at least 50 CFM (cubic feet per minute). Make sure it vents directly outside, not into your attic where it just moves the moisture problem somewhere else.
Mold resistant paint creates a harder surface that resists moisture penetration better than standard paint. These paints contain antimicrobial additives that actively prevent mold growth. Use them on bathroom ceilings and walls, especially in shower areas. The paint costs $30 to $50 per gallon compared to $20 to $30 for regular paint, but it lasts longer and reduces cleaning frequency. Some products combine mold resistance with moisture resistance for double protection.
Waterproofing treatments behind tile installations prevent moisture from reaching drywall and studs where hidden mold grows unnoticed. If you’re remodeling or repairing water damaged walls, install a waterproof membrane like RedGard or Kerdi board behind new tile. It costs more upfront but eliminates the expensive mold remediation you’d face in 5 to 10 years without it.
In humid climates or during summer months, run a small bathroom dehumidifier to maintain that 30 to 50 percent humidity range. Empty the water reservoir daily and clean it weekly to prevent the dehumidifier itself from growing mold. Models with built in humidistats shut off automatically when the target humidity is reached.
The upfront cost of these permanent improvements ranges from $200 for a better exhaust fan to $2,000 for waterproofing during a remodel. It pays for itself by eliminating repeated cleaning supplies, time spent scrubbing mold, and potential health issues from ongoing exposure. More importantly, it stops the stress of wondering when you’ll see mold colonies spreading again.
When to Call Professional Mold Remediation Services
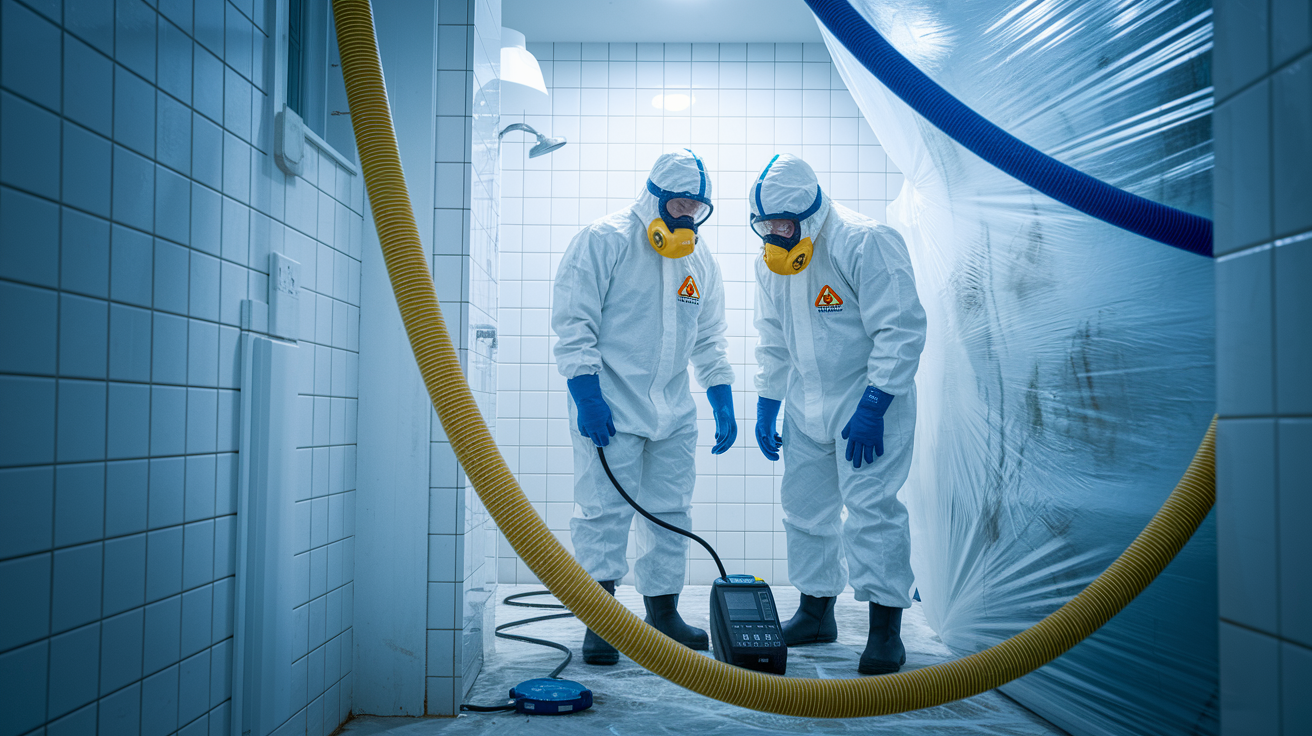
Some mold situations are beyond safe DIY removal. When you’re looking at more than 10 square feet of mold growth, you’ve crossed the threshold into professional remediation territory. That’s roughly a 3 foot by 3 foot area, which sounds small but indicates a serious moisture problem that probably extends behind visible surfaces.
Stachybotrys chartarum appears as dark greenish black growth with a slimy texture. This species produces mycotoxins that cause respiratory problems, headaches, and other health issues. If you suspect you’re dealing with Stachybotrys based on its appearance and musty smell, don’t try to clean it yourself. The disturbance releases spores into the air at dangerous concentrations.
Call professional mold remediation services when you see:
- Mold covering more than 10 square feet of visible surface area
- Dark greenish black slimy mold that might be Stachybotrys chartarum
- Mold growth behind walls, under flooring, or in crawl spaces you can’t safely access
- Mold inside your HVAC system or air ducts where it spreads throughout the house
- Recurring bathroom mold that keeps coming back within weeks after thorough cleaning
- Structural damage like soft drywall, warped wood, or crumbling materials from long term moisture exposure
- Health symptoms in family members that worsen when they’re in the bathroom or improve when they leave home
- Mold problems following a flood, major leak, or sewage backup
Professional remediation companies offer containment systems that DIY methods can’t match. They seal off the work area with negative air pressure machines that pull air and spores out of your home instead of spreading them to other rooms. They use HEPA filter vacuums that trap particles as small as 0.3 microns with 99.97 percent efficiency. They have moisture meters that detect hidden water behind walls and thermal imaging cameras that show cold spots indicating moisture problems you can’t see.
Professionals who handle fire and smoke damage often work alongside mold specialists because disasters create layered problems. Water used to fight fires leads to moisture problems, which lead to mold within 24 to 48 hours. Companies offering fire and smoke damage restoration understand these connected issues and address them systematically instead of treating each problem separately. Complete full property restoration services handle everything from water extraction to mold prevention to final repairs under one contract. This saves time and reduces the risk of mold growing while you’re waiting for different contractors to coordinate schedules.
Professional mold remediation typically costs $500 to $3,000 for small to moderate bathroom jobs under 100 square feet. Larger infestations, specialized disposal requirements, or structural repairs push costs to $3,000 to $6,000 or more. The work usually takes 2 to 5 days depending on severity, including drying time.
The assessment itself is often free or under $500. It tells you exactly what you’re dealing with. Professionals test the mold species, measure moisture levels in walls and subfloors, identify the water source, and provide a detailed remediation plan with guaranteed results. That information alone is worth the cost when you’re unsure whether your bathroom problem is a simple cleaning job or a health hazard requiring immediate professional intervention.
Time and Cost Requirements for Bathroom Mold Removal

Both time and money depend on how much mold you’re dealing with and whether it’s grown into porous materials or stayed on the surface.
Small surface mold on tiles or grout takes less time and costs almost nothing if you already have white vinegar or hydrogen peroxide at home. Large infestations, hidden mold behind walls, or certain species require professional equipment and expertise that costs thousands of dollars. Knowing which category your situation falls into helps you plan your weekend and your budget.
| Project Scope | DIY Time | DIY Cost | Professional Cost | When to Choose |
|---|---|---|---|---|
| Small spots (under 3 sq ft) | 1-2 hours | $0-15 | Not recommended | Surface mold on non-porous surfaces, no health concerns |
| Moderate coverage (3-10 sq ft) | 3-5 hours | $15-50 | $500-1,500 | DIY if comfortable with safety gear and mold isn’t concerning |
| Large infestation (over 10 sq ft) | Not safe for DIY | N/A | $1,500-3,500 | Always professional due to safety and containment needs |
| Hidden/structural mold | Not safe for DIY | N/A | $2,000-6,000+ | Always professional, requires wall removal and reconstruction |
| Concerning mold species | Not safe for DIY | N/A | $3,000-8,000+ | Always professional due to health hazards and disposal requirements |
DIY mold removal typically costs $0 to $50 for cleaning supplies including spray bottles, brushes, gloves, masks, and cleaning solutions. If you already own protective gear and basic cleaning supplies, your only expense might be the specific mold killing product you choose. Natural solutions like vinegar cost $3 to $5 per gallon. Commercial mold removers run $8 to $20 per bottle. Replacement items like new caulking, grout, or paint add another $20 to $100 depending on what needs replacing after cleaning.
Time investment for DIY removal ranges from 2 to 5 hours for most bathroom projects. That includes setup time for safety gear and ventilation, application and waiting time for cleaning solutions, scrubbing and rinsing, and final drying and inspection. Wood mold removal takes approximately 3 hours with intermediate skill level. Factor in additional time if you’re replacing caulking (add 2 to 3 hours for removal, drying, and reapplication) or repainting after cleaning (add 3 to 4 hours for prep, painting, and drying).
Professional remediation starts around $500 for the smallest jobs and climbs based on square footage, contamination severity, affected materials, and labor time. Most bathroom mold jobs fall in the $1,000 to $3,000 range for moderate infestations with some structural involvement. Professionals complete most bathroom projects in 2 to 5 days, including assessment, containment setup, removal, treatment, drying time, and final verification testing.
Final Words
Mold bathroom removal doesn’t have to feel overwhelming when you break it down into manageable steps.
Put on your safety gear, pick the right cleaning solution for your surface type, and take it one area at a time. Most small bathroom mold problems clear up in an afternoon with supplies you probably already have.
Remember the 10 square foot rule. If the affected area is bigger than that, or if you’re dealing with dark greenish-black growth or hidden mold behind surfaces, call in a pro. It’s not worth the health risk.
Keep that exhaust fan running, wipe down wet surfaces after showers, and you’ll save yourself repeat cleanups down the road.
FAQ
How do I permanently remove mold from my bathroom?
To permanently remove mold from your bathroom, clean the affected area with vinegar, hydrogen peroxide, or bleach solution, then address the moisture source by improving ventilation and fixing leaks to prevent regrowth.
How do you remove black mold in a bathroom?
To remove black mold in a bathroom, wear protective gear including a respirator and goggles, then spray the area with undiluted white vinegar or 3% hydrogen peroxide, wait 15 minutes, scrub with a soft brush, and rinse thoroughly.
What kills 100% of mold?
Bleach solution (1 part bleach to 3 parts water) kills surface mold on non-porous bathroom surfaces when applied for 10-15 minutes, though hydrogen peroxide and professional antimicrobial treatments are more effective on porous materials.
Is the black mold in my bathroom toxic?
Black mold in your bathroom may be toxic Stachybotrys chartarum, which requires professional removal if it covers more than 10 square feet, but most black bathroom mold is less harmful Alternaria species that you can remove yourself with proper safety gear.
How long does it take to remove bathroom mold?
Bathroom mold removal typically takes 2-5 hours for DIY projects covering small areas, including preparation time, application of cleaning solution, scrubbing, rinsing, and thorough drying of the treated surfaces.
What’s the difference between mildew and mold in bathrooms?
Mildew appears as powdery white or gray substance on bathroom surfaces, while mold has a fuzzy or slimy texture in black, green, blue, or red colors and penetrates deeper into porous materials like grout.
Can I use bleach on all bathroom surfaces for mold removal?
Bleach works on non-porous surfaces like tiles and fixtures but should be avoided on wood and porous materials because only the water portion penetrates, not the chlorine that actually kills the mold.
When should I replace bathroom caulking instead of cleaning mold?
Replace bathroom caulking when mold has penetrated beyond the surface and keeps returning after cleaning, or when the silicone seal shows cracking, separation, or extensive discoloration throughout its depth.
How do I prevent bathroom mold from coming back after removal?
Prevent bathroom mold recurrence by running the exhaust fan during and 20-30 minutes after showers, maintaining humidity between 30-50 percent, wiping down wet surfaces daily, and applying mold inhibitor after cleaning.
What humidity level prevents mold growth in bathrooms?
Maintain bathroom humidity between 30-50 percent using a hygrometer to monitor levels and a dehumidifier if needed, as mold thrives in environments above 50 percent humidity with poor air circulation.
