
You know that dark patch spreading across your bathroom ceiling? It’s not just ugly. It’s mold, and it’s feeding on moisture you can’t see. The good news is most ceiling mold jobs don’t require a full remediation crew. You can handle surface growth yourself with vinegar, basic safety gear, and about half a day. But you need to know the difference between surface mold you can wipe away and deeper contamination that’s already into your drywall. This guide walks you through safe DIY removal, when to call a pro, and how to fix the moisture problem so it doesn’t come right back.
How to Remove Mold from Your Bathroom Ceiling: Complete Step-by-Step Guide
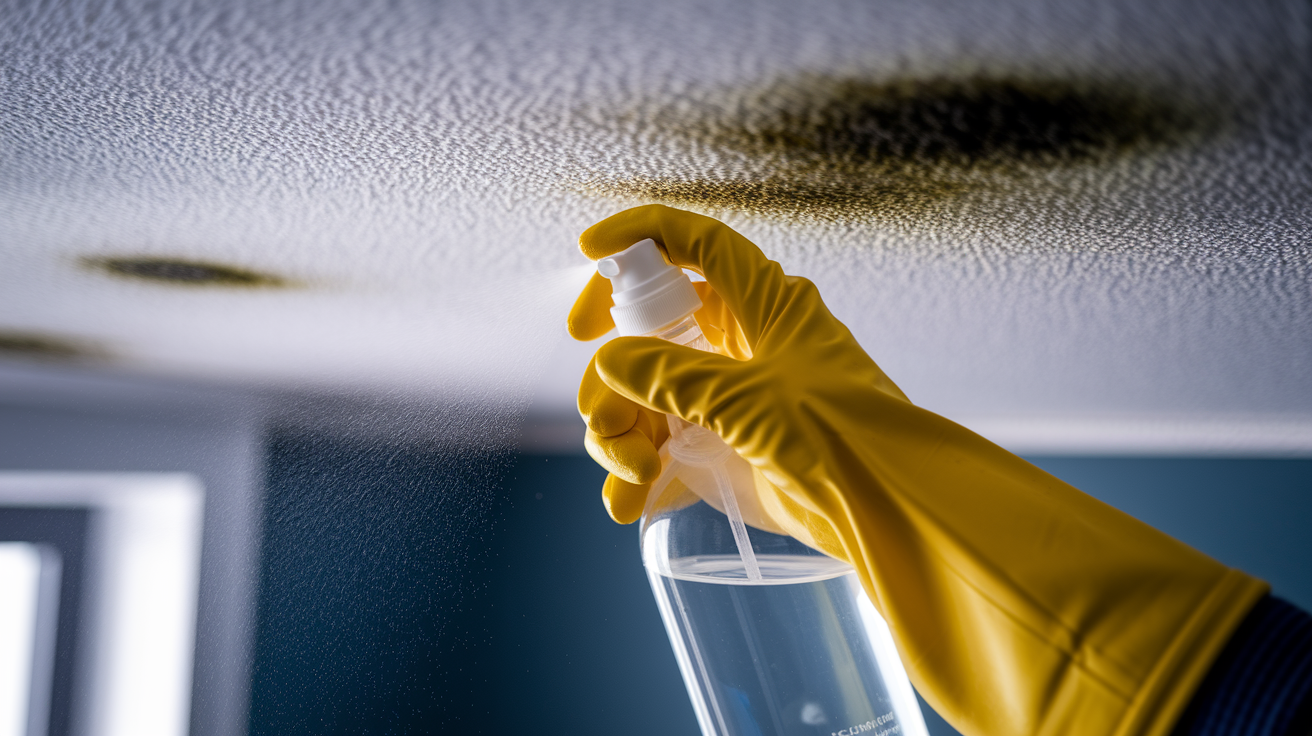
You can tackle surface mold on your ceiling with basic materials and the right approach. Most bathroom ceiling mold jobs cost somewhere between $10 and $40, and you’re looking at about half a day from start to finish.
Vinegar works better than bleach for ceiling mold because of how it actually deals with porous surfaces. The high acidity in vinegar penetrates into drywall and kills mold at the roots, destroying what’s growing beneath the surface. Bleach only treats what you see on top and actually contains water that soaks into ceiling materials and can promote regrowth after you’ve finished cleaning. For cleaning solutions, grab distilled white vinegar with 5% acetic acid or cleaning vinegar with 6% acetic acid. You can also use 3% hydrogen peroxide as an alternative, but don’t ever mix vinegar and hydrogen peroxide together. They create peracetic acid that irritates your eyes, skin, and respiratory system.
Here’s how to do the removal:
- Get your N95 respirator mask before you start. Ceiling work sends mold spores straight down into your breathing zone thanks to gravity
- Put on safety goggles to protect your eyes from falling debris and spores
- Wear rubber or plastic gloves to prevent skin contact with mold and cleaning solutions
- Fill a spray bottle with undiluted distilled white vinegar, or dilute it 1:1 with water if the smell bothers you
- Spray the vinegar or hydrogen peroxide directly on all affected ceiling areas until saturated
- Wait 10 minutes to let the solution penetrate the mold growth and kill it at the roots
- Wipe the area with clean folded cloths, keeping one clean surface of the cloth facing the ceiling to avoid spreading spores
- Spray and wipe again if you still see mold after the first pass
- Toss all towels and cloths you used for cleaning. Don’t wash and reuse them
- Ventilate the room and allow the ceiling to air dry completely
- Check the area after 24 hours to confirm all visible mold is gone
- Watch for any regrowth over the next week before moving to repair steps
The ceiling needs to dry completely before you prime or paint. That typically takes 24 to 48 hours depending on ventilation and humidity levels. Use fans to speed up drying time and reduce moisture in the room. You’ll know the area is ready when it feels completely dry to the touch and shows no signs of dampness.
Determining If Your Ceiling Mold Requires Professional Remediation

The difference between surface mold and penetrated growth determines whether you can handle the job yourself or need professional help. DIY methods work when mold sits on top of the painted ceiling surface. But once mold penetrates beyond the paint and into the drywall material itself, you need professional intervention to safely remove contaminated materials and prevent health risks.
Call a mold abatement specialist when you see any of these:
- Mold coverage exceeding 10 square feet (roughly a 3 foot by 3 foot area)
- Mold that’s penetrated beneath the paint surface into drywall layers
- Growth visible in insulation or ceiling framing materials
- Ceiling material that feels soft, crumbles, or gives when you touch it
- Persistent musty smell that remains after you’ve cleaned visible mold
- Obvious water damage, sagging, or brown staining around mold areas
- Paint that’s peeling, bubbling, or separating from the ceiling surface
- Black mold (Stachybotrys) presence anywhere in the bathroom
- Anyone in your household with compromised immune systems or severe allergies
DIY removal costs $10 to $40 for supplies like vinegar, gloves, masks, and cleaning materials. Professional mold remediation runs several hundred to several thousand dollars depending on how far the problem has spread, but that cost includes containment barriers to prevent spore spread, HEPA filtration systems that capture airborne spores, guaranteed protection against cross contamination to other rooms, proper disposal of contaminated materials, and identification plus repair of the underlying moisture problems causing the mold. Professionals also handle structural repairs if mold has damaged ceiling joists or insulation.
If you’re uncertain about how deep the mold goes or whether ceiling materials are compromised, a professional assessment helps you understand the true extent of damage before you start tearing into your ceiling. Many remediation companies offer free inspections that can save you from starting a DIY project that’s actually beyond safe home treatment.
Root Causes and Moisture Sources Behind Bathroom Ceiling Mold

Moisture is the single essential factor for mold growth. You can’t get permanent results by just cleaning visible mold if you haven’t identified and fixed what’s feeding moisture to your ceiling in the first place.
Steam from hot showers rises naturally and hits your cooler ceiling surface, where it condenses into water droplets that soak into paint and drywall. This happens every time someone showers. In bathrooms with poor ventilation, that moisture never fully dries before the next shower adds more. The combination of persistent moisture and inadequate air movement creates exactly what mold needs to establish and spread across your ceiling.
Investigate these specific moisture sources:
- Roof leaks from damaged or missing shingles and deteriorated flashing around vents
- Plumbing leaks from supply lines, drain pipes, or toilet seals in the floor above your bathroom
- Bathroom exhaust fan that vents into your attic instead of ducting all the way outdoors
- Inadequate or missing insulation that causes warm moist air to condense on cold ceiling surfaces
- Gaps around ceiling light fixtures, exhaust fans, or access panels that allow moisture penetration
- Damaged caulking around tub edges or deteriorated grout that lets water seep behind walls and up into ceiling cavities
- Excessive whole house humidity levels consistently above 50%
- Insufficient air circulation from undersized or non-functioning exhaust fans
- Blocked soffit vents or attic ventilation that traps moisture above bathroom ceilings
Work through these potential sources systematically. Check your attic during or right after rain to spot roof leaks while they’re active. Inspect all visible pipes for small drips, water stains, or corrosion that indicates slow leaks. Verify your bathroom exhaust fan duct actually terminates outside your home rather than dumping moisture into attic spaces. Look at your ceiling insulation from the attic side to confirm adequate coverage and proper installation. Reseal fixtures, caulk joints, and grout lines that show gaps or deterioration. Most importantly, repair any active leaks immediately, even small ones. Ongoing moisture problems guarantee mold will return no matter how thoroughly you clean.
Understanding what caused your mold problem in the first place makes the difference between a one time fix and a recurring issue. Surface cleaning removes what you can see now, but moisture control prevents it from coming back next month.
Repairing and Repainting Bathroom Ceilings After Mold Removal

Complete drying before you start repairs is critical. Primer and paint trap any remaining moisture against the ceiling surface and can cause mold to regrow beneath your fresh finish.
Follow these repair steps:
- Inspect the cleaned area for any soft spots, damage, or areas where mold may have penetrated beyond the surface
- Allow 24 to 48 hours of drying time with good ventilation before touching primer or paint
- Apply 2 coats of stain blocking primer to cover stubborn mold stains that regular paint won’t hide
- Let primer dry completely between coats according to manufacturer recommendations
- Apply at least 2 coats of semi gloss or satin finish paint, which is the recommended finish for bathroom ceilings
- Consider mold resistant paint formulations labeled for high moisture areas like bathrooms and kitchens
Pool paint works as an alternative to standard bathroom paint because it’s specifically designed for constant moisture exposure. The formulation includes mold resistant and mildew resistant properties that help prevent regrowth, and it’s built to handle the same humid conditions that cause bathroom mold problems in the first place.
| Paint Type | Benefits | Coats Needed |
|---|---|---|
| Stain Blocking Primer | Seals surface, covers stubborn mold stains, prepares for topcoat | 2 |
| Semi Gloss Paint | Moisture resistant, easy to clean, recommended bathroom finish | 2-3 |
| Pool Paint | Maximum moisture resistance, built in mold inhibitors, designed for wet environments | 2 |
Proven Prevention Strategies to Stop Mold from Returning
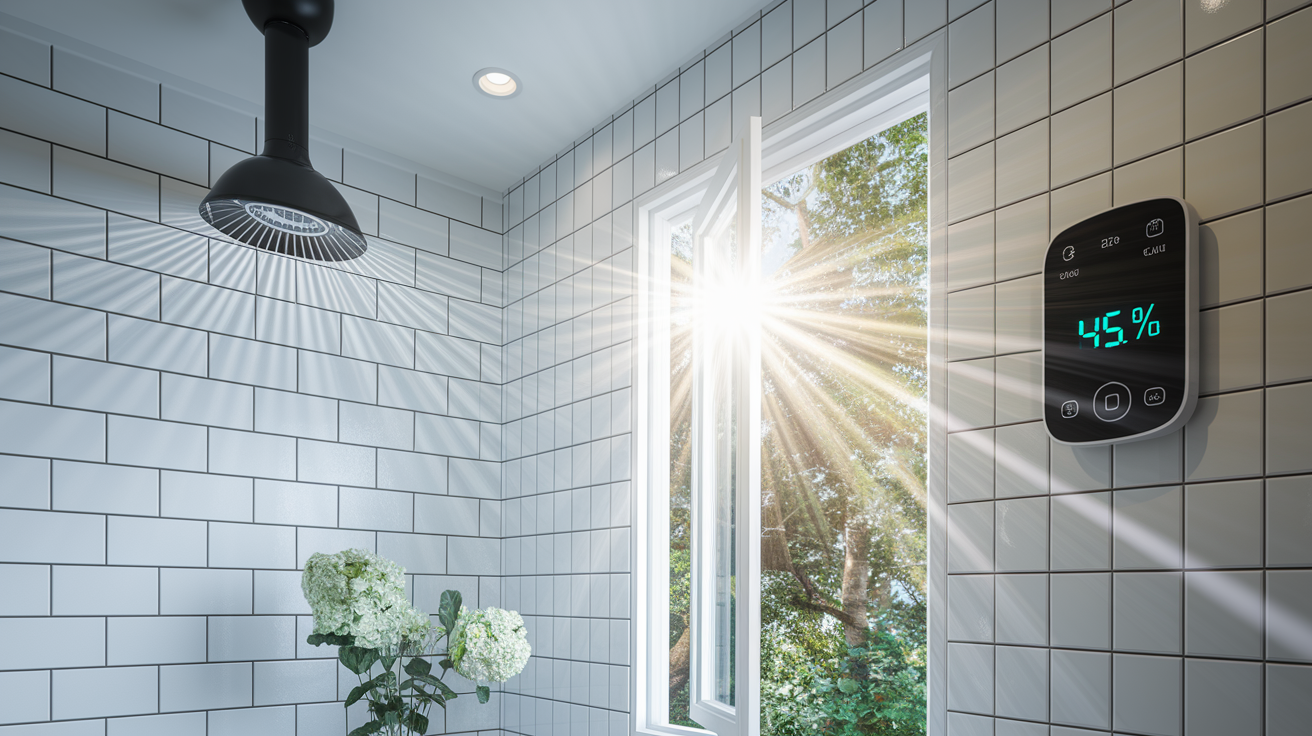
Prevention costs less and takes less time than dealing with mold growth every few months. Once you’ve cleaned and repaired your ceiling, consistent habits keep it from coming back.
Keep mold from returning with these prevention tactics:
- Run your exhaust fan during every shower and for 20 to 30 minutes after you’re done
- Verify your fan is properly sized for your bathroom square footage. Undersized fans can’t move enough air
- Open windows or doors when weather permits to increase air circulation and reduce humidity
- Use a dehumidifier if bathroom humidity consistently exceeds 50%
- Wipe down visible ceiling moisture with a dry towel after steamy showers
- Open curtains to allow sunlight exposure, which naturally inhibits mold growth
- Fix any plumbing leaks immediately when you notice them, even small drips
- Inspect your ceiling monthly for early signs of moisture or discoloration
- Apply preventive antimicrobial spray quarterly to high risk areas around showers
- Maintain consistent bathroom temperature year round to reduce condensation from temperature differences
Consistent ventilation habits make the biggest difference in preventing bathroom ceiling mold because they directly address the root cause. The primary reason bathroom ceilings develop mold is the combination of shower moisture and poor ventilation. When humid air can’t escape, it condenses on cool surfaces and creates perfect growing conditions. Proper airflow disrupts those conditions by removing moisture before it settles and dries surfaces faster after each use. Running your exhaust fan isn’t optional if you want to avoid repeat mold problems.
Identifying Early Warning Signs of Bathroom Ceiling Mold

Catching mold problems early means you’re dealing with surface growth that’s still easy to remove, rather than deep penetration that requires ceiling replacement and professional remediation.
Watch for these early warning signs:
- Musty or earthy smell when you enter the bathroom, even if you don’t see visible growth
- Small black, green, or dark brown spots appearing in ceiling corners or around fixtures
- Brownish or yellowish discoloration spreading across painted ceiling surfaces
- Water stains or circular rings that indicate moisture accumulation
- Paint that’s starting to peel, bubble, or separate from the ceiling
- Increased allergy symptoms like sneezing or congestion when spending time in the bathroom
- Visible moisture beads or condensation on the ceiling after showers
Monthly visual inspections help you spot problems while they’re still small. Pay special attention to corners where walls meet the ceiling, areas around light fixtures and exhaust fans where moisture can collect, and any spots directly above the shower or tub. Use a flashlight to check these areas more carefully since early mold growth can blend into ceiling texture or hide in shadows.
Mildew often shows up first as a light surface growth before deeper mold problems develop. If you catch that early stage, a quick vinegar treatment usually handles it before it turns into a bigger project. The longer you wait, the more time mold has to spread and penetrate into ceiling materials.
Understanding Different Types of Bathroom Ceiling Surfaces and Mold Removal

Your ceiling material and texture significantly affect how difficult mold removal will be and whether you can actually clean it successfully or need to replace sections.
Painted Drywall Ceilings
Smooth painted drywall is the easiest surface to clean when mold stays on top of the paint layer. The non porous paint creates a barrier that prevents immediate penetration, giving you time to catch and remove mold before it reaches the porous drywall paper and gypsum core underneath. Once mold penetrates through paint and into the drywall material itself, those sections require cutting out and replacement because you can’t effectively kill or remove mold that’s embedded in porous gypsum.
Textured and Popcorn Ceilings
Texture creates significantly more surface area for mold to attach to and makes thorough cleaning difficult because spray solutions and wiping cloths can’t reach into all the crevices and bumps. Light surface mold can sometimes be treated with vinegar, but moderate to severe cases often require scraping off the textured coating entirely, treating the smooth ceiling underneath, and then applying new texture or leaving it flat before repainting. The good news is that removing popcorn texture also eliminates potential asbestos concerns in older homes if you were planning that update anyway.
Drop Ceiling Tiles
Porous ceiling tiles absorb moisture and mold readily and cannot be effectively cleaned once contaminated. The tiles are designed to be replaced rather than cleaned, and replacement is relatively inexpensive compared to other ceiling repair options. When mold appears on drop ceiling tiles, pull out and discard affected tiles, identify and fix the moisture source, let the grid system dry completely, and install new tiles in those positions.
Before you choose your removal method, assess what type of ceiling material you’re dealing with and how deeply mold has penetrated. That assessment determines whether you’re looking at a cleaning project, a repair project, or a replacement project.
Final Words
Surface mold removal from bathroom ceilings comes down to the right cleaning solution, proper safety gear, and understanding when to call for help.
Vinegar or hydrogen peroxide work for surface-level growth. But if the mold has penetrated into the drywall or covers more than 10 square feet, you’re looking at professional remediation.
Once you’ve handled the visible problem, fixing the moisture source and keeping ventilation running will stop it from coming back. Regular checks help you catch problems early.
Get the air moving, repair leaks fast, and your bathroom ceiling stays clear.
FAQ
How do you remove mold from a bathroom ceiling?
You remove mold from a bathroom ceiling by spraying distilled white vinegar or 3% hydrogen peroxide on affected areas, waiting 10 minutes for penetration, then wiping with clean folded cloths while wearing N95 respirator, safety goggles, and gloves.
Is mold on bathroom ceilings harmful to your health?
Mold on bathroom ceilings is harmful to your health because airborne spores become especially problematic during cleaning when gravity pulls them downward, potentially causing respiratory irritation, allergic reactions, and increased symptoms for immunocompromised individuals.
Can you clean mold off a ceiling without replacement?
You can clean mold off a ceiling without replacement only when growth remains surface-level on painted finishes. Once mold penetrates into drywall, insulation, or framing beyond the paint layer, professional remediation with material replacement becomes necessary.
Does vinegar kill bathroom ceiling mold effectively?
Vinegar kills bathroom ceiling mold effectively because its 5-6% acetic acid content penetrates porous surfaces like drywall and destroys mold at root level, unlike bleach which only treats surface growth and promotes regrowth through water content.
When should you call a professional for ceiling mold?
You should call a professional for ceiling mold when coverage exceeds 10 square feet, mold penetrates beneath paint into drywall, material feels soft or crumbly, or persistent musty odors remain after cleaning attempts.
What causes mold to grow on bathroom ceilings?
Mold grows on bathroom ceilings because steam from hot showers rises and condenses on cooler ceiling surfaces, especially in poorly ventilated spaces where moisture accumulates without proper air circulation or exhaust fan use.
How long does bathroom ceiling mold removal take?
Bathroom ceiling mold removal takes approximately half a day for surface-level growth, including safety preparation, vinegar application with 10-minute penetration time, wiping process, and allowing 24-48 hours complete drying before repainting.
What safety equipment do you need for ceiling mold removal?
You need an N95 respiratory mask, safety glasses, and plastic gloves for ceiling mold removal because ceiling work increases spore inhalation risk as disturbed spores fall downward during cleaning.
Should you use bleach or vinegar for bathroom ceiling mold?
You should use vinegar for bathroom ceiling mold rather than bleach because vinegar’s acidity destroys mold at roots on porous surfaces, while bleach only addresses surface growth and contains water that can promote regrowth.
Can you mix vinegar and hydrogen peroxide for mold removal?
You cannot mix vinegar and hydrogen peroxide for mold removal because combining them creates peracetic acid, a chemical compound that irritates eyes, skin, and respiratory system. Use one solution or the other separately.
How do you prevent mold from returning to bathroom ceilings?
You prevent mold from returning to bathroom ceilings by running exhaust fans during and 20-30 minutes after showers, maintaining humidity below 50%, wiping down ceiling moisture, fixing leaks immediately, and ensuring proper ventilation.
What paint should you use after removing ceiling mold?
You should use mold-resistant semi-gloss or pool paint after removing ceiling mold, applied over two coats of stain-blocking primer once the area completely dries, as mold stains are difficult to cover without proper preparation.
