
Look up at your kitchen ceiling right now. See that yellowish brown tint spreading out from above the stove? That’s not just dirt you can wipe away with a quick pass of a sponge. Those smoke stains form when grease particles from frying and searing go airborne, stick to your ceiling, and create a tacky film that grabs more grime every time you cook. The good news is most kitchen ceiling smoke stains respond to simple cleaning methods you can handle yourself, and understanding what you’re dealing with means you’ll pick the right approach the first time instead of wasting effort on solutions that won’t work.
Removing Smoke Stains from Your Kitchen Ceiling: Quick Solutions Guide

Kitchen ceiling smoke stains show up when cooking smoke from high heat methods like frying bacon or searing steaks rises and leaves yellowish brown residue on overhead surfaces. Grease particles go airborne during cooking and stick to the ceiling, creating a tacky film that grabs dust and deepens the discoloration. Steam from boiling water or simmering pots condenses on cooler ceiling surfaces, mixing with grease and smoke to form stubborn stains that get worse over time.
| Stain Severity | Visual Appearance | Recommended Cleaner | When to Repaint | When to Call Professionals |
|---|---|---|---|---|
| Light stains | Slight yellowing, recent accumulation | Dish soap + warm water | Rarely needed | Not required |
| Moderate stains | Noticeable yellow-brown, greasy texture | White vinegar solution or baking soda paste | If stains persist after cleaning | If covering large areas |
| Heavy stains | Dark brown, thick soot, strong odor | TSP cleaner or commercial degreaser | Always after cleaning | If structural concerns or HVAC contamination |
Start by assessing severity based on color depth, grease buildup, and how long the staining’s been accumulating. Begin with the mildest cleaning method that fits your situation and test it on a small hidden section first to make sure it won’t damage the ceiling material or paint. Move to stronger solutions only if gentler methods fail to remove discoloration after you’ve applied them thoroughly.
If stains bleed back through after cleaning and drying, prime the ceiling with a stain blocking product before repainting with washable paint made for kitchen moisture and grease resistance. Call professional restoration services when you’re dealing with extensive fire damage beyond surface staining, persistent odors that stick around after multiple cleaning attempts, or concerns about structural weakening of ceiling materials.
Complete Cleaning Methods for Kitchen Ceiling Smoke Stains by Severity
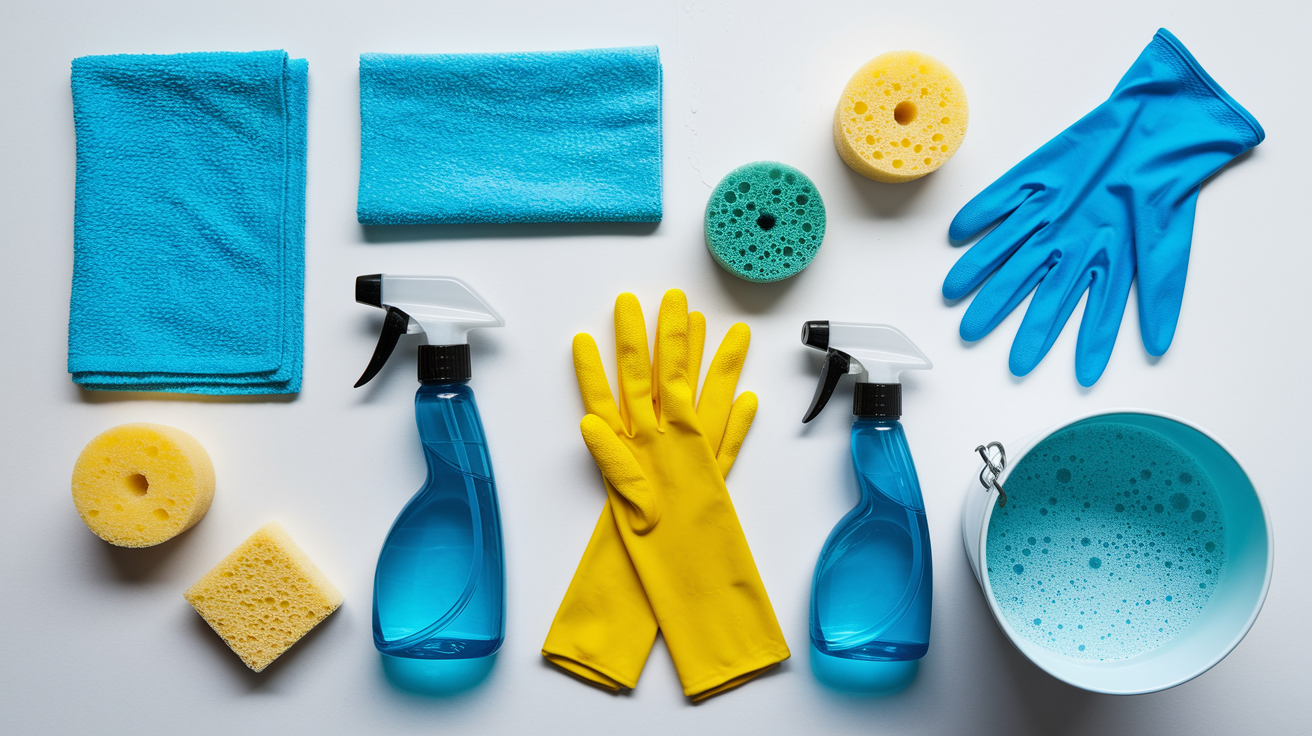
Before you apply any cleaning solution, complete these prep steps that work for all stain levels. Vacuum loose soot from the ceiling using a HEPA filtered vacuum with a soft brush attachment, moving slowly to capture particles without spreading them around. Use a dry cleaning sponge (sometimes called a chemical sponge) to lift surface soot particles before introducing any moisture, working in overlapping strokes.
Work in small 3×3 foot sections so cleaning solutions don’t dry on the ceiling before you can wipe them away. Wring out all sponges and cloths until they’re nearly dry to prevent water damage to absorbent ceiling materials like drywall or plaster. Wipe in one consistent direction rather than circular motions to avoid streaks across the ceiling.
Always test your cleaning solution on a hidden area first. Behind a cabinet, in a corner, or inside a closet. Wait 24 hours to make sure it doesn’t cause discoloration or texture damage before you tackle the entire ceiling.
Light Stain Removal: Dish Soap and Gentle Solutions
Light smoke stains look like slight yellowing or subtle discoloration from recent cooking accumulation, usually developing over weeks or a few months of regular meal prep. Mix a few drops of mild dish soap into a bucket of warm water until you get light suds, then dip a microfiber cloth or soft sponge into the solution. Wring the cloth nearly dry so it’s just barely damp, then apply to the stained ceiling using gentle circular scrubbing motions.
Work methodically across the ceiling in your planned sections. Rinse your cloth frequently in clean water so you’re not just redistributing grease. After cleaning each section, go over it again with a cloth dampened in plain water to remove soap residue, then dry thoroughly with a clean towel to prevent water spots.
If dish soap alone doesn’t fully remove the yellowing, move to a white vinegar solution that cuts through grease more effectively. Mix equal parts white vinegar and warm water in a spray bottle, then lightly mist the affected ceiling area without soaking it. Let the vinegar solution sit on the stain for 5 to 10 minutes so the acid can break down grease and smoke residue, then wipe clean with a barely damp microfiber cloth, rinse with plain water, and dry completely.
Moderate Stain Removal: Baking Soda and Degreasers
Moderate smoke stains show noticeable yellow brown discoloration that feels slightly greasy or tacky when you touch the ceiling. Usually from months of cooking without adequate ventilation or periodic cleaning. Create a baking soda paste by mixing 3 tablespoons of baking soda with just enough water to form a thick, spreadable consistency similar to toothpaste. Apply this paste directly to stained areas using a soft cloth or sponge, then gently scrub using light pressure and small circular motions.
Let the baking soda paste sit on stubborn spots for 10 to 15 minutes so the mild abrasive action and alkaline properties can lift embedded grease and smoke particles. Wipe away the paste with a damp cloth, rinse the area thoroughly with clean water, and dry completely to see whether the staining has lifted enough.
Commercial kitchen degreasers offer a stronger option for moderate stains that resist baking soda treatment. Pick products specifically labeled as safe for painted ceiling surfaces and follow the manufacturer’s dilution instructions exactly. Using them too concentrated can damage paint or leave difficult to remove residue. Apply the degreaser with a well wrung sponge, working it gently into the stained area without scrubbing aggressively.
Let the product sit on the surface for the recommended time, usually 3 to 5 minutes, so the degreasing agents can penetrate and dissolve the smoke residue buildup. Rinse multiple times with clean water to prevent any degreaser residue from staying on the ceiling. Leftover product can attract new dirt and create a different type of discoloration over time.
Heavy Stain Removal: TSP and Professional Grade Cleaners
Heavy smoke stains appear as dark brown accumulation, thick soot layers you can see and feel, nicotine buildup from cigarette smoke, or discoloration with persistent smoky odors that fill the room. Prepare a Trisodium Phosphate (TSP) solution by mixing 1 tablespoon of TSP powder per gallon of warm water in a sturdy bucket, stirring until the powder dissolves completely. Wear rubber gloves throughout the entire process and make sure you’ve got excellent ventilation by opening multiple windows and running fans to create cross breeze airflow. TSP fumes can irritate eyes and respiratory passages.
Apply the TSP solution with a wrung out sponge, working in small sections and letting the solution stay on the stained surface for 5 to 10 minutes without letting it dry completely. TSP works by chemically breaking down smoke residue and grease, and it needs this contact time to be effective. Scrub gently with the sponge if stains resist the initial application, but don’t scrub so aggressively that you damage ceiling texture or paint. Rinse each cleaned section multiple times with fresh water and clean sponges to remove all TSP residue, which can leave a white film or cause paint adhesion problems if not thoroughly eliminated.
Protect yourself when working with heavy duty cleaners by wearing not just rubber gloves but also eye protection and long sleeves to prevent skin contact with strong chemical solutions. Keep ventilation going throughout the cleaning process and for several hours afterward. Never mix TSP or other cleaners with bleach or ammonia based products, as this creates dangerous fumes. Lay drop cloths over countertops, appliances, and floors to protect kitchen surfaces from drips and splashes. Consider wearing a basic respirator mask if you’re sensitive to cleaning fumes or working with especially heavy soot accumulation.
You’ll probably need to repeat the TSP application two or three times for severe smoke staining. Let the ceiling dry completely between attempts so you can accurately see how much discoloration remains. Some yellowing may lighten but not disappear entirely after multiple cleanings, which means the stain has penetrated into the paint layer or drywall itself. That’s when priming and repainting becomes necessary for complete removal.
Different ceiling materials respond differently to moisture and cleaning solutions, which changes your approach to smoke stain removal. Drywall ceilings absorb water readily and can develop bubbling paint, brown water stains, or even sagging sections if you apply too much liquid, so always use the driest possible sponge and work quickly. Plaster ceilings handle slightly more moisture than drywall but still need restraint with water application to prevent loosening the plaster from its backing.
Popcorn or heavily textured ceilings require extra gentle techniques and very dry sponges because aggressive cleaning knocks texture particles loose and creates bare spots that are nearly impossible to repair without re texturing the entire ceiling. When cleaning textured surfaces, pat and blot rather than wiping. Assess your results after each complete cleaning attempt to figure out whether you need to move to the next severity level or if repainting is the more practical solution.
Priming and Painting Over Persistent Smoke Stains

Repainting becomes necessary when smoke stains stick around despite multiple cleaning attempts with progressively stronger solutions, or when yellowing continues to bleed back through the cleaned surface after it dries completely. Many homeowners also choose to repaint after successfully cleaning smoke stains simply because they want a completely fresh appearance and the added protection that new, stain resistant paint provides against future cooking residue.
Proper priming creates the critical foundation for successful ceiling repainting after smoke damage. Stain blocking primers contain specialized resins that seal discoloration and prevent it from bleeding through your topcoat paint. They also trap residual odors so smoke smells don’t continue coming from the ceiling even after a fresh coat of paint.
Start surface prep by doing one final deep cleaning of the entire ceiling using either a commercial degreaser or a vinegar baking soda solution to remove all remaining grease, smoke residue, and cleaning product buildup. Let the ceiling dry completely for 24 to 48 hours before beginning any primer application. Painting over damp surfaces traps moisture and leads to paint failure, peeling, and potential mold growth. Inspect the ceiling carefully during this drying period for any cracks, holes, or areas where previous paint is peeling, and make necessary repairs with spackling compound or patching plaster.
Lightly sand the ceiling if the existing paint has a glossy finish or shows peeling areas, using fine grit sandpaper (180 to 220 grit) and working gently to avoid creating deep scratches or gouges. Vacuum the ceiling and wipe it down with a dry cloth to remove all sanding dust before priming. Make sure the room stays well ventilated throughout the painting process by opening windows and using fans.
Choose a stain blocking primer specifically labeled as “stain resistant,” “odor sealing,” or formulated for “smoke damage” or “nicotine stains.” These products contain higher concentrations of sealing resins than standard primers. These specialized primers work by creating a barrier layer between the stained surface and your finish paint, physically blocking discoloration from migrating upward while also trapping odor molecules. Apply the primer using a paint roller designed for ceiling work, covering large areas efficiently while using an angled brush for edges and corners where the roller can’t reach.
Keep proper coverage without over applying the primer, which can cause drips and sags on overhead surfaces. One even coat is usually enough, though heavily stained areas may benefit from a second primer coat after the first dries. Check the product specs for drying time between coats, typically 2 to 4 hours for water based primers and 6 to 8 hours for oil based products. Make sure each coat dries fully before applying the next layer.
| Paint Finish | Cleanability | Best Use | Pros | Cons |
|---|---|---|---|---|
| Flat/Matte | Low | Bedrooms and low-traffic ceilings | Hides imperfections, soft appearance | Absorbs stains, difficult to clean |
| Eggshell | Moderate | Kitchen ceilings | Subtle sheen, washable | Shows more imperfections than flat |
| Satin | Good | High-moisture areas | Easy to clean, moisture-resistant | Slight shine may highlight flaws |
| Semi-gloss | Excellent | Kitchen walls and trim | Very washable, grease-resistant | Reflective surface emphasizes imperfections |
Pick paint specifically made for kitchen environments when choosing your finish coat for smoke stained ceilings. Look for washable formulations labeled with moisture resistant and grease resistant properties, which create a protective surface that repels cooking residue instead of absorbing it like standard ceiling paint. Eggshell or satin finishes offer the best balance of cleanability and appearance for kitchen ceilings. They provide enough sheen to allow wiping without showing every minor ceiling imperfection the way semi gloss would.
Think about lighter paint colors to brighten your kitchen and reflect more light, though remember that lighter shades will show future smoke staining more readily than medium tones if cooking habits and ventilation don’t improve. Choose colors that work with your existing kitchen design while factoring in practical maintenance. Purchase high quality paint because premium products contain better resins and pigments that resist yellowing and wear better under repeated cleaning.
Apply two coats of topcoat paint over your primed ceiling for full coverage, proper durability, and a professional looking finish that hides any residual discoloration. Allow adequate drying time between coats as specified by the paint manufacturer, typically 2 to 4 hours for ceiling paint though humidity and temperature affect drying speed. Use a quality roller cover with the appropriate nap length for your ceiling texture. Shorter naps (3/8 inch) for smooth ceilings, longer naps (1/2 to 3/4 inch) for textured surfaces.
Textured or popcorn ceilings absorb significantly more paint than smooth surfaces and may require additional material. Some painters find spray application works better than rolling for heavy texture because it coats all the irregular surfaces without flattening the texture pattern.
After completing your painting project, let the new paint cure fully before cleaning the ceiling. This typically takes about 30 days even though the paint feels dry to the touch much sooner. During this curing period, the paint continues hardening and developing its full moisture and stain resistance, so early cleaning can damage the finish. Set up a regular light wiping schedule once the paint has cured, using a barely damp microfiber cloth monthly to prevent new smoke and grease buildup from accumulating.
Stain resistant paint works best when you combine it with proper kitchen ventilation. That creates a complete protection system that keeps future smoke stain development to a minimum and extends the time between necessary deep cleanings or repainting.
Preventing Future Smoke Stains on Kitchen Ceilings
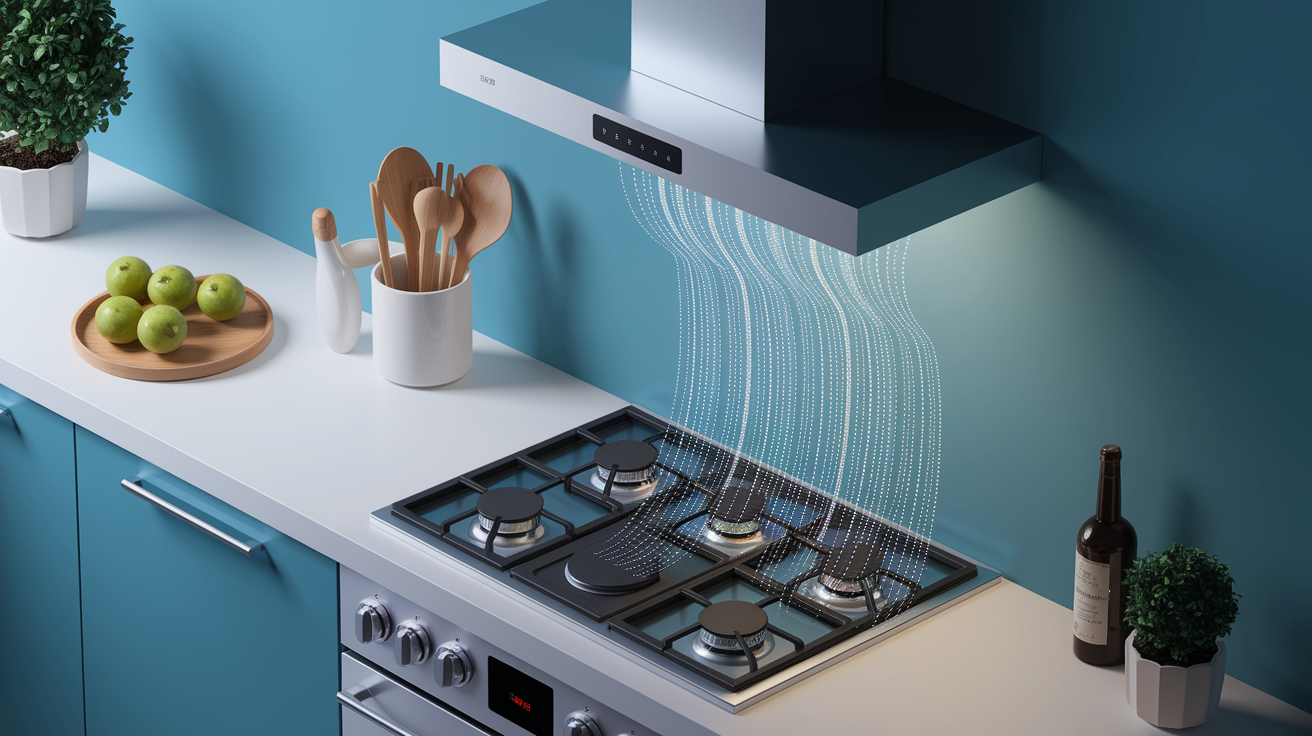
Prevention takes less effort, time, and money than repeatedly cleaning stubborn smoke stains from kitchen ceilings. Small consistent habits and proper equipment use stop grease particles and smoke residue from reaching ceiling surfaces in the first place.
Run your range hood or exhaust fan during all cooking activities and keep running it for 15 minutes after you finish to capture lingering airborne particles that continue rising even after burners are turned off. Many home cooks only use ventilation for particularly smoky cooking, but grease particles escape into the air during nearly all stovetop cooking. Consistent ventilation prevents this gradual accumulation that eventually creates visible ceiling stains. Check that your range hood has adequate CFM (cubic feet per minute) rating for your kitchen size. Professional guidelines recommend at least 100 CFM for standard home kitchens, with higher ratings needed for larger spaces or frequent high heat cooking.
Change up cooking habits to reduce the amount of smoke and grease that becomes airborne during meal prep. Use lids on pans whenever you can to contain steam and grease splatter, and lower heat settings when possible since excessively high temperatures vaporize more grease and create more visible smoke. Choose baking or slow cooking methods over high heat frying when recipe options allow. When you do need to fry, use splatter screens that catch grease droplets while still allowing steam to escape to your ventilation system.
Set up these maintenance practices to catch smoke buildup before it becomes visible staining:
- Clean or replace range hood filters monthly, as clogged filters drastically reduce ventilation effectiveness and allow more particles to escape into the kitchen air
- Do quarterly ceiling inspections using a flashlight at an angle to spot early yellowing, and perform light cleaning with dish soap solution when you notice any discoloration beginning
- Schedule annual deep cleaning of the entire kitchen ceiling even if staining isn’t yet visible, preventing buildup from reaching levels that require strong chemical cleaners
- Wipe up cooking splatters immediately when they occur on walls and nearby ceiling areas, before they oxidize and bond with paint surfaces
- Use splatter screens when pan frying or sautéing to contain grease droplets at their source
- Keep air circulating throughout the kitchen by cracking a window during cooking if your ventilation system doesn’t vent outdoors
Stain resistant paint formulated for kitchen use creates a protective barrier that repels grease and moisture, making future cleaning easier even if some smoke particles do reach the ceiling. Combined with consistent use of proper ventilation, this layered approach provides long term protection that significantly reduces how often you’ll need to perform intensive cleaning or repainting to maintain a fresh looking kitchen ceiling.
Troubleshooting Persistent Ceiling Stains That Won’t Come Clean
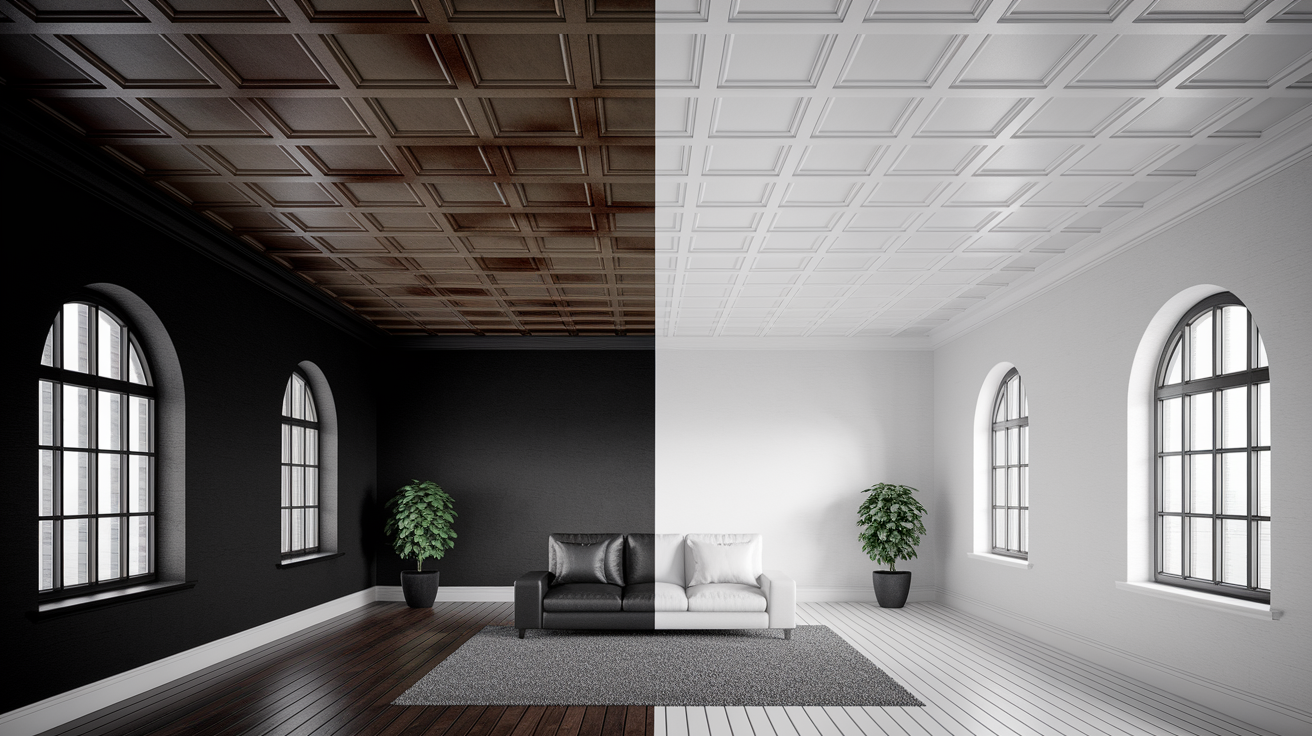
Some smoke stains resist even thorough cleaning with appropriate products, leaving homeowners frustrated after investing time and effort without getting the expected results. Understanding why certain stains persist helps you adjust your approach or recognize when repainting becomes the more practical solution than continued cleaning attempts.
Stains commonly resist cleaning when discoloration has penetrated through the paint layer into the porous drywall or plaster beneath, meaning surface cleaning can’t reach the actual stain location. Heavy oil buildup from years of cooking can undergo polymerization, a chemical process where grease molecules bond together and with paint surfaces to create a hard, amber colored film that chemical cleaners struggle to break down. Old nicotine stains from long term cigarette smoking embed deeply into porous ceiling materials and continue bleeding back to the surface even after seemingly successful cleaning.
Try these troubleshooting steps before giving up on persistent stains. Extend the soaking time for your cleaning solution to 15 to 20 minutes instead of the standard 5 to 10 minutes, allowing chemicals more contact time to penetrate and dissolve stubborn residue. Just don’t let solutions dry completely on the ceiling. Slightly increase your cleaning solution strength by adding an extra tablespoon of TSP per gallon of water or using a less diluted commercial degreaser, though proceed cautiously to avoid damaging ceiling materials.
Think about steam cleaning for textured ceiling surfaces where traditional wiping struggles to reach into crevices and valleys. Handheld garment steamers or steam mops with ceiling attachments can loosen embedded residue that sponges can’t access. Address lingering smoke odors with an odor sealing primer even if visual staining appears gone, because smell indicates residue still present beneath the surface that will eventually discolor new paint if not properly sealed.
Stains sometimes point to smoke damage extending beyond surface discoloration into more serious structural or air quality concerns requiring professional evaluation. If stains reappear within days or weeks after painting with proper stain blocking primer, smoke residue has penetrated deeply enough that it continues migrating outward despite sealing attempts. Strong persistent odors that remain after thorough cleaning and primer application suggest contamination within wall cavities, insulation, or ventilation systems that surface treatments can’t address.
Discoloration that extends beyond the paint layer into visible texture changes, ceiling material softening, or crumbling indicates potential structural weakening from heat exposure or long term moisture interaction with smoke residue. Concerns about soot contamination in your HVAC system, evidenced by dark buildup around air vents or worsening stains near return air grilles, require professional ductwork inspection and cleaning that goes far beyond ceiling surface treatment. For situations involving actual fire and smoke damage restoration rather than simple cooking stains, professional assessment becomes essential for proper remediation.
Set realistic expectations for very old or severe staining situations. Ceilings that have absorbed decades of cigarette smoke or endured years without adequate kitchen ventilation may never return to pristine white condition through cleaning alone. Even the best primers may show slight shadowing through finish paint. Sometimes accepting minor residual discoloration or choosing a slightly darker ceiling color provides better results than endless cleaning cycles that damage ceiling materials without achieving perfect restoration.
Cost Breakdown: DIY Cleaning Versus Professional Smoke Damage Restoration

Understanding cost ranges for different approaches to smoke stained ceilings helps you make informed decisions balancing budget constraints against time investment, physical demands, and expected results. Budget concerns often drive homeowners toward DIY solutions, but knowing when professional services provide better value prevents wasted money on unsuccessful cleaning attempts.
| Approach | Materials/Service | Estimated Cost | Time Required |
|---|---|---|---|
| Basic DIY cleaning | Dish soap, vinegar, baking soda, sponges, gloves | $15-$30 | 3-5 hours for average kitchen |
| Heavy-duty DIY cleaning | TSP, commercial degreaser, dry sponges, safety gear, drop cloths | $40-$75 | 6-8 hours including prep and cleanup |
| Complete DIY repaint | Stain-blocking primer, quality ceiling paint, rollers, brushes, supplies | $100-$200 | 8-12 hours over 2-3 days including drying time |
| Professional cleaning | Kitchen ceiling cleaning service | $200-$400 | 2-4 hours (minimal homeowner involvement) |
| Professional painting | Surface prep, primer, two-coat ceiling paint application | $300-$600 | 1-2 days (minimal homeowner involvement) |
| Full restoration | Smoke damage assessment, deep cleaning, odor treatment, repainting | $800-$2,000+ | 3-5 days depending on damage extent |
DIY costs vary significantly based on ceiling size, stain severity, and whether your situation requires just cleaning or complete repainting. A small kitchen ceiling with light staining might need only basic supplies totaling under thirty dollars, while a large kitchen with heavy smoke damage could require multiple cleaning products, primer, paint, and rented equipment pushing costs toward the lower end of professional service pricing. Factor in your own time value when calculating DIY expenses. Spending an entire weekend on ladder work has real cost even if you’re not paying cash for labor.
Think about whether you need to purchase or rent equipment like extension poles, quality paint rollers, ladder stabilizers, or ventilation fans that add to project expenses.
Professional service value goes beyond simple time savings into guaranteed results, access to commercial grade equipment and cleaning products unavailable to consumers, and expertise in assessing underlying damage that DIY approaches might miss. Professional cleaners complete in hours what might take homeowners entire weekends, and they carry insurance covering any accidental damage during the cleaning process. Their experience helps them quickly identify when stains indicate problems beyond surface discoloration, like HVAC contamination or structural concerns, that homeowners might discover only after unsuccessful DIY attempts.
Professional painters get more even coverage and cleaner results because they work with ceiling surfaces daily. They typically warranty their work for at least one year, redoing any areas where stains bleed through or paint fails.
Evaluate cost versus benefit by considering not just the price difference between DIY and professional approaches but also your physical ability to work overhead for extended periods, comfort level working with chemical cleaners and potential fumes, and the quality of results you need. Saving a few hundred dollars means little if you end up with streaky coverage, incomplete stain removal, or physical strain from awkward ladder work. Spending for professional service makes sense when extensive damage requires specialized equipment or when your time is better spent on work or family priorities than on repetitive ceiling cleaning.
When to Call Professional Restoration Services for Ceiling Smoke Damage
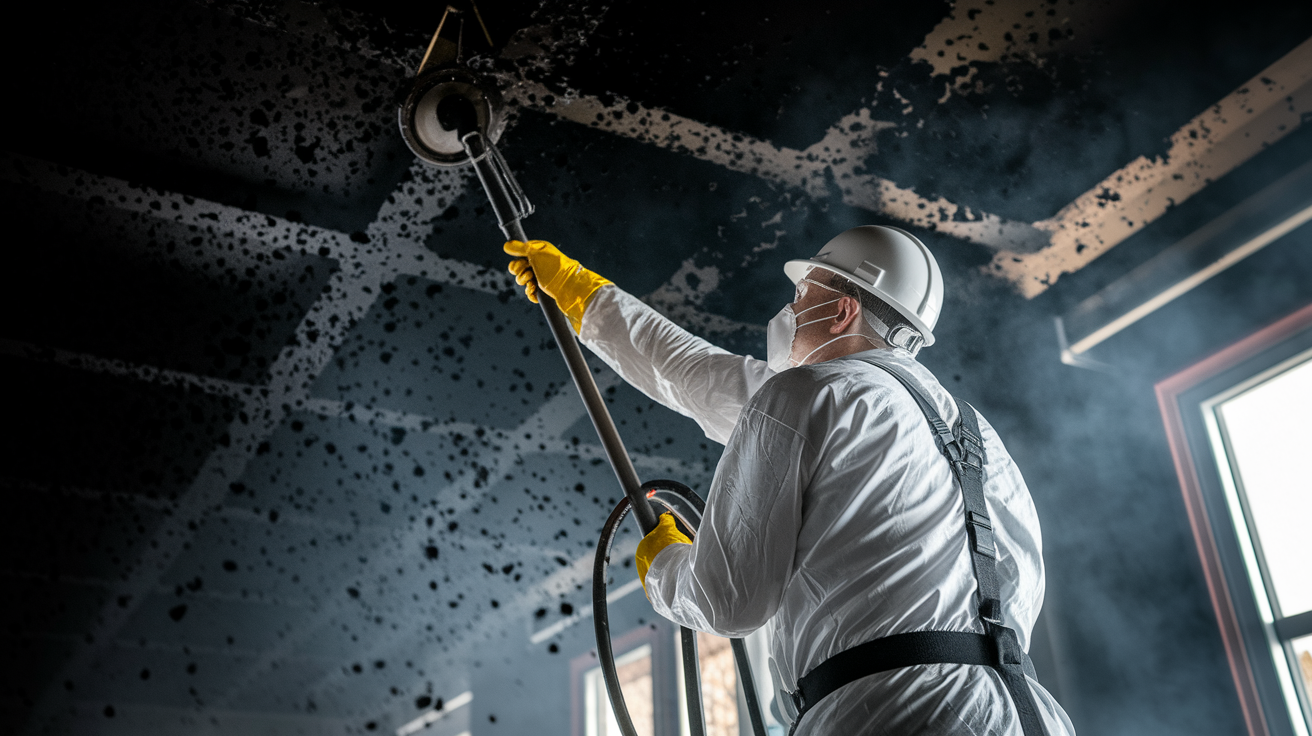
Professional restoration becomes appropriate when smoke damage extends beyond simple surface staining into scenarios requiring specialized equipment, expertise, or comprehensive solutions that DIY methods can’t adequately address. Recognizing these situations early prevents wasted time on ineffective home cleaning attempts and stops secondary damage from developing while you delay proper treatment.
Call professional restoration services when you run into these situations:
- Extensive fire damage beyond surface staining, including charred areas, heat damaged ceiling materials, or smoke damage affecting multiple rooms
- Persistent odors that stick around after multiple thorough cleaning attempts with different products, indicating smoke residue embedded in wall cavities or ventilation systems
- Soot contamination visible in your HVAC system, around air vents, or inside ductwork that requires specialized equipment to properly clean without spreading particles
- Structural concerns like ceiling material softening, sagging, or crumbling that suggests heat damage or long term smoke exposure has compromised integrity
- Health issues developing during cleaning attempts, such as respiratory irritation, headaches, or allergic reactions to smoke residue or cleaning products
- Stains covering entire ceiling areas or multiple rooms, making DIY cleaning impractical due to time and physical demands of extended overhead work
- Landlord or insurance requirements for professional documentation, estimates, and certified restoration work following fire incidents
Professional restoration processes address smoke damage more thoroughly than surface cleaning allows. Thermal fogging introduces a deodorizing fog that penetrates the same porous materials where smoke odor has embedded, neutralizing smell at its source rather than just masking it temporarily. Specialized soot removal equipment uses HEPA filtration and controlled suction to capture particles without spreading contamination. Industrial air scrubbers filter room air continuously during cleaning to protect indoor air quality.
Professionals do structural assessment examining not just visible ceiling damage but also investigating wall cavities, insulation, and framing members for hidden smoke penetration. They perform contamination testing when health concerns arise, sampling air quality and surface residue to determine whether specialized cleaning or even material removal is necessary for safe occupancy. For situations involving moisture from firefighting efforts or cleaning attempts that create secondary concerns, professionals coordinate water damage and flooding cleanup alongside smoke remediation to prevent mold mitigation tied to moisture events.
Quick professional response after significant smoke events prevents secondary damage that develops when contaminated materials remain untreated. Smoke residue is acidic and continues corroding metal surfaces, etching glass, and degrading fabrics for weeks or months after the initial exposure, causing progressive damage that becomes more expensive to repair as time passes. Moisture introduced during DIY cleaning attempts can activate dormant mold spores in ceiling materials, creating new problems requiring separate remediation.
Permanent discoloration sets deeper into porous materials the longer smoke residue stays in contact with surfaces. Delayed cleaning allows particles to spread through HVAC systems into previously unaffected areas. Indoor air quality gets worse as smoke particles and odors continue off gassing from contaminated materials, potentially causing respiratory issues especially for children, elderly family members, or anyone with asthma or allergies.
Professional documentation provides essential support for insurance claims and protects home value through certified restoration records. Insurance adjusters often require professional estimates and scope of work documents before approving smoke damage claims. Attempting DIY cleanup before professional assessment can complicate claims by hiding the original damage extent. Certified restoration creates verifiable records proving proper remediation occurred, which protects home value during future sales and provides peace of mind that all contamination was properly addressed rather than just cosmetically covered.
Final Words
Kitchen ceiling smoke stains don’t have to be permanent. Start with the mildest cleaning method that matches your stain severity, work in small sections, and don’t be afraid to move up to stronger solutions if you need them.
Most light to moderate stains respond well to dish soap, vinegar, or baking soda paste with a little patience and elbow grease.
For heavy buildup or persistent discoloration, a stain-blocking primer before repainting makes all the difference. And if you’re dealing with structural concerns, strong odors that won’t go away, or damage that keeps coming back, that’s when it’s smart to bring in professionals who can assess what’s happening behind the surface.
With the right approach and regular maintenance, you can keep your kitchen ceiling looking clean and fresh.
FAQ
How do you clean smoke stains off a ceiling?
You clean smoke stains off a ceiling by starting with dish soap and warm water for light stains, then progressing to white vinegar solution or baking soda paste for moderate stains. For heavy stains, use TSP cleaner mixed at one tablespoon per gallon of warm water, wearing gloves and ensuring proper ventilation.
How do you remove smoke stains from a kitchen?
You remove smoke stains from a kitchen by first vacuuming loose soot with a HEPA vacuum, then cleaning with the mildest effective solution for the stain severity. Light stains respond to dish soap, moderate stains need vinegar or baking soda paste, and heavy stains require TSP or commercial degreasers.
Can you paint over a smoke stained ceiling?
You can paint over a smoke stained ceiling after deep cleaning all surfaces with degreaser and applying stain-blocking primer labeled stain-resistant or odor-sealing. The primer prevents old stains from bleeding through your new paint, then apply two topcoat layers for full coverage and durability.
What is the best degreaser for kitchen ceilings?
The best degreaser for kitchen ceilings depends on stain severity. For moderate grease buildup, use baking soda paste or commercial kitchen degreasers safe for ceiling materials. For heavy grease and smoke stains, TSP mixed at one tablespoon per gallon provides strongest cleaning power with proper safety precautions.
When should you call professionals for ceiling smoke stains?
You should call professionals for ceiling smoke stains when stains persist after multiple cleaning attempts, odors remain embedded, soot has contaminated your HVAC system, or you notice structural concerns. Professional restoration becomes necessary for extensive fire damage beyond surface staining or when health issues arise during cleaning.
How long should cleaning solution sit on smoke stains?
Cleaning solution should sit on smoke stains for five to ten minutes for light to moderate staining with vinegar or degreaser solutions. For heavy stains using TSP, allow the solution to work five to ten minutes without letting it dry on the surface, then scrub gently and rinse thoroughly.
What paint finish works best for kitchen ceilings?
Eggshell or satin paint finishes work best for kitchen ceilings because they offer washable, moisture-resistant surfaces while maintaining a soft appearance. Flat paint absorbs stains easily and resists cleaning, while semi-gloss provides excellent cleanability but shows ceiling imperfections more prominently.
How do you prevent smoke stains from forming on kitchen ceilings?
You prevent smoke stains from forming on kitchen ceilings by running your range hood during cooking and fifteen minutes after, wiping surfaces monthly with warm water and mild soap, and cleaning ceilings quarterly. Use lids on pans, lower heat settings, and choose baking over high-heat frying when possible.
How much does professional smoke stain removal cost?
Professional smoke stain removal costs vary by damage severity and ceiling size. Basic professional cleaning services typically cost less than full restoration with thermal fogging and deep deodorizing for extensive fire damage. Request assessment and quote to compare against DIY supplies, primer, and paint costs.
What are dry cleaning sponges for smoke damage?
Dry cleaning sponges for smoke damage are chemical sponges that lift loose soot without smudging or spreading stains. You use them before wet cleaning to remove surface particles, preventing you from pushing soot deeper into ceiling materials during the washing process.
Why do smoke stains keep coming back after cleaning?
Smoke stains keep coming back after cleaning when the stain has penetrated the paint layer, heavy oil has polymerized into the surface, or old nicotine has embedded in porous ceiling materials. This persistent yellowing indicates you need stain-blocking primer before repainting to seal the discoloration permanently.
How do you clean popcorn ceilings with smoke stains?
You clean popcorn ceilings with smoke stains using extra-gentle techniques and very dry sponges to avoid damaging the texture. Vacuum loose soot first with a brush attachment, then use barely damp sponges with cleaning solution, avoiding scrubbing that could remove texture or create gouges.
