
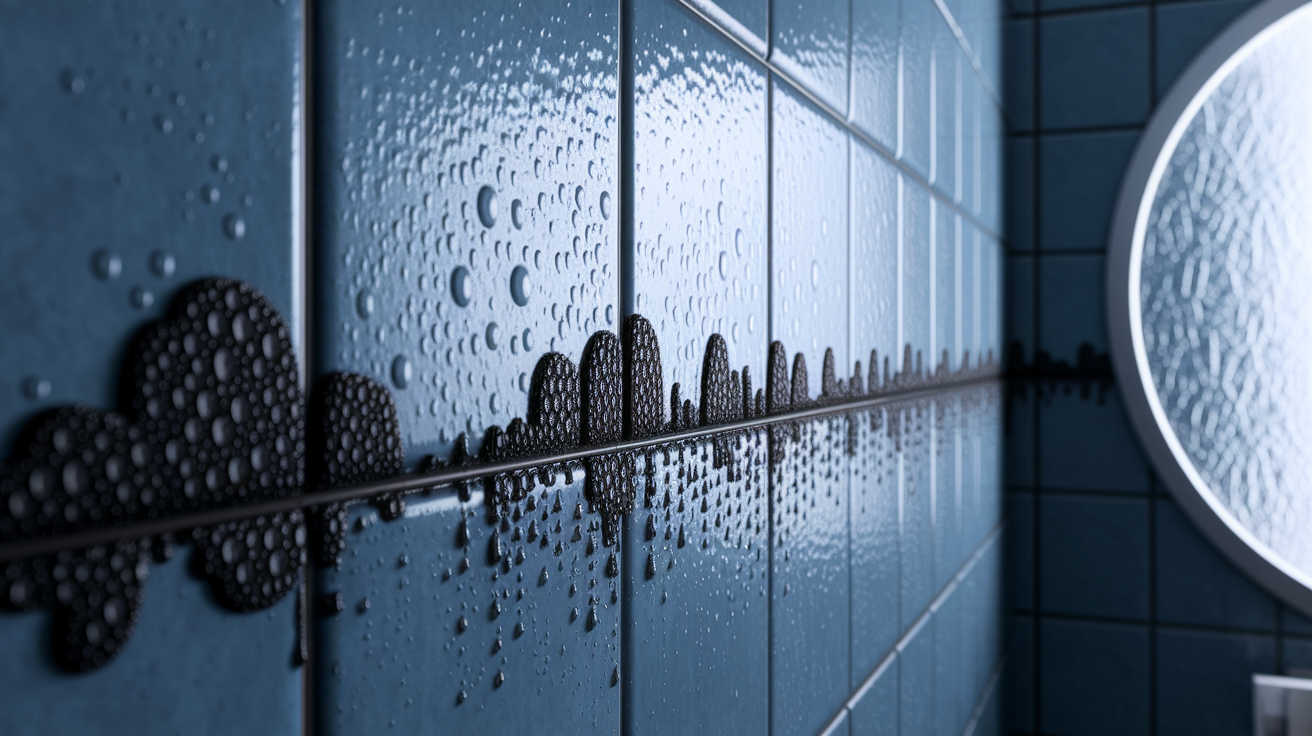
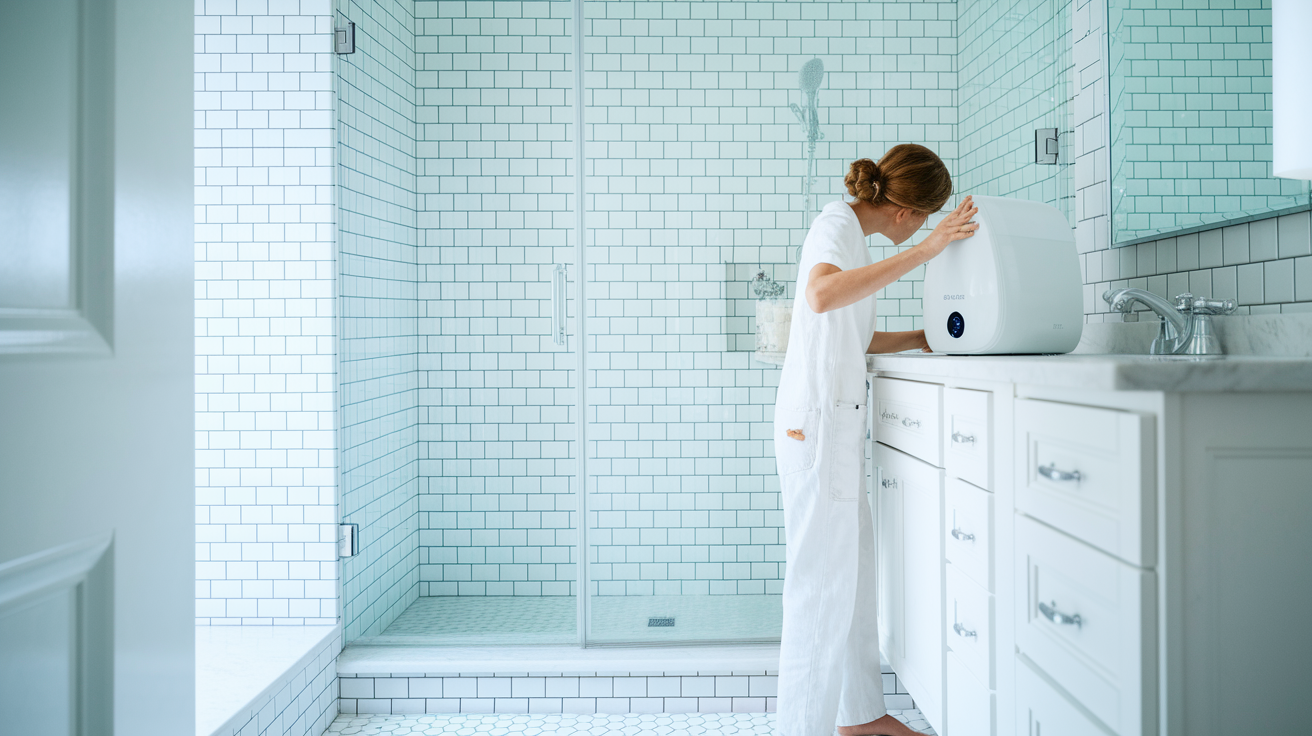
That dark spot spreading across your bathroom ceiling isn’t just ugly, it’s black mold, and it won’t go away with regular cleaner. Black mold embeds into grout, drywall, and caulk where moisture sits too long. The good news? You can remove it safely with the right approach and prevent it from coming back. This guide walks through exactly how to identify black mold, clean it thoroughly without making it worse, and fix the moisture problems that let it grow in the first place.
Identifying Black Mold in Bathroom Spaces
Black mold’s scientific name is Stachybotrys chartarum. It’s a fungus that loves damp, humid bathrooms where temperatures sit between 40°F and 80°F. This particular species needs steady moisture and organic stuff like soap scum, body oils, and dust to set up shop. Unlike other household molds that might show up briefly and vanish with a quick wipe, black mold digs into surfaces and spreads when conditions stay right.
You’ll spot it as dark circular patches on ceilings, walls, or around fixtures. Black mold looks darker than most bathroom mildew, usually black or dark green, with a slimy or slightly fuzzy texture when it’s wet. When it dries out, it can look powdery. There’s often a persistent musty smell that won’t quit after normal cleaning, along with excessive condensation on windows and mirrors that tells you humidity levels are supporting mold growth.
Knowing the difference between mildew and black mold helps you respond the right way. Mildew is a surface fungus that shows up white or gray, wipes off easily with basic cleaners, and stays on top of materials. Black mold is darker, more stubborn, and embeds into porous materials like grout and drywall. Mildew’s a nuisance. Black mold is potentially more harmful and needs thorough removal.
Common bathroom spots where black mold grows:
Shower walls and curtains where water contact is constant. Grout lines between tiles where moisture seeps into porous material. Bathroom ceilings where steam rises and condenses. Areas under sinks where slow leaks go unnoticed. Around toilet bases where condensation or small leaks create damp conditions. Window sills and door frames where condensation collects.
Step-by-Step Black Mold Removal Process
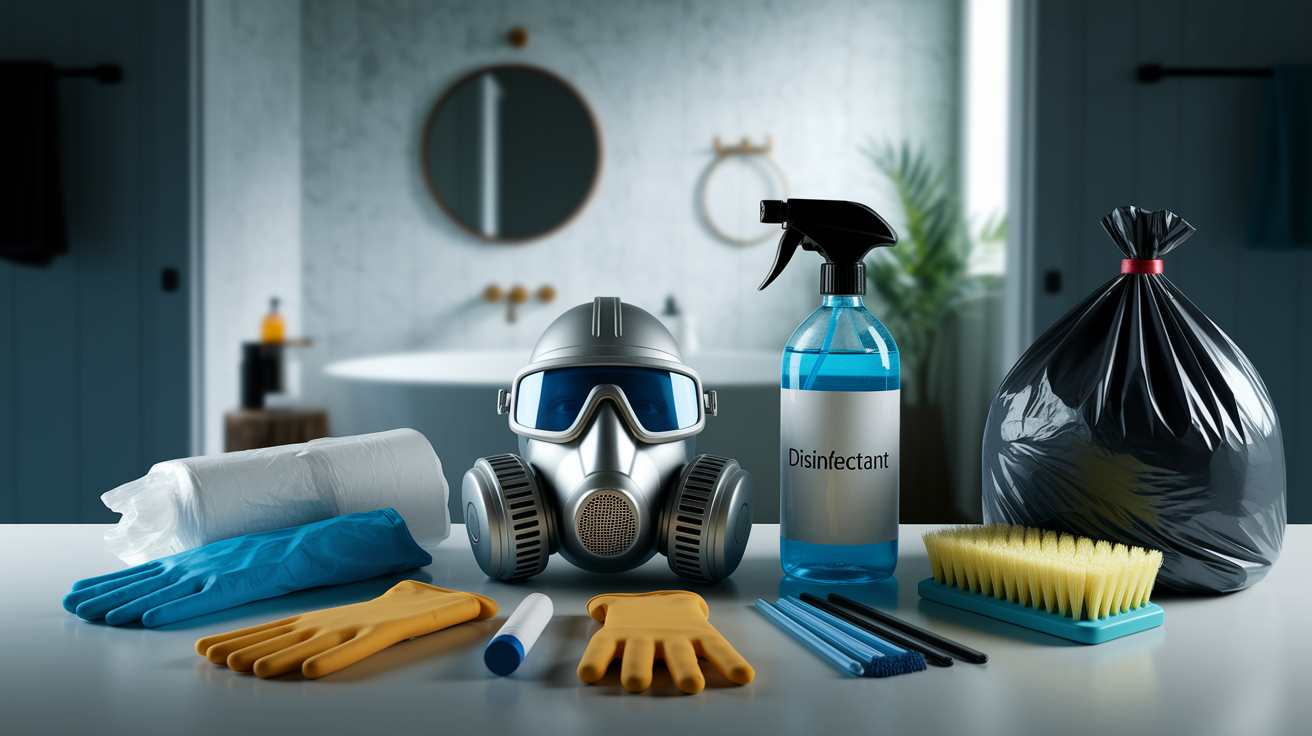
Bathroom black mold removal needs proper safety equipment and the right cleaning approach for your specific surfaces. You can’t just spray and wipe. Mold needs contact time with cleaning solutions to kill the roots, and you need protection from airborne spores during the process.
Safety prep comes first. Put on an N-95 mask or respirator before you start disturbing any mold. Add protective gloves, safety goggles, and long sleeves to prevent skin contact and eye irritation. Open windows and turn on exhaust fans to ventilate the space. These steps protect you from inhaling spores that become airborne when you scrub.
Complete removal process:
- Gather supplies including protective gear, chosen cleaning solution, spray bottle, scrub brush, clean rags, and trash bags.
- Ventilate the area by opening windows and running exhaust fans before starting work.
- Prepare your cleaning solution according to the method you’ve selected (bleach, peroxide, vinegar, or baking soda).
- Apply solution generously to all affected areas using a spray bottle, making sure you’ve got complete coverage.
- Wait the recommended time. Don’t rush this step, contact time lets the solution penetrate and kill mold roots.
- Scrub thoroughly with a stiff brush, working the solution into grout lines and textured surfaces.
- Rinse the area completely with clean water to remove dead mold and cleaning solution residue.
- Dry surfaces thoroughly with clean towels or allow extended air drying with fans running.
After scrubbing and rinsing, verify that surfaces look clean and smell fresh. Dispose of contaminated cleaning materials in sealed plastic bags. Run fans for several hours to make sure everything dries completely. Moisture left behind creates conditions for immediate regrowth. If you see staining that won’t come out or smell lingering mustiness after the area is dry, you might have mold deeper in porous materials that needs more aggressive treatment or professional attention.
Bleach Solution for Non-Porous Surfaces
Mix 1 cup bleach per 1 gallon of water for effective mold killing on tiles and shower walls. Apply the solution and let it sit for 10 to 15 minutes before scrubbing. Bleach works well on nonporous surfaces like ceramic tile, porcelain fixtures, and glass shower doors. It kills surface mold quickly and whitens stained areas.
Bleach can discolor grout over time and damage silicone caulk if you use it too often or at too strong a concentration. Never mix bleach with vinegar or ammonia. These combinations create dangerous chemical reactions that release toxic fumes.
Hydrogen Peroxide Method
Use 3% hydrogen peroxide straight from the bottle without diluting. Spray it on affected areas and let it sit for at least 10 minutes. This method works effectively on porous materials like grout without harsh fumes. Hydrogen peroxide bubbles when it contacts mold, which helps lift it from textured surfaces.
This approach is safer for regular use than bleach and won’t damage most bathroom materials. It works in grout lines where mold roots penetrate deeper than bleach can reach.
White Vinegar Treatment
Apply undiluted white vinegar directly to moldy surfaces using a spray bottle. Let it sit for about one hour before scrubbing. White vinegar kills up to 80% of mold species naturally without harsh chemicals or strong fumes. You can use vinegar repeatedly without worrying about damaging bathroom materials or creating toxic residues.
The smell goes away as the vinegar dries. This method is safe for regular preventive spraying after showers to eliminate mold spores before colonies form.
Baking Soda and Natural Alternatives
Mix half a cup of baking soda with a few tablespoons of water to create a paste for scrubbing. This mixture is safe for children and pets, effective for light mold, and helps neutralize musty odors. Spread the paste on affected areas, let it sit for several minutes, then scrub and rinse.
Baking soda works best for early stage mold and regular maintenance cleaning rather than heavy infestations. You can also dissolve baking soda in water and use it as a spray for routine prevention.
Targeting Grout Lines and Porous Bathroom Surfaces
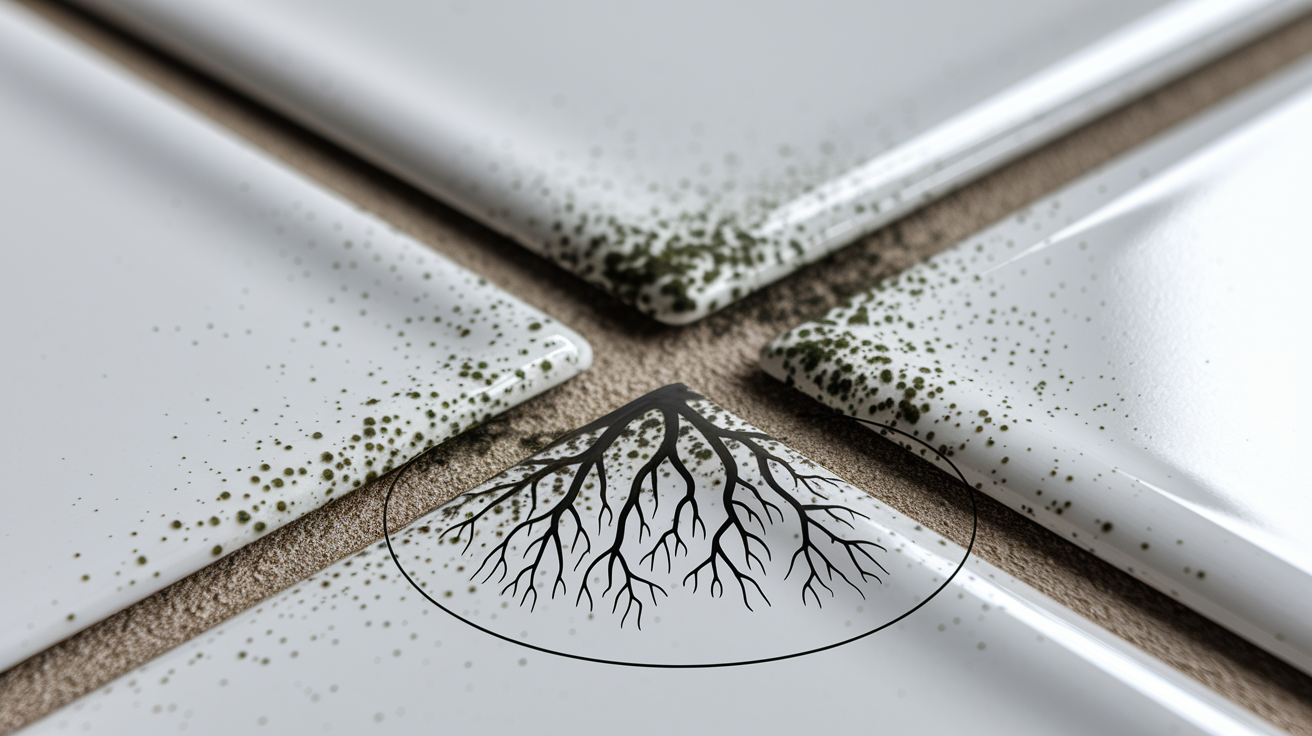
Porous surfaces like grout, unsealed natural stone, and aging caulk present different challenges than smooth tile. Mold doesn’t just sit on top of porous materials. It sends roots deep into the tiny holes and cracks. Bleach kills surface mold but doesn’t penetrate deep enough to destroy the root membranes in porous surfaces. That’s why you see mold return quickly in grout lines even after thorough cleaning with bleach.
Hydrogen peroxide or white vinegar work better for grout because they penetrate deeper. Apply 3% hydrogen peroxide or undiluted vinegar directly to grout lines using a spray bottle. Let it sit for at least 10 minutes, longer for stubborn growth. Use a stiff grout brush or old toothbrush to scrub along the lines, working the solution into the porous surface. Rinse thoroughly and let everything dry completely. For badly stained grout that’s clean but discolored, you can apply a grout whitener after the area is completely dry.
Caulking around tubs, showers, and sinks eventually becomes too damaged to clean effectively. If you see black mold growing into the caulk itself rather than just on the surface, or if the caulk has pulled away from surfaces and created gaps, remove it completely and apply fresh silicone sealant. Trying to clean deteriorated caulk just spreads spores and leaves mold hiding in the damaged material. After removing mold from grout lines, seal the grout every 6 to 12 months. Grout sealer fills the porous surface and creates a protective barrier that prevents moisture penetration and makes future cleaning easier.
Health Risks Associated With Bathroom Mold Exposure
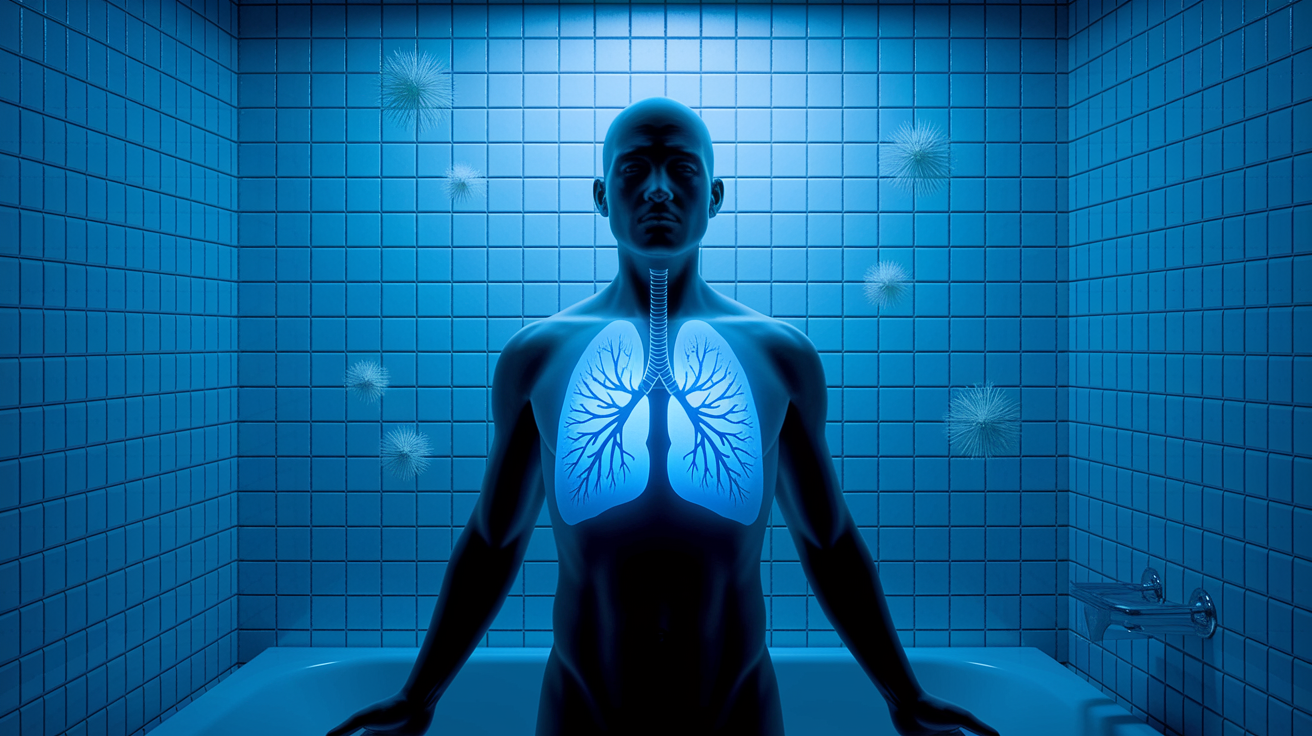
Black mold poses health concerns because it releases tiny spores into the air. When you breathe these spores, they enter your respiratory system and can trigger reactions ranging from minor irritation to serious respiratory problems. The longer you’re exposed and the more concentrated the mold growth, the greater the potential for health effects.
Common symptoms include sneezing, runny nose, skin rashes, coughing, wheezing, irritated eyes, nose and throat, headaches, and fatigue. Some people experience these reactions immediately when entering a moldy bathroom. Others develop symptoms gradually after repeated exposure. Reactions depend on individual sensitivity, the amount of mold present, and how long exposure continues. Most healthy adults experience allergic reactions like sneezing and congestion. More severe respiratory problems like difficulty breathing and persistent coughing can develop with heavy exposure or in vulnerable individuals.
High risk groups who should take extra precautions:
Individuals with compromised immune systems who have reduced ability to fight off mold related infections. People with existing respiratory conditions like asthma or chronic bronchitis where mold exposure triggers attacks. Young children whose respiratory systems are still developing. Older adults who may have decreased immune function. Individuals with mold allergies who experience heightened reactions to spore exposure.
Seek medical attention if you develop persistent coughing, difficulty breathing, chest tightness, or worsening asthma symptoms after mold exposure. If symptoms improve when you leave your home and return when you come back, mold in your living space is likely the cause.
Comprehensive Bathroom Mold Prevention Strategies
Prevention is more effective than repeated removal. Once you’ve cleaned black mold, your focus shifts to controlling the conditions that allowed it to grow. Stopping mold before it starts requires less time, effort, and expense than dealing with recurring growth.
Controlling moisture and improving airflow are the two primary prevention pillars. Maintain indoor humidity between 30 and 60 percent. Mold struggles to establish colonies when humidity stays in this range. Run your exhaust fan during showers and for at least 30 minutes after to remove moisture laden air. Make sure your exhaust fan is properly sized for your bathroom square footage and maintain it regularly so it works effectively. If your bathroom has no window, run a dehumidifier to pull excess moisture from the air. Even opening the bathroom door after showers helps moisture escape instead of settling on surfaces.
Regular attention to moisture removal and surface cleaning prevents mold spores from establishing colonies. Daily quick tasks are more effective than weekly intensive scrubbing. A squeegee takes 30 seconds to wipe down shower walls after each use but removes the moisture that would otherwise feed mold growth. Spraying vinegar weekly keeps spore populations low before they become visible problems.
| Frequency | Prevention Action |
|---|---|
| Daily | Use squeegee on shower walls and doors after each use |
| Daily | Wipe down wet surfaces with towel after bathing |
| During showers | Run exhaust fan and continue for 30 minutes after |
| Weekly | Check that ventilation systems are working effectively |
| Monthly | Inspect for leaks around faucets, showerheads, and pipes |
| Ongoing | Keep bathroom door ajar when not in use to improve airflow |
| Task Frequency | Cleaning Action | Target Areas |
|---|---|---|
| After each use | Squeegee water off surfaces | Shower walls, glass doors, tile surrounds |
| After each use | Wipe down with dry towel | Faucets, countertops, tub edges |
| After each use | Spray white vinegar on surfaces | Grout lines, shower walls, curtain liner |
| Daily | Quick surface drying check | Floor mats, corners, under sink areas |
| Weekly | Deep clean with mold killing cleaner | All tile, grout, tub, shower, and sink areas |
| Monthly | Wash shower curtain and liner | Full shower curtain and any fabric items |
Moisture Problems That Cause Bathroom Mold
Steam from hot showers, limited airflow, and lingering moisture combine with soap scum and body oils to create ideal conditions for mold. Black mold needs this combination to thrive. Water alone isn’t enough. The organic materials from personal care products and skin cells provide nutrition while moisture and warmth create the environment. When these factors stay consistently present, mold colonies establish quickly.
Visible moisture sources include leaky faucets, loose pipe connections, gaps around shower doors, and damaged caulking that lets water seep behind fixtures. You can spot these problems during regular bathroom use. Drips under sinks, water pooling along tub edges, or condensation that never seems to dry on certain walls. Fix these issues as soon as you notice them. A small drip wastes water and creates continuous moisture that feeds mold growth behind the visible problem. Addressing water damage quickly prevents mold from developing in the first place.
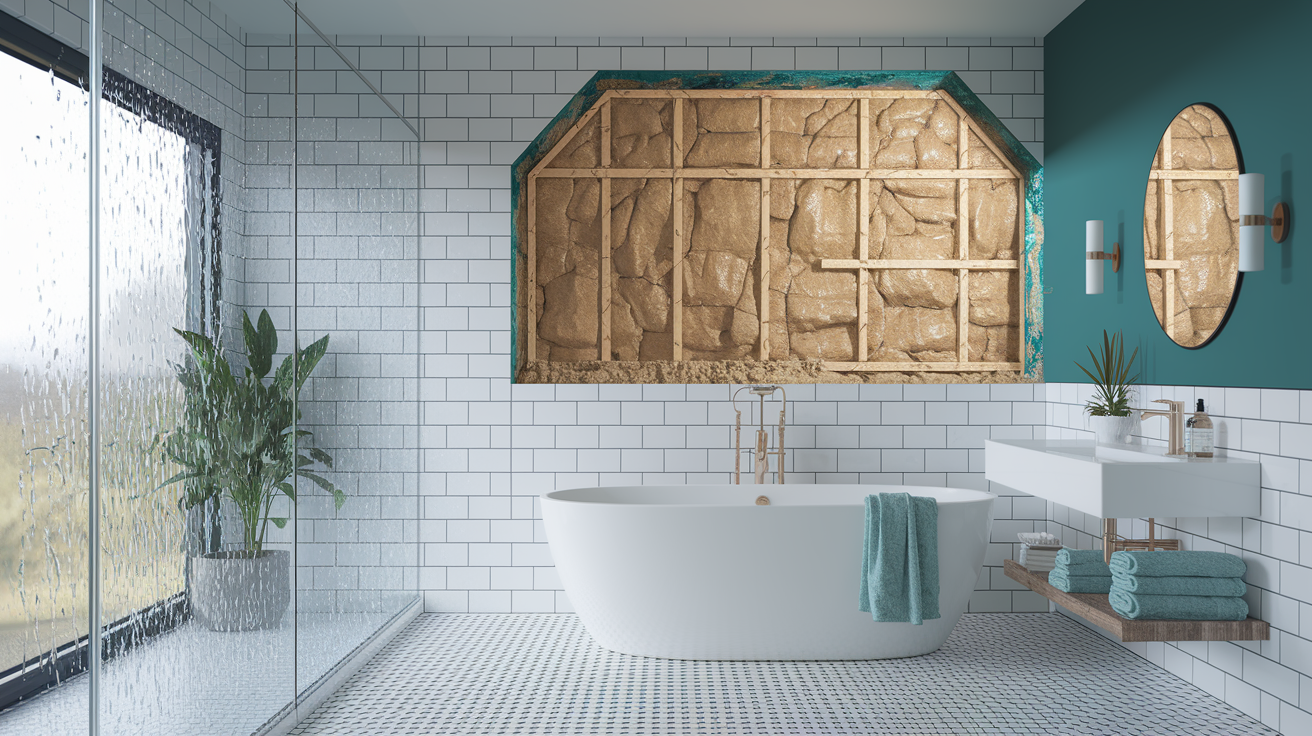
Hidden moisture causes bigger problems because you don’t see it until mold appears or materials show damage. Water can leak behind shower walls from deteriorated grout or cracked tiles, pool under vinyl flooring from toilet condensation, or collect in ceiling cavities from roof leaks or plumbing issues in rooms above. Signs of hidden moisture include persistent musty odors even after thorough cleaning, discoloration or staining on walls and ceilings with no visible leak source, and soft or spongy drywall that indicates water damage inside the wall cavity.
Fixing leaks and water damage must come before or during mold removal to prevent immediate regrowth. You can remove every visible spore, but if water keeps entering the space, mold returns within days. Identify the moisture source, repair it properly, dry out affected materials completely, and then address the mold. This sequence solves the problem instead of temporarily hiding it. When you spot signs of water intrusion or ongoing moisture problems beyond normal bathroom humidity, get immediate professional help to prevent extensive damage.
When to Call Professional Mold Remediation Services
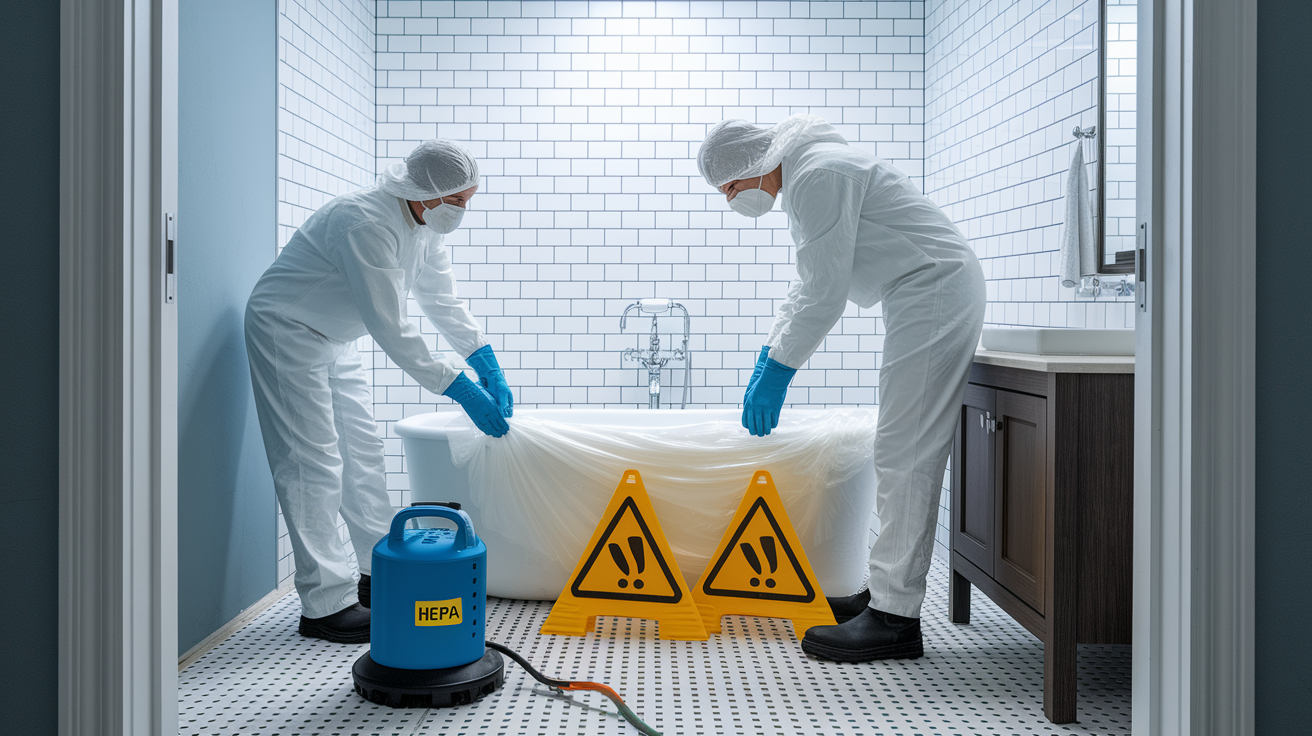
Extensive mold growth, hidden mold, or mold resulting from contaminated water requires specialized equipment and expertise beyond typical DIY approaches. When black mold covers more than 10 square feet (roughly a 3 foot by 3 foot area), the spore concentration during removal creates health risks that proper containment and filtration equipment can manage safely. If you’re dealing with mold from sewage backups or other contaminated water sources, professional handling protects you from additional pathogens beyond the mold itself.
Situations requiring professional services:
Mold covering more than 10 square feet of any surface. Mold growth from sewage or contaminated water that introduces additional health hazards. Mold in HVAC systems where spores can spread throughout your home. Mold behind walls or under flooring that requires material removal to access. Repeated mold growth after DIY removal indicating an unresolved moisture problem. Presence of structural damage like soft drywall or weakened framing. Situations where individuals have health concerns or compromised immunity making exposure risky.
Professional remediation involves containment area setup to prevent mold spores from spreading to clean areas during removal. Technicians use HEPA filtration systems to capture airborne spores and prevent cross contamination. They remove and properly dispose of porous materials like drywall and insulation that can’t be adequately cleaned. The process includes identifying and addressing the root cause of moisture problems, not just removing visible mold but solving what created it. Professionals have moisture meters, thermal imaging cameras, and air quality testing equipment to find hidden water sources and verify that removal was complete.
Mold Testing and Identification Methods
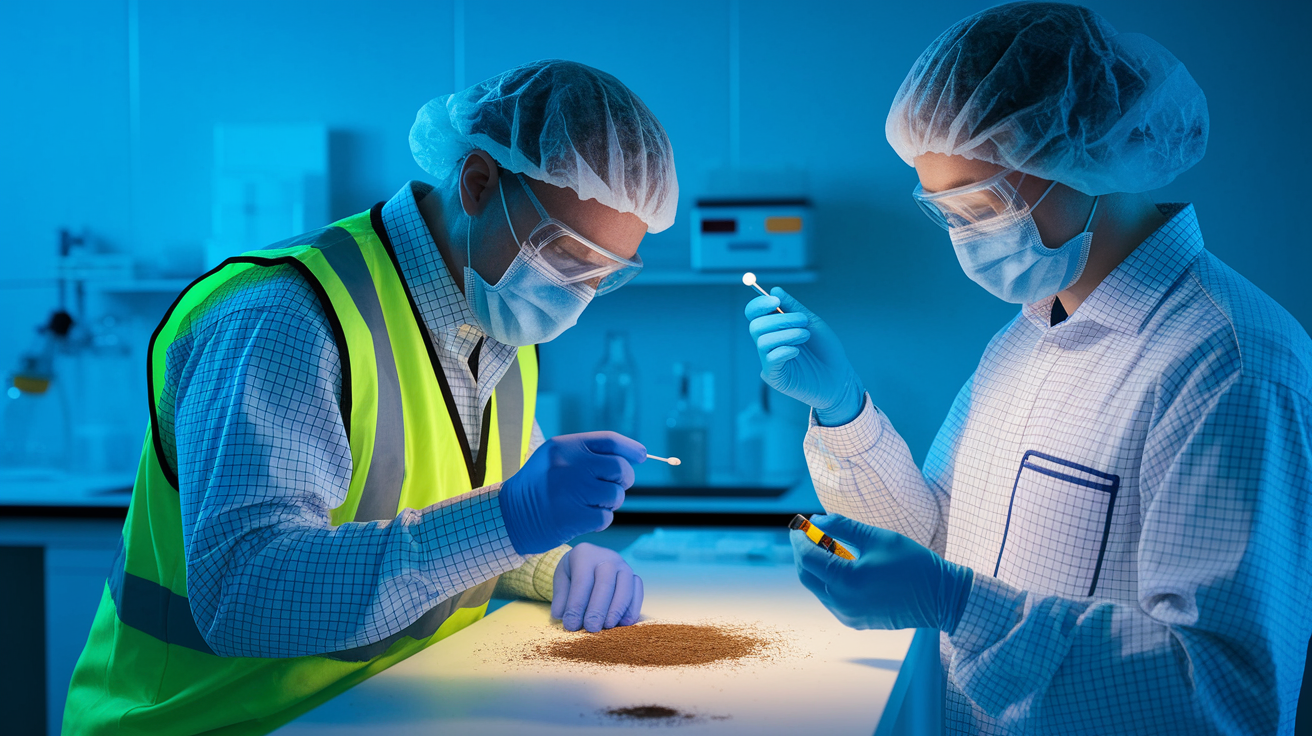
Visible black mold on bathroom surfaces typically doesn’t require testing before removal. If you can see it, you need to remove it regardless of the specific species. Testing becomes necessary when you smell persistent mustiness but can’t locate visible growth, when mold keeps returning after apparently successful removal, or when you’re considering purchasing a home with a history of water damage.
Home test kits available at hardware stores provide basic screening. You expose a collection plate or swab to bathroom air or surfaces, send it to a lab, and receive results identifying mold types present. These kits indicate whether mold exists and might identify genera, but they don’t definitively confirm Stachybotrys chartarum versus other black colored mold species. Results tell you “yes, there’s mold” without always pinpointing exactly which type or the extent of contamination. For DIY removal purposes, this information rarely changes your approach. You’ll use the same protective gear and cleaning methods whether it’s Stachybotrys or another species.
Professional inspections include moisture mapping with specialized meters that detect water in walls and under flooring, air quality testing that measures spore concentrations throughout your home, and laboratory analysis that definitively identifies mold species. Inspectors use thermal imaging cameras to locate temperature differences indicating moisture problems and hidden mold growth. They’ll examine HVAC systems, crawl spaces, and areas you can’t easily access. This comprehensive assessment helps when you have recurring problems, health symptoms without obvious mold sources, or before major renovation work where you need to know the full extent of contamination.
Indicators of hidden mold include musty odors that persist even after thorough cleaning, discoloration on walls or ceilings without visible moisture sources, soft or damaged drywall that feels spongy when pressed, and health symptoms that improve when you leave home and return when you come back. These signs suggest mold growing inside walls, under flooring, or in other concealed spaces that need professional investigation.
Cost Considerations for Mold Removal Projects
DIY black mold removal costs include cleaning solutions ($5 to $20 depending on product choice), protective gear like N-95 masks, gloves, and goggles ($15 to $40 total), replacement materials such as caulk and grout ($10 to $30), and basic tools like scrub brushes and spray bottles if you don’t already own them. Total DIY supply costs typically run $40 to $100 for a moderate bathroom mold problem on accessible surfaces. Natural solutions like vinegar and baking soda cost less than commercial mold removers, though you might need more applications for stubborn growth.
Professional service pricing depends on square footage, severity, and location of mold growth. Basic remediation for small visible areas typically starts around several hundred dollars. Costs increase significantly when mold covers more than 10 square feet, requires wall or flooring removal to access hidden growth, or involves contaminated water cleanup. Extensive remediation including material removal, containment setup, HEPA filtration, and reconstruction can run several thousand dollars. You’re paying for specialized equipment, proper disposal of contaminated materials, and expertise in locating and fixing underlying moisture problems. Insurance might cover mold remediation if it resulted from a covered event like a burst pipe, but policies often exclude mold from gradual moisture problems like poor ventilation.
Investing in prevention costs less than repeated removal or major remediation. A quality exhaust fan runs $100 to $300 installed, but it operates for years preventing moisture buildup. A bathroom dehumidifier costs $30 to $150 depending on capacity. Grout sealer costs $10 to $20 per bottle and protects grout for 6 to 12 months. Weekly vinegar spray costs pennies per application. These small ongoing investments in moisture control and routine maintenance prevent the conditions that lead to $1,000+ remediation bills or recurring $50 to $100 DIY cleaning supply purchases every few months. Fix small leaks when they start. A $20 washer replacement prevents water damage and mold growth that could eventually cost hundreds or thousands to remediate properly.
Final Words
Bathroom black mold removal starts with proper identification, the right cleaning solution, and consistent moisture control.
Whether you’re scrubbing grout lines with hydrogen peroxide or replacing damaged caulking, the key is addressing both the mold and the moisture problem that caused it.
Run that exhaust fan, wipe down surfaces after showers, and fix leaks fast.
If the mold keeps coming back or covers more than a small area, call in the pros. Your home and your health are worth it.
FAQ
How do you permanently remove black mold from a bathroom?
To permanently remove black mold from a bathroom, address both the mold itself and the moisture source causing it. Clean affected areas with hydrogen peroxide, vinegar, or bleach solution, then fix any leaks, improve ventilation by running exhaust fans for 30 minutes after showers, maintain humidity between 30-60 percent, and seal grout every 6-12 months. Without eliminating the underlying moisture problem, mold will return.
How do you remove black mold from bathroom surfaces?
To remove black mold from bathroom surfaces, put on protective gear including an N-95 mask, gloves, and goggles. Spray the affected area with a cleaning solution like 3% hydrogen peroxide or undiluted white vinegar, let it sit for 10-60 minutes depending on the solution, scrub with a brush, rinse thoroughly, and dry completely. Ventilate the area during and after cleaning.
How harmful is black mold in bathrooms?
Black mold in bathrooms can cause health effects ranging from sneezing, congestion, and skin rashes to more severe respiratory problems like coughing and difficulty breathing. People with weakened immune systems, existing respiratory conditions, young children, older adults, and those with mold allergies face increased health risks. Prolonged exposure may lead to headaches, fatigue, and irritated eyes, nose, and throat.
Do Clorox wipes effectively kill bathroom mold?
Clorox wipes can kill surface mold on non-porous bathroom surfaces like tile and fixtures, but they’re not effective for porous materials like grout where mold roots penetrate deeper. For thorough mold removal, spray solutions that can sit for 10-15 minutes work better than wipes because they allow deeper penetration and more contact time with mold spores.
What’s the difference between black mold and regular bathroom mildew?
Black mold (Stachybotrys chartarum) appears as dark, stubborn patches that embed into porous materials and resist simple wiping, while mildew is white or gray surface fungus that wipes off easily. Black mold typically feels slimy or fuzzy, grows in circular patches, and produces a persistent musty odor, making it potentially more harmful than surface mildew.
When should you call professionals for bathroom mold removal?
Call professional mold remediation services when mold covers more than 10 square feet, results from sewage or contaminated water, grows in HVAC systems, hides behind walls or under flooring, keeps returning after DIY removal, causes structural damage, or when household members have health concerns. Professionals use HEPA filtration, containment areas, and specialized equipment to prevent cross-contamination.
Which cleaning solution works best for bathroom grout mold?
Hydrogen peroxide at 3% concentration works best for bathroom grout mold because it penetrates porous materials without harsh fumes. Apply it directly to grout lines, let it sit for at least 10 minutes, then scrub with a brush. White vinegar also works well on grout, killing up to 80% of mold species when left for one hour.
How long should you run the bathroom fan to prevent mold?
Run your bathroom exhaust fan for at least 30 minutes after showers to reduce moisture levels and prevent mold growth. This allows enough time for humid air to be replaced with drier air, reducing condensation on walls, ceilings, and other surfaces where mold colonies establish. Check that your exhaust fan capacity matches your bathroom size for effective moisture removal.
Can you paint over bathroom mold instead of removing it?
Never paint over bathroom mold because it seals in moisture and provides nutrients that support continued mold growth behind the paint. The mold will continue spreading underneath and eventually break through the new paint. Always remove mold completely, fix the moisture source, ensure surfaces dry thoroughly, then repaint with mold-resistant paint if desired.
How often should you clean bathroom surfaces to prevent mold?
Clean shower areas at least once per week with mold-killing cleaner and wipe down surfaces daily if possible. After each shower, use a squeegee to remove excess water from walls and doors, spray surfaces with vinegar, and wipe damp areas with a towel. Wash shower curtains monthly and inspect grout lines regularly for early mold signs.
What causes mold to grow behind bathroom walls?
Mold grows behind bathroom walls when leaks or moisture buildup from plumbing issues, damaged caulking, or condensation creates damp conditions in hidden spaces. Warning signs include persistent musty odors without visible mold, discoloration on walls or ceilings, soft or spongy drywall, and peeling paint. These situations require professional assessment because hidden mold often indicates significant moisture problems.
Should you replace moldy bathroom caulk or clean it?
Replace moldy bathroom caulk rather than trying to clean it when the caulk shows dark staining, feels soft or crumbly, pulls away from surfaces, or when mold keeps returning after cleaning attempts. Caulk is porous and mold roots penetrate deeply, making complete removal impossible. After removing old caulk, dry the area completely, apply mold-resistant silicone sealant, and maintain it properly to prevent regrowth.
