
You probably think bathroom caulk mold is just ugly. But if you’re cleaning it every month and it keeps coming back within weeks, you’re not actually removing it—you’re feeding a cycle that wastes your time and money. Most people scrub surface stains while mold keeps growing underneath degraded caulk, which is why the same black streaks reappear no matter how much bleach you spray. This guide walks you through methods that actually kill mold at the root, plus clear signs that cleaning won’t work anymore and full replacement is your only real fix.
How to Remove Mold from Bathroom Caulk: Complete Step-by-Step Guide

Before touching that moldy caulk, set up your safety gear. Put on a respirator or N95 mask because mold spores go airborne the second you disturb them. Pull on rubber gloves, open the bathroom window, and turn on the exhaust fan if you’ve got one. Throw on clothes you don’t care about. Bleach splashes happen, and they’ll ruin whatever fabric they hit. Move metal fixtures like faucet handles and drain covers away from your work area or cover them with plastic. Bleach pits and dulls metal finishes. Never, ever mix bleach with other cleaners, especially anything containing ammonia. That combination creates toxic chloramine gas that can seriously harm you.
The bleach and baking soda paste method works better than anything else you’ll find in your cleaning cabinet. Bleach kills mold at the root while baking soda thickens the mixture so it sticks to vertical surfaces instead of running down the drain. This method requires almost zero scrubbing and costs maybe $8 if you’re buying everything fresh.
Step by Step Application:
- Gather supplies: fresh bleach (check the date, bleach loses effectiveness after 6 months), baking soda, disposable paintbrush, plastic wrap, spray bottle, old towels
- Mix bleach with baking soda in a disposable container until you get a thick paste similar to pancake batter consistency
- Apply a generous layer of paste to all moldy caulk using the disposable brush. The bleach will destroy the brush bristles, so use something you can toss
- Press plastic wrap over the paste, smoothing it down to create a seal that prevents evaporation
- Wait at least 1 hour for light mold, or leave it overnight for stubborn black growth
- Check progress after the initial wait time. If mold remains, spray fresh bleach from a spray bottle onto the plastic wrap so it runs down and saturates the paste underneath again
- Rinse thoroughly with water once the mold is gone, using the spray bottle to avoid touching the bleach paste
- Dry the area completely with old towels
Hydrogen Peroxide Method
Three percent hydrogen peroxide from the drugstore works on surface mold without the harsh smell of bleach. Pour it into a spray bottle undiluted, spray the moldy caulk until it’s soaking wet, then wait 10 to 15 minutes. The peroxide fizzes slightly as it kills mold spores. Wipe clean with a damp cloth. This method handles light mold well but struggles with heavy black growth that’s been there for months. You can reapply multiple times without worrying about damaging surfaces.
White Vinegar Solution
Undiluted white vinegar kills about 82 percent of mold species through its natural acidity. Spray it directly onto moldy caulk from a spray bottle, let it sit for at least one hour, then scrub with a stiff brush. Unlike the bleach paste, vinegar requires actual elbow grease to remove dead mold stains. The antimicrobial properties prevent regrowth for a while, but vinegar doesn’t bleach away discoloration the way chlorine bleach does. You may see faint staining even after the mold is dead.
Natural Oil Based Cleaners
Tea tree oil mixed with water at a ratio of one teaspoon per cup creates a natural antifungal solution. Spray it on, leave it (don’t rinse), and let it dry completely. Borax mixed with water into a paste works similarly. These natural options take longer to show results, sometimes several applications over a week, and cost more than chemical cleaners. They avoid harsh fumes and work well for maintenance cleaning once you’ve knocked back heavy mold with stronger methods.
The bleach paste method works on all bathroom caulk: shower corners, bathtub edges, around sinks, anywhere silicone meets tile or porcelain. No scrubbing needed. Just apply, wait, rinse.
Speed matters if you’re trying to clean before guests arrive or before mold gets worse. Bleach paste shows results in one to three hours and kills the toughest mold. Hydrogen peroxide takes 15 to 30 minutes but only handles surface growth. Vinegar needs an hour plus scrubbing time and still might leave stains. Natural oils require multiple applications over several days but keep your bathroom free of chemical smells. Pick based on how bad the mold is and how much time you have.
Why Mold Grows on Bathroom Caulk and How to Identify It

Mold is a fungus that needs three things to grow: moisture, organic material to feed on, and temperatures between 60 and 80 degrees. Your bathroom provides all three constantly. Water from showers and sinks supplies the moisture. Soap scum, body oils, shampoo residue, and dirt particles give mold the organic matter it needs. Room temperature stays perfect for fungal growth year round. That’s why bathroom mold isn’t just possible, it’s practically guaranteed without active prevention.
Caulk creates the perfect mold habitat even though silicone itself is non-porous. The surface traps moisture and organic matter in microscopic texture where mold spores land and colonize. Shower corners and tub edges get hit with water every single day, often multiple times. If the bathroom doesn’t dry out completely between uses, those wet surfaces stay damp for hours. Poor ventilation maintains high humidity levels that prevent proper drying. Water pools behind shallow caulk beads and stays there indefinitely, creating a hidden reservoir that keeps feeding mold growth you can see on the surface.
Most bathroom mold is common mildew. Greenish black surface growth that looks ugly but poses minimal health risk to healthy people. It wipes away relatively easily once you kill it. Toxic black mold, specifically Stachybotrys chartarum, appears as dark black patches and indicates a serious moisture problem beyond normal bathroom humidity. If you see black mold spreading across walls or ceiling areas (not just caulk lines), that suggests water intrusion behind the surfaces and requires professional assessment, not just cleaning.
Understanding these growth conditions helps you target prevention toward moisture control and regular cleaning rather than just treating symptoms every few months. Mold isn’t random. It grows where conditions support it and stops where they don’t.
When to Remove and Replace Moldy Caulk Instead of Cleaning
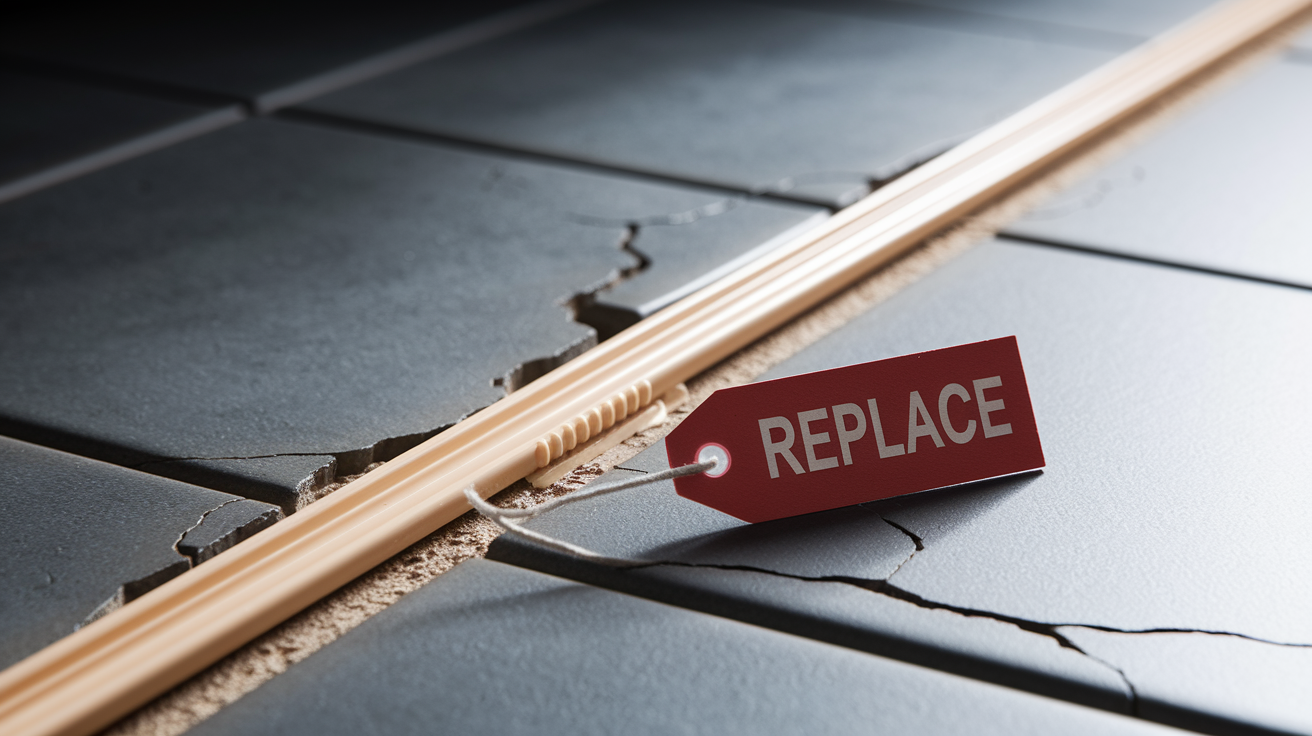
Surface mold sits on top of intact caulk and responds well to cleaning. Deep penetration happens when mold grows into degraded, porous caulk material that has broken down over time. You can tell the difference by results. Surface mold disappears with one or two bleach treatments, while penetrated mold leaves permanent staining even after the living fungus is dead.
Replace caulk immediately if you see:
- Cracks or peeling anywhere in the caulk line
- Mold returning within two to three weeks after thorough cleaning
- Dark discoloration that goes deep into the caulk material rather than sitting on the surface
- Soft or crumbly texture when you press the caulk with your finger
- Gaps between the caulk and the tile or tub surface that allow water to seep behind
Old or cheap caulk becomes porous as it ages, absorbing water and organic matter into its structure instead of repelling it like new silicone does. Once caulk reaches this degraded state, cleaning only addresses surface growth while mold continues living inside the material. You’ll clean it, see improvement, then watch it return within weeks because you never eliminated the mold living below the surface. Replacement is the only permanent solution at that point.
Complete Process for Removing Old Caulk and Recaulking
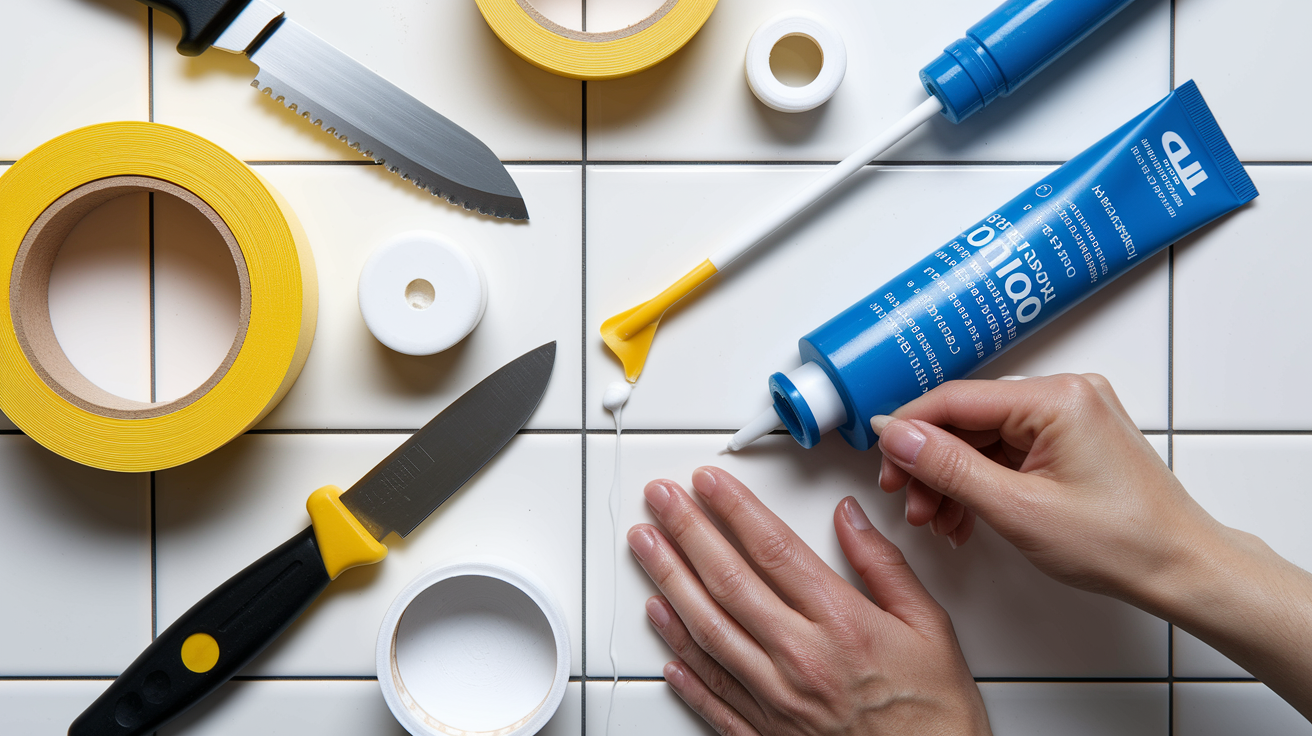
Full replacement makes sense when cleaning fails twice or when you spot the replacement indicators listed above. Taking the extra time to replace degraded caulk stops the mold cycle instead of just pausing it for a month.
Gather these supplies before starting: utility knife or specialized caulk remover tool for cutting and peeling, plastic scraper for removing residue without scratching surfaces, rubbing alcohol for final surface cleaning, painter’s tape for creating clean lines, mold resistant silicone caulk rated for kitchens and bathrooms, standard caulking gun, smoothing tool or just use a wet finger, old towels.
Complete removal and replacement steps:
- Cut along both edges of the old caulk bead with a sharp utility knife, creating two parallel cuts that go as deep as the caulk thickness
- Peel away the caulk strips by hand. They often come off in long pieces once you get them started
- Use the plastic scraper or caulk remover tool for stubborn residue that sticks to the tile or tub
- Inspect carefully for any remaining silicone fragments and scrape them away until you see clean surface
- Clean both surfaces thoroughly with rubbing alcohol on a cloth to remove every trace of soap scum, oils, and mold residue
- Check for underlying moisture problems like slow leaks or cracks that caused excessive water exposure
- Let everything dry completely for 24 to 48 hours. This matters more than you think, especially in humid bathrooms
- Ensure surfaces are at room temperature before applying new caulk (cold surfaces prevent proper adhesion)
- Apply painter’s tape along both sides of the joint, leaving the gap width you want for the new caulk bead
- Load the caulking gun with fresh mold resistant silicone, cutting the tube tip at a 45 degree angle
- Apply a steady bead by holding the gun at a 45 degree angle and moving smoothly along the joint with consistent pressure
- Smooth the bead immediately with a wet finger or caulk tool, pressing firmly to ensure good contact with both surfaces
- Remove painter’s tape right away while the caulk is still wet
- Keep the area completely dry for 24 to 48 hours while the caulk cures. Read your specific product’s cure time
Adequate caulk thickness prevents water from pooling behind the bead, which is a root cause of recurring mold that no amount of cleaning will fix. A thin, shallow bead creates a gap where water sits against the wall or tub surface indefinitely. That trapped water grows mold on the backside of your caulk where you can’t see it, then eventually shows through to the front. Apply enough caulk to create a solid seal with no hollow space behind it. Usually about a quarter inch bead for typical tub and shower applications.
Complete drying before recaulking matters just as much as the caulk quality you choose. Applying new caulk over surfaces that are still damp traps moisture underneath the fresh bead. That moisture has nowhere to go, so it creates poor adhesion (caulk peels away within weeks) and encourages immediate mold growth underneath the new material. You just sealed in the exact conditions mold loves. Let the bathroom air out with windows open and exhaust fan running for two full days if humidity is high.
Select caulk labeled “mold resistant,” “antimicrobial,” or “mildew resistant” specifically formulated for high moisture bathroom applications. These formulations contain additives that inhibit mold growth on the caulk surface, buying you significantly more time between cleanings. The extra $3 to $5 per tube over basic caulk is worth it.
Preventing Mold Growth on Bathroom Caulk Long Term
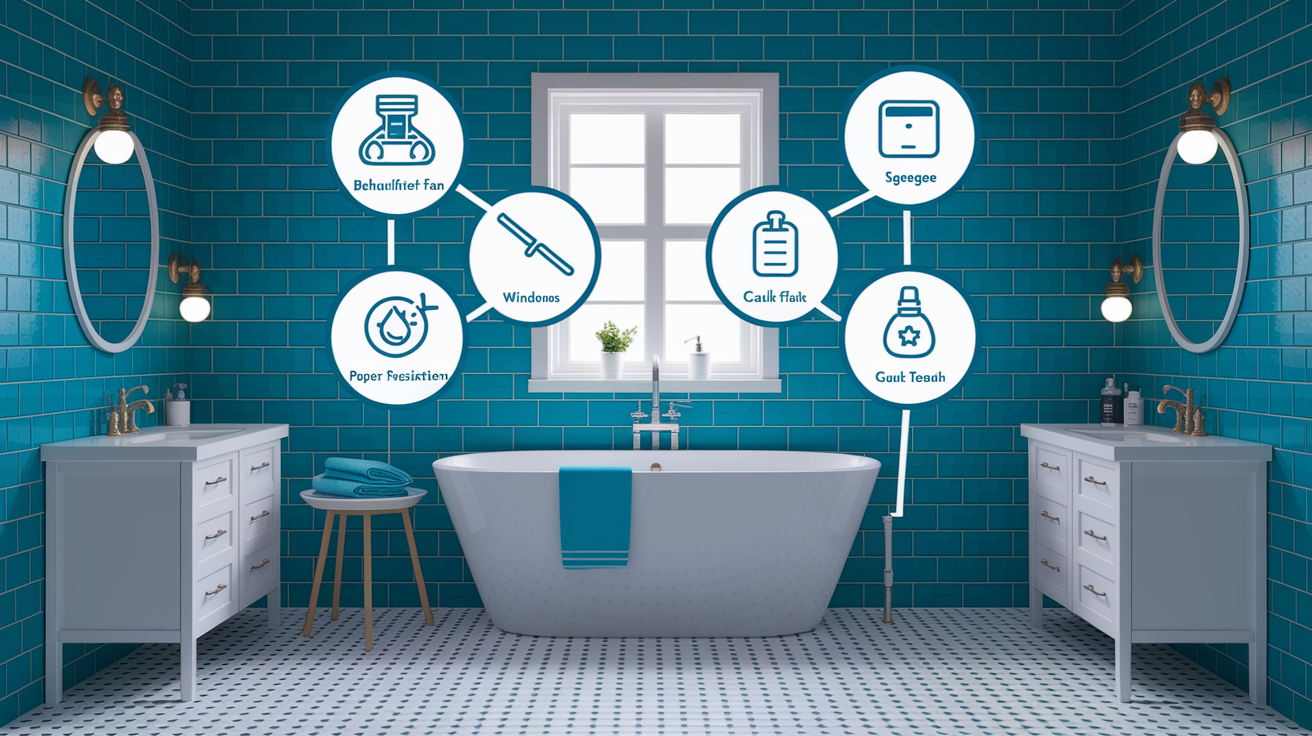
Even the most effective bleach treatment only buys you six to twelve months before mold starts creeping back unless you address the root moisture causes. Bathrooms create humid environments by design, so you’re fighting biology and physics here.
Seven prevention measures that actually work:
- Run the exhaust fan during your shower and for 20 minutes after you finish. This removes humid air before it condenses on surfaces
- Keep the bathroom door open when nobody’s using it to improve air circulation and speed drying
- Squeegee shower walls and the tub after each use to remove standing water that would otherwise evaporate and increase humidity
- Use a small dehumidifier in bathrooms without windows or with poor natural ventilation
- Ensure proper caulk thickness during installation or replacement to prevent water from pooling behind the bead
- Apply mold resistant caulk formulations during any replacement work instead of generic silicone
- Inspect all caulk lines every three months for early signs of mold so you can treat small spots before they spread
Adequate ventilation is the single most important factor for mold prevention. Bathrooms with no exhaust fan or window require cleaning every two to three months because moisture never fully leaves the space. Properly ventilated bathrooms with fans and windows need treatment once or twice a year. That’s the difference between constant maintenance and occasional upkeep. If you’re cleaning mold monthly and your caulk isn’t degraded, you have a ventilation problem that water damage restoration professionals can help assess if it’s creating moisture issues beyond just the bathroom.
Treating Mold on Grout Lines Around Caulked Areas
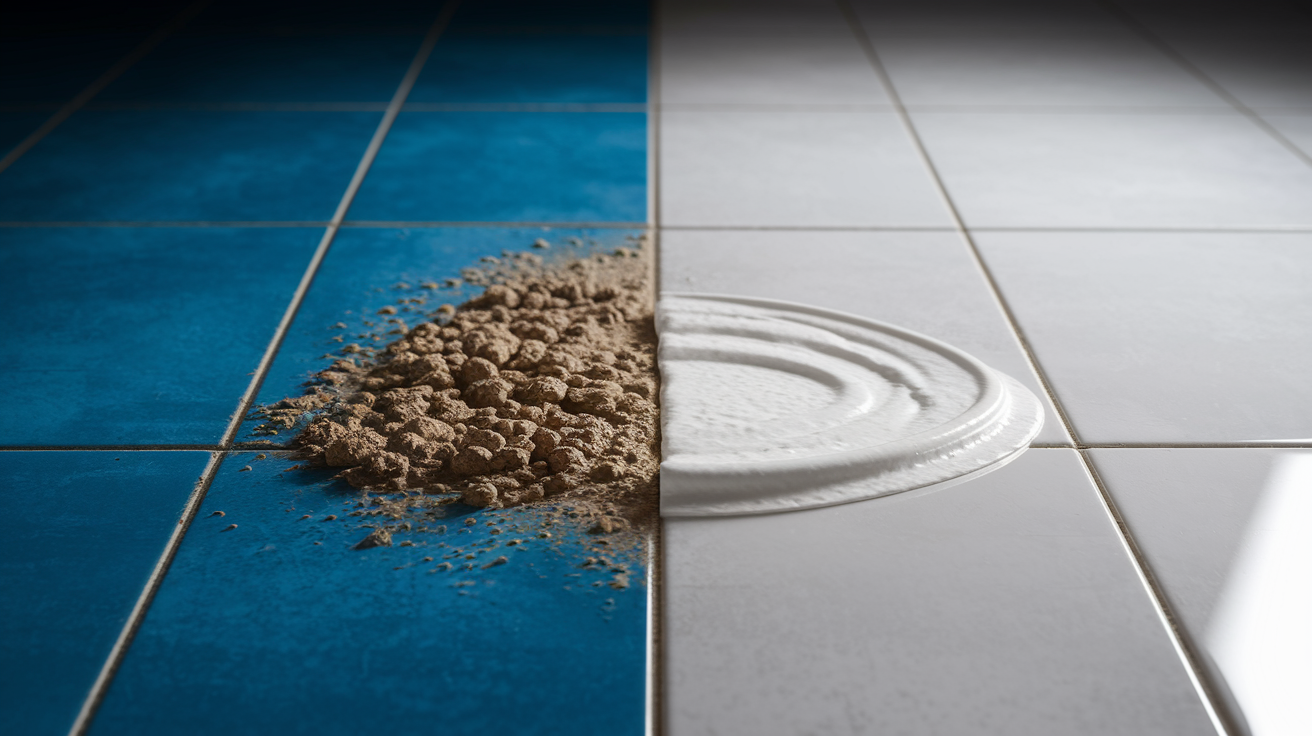
Mold rarely limits itself to just the caulk when it’s growing in your shower or tub. The grout lines right next to the caulked corners usually show mold at the same time.
The bleach baking soda paste method works on white grout with mixed results. It definitely kills the mold, but it may lighten the grout color instead of restoring it to its original shade. Some people report excellent results while others find the method less effective on grout than on caulk because grout is porous and absorbs both the mold and the bleach deeper into its structure. You won’t know how your specific grout responds until you try, but the process is the same: paste, plastic wrap, wait, rinse.
Grout needs more aggressive treatment than caulk because of that porous nature. After applying the bleach paste and letting it work, you’ll likely need to scrub with a stiff brush to physically remove dead mold from the surface texture. Mold that has penetrated deep into unsealed grout may have caused permanent staining. The living mold dies but the discoloration it created remains embedded in the material. After cleaning, apply a grout sealer spray once everything dries completely. The sealer fills those porous holes and prevents future mold and staining from penetrating. It makes your next cleaning much easier because mold can only grow on the surface.
Severely stained grout that doesn’t respond to cleaning and sealing may need grout paint (a coating product that covers the old grout with a new colored layer) or professional regrouting where the old material gets scraped out and replaced entirely. That’s a bigger project than caulk replacement but sometimes necessary in older showers.
Troubleshooting Common Caulk Mold Removal Problems

Stubborn mold sometimes laughs at your first treatment attempt. That doesn’t mean the method failed. It means you need a second round.
Common problems and their solutions:
- Mold remains visible after first application: Spray fresh bleach from a spray bottle directly onto the plastic wrap covering your paste. The bleach runs down and saturates the paste underneath, giving it another dose of killing power without having to remove everything and start over.
- Paste dries out before mold is gone: Check that your plastic wrap is sealed tightly at the edges. Air gaps let moisture evaporate. Press the wrap down firmly and add extra overlap where pieces meet.
- Mold returns within two to three weeks: This indicates inadequate ventilation or caulk that’s too degraded to protect anymore. Cleaning worked, but the conditions that grew the mold haven’t changed. See the prevention section or consider replacement.
- Black staining persists even though mold appears dead: That’s permanent discoloration in old caulk. Your cleaning actually succeeded (you killed the living mold) but aesthetic damage remains. Time to replace if appearance matters to you.
- Method shows absolutely no improvement: The mold has likely penetrated beyond the surface into degraded caulk material. Cleaning can’t reach it. You need replacement.
- Bleach smell is overwhelming despite ventilation: Switch to the hydrogen peroxide method, which works with no harsh fumes. It’s slower but breathable.
If two applications of the bleach paste show zero improvement, your caulk is too far gone for cleaning to work. The structure has degraded, mold is living inside the material, and you’re wasting time trying to save it. Replace it.
Leaving the paste on “too long” (more than 12 hours) doesn’t improve results and may damage the caulk structure. Bleach does its work in the first few hours. After that, you’re just exposing the silicone to prolonged chemical contact that can weaken it. Overnight is fine. All day is unnecessary.
Cost and Time Comparison: DIY Cleaning vs. Professional Mold Removal

Making smart decisions about your time and money means knowing what each approach actually costs and when each makes sense.
DIY cleaning runs $5 to $15 for supplies if you’re buying bleach, baking soda, a disposable brush, and plastic wrap. You’ll spend about 20 minutes of active work applying paste and cleaning up, plus one to three hours of waiting time while the paste does its job. You’re not doing anything during that waiting period. The bathroom just needs to sit untouched. DIY recaulking costs $20 to $40 for caulk, caulk gun, tape, and tools, with two to three hours total time including removal, prep, and application. Professional caulk replacement runs $150 to $300 for an average sized bathroom depending on how many linear feet of caulk need replacing and your local labor rates.
| Approach | Cost | Time | Best For |
|---|---|---|---|
| DIY cleaning | $5-$15 | 20 min active + 1-3 hours waiting | Surface mold on intact caulk, regular maintenance |
| DIY recaulking | $20-$40 | 2-3 hours total | Degraded caulk, moderate DIY skills, small areas |
| Professional service | $150-$300 | 2-4 hours (done by pros) | Large areas, lack of time/tools, guaranteed results |
Professionals become necessary when mold extends beyond the caulk lines into the drywall or tile backing. That indicates water intrusion behind your shower walls and requires assessment of the hidden damage before you seal it back up with new caulk. If you need to identify whether you’re dealing with toxic black mold species versus common mildew, professionals have testing capabilities and protective equipment. Recurring mold that keeps coming back despite proper ventilation and fresh caulk suggests a hidden moisture source like a slow leak or poor waterproofing. Extensive bathroom mold covering walls and ceiling requires professional mold remediation protocols including containment, air filtration, and sometimes material removal to prevent health risks and ensure complete elimination.
Small isolated caulk mold in one shower corner or around a sink is the ideal DIY scenario. You can see the whole problem, it’s contained to cleanable surfaces, and fixing it costs less than $15. Widespread bathroom mold appearing on caulk, grout, ceiling, and walls simultaneously indicates moisture problems beyond simple surface cleaning and needs professional eyes to diagnose the source.
Final Words
Bathroom caulk mold removal works when you match the method to the problem.
Surface mold responds well to the bleach paste technique with minimal effort. Stubborn cases might need a second application or stronger contact time. Deep mold means it’s time to strip the old caulk and start fresh.
The real fix comes from controlling moisture after you clean. Run that exhaust fan, squeegee after showers, and check caulk lines every few months.
Most bathroom caulk mold is a weekend DIY project, not a disaster. You’ve got the steps, the alternatives, and the troubleshooting guide. Get after it.
FAQ
How do you remove black mold from silicone caulking?
You remove black mold from silicone caulking by mixing bleach and baking soda into a paste, applying it thickly to the moldy caulk, covering with plastic wrap, and letting it sit for at least one hour or overnight. Rinse thoroughly after treatment and repeat if needed for stubborn mold.
What are signs I need to recaulk?
Signs you need to recaulk include cracked or peeling caulk, mold returning within weeks after cleaning, deep discoloration that won’t clean off, soft or crumbly caulk texture, and visible gaps between the caulk and surface that allow water to seep behind it.
How do you get black mold out of shower grout?
You get black mold out of shower grout using the same bleach-baking soda paste method as caulk, but grout requires more aggressive scrubbing with a stiff brush. Results vary because grout is porous and mold penetrates deeper, sometimes causing permanent staining that cleaning can’t fix.
Is vinegar or bleach better for killing mold?
Bleach is better for killing mold quickly on bathroom caulk, working in about one hour with minimal scrubbing. White vinegar also kills mold but requires longer contact time, more physical scrubbing, and multiple applications for heavily molded areas, though it’s gentler and chemical-free.
How long should I let the bleach paste sit on moldy caulk?
The bleach paste should sit on moldy caulk for at least one hour, though overnight treatment works better for stubborn mold. Cover the paste with plastic wrap to prevent it from drying out and keep the bleach active against mold spores embedded in the caulk surface.
Can I use hydrogen peroxide instead of bleach on bathroom caulk mold?
You can use 3% hydrogen peroxide instead of bleach on bathroom caulk mold by spraying it directly on affected areas and letting it sit for 10-15 minutes. It’s gentler than bleach and safer for colored caulk, but works best on surface mold rather than deep stains.
Why does mold keep coming back on my shower caulk?
Mold keeps coming back on shower caulk when bathrooms lack proper ventilation, water pools behind thin caulk beads, or the caulk has degraded and become porous. Running exhaust fans during and after showers and ensuring adequate caulk thickness prevents most recurring mold problems.
Do I need to scrub when using the bleach paste method?
You don’t need to scrub when using the bleach paste method on caulk because the chemical action does the work. Just apply the paste thickly, cover with plastic wrap, wait the recommended time, and rinse thoroughly with water for clean results.
How do I know if mold has penetrated too deep to clean?
Mold has penetrated too deep to clean when it returns within weeks after proper treatment, discoloration goes all the way through the caulk material, or two bleach paste applications show no improvement. Deep penetration means the caulk is degraded and needs complete replacement.
What safety equipment do I need for removing bathroom caulk mold?
You need rubber gloves, respiratory protection or a respirator, and old clothes for removing bathroom caulk mold with bleach. Work in a well-ventilated area by opening windows and running exhaust fans, and protect metal fixtures from bleach contact to prevent pitting.
How long does new caulk need to dry before getting wet?
New caulk needs to dry completely for 24-48 hours before getting wet to ensure proper curing and adhesion. Exposing fresh caulk to water too soon creates poor bonding and can trap moisture underneath, leading to immediate mold growth behind the new bead.
Will mold-resistant caulk prevent all future mold growth?
Mold-resistant caulk won’t prevent all future mold growth, but it significantly reduces how quickly mold returns compared to standard caulk. You still need proper ventilation, regular cleaning, and moisture control to keep bathrooms mold-free long-term, even with antimicrobial caulk formulations.
