
Ever notice how mold picks the bathroom first? That’s because moisture, warmth, and poor airflow create the perfect storm for spores to multiply fast. Left unchecked, bathroom mold spreads from grout lines to walls, triggering allergies and breathing issues while damaging surfaces you can’t always see. This guide walks you through safe removal steps anyone can follow, explains which cleaners actually work, and shows you simple prevention habits that keep mold from coming back.
Identifying Bathroom Mold: Types, Health Risks, and When to Act
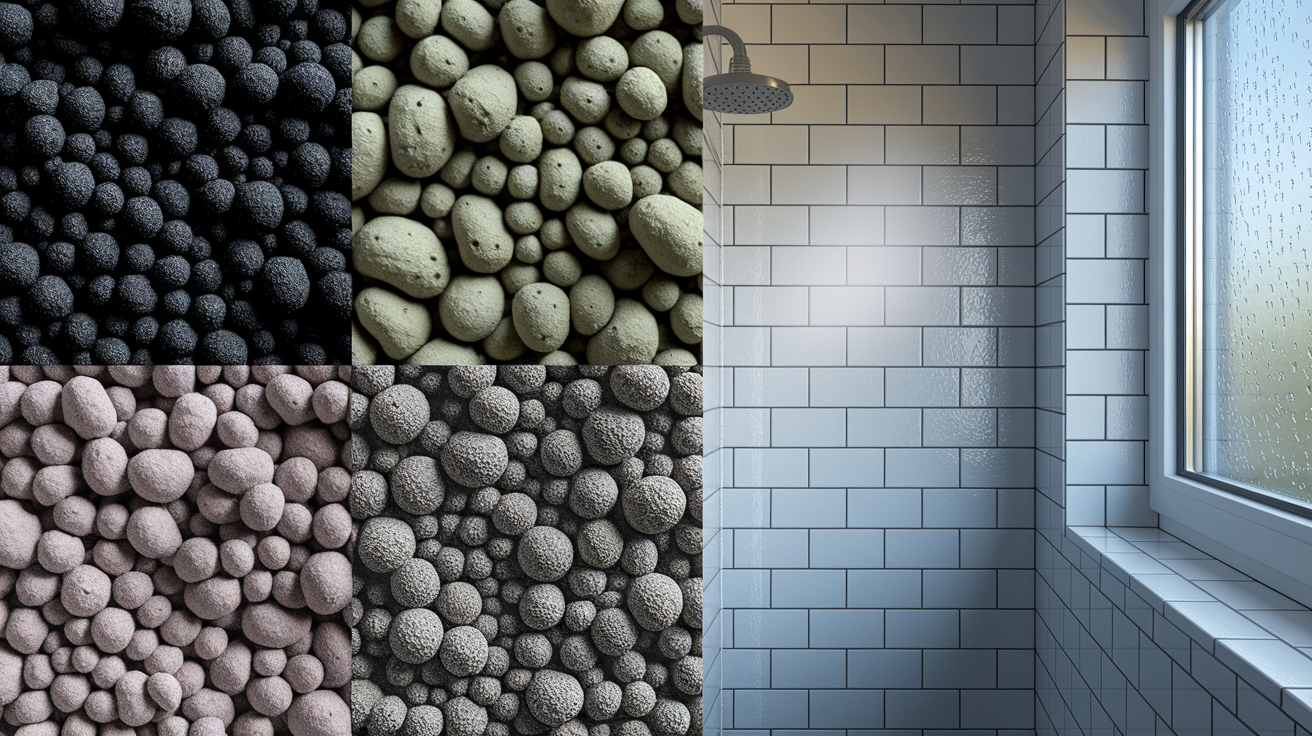
Bathroom mold shows up as spots, patches, or streaks. You’ll see black, green, gray, or brown. The texture might look fuzzy, slimy, or powdery like chalk dust. Mildew tends to appear flat and light gray or white. Mold creates raised, textured patches that spread faster and dig deeper into porous materials.
Mold grows in these common bathroom spots:
- Grout lines between wall and floor tiles where water sits after showers
- Corners where ceiling meets walls, especially in steamy shower enclosures
- Around window frames and sills where condensation collects
- Along caulked edges of bathtubs, showers, and sinks
- Behind and underneath fixture bases like toilets and pedestal sinks
- Near ceiling exhaust vents where humid air lingers
Bathroom mold thrives on excess moisture from steam that rises during hot showers, poor ventilation that traps humid air inside, and water that stays on surfaces instead of drying quickly. Every time someone showers without running the exhaust fan or opening a window, moisture soaks into grout, settles on ceiling paint, and creates perfect conditions for spores to multiply.
Small patches of shower mold usually cause minor irritation. Sneezing, watery eyes, or throat tickling in sensitive people. Heavy exposure from large colonies can trigger allergic reactions, breathing issues, skin rashes, and persistent coughing. People with asthma, weakened immune systems, or existing respiratory conditions face higher risks from bathroom mold exposure.
Look at the size and spread to decide if you can handle removal yourself or need professional help. Surface mold smaller than about 10 square feet on hard, non-porous materials like tile or fiberglass usually responds to DIY cleaning. If you find mold spreading behind walls, penetrating drywall, covering entire ceiling sections, or returning within days of cleaning, that signals deeper moisture problems requiring professional assessment.
Complete Step-by-Step Guide to Removing Bathroom Mold Safely

Bathroom mold removal works best when you prepare properly and follow a clear process from start to finish. Safety equipment protects you from breathing spores and touching harsh chemicals. Good ventilation keeps dangerous fumes from building up in the small, enclosed bathroom space.
- Put on a respirator mask rated N95 or better to filter mold spores from the air you breathe
- Pull on rubber gloves that cover your wrists and safety glasses to shield your eyes from splashes
- Open the bathroom window fully and turn on the exhaust fan to create constant air movement
- Mix one third cup of bleach into one gallon of cool water in a clean bucket, or grab a pre-mixed spray cleaner
- Spray the solution from 4 to 6 inches away onto all visible mold patches until surfaces look visibly wet
- Set a timer for 10 minutes if using diluted bleach or 5 minutes for pre-mixed spray products
- Scrub the treated areas with a stiff bristled brush using firm circular motions to lift mold from textured surfaces
- Rinse thoroughly with clean water and wipe down with a dry cloth to remove all residue
- Keep the exhaust fan running and window open for at least 30 minutes after finishing
- Inspect the cleaned areas under good light to confirm all discoloration is gone and repeat if needed
Never mix bleach with vinegar, ammonia, glass cleaner, or any other household chemical. The combination creates toxic chlorine gas that can damage your lungs within seconds. Keep the bathroom door open while you work so fresh air flows in from the rest of the house. If you start feeling dizzy, develop a headache, or notice your eyes burning, stop immediately and get outside into fresh air.
Double check your work by running your gloved hand over cleaned areas to feel for remaining slime or roughness. Mold that comes back within a few days means the surface wasn’t fully treated or moisture is still feeding new growth underneath.
Best Cleaning Products and Solutions for Mold Removal

Different mold killing products work better on specific surfaces and situations. Choosing the right cleaner depends on what you’re treating, how bad the mold is, and what safety level you’re comfortable with.
| Product Type | Mixing Ratio | Best For | Safety Notes |
|---|---|---|---|
| Bleach Solution | 1/3 cup bleach per 1 gallon water | Hard surfaces, tiles, tubs, visible mold | Use fresh mix same day; ventilate well; wear gloves |
| White Vinegar | Full strength, no dilution | Grout, minor mildew, regular maintenance | Safe around kids and pets; less effective on heavy mold |
| Hydrogen Peroxide | 3% solution straight from bottle | Painted walls, porous surfaces, light colored grout | May lighten colored surfaces; test small area first |
| Baking Soda Paste | 1/4 cup soda mixed with water to form paste | Scrubbing stubborn spots, gentle abrasion needed | Non toxic; requires more elbow grease |
| Commercial Mold Spray | Pre-mixed, ready to use | Quick cleanup, shower maintenance, convenience | Read label for contact time; often contains bleach |
Bleach kills mold faster and penetrates deeper on non-porous surfaces like ceramic tile and fiberglass. It’s the strongest option for heavy growth. Natural cleaners like vinegar and hydrogen peroxide work more slowly and require longer contact time, but they’re safer around children, pets, and people with chemical sensitivities. Mix fresh bleach solution each time you clean because diluted bleach loses effectiveness within hours as chlorine evaporates.
The most dangerous mistake is combining bleach with vinegar or ammonia based cleaners, which creates chlorine gas that burns your lungs and eyes. Store products separately, never pour them together, and don’t spray vinegar on surfaces you just treated with bleach until you’ve rinsed and dried everything completely.
Targeting Specific Bathroom Surfaces: Grout, Tiles, and Shower Areas

Different bathroom surfaces hold moisture differently and need specific cleaning approaches. What works on smooth tile might not penetrate grout. Overhead ceiling mold requires different technique than floor corners.
Tile and Grout Mold Removal
Grout is porous like a sponge, so mold roots dig deep into the tiny holes and cracks between tiles. Spray your cleaning solution directly onto grout lines and let it sit for the full 10 minutes instead of rushing to scrub right away. Use a small grout brush or old toothbrush with stiff bristles to work the solution into the grout texture with back and forth scrubbing along each line. For stubborn stains that don’t lift with the first treatment, apply a baking soda paste, let it sit for 15 minutes, then scrub again with your bleach solution for a second pass.
Shower and Bathtub Surfaces
Water pools in shower corners, along the tub edge, and where caulk meets the wall. Perfect mold growing conditions. Spray these curved surfaces from multiple angles so solution reaches into the seams and crevices. Pull back shower curtains or doors completely to access all corners. For caulked edges that show black mold penetration through the sealant itself, you’ll need to remove and replace the old caulk because cleaning only treats the surface while mold continues growing underneath.
Ceiling and Wall Mold Treatment
Cleaning overhead areas requires protecting yourself from drips and managing cleaning solution that wants to run down instead of staying in place. Use a spray bottle on a medium mist setting and work in small sections to prevent solution from dripping onto you. Wear a head covering and keep your safety glasses on. Apply solution with a sponge mop or long handled scrub brush so you can reach high spots without climbing. For walls, spray from bottom to top to prevent streaking, then wipe down from top to bottom after the contact time is complete.
Non-porous surfaces like ceramic tile, fiberglass, and acrylic clean completely because mold can’t penetrate the sealed surface. Porous materials like drywall, unsealed grout, and wood absorb moisture deep inside where surface cleaning can’t reach. If you find mold on drywall that feels soft, crumbles when you touch it, or shows water stains behind the mold, the material itself is damaged and needs replacement rather than just cleaning.
Comprehensive Mold Prevention: Moisture Control and Maintenance
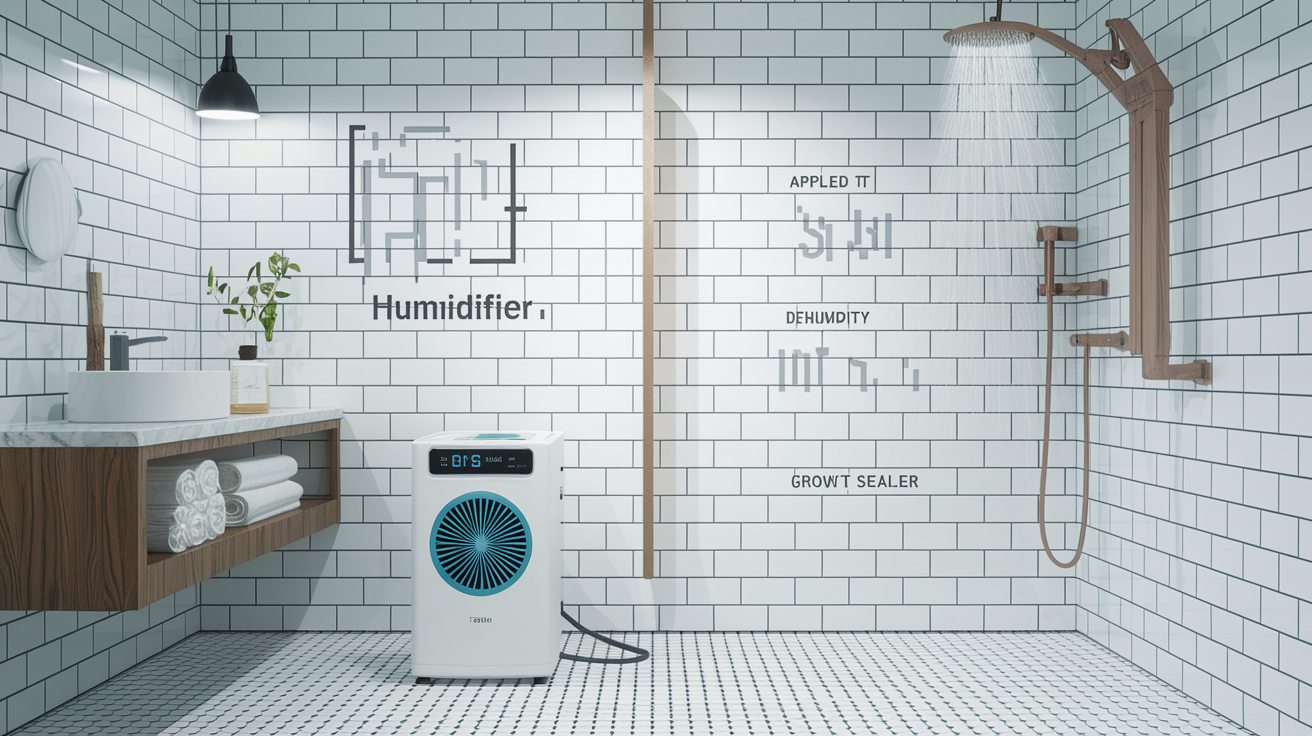
Preventing mold takes less time and effort than removing it, but prevention requires consistent habits and multiple layers of moisture control. A bathroom that dries quickly and completely after every use rarely develops mold problems.
- Turn on the exhaust fan before you start the shower and leave it running for 20 minutes after you finish to pull humid air outside
- Wipe down shower walls, doors, and the ceiling with a squeegee or dry towel immediately after showering to remove standing water
- Keep bathroom humidity below 50% by checking with a simple humidity meter and adjusting ventilation as needed
- Run a small dehumidifier in bathrooms without windows or with chronic dampness issues
- Fix leaking faucets, showerheads, toilet connections, and pipe joints as soon as you notice drips or puddles
- Inspect caulking around tubs, showers, and sinks every few months and re-caulk any gaps, cracks, or loose sections
- Seal grout lines with grout sealer once a year to create a moisture barrier that keeps water on the surface instead of soaking in
- Keep bathroom temperature consistent to reduce condensation from temperature differences between surfaces and air
- Open bathroom windows during and after showers when weather permits to create natural cross ventilation
- Clean bathroom surfaces weekly with soap scum removing cleaners that eliminate the organic material mold feeds on
- Check grout and caulk monthly for any discoloration, soft spots, or gaps that signal developing problems
- Deep clean the entire bathroom quarterly, moving items to reach behind toilets, under sink edges, and in corners that regular cleaning misses
Water damage from leaking pipes behind walls, roof leaks above bathroom ceilings, or improper shower pan installation feeds mold you can’t see on surfaces. If you notice mold returning within days of thorough cleaning, the moisture source is still active and needs professional assessment. Check for soft spots in flooring, bubbling paint, wallpaper peeling at corners, or musty smells that persist after cleaning. All signs of hidden moisture problems requiring water damage restoration services to fix the root cause.
Apply moisture resistant or mildew resistant paint on bathroom ceilings and walls to create a less hospitable surface for mold growth. Use 100% silicone caulk in wet areas instead of acrylic or latex caulk because silicone resists mold better and lasts longer. When bathrooms need renovation, install proper waterproofing membranes behind tile, ensure correct slope for shower floor drainage, and upgrade to properly sized exhaust fans that move at least 1 CFM per square foot of bathroom space.
| Task | Frequency | Purpose |
|---|---|---|
| Wipe down wet surfaces after use | Daily | Remove standing water before it feeds mold growth |
| Clean all surfaces and fixtures | Weekly | Eliminate soap scum and organic residue mold consumes |
| Inspect grout, caulk, and seals | Monthly | Catch small gaps and damage before moisture penetrates |
| Deep clean hard to reach areas | Quarterly | Address hidden spots regular cleaning misses |
| Check and refresh caulking | Seasonally | Maintain waterproof barriers around wet areas |
| Review fixtures and ventilation | Annually | Ensure systems work properly and identify needed upgrades |
Bathrooms that get used by multiple people several times daily need more frequent maintenance than guest bathrooms used occasionally. Adjust your cleaning schedule based on how quickly moisture and soap residue build up in your specific situation.
When to Call Professional Mold Remediation Services

Small surface mold patches respond well to DIY cleaning. But certain situations require professional equipment, expertise, and safety protocols beyond what homeowners can provide. Attempting to handle extensive mold yourself can spread spores throughout your home, expose you to health hazards, and leave the root problem unfixed.
Call professionals when you encounter these scenarios:
- Mold covering more than 10 square feet of continuous area on walls, ceilings, or floors
- Visible mold growth inside walls, under flooring, or in ceiling cavities discovered during repairs
- Drywall, subflooring, or structural wood that feels soft, crumbles, or shows water damage along with mold
- Black mold suspected to be toxic varieties requiring lab testing and specialized removal procedures
- Mold that returns within a week after thorough cleaning and drying, indicating hidden moisture sources
- Family members developing persistent coughing, breathing difficulty, or allergic symptoms that worsen at home
Professional mold remediation includes setting up physical barriers and negative air pressure to contain the work area and prevent spores from spreading to clean rooms. Crews use HEPA filtration systems that capture microscopic spores regular vacuums would blow back into the air. They apply antimicrobial treatments that kill remaining spores after physical removal, then use moisture meters and thermal imaging to find hidden water sources feeding the growth. The process includes removing and properly disposing of contaminated materials like drywall and insulation that can’t be adequately cleaned.
Professional services cost more upfront than buying cleaning supplies yourself. But they prevent the larger expenses of structural damage from spreading mold, medical bills from prolonged exposure, and repeated failed DIY attempts that let the problem worsen. When you need assessment for extensive water damage or persistent moisture problems causing mold, emergency water damage services provide the expertise to identify and fix underlying issues rather than just treating visible symptoms.
Bathroom Fixtures and Hidden Areas: Toilet, Sink, and Behind the Scenes Mold
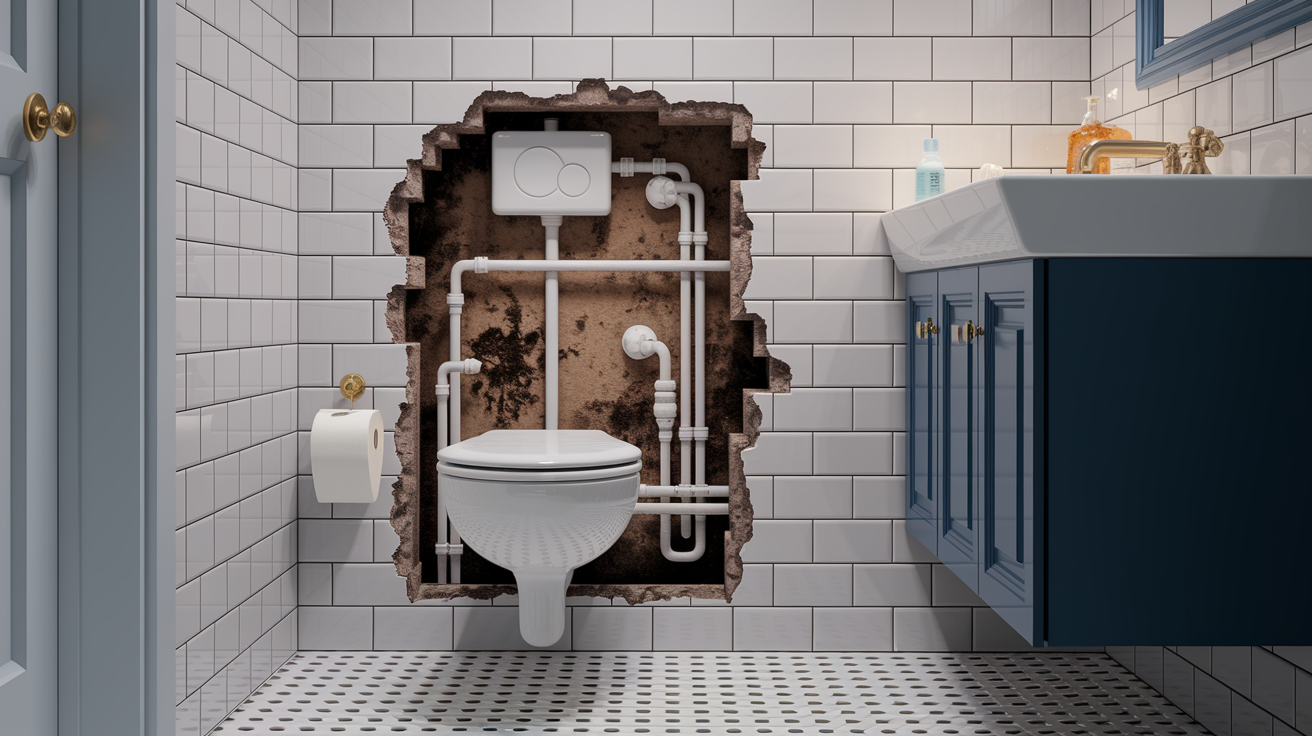
Mold grows in spots you rarely look at. Often developing for weeks before anyone notices. These hidden areas around fixtures and behind visible surfaces create ongoing moisture and poor ventilation that feed mold colonies.
Toilet bases collect condensation from cold porcelain meeting warm, humid bathroom air, creating a ring of dampness where the bowl meets the floor. Water also seeps from wax ring seals or supply line connections inside the base. Check behind the toilet where the tank meets the wall, under the tank where condensation drips, and around the floor bolts where water sneaks underneath. Wipe these areas weekly and watch for persistent wetness that signals a plumbing leak needing repair.
Under sink cabinets trap moisture from disposal connections that drip, supply lines with slow leaks, and P traps that sweat. The enclosed cabinet space gets no air circulation, especially when you store cleaning products and trash cans that block airflow. Pull everything out monthly to inspect the cabinet floor, back wall, and underside of the countertop for mold spots, water stains, or that distinctive musty smell that means mold is growing somewhere you can’t see yet.
Fixture mounting points where faucets, showerheads, and tub spouts connect to walls often develop mold behind the decorative escutcheon plates that cover the holes. Water seeps past worn plumber’s putty or old caulk, then sits between the fixture and the wall where you can’t reach it. Look for caulk gaps around these fixtures, water stains on the wall below them, or loose fixtures that move when you touch them. All signs water is getting where it shouldn’t.
Paint that bubbles or blisters, wallpaper that peels at the seams, or a musty odor you smell but can’t locate often means moisture and mold are growing inside the wall cavity before breaking through to the visible surface. Walls that feel cooler than surrounding areas or show slight discoloration in spots that aren’t clearly water damage yet deserve closer inspection before hidden mold becomes a major problem.
Final Words
Bathroom mold removal works best when you catch it early and address the moisture source at the same time.
Clean visible growth with bleach solution or approved cleaners, then dry everything thoroughly and improve airflow.
Keep up with weekly wiping, monthly inspections, and fixing leaks as soon as they start. That combination stops mold from coming back.
If the problem keeps returning or you’re dealing with a large area, bring in a pro to find what’s feeding the growth. You’ll get your bathroom back to normal and keep it that way.
FAQ
How do you get rid of black mold in the bathroom?
You get rid of black mold in the bathroom by wearing protective gear, opening windows for ventilation, applying a bleach solution or pre-mixed spray, letting it sit for 5 to 10 minutes, scrubbing with a stiff brush, and rinsing thoroughly.
What actually kills bathroom mold?
Bleach solutions, hydrogen peroxide, and vinegar actually kill bathroom mold by breaking down spores and removing growth from hard, non-porous surfaces when applied properly with enough contact time and scrubbing.
How do you remove black mold in a bathroom?
You remove black mold in a bathroom by preparing safety equipment, mixing one-third cup bleach per gallon of water, spraying affected areas from 4 to 6 inches away, waiting 10 minutes, scrubbing surfaces clean, and ensuring proper ventilation throughout.
How do I get rid of mold in a bathroom?
You get rid of mold in a bathroom by identifying the type and extent of growth, choosing appropriate cleaning products, scrubbing affected surfaces with proper technique, addressing moisture sources like leaks or poor ventilation, and establishing regular prevention habits.
What’s the difference between bathroom mold and mildew?
Bathroom mold and mildew differ in that mildew appears flat and powdery in white or gray patches, while mold grows raised, fuzzy, or slimy in black, green, or brown colors and penetrates surfaces more deeply.
Can I use vinegar instead of bleach for bathroom mold?
You can use vinegar instead of bleach for bathroom mold as it kills many mold types naturally, though bleach works faster on non-porous surfaces, and you should never mix the two products as they create dangerous fumes.
How long does bleach take to kill bathroom mold?
Bleach takes 10 minutes to kill bathroom mold when you keep the surface visibly wet with a properly mixed solution of one-third cup bleach per gallon of water with good ventilation throughout the process.
Should I replace grout that has mold in it?
You should replace grout that has mold in it when the growth has penetrated deeply, when cleaning doesn’t fully remove discoloration, or when the grout has become crumbly or damaged from persistent moisture exposure.
How do I prevent mold from coming back after cleaning?
You prevent mold from coming back after cleaning by running exhaust fans during and after showers, wiping down wet surfaces immediately, fixing all leaks promptly, maintaining humidity below 50 percent, and performing weekly surface cleaning.
When should I call a professional for bathroom mold?
You should call a professional for bathroom mold when the affected area exceeds 10 square feet, when mold keeps returning despite repeated cleaning, when you suspect growth behind walls, or when health symptoms develop from exposure.
