
Most people think kitchen fire cleanup starts with a mop and bucket. It doesn’t. It starts with safety checks you can’t see: compromised wiring behind walls, gas leaks you can’t smell yet, and toxic particles floating in air that looks clear. Walk in without those checks and you’re gambling with your safety. This guide walks you through the actual sequence, from professional assessment and protective gear to soot removal, deep cleaning, and odor elimination, so you can get your kitchen back without cutting corners or creating new hazards.
Complete Kitchen Fire Cleaning Process Overview and Critical Safety Preparations

Cleaning up after a kitchen fire isn’t something you can just jump into. Safety comes first, then you work through a specific sequence: professional assessment, debris removal, deep cleaning, odor treatment, water damage control, and finally restoration. Skip a step and you’re either putting yourself at risk or setting up bigger problems down the road.
Don’t touch anything before getting professional eyes on the damage. Wiring behind walls can look fine but be completely shot. Gas lines might have developed leaks you can’t smell yet. Your ductwork could be spreading contaminated air through the whole house. The ceiling might be structurally compromised even though it hasn’t fallen. Walking into that kitchen without inspections is just reckless.
You need real protective gear, not the stuff you pull out for spring cleaning. An N95 or P100 respirator filters the toxic particles that regular masks miss completely. Heavy rubber gloves protect against chemical residue and sharp debris. Safety goggles keep ash out of your eyes. Long sleeves, long pants, and closed-toe boots cover everything else. Open every window and door, then position fans to push contaminated air outside. If you can, create cross-ventilation by opening windows on opposite sides.
Critical safety checks before entering the fire-damaged kitchen:
- Gas line integrity verification
- Electrical system safety
- Structural stability of walls and ceiling
- Air quality concerns
- Water damage from firefighting efforts
- Carbon monoxide and toxic fumes presence
The air quality issue goes way beyond just smoke smell. Carbon monoxide hangs around in enclosed spaces. Burned plastics and cleaning products create serious respiratory hazards. Ash particles go airborne at the slightest movement, and breathing them causes immediate lung irritation plus potential long-term damage. Never eat, drink, or touch your face while working. The residue on your gloves transfers to everything.
Removing Soot, Debris, and Extinguisher Residue from Kitchen Surfaces
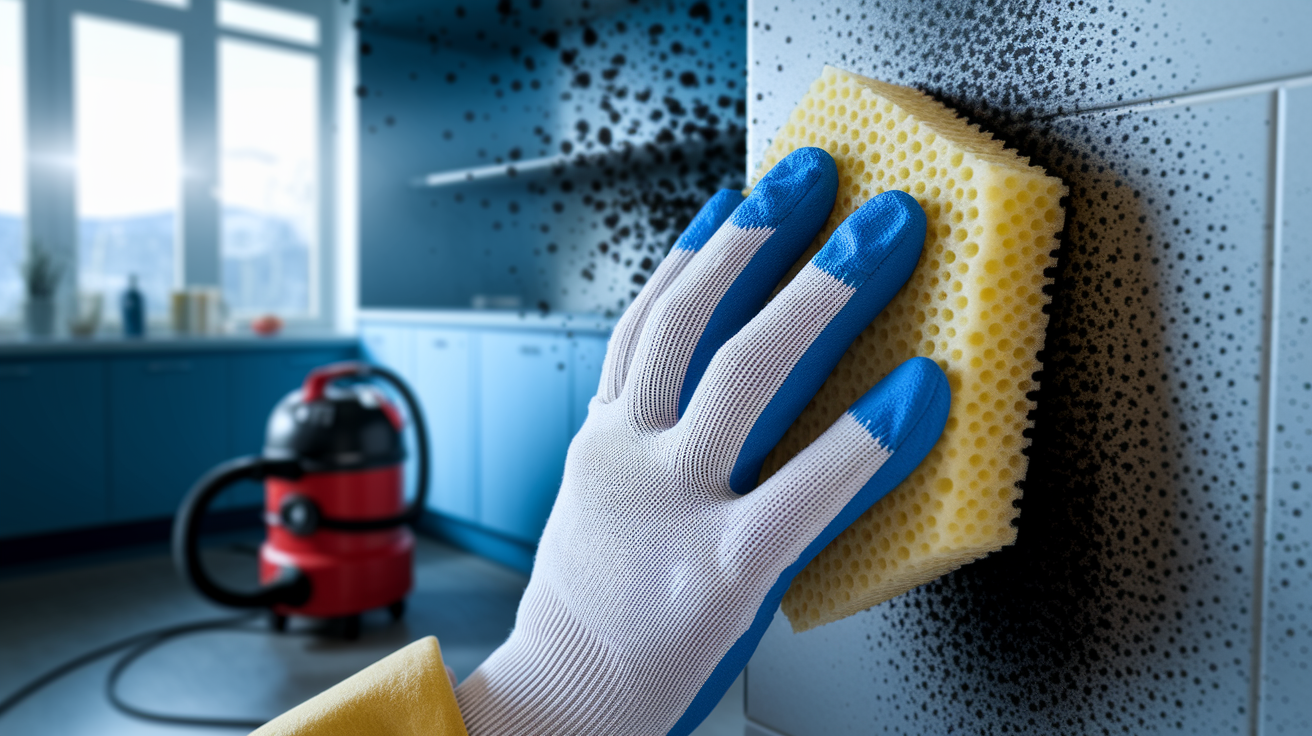
Start dry. Water comes later. Soot acts completely different when it’s dry versus wet. Dry soot lifts away from surfaces. Wet soot smears everywhere and creates permanent stains that sink into porous materials like drywall and grout.
Use a HEPA vacuum with a brush attachment to pull loose soot from walls, ceilings, and larger surfaces. Regular vacuums just blow fine particles back into the air. Dry chemical sponges work better than anything else for lifting soot. They look like dense foam rectangles. Press them gently against the surface and watch the soot transfer. Rotate to a clean section as it darkens. No water or chemicals needed. They work through a slight natural adhesive quality.
Check your local hazardous waste regulations before bagging up debris. Fire debris often contains stuff that can’t go in regular trash. Some places require special disposal for materials contaminated with fire retardant chemicals, melted plastics, or heavy ash buildup. Remove salvageable items first. Then clear out everything that’s obviously destroyed.
For stubborn residue that dry methods can’t handle, mix mild detergent with warm water. Use microfiber cloths, not regular rags. Microfiber’s structure traps particles instead of pushing them around. Work top to bottom so you’re not dripping dirty water onto cleaned surfaces. Wring out your cloth until it’s damp, not dripping. Rinse frequently. Change your water when it starts looking dark.
Sequential process for removing fire extinguisher dry chemical powder:
- Vacuum loose powder with HEPA vacuum
- Wipe surfaces with damp cloth
- Mix mild detergent solution
- Scrub affected areas gently
- Rinse and dry completely
Deep Cleaning Kitchen Cabinets, Countertops, and Wall Surfaces
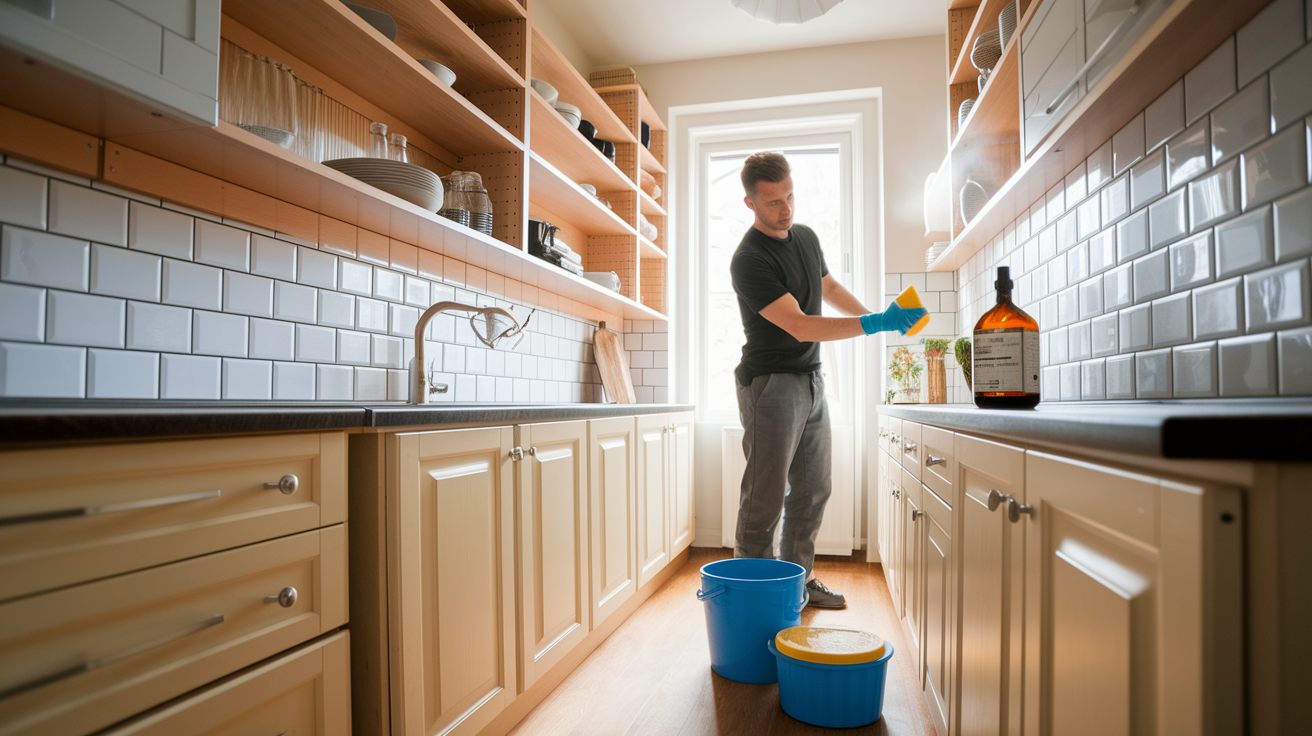
Pull off cabinet doors, drawers, and all hardware. Smoke doesn’t just coat the outside. It seeps into interior spaces, settling on shelves, drawer bottoms, and back panels. Leave those areas and the smell keeps coming back. Stack the removed pieces in a well-ventilated area outside the kitchen where you can work through them systematically.
The trisodium phosphate (TSP) solution cuts through the toughest soot and smoke stains regular cleaners can’t touch. Mix 1 gallon warm water with 4 to 6 tablespoons TSP and 1 cup bleach. Wear rubber gloves. This solution irritates skin. Apply it to walls, cabinets, and ceilings with a sponge or cloth. Let it sit a few minutes on stubborn stains, then scrub gently. The combination breaks down the oily smoke residue and lifts it away. After scrubbing, wipe everything with clean water to remove TSP residue, then dry thoroughly with clean towels.
Different surfaces need different approaches beyond TSP. Plastic and painted surfaces respond better to alkaline soap-free detergent mixed with warm water. Regular soap leaves a film that traps odors. For degreasing around the stove where cooking grease mixed with smoke residue, white vinegar solutions work well for initial treatment before moving to stronger cleaners if needed. Commercial degreasers handle the heaviest buildup, but test them on a small hidden area first to make sure they don’t damage the finish. After any cleaning method, rinse with clean water and dry completely to prevent water damage to wood and other moisture-sensitive materials. If cabinet damage is too extensive for DIY cleaning and requires fire and smoke damage restoration, you’ll see signs like wood that’s charred through the finish, warping that cleaning won’t fix, or structural weakness when you apply gentle pressure.
| Surface Type | Recommended Cleaning Solution | Method |
|---|---|---|
| Wood cabinets | TSP solution (4-6 tbsp TSP + 1 cup bleach per gallon water) | Apply with damp cloth, scrub gently, rinse with clean water, dry immediately |
| Painted walls | TSP solution or alkaline soap-free detergent | Sponge application, light scrubbing, thorough rinsing, complete drying |
| Laminate countertops | Mild detergent and warm water | Wipe with damp microfiber cloth, avoid abrasive scrubbing, dry completely |
| Tile backsplash | White vinegar solution or commercial degreaser | Spray application, scrub grout lines with brush, rinse thoroughly, buff dry |
| Plastic surfaces | Alkaline soap-free detergent | Gentle wiping with soft cloth, avoid harsh chemicals that damage plastic, rinse and dry |
Cleaning and Inspecting Kitchen Appliances After Fire Damage

Every appliance needs an electrical safety inspection by a qualified electrician before you plug it back in, even if it looks fine. Heat and smoke damage electrical components in ways you can’t see. Wiring insulation melts at temperatures that don’t visibly char the exterior. Internal circuit boards can fail days or weeks after a fire when you start using the appliance again. The risk of electrical fire from damaged appliances is real.
Stainless steel appliances show smoke residue as a dull film or streaky discoloration. Wipe them with a damp microfiber cloth and mild detergent, working in the direction of the grain. For stubborn smoke residue, use a paste of baking soda and water. Check carefully for heat damage. Look for warping, especially around handles and control panels, discoloration that doesn’t wipe away, or surfaces that feel different when you run your hand across them. If the steel warped or shows heat discoloration that indicates the metal got extremely hot, the appliance needs replacement. Internal components likely failed even if it still looks mostly intact.
Appliance interiors trap smoke and soot in ways that aren’t obvious until you open them. Your oven interior might look fine, but check the insulation around the door, the heating elements, and the control panel area. Stovetops need inspection under the burners where grease and smoke collect. Microwaves trap smoke in the ventilation system and around the door seal. Dishwashers can have smoke residue in the filter area and around seals. Refrigerators are tricky. Smoke can contaminate the insulation and the condenser coils on the back or bottom. Follow manufacturer instructions when cleaning fire-damaged appliances. Some components can’t handle certain cleaning solutions, and using the wrong cleaner voids warranties or causes additional damage.
Small appliances, cookware, and utensils need individual assessment. Anything with electrical components should go through the same inspection process as large appliances. Metal cookware without electrical parts can usually be thoroughly cleaned and salvaged if it’s not warped or showing heat damage. Cast iron needs complete re-seasoning after fire exposure. Non-stick coatings that got hot enough can release the coating or become unsafe for food use. Plastic utensils, cutting boards, and containers that were exposed to heat or heavy smoke are safer to replace than to try saving. When in doubt about whether something’s safe for food preparation after fire exposure, replace it.
Eliminating Smoke Odor and Preventing Smoke Damage Spread

Smoke particles don’t stay in your kitchen. They travel through your HVAC system, float through doorways, and settle throughout your entire home. The ductwork acts like a highway, pulling smoke particles into the system during the fire and then distributing them to every room when the system runs again. Even a small kitchen fire can leave smoke odor in bedrooms, living rooms, and closets far from where the fire actually happened. Odor elimination has to address the whole house, not just the kitchen.
Natural odor absorption methods for fire-damaged kitchens:
- Bowls of distilled white vinegar placed in corners and on counters
- Baking soda sprinkled on floors, carpets, and upholstered surfaces
- Activated charcoal bags hung in cabinets and closets
- Coffee grounds in open containers
- Fresh air circulation through open windows for multiple days
- Enzyme-based cleaners for fabric and porous materials
DIY deodorizing methods work for light to moderate smoke odor. Place bowls of distilled white vinegar around the affected areas and let them sit for several days. The vinegar captures odor molecules from the air. Wipe surfaces with a vinegar solution (equal parts white vinegar and water), paying attention to areas you might have missed during initial cleaning. Sprinkle baking soda liberally on any fabric, carpet, or upholstered surfaces, let it sit at least 24 hours, then vacuum thoroughly. Activated charcoal packets hung in cabinets and closets absorb odors in enclosed spaces. Open containers of fresh coffee grounds provide additional odor absorption, though they won’t eliminate smoke smell on their own.
Severe smoke odor requires professional deodorizing techniques that go beyond what household products can handle. Thermal fogging uses heated deodorizing agents that turn into a fog, penetrating the same spaces where smoke particles settled (inside walls, under flooring, in ductwork, and other areas regular cleaning can’t reach). Ozone treatment works by generating ozone gas that chemically alters smoke odor molecules, but it requires the space to be completely empty of people, pets, and plants during treatment because ozone is harmful to breathe. Enzyme cleaners break down organic compounds in smoke residue on fabric and porous materials. The most critical professional step is HVAC system ductwork cleaning and complete filter replacement. Filters saturated with smoke particles keep releasing odor every time air moves through them. Ductwork holds smoke residue that standard cleaning doesn’t touch.
Addressing Water Damage, Mold Prevention, and Moisture Control
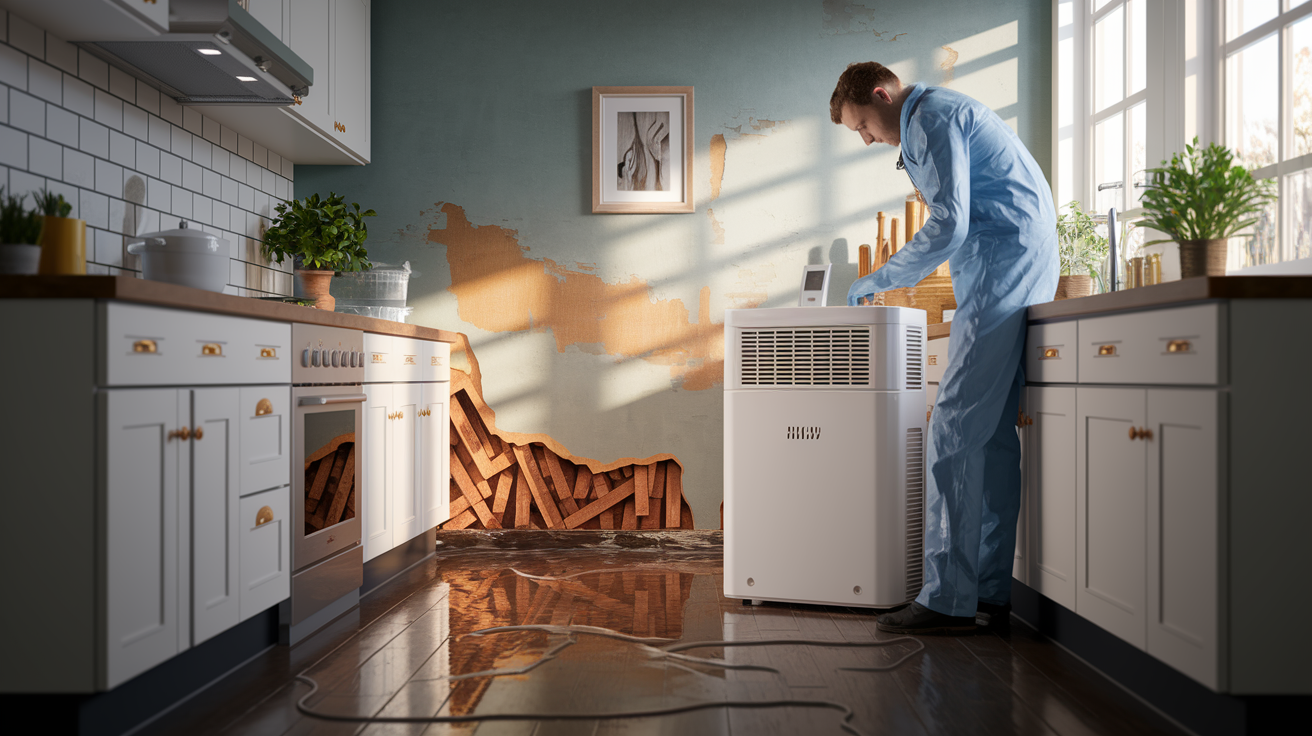
The water used to put out your kitchen fire creates a second problem that needs immediate attention. Firefighters use a lot of water fast. Sprinkler systems dump water continuously until someone shuts them off. Even fire extinguishers can leave moisture behind. All that water soaks into floors, walls, cabinets, and anything else it touches. If you don’t address it within 24 to 48 hours, mold starts growing. Mold in a fire-damaged home compounds the health risks and the repair costs.
Look for these signs of water damage throughout your kitchen and adjacent areas: standing water on floors or in cabinets, dampness when you press on walls or baseboards, water stains on ceilings or walls appearing as discolored patches, swelling or warping in wood materials, and musty odors that indicate hidden moisture already supporting mold growth. Check inside cabinets, under sinks, and inside pantries. Water runs downward and pools in low spots, but it also wicks up through porous materials like drywall and wood.
Set up dehumidifiers in the affected areas and run them continuously until moisture levels return to normal. Remove wet materials promptly (soggy insulation, soaked drywall, waterlogged wood). These materials trap moisture and rarely dry completely enough to prevent mold. Check spaces you can’t see easily: inside wall cavities by removing outlet covers or cutting small inspection holes, under cabinets by removing kick plates, behind appliances that may be blocking air circulation. Professional water damage and flooding cleanup becomes necessary when water soaked into structural materials, when the affected area is large, when you’re seeing or smelling mold growth, or when your moisture meter readings stay high despite dehumidifier use. Professionals have industrial extraction equipment, structural drying systems, and moisture detection tools that find hidden water before it causes permanent damage.
Treating Floors, Ceilings, Tile Grout, and Hard-to-Reach Areas

Floor cleaning methods depend entirely on what material you’re dealing with. Tile floors handle aggressive cleaning well. Use the TSP solution on both tiles and grout, scrubbing grout lines with a stiff brush to remove embedded soot. Hardwood floors are more delicate. Test your cleaning solution on an inconspicuous spot first. Smoke staining on hardwood might be surface level and clean away, or it might have penetrated the finish and require refinishing. Laminate flooring can’t handle excessive moisture, so use damp cloths only and dry immediately. Vinyl flooring cleans easily but check for heat damage like bubbling or warping near where the fire was hottest. When flooring shows charring, significant warping, or structural damage, cleaning won’t fix it. Replacement is the only option.
Reaching ceiling surfaces for cleaning presents both safety and structural challenges. Set up a sturdy ladder or scaffolding that puts you at a comfortable working height. Never overreach or stand on something unstable. Apply cleaning solutions to the ceiling using a sponge mop or extension pole with a cleaning pad attached. Heat damage to ceilings shows up as discoloration that looks different from soot (more yellowed or browned, and it doesn’t wipe away). Soot staining is black or gray and comes off with proper cleaning. Before applying any pressure during cleaning, test the ceiling’s structural integrity by pressing gently in several spots. If you feel softness, sagging, or if material crumbles under light pressure, stop immediately. That ceiling needs professional structural evaluation before you do anything else.
Tile grout and backsplash areas behind the stove absorb grease and smoke residue deeply. Grout is porous, so smoke particles embed themselves into the material, not just on the surface. Mix a paste of baking soda and water, apply it to grout lines, scrub with a stiff grout brush, and rinse thoroughly. For stubborn staining, hydrogen peroxide applied directly to grout can help lift discoloration. Backsplash tiles themselves usually clean with degreaser solution, but the grout between them holds onto odors and stains longer. Window glass develops a smoke film that makes everything look hazy. Clean with vinegar solution or ammonia-based glass cleaner, but don’t forget the window frames, sills, and tracks where soot settles.
The areas you’re most likely to forget are the ones that keep releasing smoke odor after you think you’re done cleaning. Light fixtures hold smoke residue on bulbs, in fixture covers, and around the base where they mount to the ceiling. Exhaust system components (the range hood, fan blades, ductwork leading outside) trap grease and smoke in layers. Drawer interiors and the undersides of cabinet shelves rarely get cleaned in normal circumstances, so they definitely get missed during fire cleanup. Pull appliances away from walls to clean the floors and walls behind them. Open the range hood and clean inside the vent system as far as you can reach.
Repairing, Repainting, and Restoring Fire-Damaged Kitchen Materials

Figuring out what you can save versus what needs replacement requires honest assessment of each material. Press on wood surfaces to test for structural integrity. Solid wood that feels firm can likely be cleaned and refinished, but wood that feels soft or crumbles has internal damage that cleaning won’t fix. Heat damage that goes deeper than the surface shows up as charring that continues when you scrape away the surface layer, warping that doesn’t flatten when moisture is removed, or discoloration that penetrates through the material. Deep staining in porous materials like untreated wood or natural stone might be permanent even after intensive cleaning.
The restoration process for materials you can save starts with thorough cleaning, then moves to sealing. Specialized primer designed to seal smoke odors and stains goes on before any painting. These primers contain shellac or other sealants that trap odors and prevent stains from bleeding through new paint. Regular primer doesn’t work for this. You need a product specifically labeled for smoke and fire damage. Stain-blocking products come in spray and brush-on versions. Apply them to all surfaces that will be painted, even areas that look clean. Smoke penetration is invisible in many cases. Surface sealing prevents odors from continuing to off-gas through the new finishes.
Wall restoration sequence after fire damage:
- Clean all soot and residue thoroughly
- Apply stain-blocking primer to seal odors
- Allow proper drying time (24-48 hours)
- Apply two coats of quality paint
- Verify complete odor sealing before reinstalling cabinets
The timeline for returning your kitchen to usable condition depends on the extent of damage and how thorough you need to be. Light fire damage with mostly surface level soot might be cleanable in a few days of intensive work. Moderate damage requiring primer application, repainting, and minor repairs typically takes one to two weeks. Extensive damage involving material replacement, professional restoration, and rebuilding can take several weeks to months. Don’t rush the process to get your kitchen back faster. Cutting corners on cleaning, sealing, or drying time creates problems that surface later (recurring odors, mold growth from trapped moisture, or stains bleeding through new paint). When rebuilding, incorporate safety upgrades like improved smoke detector placement, range hood fire suppression systems, better ventilation fans, and GFCI electrical outlets near water sources.
When to Call Professional Restoration Services vs. DIY Kitchen Fire Cleanup

Small, contained fires where damage is limited to one area and surfaces are mostly soot-covered but structurally sound fall within what many homeowners can handle themselves with proper safety precautions and thorough cleaning. The fire that blackened the wall behind your stove but didn’t spread further, or the small grease fire that left soot on nearby cabinets but burned out quickly… these situations respond to determined DIY effort. But multiple factors push fire damage beyond DIY capabilities into professional territory.
Signs you need professional restoration help:
- Fire spread beyond a single appliance or small area
- Structural damage including cracks, sagging, or weakened supports
- Smoke odor persists after thorough DIY cleaning attempts
- HVAC system contamination requiring ductwork cleaning
- Electrical or plumbing systems affected by fire
- Mold growth appearing after firefighting water damage
- Insurance company requires professional documentation and restoration
Professional restoration services bring capabilities homeowners don’t have access to: thermal imaging cameras that detect heat damage and moisture inside walls without cutting them open, industrial deodorization equipment like hydroxyl generators and thermal foggers that neutralize smoke odor in ways home remedies can’t match, structural repair expertise that ensures your kitchen is safe before cosmetic restoration begins, complete smoke damage remediation including ductwork cleaning and HVAC system decontamination, and experience coordinating with insurance companies to document damage properly and maximize claim coverage.
When evaluating restoration contractors, start with their certifications. Look for IICRC (Institute of Inspection Cleaning and Restoration Certification) credentials, which indicate they’ve received professional training in fire damage restoration. Verify their insurance coverage and licensing in your state. Read recent reviews from other homeowners who had similar fire damage, paying attention to comments about communication, timeline accuracy, and final results. Get detailed written estimates from at least three companies, making sure each one includes the same scope of work so you can compare accurately. Ask about their restoration process step by step and their typical timeline for kitchens with similar damage to yours.
Cost considerations make some homeowners hesitate about professional restoration, but consider the full picture. Professionals document damage thoroughly, which often uncovers issues that would be missed in a DIY assessment. That documentation helps you get full insurance coverage instead of settling for less because you didn’t know about hidden damage. They prevent long-term problems like recurring smoke odor, mold growth from incomplete drying, or structural issues that don’t appear until months later. Those problems cost significantly more to fix after the fact than hiring professionals from the start. And your insurance policy might have specific requirements about professional restoration for fire damage above certain thresholds.
Post-Cleanup Kitchen Safety Upgrades and Fire Prevention Measures
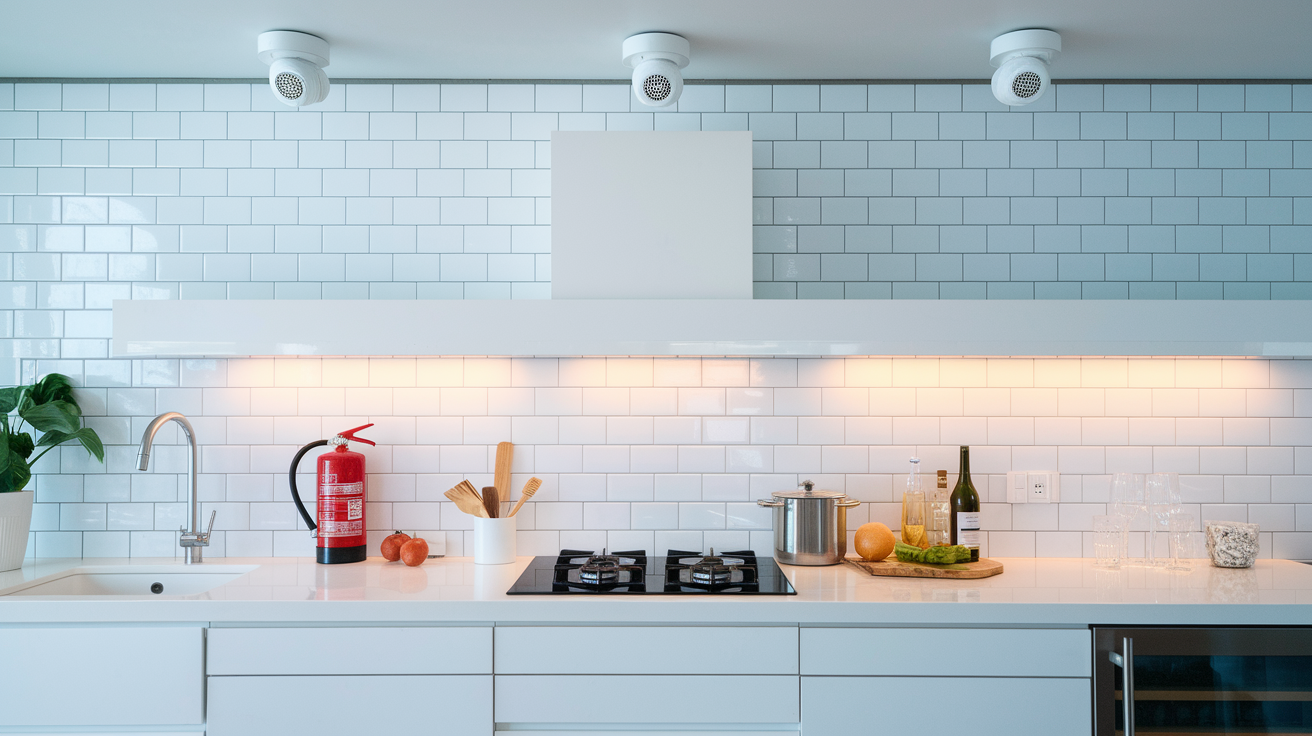
After experiencing a kitchen fire, you’ve got an opportunity to make your kitchen significantly safer than it was before. Start with smoke detector upgrades. Install them in proper locations according to current fire codes, which means placing them outside the kitchen area but close enough to detect kitchen fires early, replacing any detectors older than 10 years regardless of whether they still chirp when tested, and choosing interconnected models so when one detector activates, all of them sound throughout the house. Fire extinguisher placement matters as much as having one. Mount a Class K extinguisher (specifically designed for kitchen grease fires) within easy reach of cooking areas but not directly next to the stove where fire might block access to it.
Automatic fire suppression systems installed above cooking surfaces detect heat and automatically release fire suppression chemicals directly onto the cooking area. These systems cost more upfront than a fire extinguisher, but they work even when you’re not in the room, and they activate faster than most people react. Improved ventilation systems remove smoke, heat, and cooking fumes more effectively, reducing fire risk from grease accumulation and improving air quality. A qualified electrician should handle all electrical safety upgrades: replacing any wiring damaged by the fire or heat exposure, installing GFCI (Ground Fault Circuit Interrupter) outlets near sinks and other water sources as required by current electrical codes, upgrading circuit breakers if your electrical panel is old or if circuits were overloaded, and ensuring all electrical work meets current building codes which are often more stringent than codes from when your home was built.
Fire prevention becomes a daily practice, not a one-time fix. Never leave cooking unattended. Even stepping away for a minute to grab something from another room is when fires start. Keep flammable materials away from heat sources: dish towels, paper towels, plastic containers, curtains, and anything else that can ignite. Regular cleaning prevents grease buildup on stovetops, range hood filters, and inside ovens. Grease is fuel waiting for a heat source. Maintain appliances according to manufacturer schedules. Many kitchen fires start from mechanical failures in appliances that hadn’t been serviced. Create a family emergency preparedness plan that includes what to do if a kitchen fire starts: who calls 911, what the evacuation route is, where you meet outside, and where fire extinguishers are located.
| Prevention Measure | Frequency | Purpose |
|---|---|---|
| Range hood cleaning | Monthly | Remove grease buildup that can ignite during cooking |
| Smoke detector testing | Monthly | Verify detectors are functioning and batteries are good |
| Fire extinguisher inspection | Monthly visual check, annual professional service | Ensure extinguisher is charged and ready to use in emergency |
| Electrical outlet check | Quarterly | Identify loose connections, scorch marks, or outlets that feel warm |
| Grease buildup removal | Weekly for stovetop, monthly for oven | Eliminate fuel source for potential fires |
| Emergency plan review | Every 6 months | Keep family prepared and update plan as children grow or household changes |
Documenting Damage and Navigating the Insurance Claims Process
Before you move, clean, or repair anything in your fire-damaged kitchen, document everything with photographs. Take comprehensive shots from multiple angles showing the full extent of damage to walls, ceilings, floors, cabinets, appliances, and contents. Photograph close-ups of specific damage (charred areas, smoke staining, water damage, melted materials). Include shots that show the context of where damage occurred in relation to the rest of the kitchen. Take photos of any damaged items inside cabinets and drawers before removing them. Time-stamp your photos if your camera or phone has that feature. Better yet, take video walkthroughs that capture details you might miss in still photos while narrating what you’re seeing.
Essential documentation for kitchen fire insurance claims:
- Time-stamped photos of all fire, smoke, and water damage
- Video walkthrough showing extent of damage
- Written inventory of damaged items with purchase dates and costs
- Receipts for emergency services and temporary repairs
- Professional inspection reports (electrical, structural, restoration)
- Correspondence records with insurance company and adjuster
Create a detailed written inventory of everything damaged in the fire. List each item with a description, approximate purchase date, what you paid for it (or estimated current value for items you’ve owned a long time), and the extent of damage. For major appliances, include model and serial numbers. Keep records of all receipts for expenses related to the fire: emergency services like fire department fees if your municipality charges for them, temporary repairs to prevent further damage, hotel stays if you can’t live in your home, meals if you can’t use your kitchen, replacement items you need to purchase immediately. Insurance policies often cover these additional living expenses, but you need documentation to claim them.
Contact your insurance company immediately after the fire. Most policies require prompt notification. Filing the claim starts the process of getting an adjuster assigned to assess your damage. Ask your insurer specific questions: What does your policy cover for fire damage? What’s your deductible? Are there coverage limits on certain items? Do you need to get estimates before making repairs, or can you proceed with emergency repairs to prevent further damage? Wait for the insurance adjuster’s evaluation before making permanent repairs, but don’t wait to make temporary fixes that prevent additional damage like covering broken windows or tarping damaged roof areas.
Professional restoration companies assist with insurance claims in ways that often result in more complete coverage. They provide detailed damage assessments written in the language insurance adjusters understand, documenting all damage including issues homeowners might not recognize. They prepare the paperwork insurers require, taking that administrative burden off you during an already stressful time. Many restoration companies communicate directly with insurance adjusters, explaining the scope of work needed and justifying costs. Their experience with similar claims helps ensure nothing gets overlooked that your policy should cover.
Final Words
Knowing how to clean kitchen after fire means moving through each step carefully, from safety checks and soot removal to odor treatment and restoration. The process takes time, but working methodically protects your health and prevents hidden damage from becoming bigger problems later.
If the fire spread beyond one appliance, if smoke smell won’t go away, or if you’re seeing structural issues, professional help makes sense. You’ll get the kitchen back faster and avoid long-term headaches.
Take it one surface at a time. Document everything. And once it’s clean, those safety upgrades are worth it.
FAQ
How do I clean a house after a kitchen fire?
Cleaning a house after a kitchen fire starts with a professional safety inspection of electrical systems, gas lines, and structural stability before entering the damaged area. Wear protective gear including N95 respirator masks, rubber gloves, safety goggles, and long sleeves, then ventilate by opening windows and using fans to blow contaminated air outside. Remove loose soot with HEPA vacuums and dry chemical sponges before wet cleaning with trisodium phosphate solution or mild detergent on surfaces.
How long will air quality be bad after a fire?
Air quality after a fire typically remains compromised for several days to weeks depending on fire severity, ventilation efforts, and professional cleaning completion. Smoke particles travel through HVAC systems and attach to surfaces throughout the home, requiring continuous ventilation with open windows, air purifiers, and filter replacement to improve air quality. Professional thermal fogging or ozone treatment may be necessary for severe smoke damage to fully restore safe indoor air.
What neutralizes smoke smell after a fire?
Smoke smell after a fire is neutralized by placing bowls of distilled white vinegar around affected areas, sprinkling baking soda on surfaces and carpets, and wiping all surfaces with vinegar solution. Natural odor absorbers like activated charcoal bags and coffee grounds help capture lingering smells in cabinets and enclosed spaces. For stubborn odors, professional thermal fogging, ozone treatment, and enzyme cleaners penetrate porous materials and eliminate smoke particles at the molecular level.
How long should I air out a house after a fire?
Airing out a house after a fire requires keeping windows and doors open with ventilation fans running continuously for at least 3 to 7 days, though severe smoke damage may need weeks of ventilation. Create cross-ventilation patterns by positioning fans to blow contaminated air outside while fresh air enters from opposite sides of the home. Continue ventilation during and after all cleaning processes, and replace HVAC filters multiple times as smoke particles settle out of the air.
Can I clean fire damage myself or do I need professional help?
You can clean minor fire damage yourself if flames affected only a single appliance or small area with no structural compromise, persistent smoke odor, or HVAC contamination. Professional restoration services become necessary when fire spreads beyond one area, structural damage appears, electrical or plumbing systems are affected, mold grows from firefighting water, or smoke odor persists after thorough DIY cleaning. Professionals provide thermal imaging to detect hidden damage, industrial deodorization equipment, and documentation that insurance companies require for claims.
What safety gear do I need before cleaning fire damage?
Safety gear before cleaning fire damage includes an N95 or P100 respirator mask to filter ash particles and toxic fumes, heavy-duty rubber gloves, and safety goggles for eye protection. Wear long sleeves, long pants, and closed-toe boots to prevent skin contact with soot and chemical residue. Never enter fire-damaged areas without professional inspection confirming electrical systems, gas lines, and structural elements are safe and stable.
How do I remove fire extinguisher powder from kitchen surfaces?
Fire extinguisher powder removal starts by vacuuming loose powder with a HEPA vacuum, then wiping surfaces with a damp cloth to capture remaining particles. Mix mild detergent with warm water and gently scrub affected areas with microfiber cloths, working from top to bottom to prevent recontamination. Rinse surfaces thoroughly with clean water and dry completely to prevent water damage or residue buildup.
When should I replace kitchen cabinets after a fire instead of cleaning them?
Kitchen cabinets require replacement instead of cleaning when charring penetrates beyond surface level, structural warping prevents doors from closing properly, or heat damage weakens cabinet integrity. If smoke odor persists after thorough TSP cleaning, primer application, and sealing attempts, replacement may be more cost-effective than repeated restoration efforts. Professional restoration experts can assess whether cabinet damage is superficial or structural and provide documentation for insurance claims.
How do I prevent mold growth after firefighting water damage?
Preventing mold growth after firefighting water damage requires removing standing water and wet materials within 24 to 48 hours using dehumidifiers and fans to dry affected areas. Check hidden spaces like wall cavities and under cabinets for dampness, and remove wet insulation, drywall, or flooring that cannot dry completely. Professional water extraction and structural drying services may be necessary if water damage is extensive or moisture persists in concealed areas.
What cleaning solution works best for smoke and soot stains?
The cleaning solution that works best for smoke and soot stains is trisodium phosphate (TSP) mixed at 4 to 6 tablespoons per gallon of warm water with 1 cup bleach added. This solution effectively removes stubborn soot from walls, cabinets, and ceilings when applied with microfiber cloths, then rinsed with clean water and dried thoroughly. For plastic and painted surfaces, use alkaline soap-free detergent, and for degreasing, white vinegar solutions work well on less-stubborn residue.
