
That black stuff spreading across your grout isn’t just ugly. It’s releasing spores into the air every time you shower. The good news is you can remove black mold yourself if you catch it early and follow the right process. But skip the safety steps or use the wrong cleaning method for your surface, and you’ll either spread the problem or watch it grow back within days. This guide walks you through safe removal, surface-specific techniques, and the exact point where you need to call a professional instead.
Complete Black Mold Removal Process for Your Bathroom
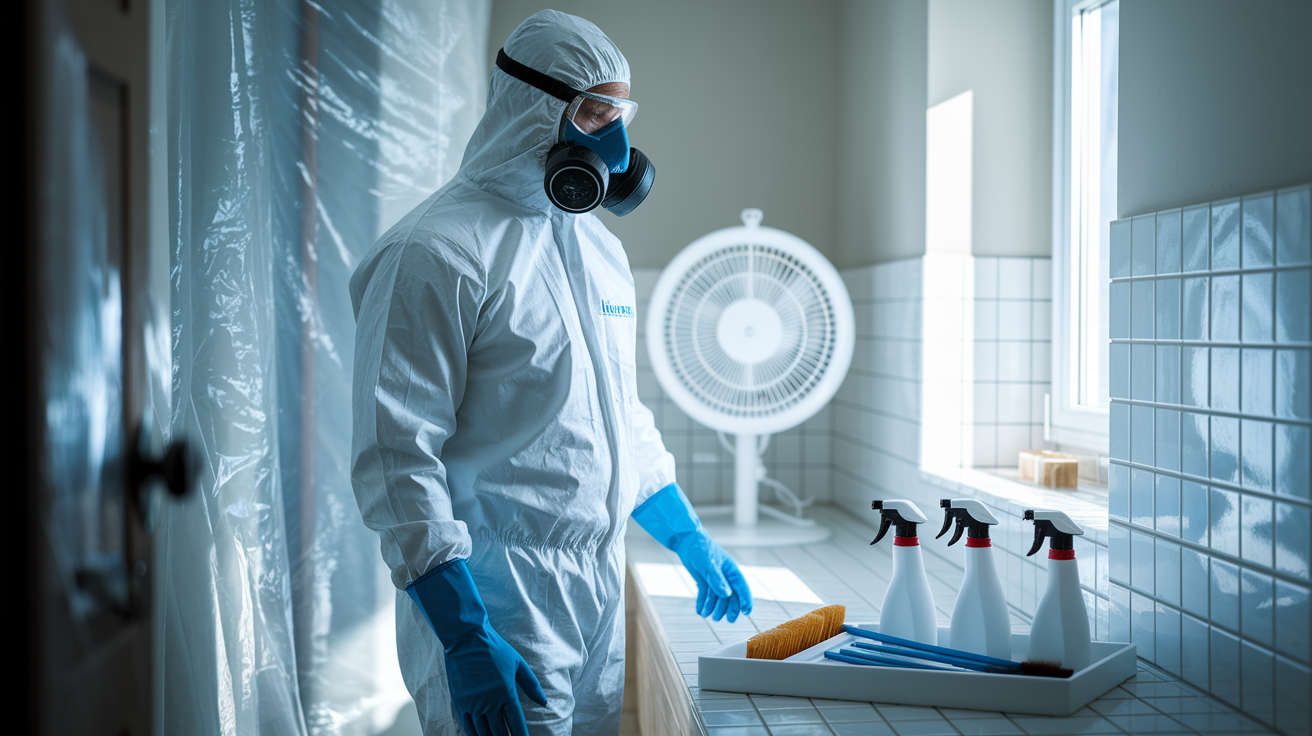
Following the full removal process from start to finish keeps you safe and actually kills the mold instead of just spreading spores around. Skip steps, especially safety prep, and you’re breathing in mold during the work and possibly dealing with health issues later.
- Gather everything before you start. Spray bottles, cleaning solution, scrub brushes, disposal bags, fans, and all protective gear so you don’t have to leave mid project and track spores through the house
- Put on an N95 or N100 respirator mask, not a cloth mask or surgical mask, which don’t filter mold spores
- Wear waterproof rubber gloves that extend to mid forearm to keep cleaning solutions and mold off your skin
- Add safety goggles or a face shield and long sleeved protective clothing to prevent spores from settling on exposed skin
- Open windows to create cross ventilation, positioning a fan to blow contaminated air outside if possible
- Run your exhaust fan continuously throughout the entire removal process and for 30 minutes after you finish
- For areas larger than 3 square feet, tape plastic sheeting around doorways to contain spores in the bathroom
- Apply your chosen cleaning solution directly to all affected areas using a spray bottle, saturating the surface completely
- Wait 10 to 15 minutes for most solutions (vinegar, hydrogen peroxide, bleach) to penetrate and kill the mold. Don’t rush this contact time
- Scrub with a stiff bristled brush using firm pressure, working in small circles to break up mold colonies embedded in grout or textured surfaces
- Rinse thoroughly with clean water, wiping down with a microfiber cloth to remove dead mold and cleaning residue
- Dry the area completely using fans or a dehumidifier. Damp surfaces let mold start growing again within 24 hours
- Dispose of all contaminated materials like rags, brushes, and protective gear in sealed plastic bags taken directly outside
- Inspect the area under bright light for any remaining black spots or discoloration that needs repeat treatment
After finishing, check back in 2 to 3 days to make sure no new growth appeared. If you see fresh mold in the same spot, the moisture source hasn’t been fixed yet.
Materials and Tools Needed for Bathroom Black Mold Removal

Having everything ready before you start prevents mid project runs to the store that spread mold spores through your house and waste the contact time your cleaning solution needs to work.
| Item Category | Specific Items | Purpose | Approximate Cost |
|---|---|---|---|
| Safety Gear | N95/N100 respirator mask, waterproof rubber gloves, safety goggles, long sleeve shirt | Prevent spore inhalation and skin contact during removal | $20-$35 |
| Cleaning Solutions | White vinegar, hydrogen peroxide, bleach, baking soda, or commercial mold remover | Kill mold colonies and break down stains | $8-$25 |
| Application Tools | Spray bottles (2-3), measuring cup, mixing container | Apply solutions evenly and safely | $5-$12 |
| Scrubbing Tools | Stiff bristled scrub brush, grout brush, microfiber cloths, sponges | Remove mold from surfaces and grout lines | $10-$20 |
| Drying Equipment | Box fan or floor fan, dehumidifier (if available) | Dry surfaces completely after cleaning | $0-$50 (if purchasing fan) |
| Disposal Materials | Heavy duty garbage bags, plastic sheeting, painter’s tape | Contain and dispose contaminated materials safely | $7-$15 |
For a typical bathroom with mold covering 5 to 10 square feet, expect to spend $50 to $90 if you already have a fan. Larger areas or situations requiring a dehumidifier purchase can push the total to $150, still far less than professional remediation for small scale removal.
Best Cleaning Solutions for Bathroom Black Mold Removal
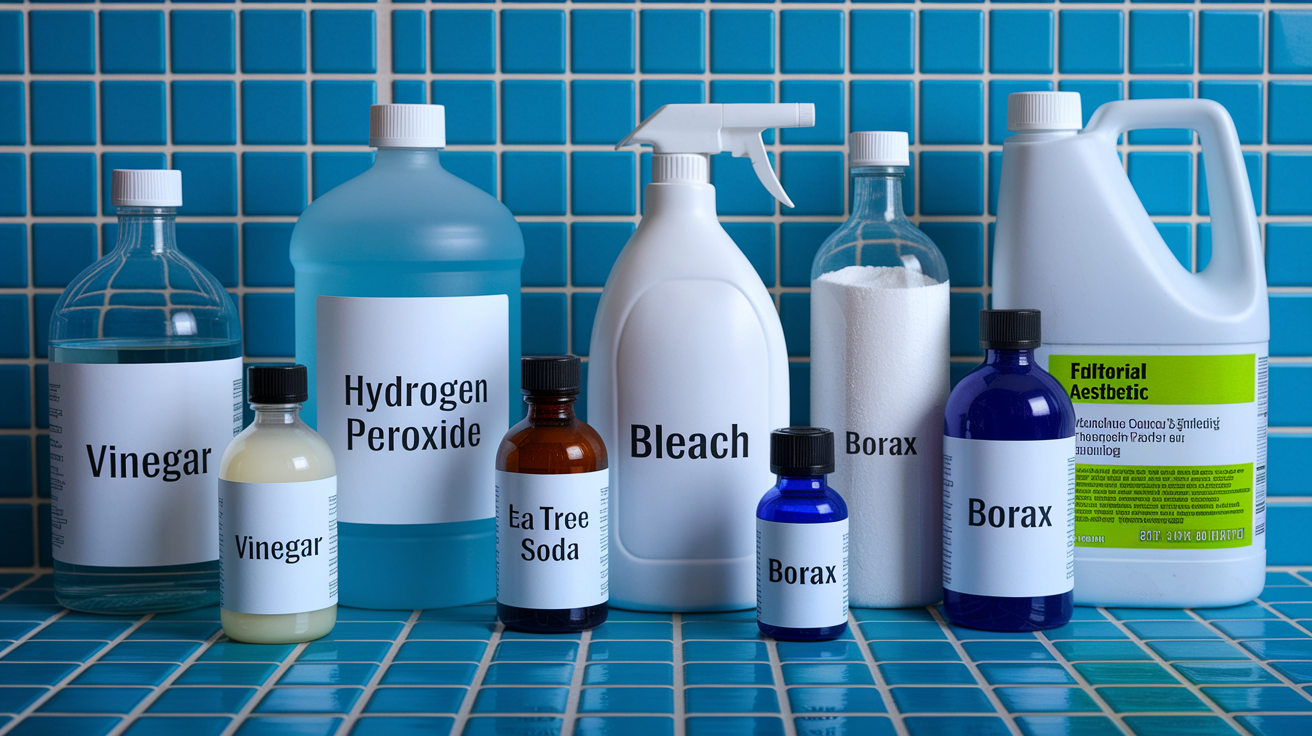
Different cleaning solutions kill mold through different mechanisms. Acids, oxidizers, or specialized fungicides, and each works better on certain surfaces.
| Solution Type | Mixing Ratio | Best For | Safety Notes |
|---|---|---|---|
| White Vinegar | Undiluted (straight from bottle) | Non porous tiles, glass, most surfaces; safe for colored grout | Mild odor, no toxic fumes, safe around kids and pets |
| Bleach Solution | 1 cup bleach per gallon of water | White grout, non porous surfaces only; kills mold and whitens stains | Strong fumes, never mix with vinegar or ammonia, can discolor surfaces |
| Hydrogen Peroxide | 3% solution undiluted | All bathroom surfaces including porous grout and painted walls | Gentler than bleach, may lighten dark surfaces slightly |
| Baking Soda Paste | 1/4 cup baking soda with water to form thick paste | Grout scrubbing, gentle abrasive for stubborn spots | Non toxic, often combined with vinegar for extra cleaning power |
| Tea Tree Oil | 1 teaspoon oil per cup of water | Natural alternative for small areas, leaves surfaces less hospitable to mold | Strong smell, expensive for large areas, effective but slow acting |
| Borax Solution | 1 cup borax per gallon of water | Porous surfaces, inhibits future mold growth | Don’t rinse off completely for ongoing protection, keep away from children |
| Commercial Fungicide | Follow product label exactly | Severe mold, when other solutions failed | Read all warnings, usually requires more ventilation than natural options |
Apply your chosen solution by saturating the moldy area completely. Don’t just mist lightly. The solution needs to stay wet on the surface for the full contact time to actually kill the mold instead of just disturbing it.
Most solutions need 10 to 15 minutes of contact time to work. Spray, walk away, check your phone, then come back to scrub. Vinegar can sit longer without issues. Bleach solutions lose effectiveness after about 15 minutes, so don’t mix big batches ahead of time. Hydrogen peroxide stays active a bit longer but works best when fresh.
Surface Specific Black Mold Removal Techniques for Bathrooms

Different bathroom surfaces need different approaches because mold behaves differently on porous versus non porous materials, and aggressive scrubbing that works on tile can damage painted drywall.
Non Porous Surfaces (Tiles and Glass)
Ceramic tile, porcelain, and glass can handle aggressive scrubbing with stiff brushes and stronger cleaning solutions. Spray bleach solution or hydrogen peroxide directly on the surface, let it sit for 10 to 15 minutes, then scrub hard with a stiff bristled brush. The mold sits on top of these surfaces rather than soaking in, so you can physically remove it with pressure.
Grout Lines Between Tiles
Grout is porous and absorbs moisture, which means mold grows into it rather than just on the surface. Spray your cleaning solution directly into grout lines and let it sit for 15 to 20 minutes, longer than you’d wait for tile. Use a narrow grout brush or old toothbrush to scrub deep into the lines with a back and forth motion. Stubborn grout mold might need two or three rounds of treatment before it lifts. After the mold is completely gone and the grout is dry (wait 24 to 48 hours), seal the grout with a penetrating sealer to make it less absorbent and prevent future mold growth.
Painted Walls and Ceilings
Painted surfaces need gentler treatment because aggressive scrubbing removes paint along with the mold. Use hydrogen peroxide or vinegar rather than bleach, which can leave white marks on colored paint. Spray the solution on, wait 10 minutes, then wipe gently with a microfiber cloth rather than scrubbing with a brush. If the paint bubbles, peels, or the mold comes back after cleaning, the mold has likely penetrated through the paint into the drywall underneath. At that point, you’re looking at cutting out the damaged drywall, treating the studs behind it, and patching the wall.
Silicone Caulk and Sealants
Caulk is porous enough that mold grows into it, not just on top, which makes cleaning mostly pointless. Cut out the old moldy caulk completely using a utility knife or caulk removal tool, scraping down to the bare surface underneath. Clean the joint with rubbing alcohol and let it dry thoroughly before applying new mold resistant silicone caulk, the kind labeled for kitchen and bath use.
Identifying When Professional Black Mold Remediation Is Necessary

Some mold situations exceed what homeowners should handle with spray bottles and scrub brushes, either because of health risks, the amount of mold, or hidden moisture damage that needs specialized equipment to fix properly.
Professional remediation becomes necessary when you’re dealing with:
- Mold covering more than 10 square feet (roughly a 3 foot by 3 foot section or multiple smaller areas that add up)
- Mold inside HVAC systems or ductwork where it spreads spores through your whole house every time the system runs
- Structural damage or penetration into drywall, framing, or subflooring that you can’t see from the surface
- Confirmed toxic mold species Stachybotrys chartarum, identified through lab testing
- Recurring mold that keeps coming back despite multiple DIY treatments and fixing obvious leaks
- Immunocompromised household members, including people with asthma, chronic respiratory conditions, or weakened immune systems
- Mold caused by sewage backup or contaminated water, which carries bacteria and pathogens beyond just mold concerns
Professionals bring containment equipment that prevents spores from spreading during removal. Negative air machines, HEPA filtration systems, and plastic barriers that create sealed work zones. They can identify hidden moisture sources using thermal imaging and moisture meters that detect wet building materials behind walls. For structural damage, they remove and replace building materials properly rather than just cleaning the surface. Some also handle the root cause repairs like fixing the plumbing leak or roof damage that caused the moisture problem in the first place.
Professional mold remediation typically costs $500 to $1,500 for small bathroom jobs (under 10 square feet) where containment is simple. Larger bathrooms with extensive mold, structural damage, or toxic species can run $2,000 to $6,000. Water damage situations requiring moisture extraction and drying before mold removal can increase costs but address both problems in one project. If you’re unsure whether your situation needs professional help, most remediation companies offer free inspections to assess the scope.
Addressing Moisture Sources and Root Causes in Your Bathroom

Cleaning mold without fixing the moisture source that fed it means you’ll be cleaning the same spots again in a few weeks. Mold needs moisture to grow, so cutting off the water supply stops it from coming back.
Prevention takes less time than removal. A bathroom that stays dry between uses won’t grow mold in the first place, which beats spending Saturday scrubbing grout lines with a toothbrush.
| Moisture Source | Identification Method | Fix Required | Prevention Strategy |
|---|---|---|---|
| Leaking Supply Pipes | Water stains on walls/ceiling, sound of running water when fixtures are off, water meter movement with all water off | Replace worn washers, tighten connections, or replace corroded pipes | Annual pipe inspection, check under sinks monthly for dampness |
| Poor Ventilation | Condensation on mirrors/walls lasting more than 30 minutes after shower, persistent humidity, foggy windows | Install or upgrade exhaust fan, add window or improve existing ventilation | Run exhaust fan during and 20 to 30 minutes after every shower |
| Shower Pan Leaks | Water damage on ceiling below bathroom, loose tiles near drain, musty smell under floor | Replace shower pan liner or repair mortar bed, requires tile removal | Avoid standing water in shower, check grout and caulk every 6 months |
| Condensation | Water droplets on walls, ceiling, or toilet tank; happens during temperature changes | Improve insulation, increase ventilation, reduce humidity | Use dehumidifier, increase air circulation, insulate cold water pipes |
| Failed Caulking | Gaps or cracks in caulk lines around tub, shower, or sink; water seeping behind fixtures | Remove old caulk completely and reapply mold resistant silicone caulk | Inspect caulk every 6 months, replace every 3 to 5 years before it fails |
| Grout Deterioration | Crumbling grout, dark lines that stay wet, grout that crumbles when touched | Remove damaged grout and regrout tiles, seal after drying | Seal grout annually, squeegee shower walls after use |
| High Humidity | Humidity meter reading above 60%, damp feeling in bathroom even when dry | Install dehumidifier, improve ventilation, reduce moisture sources | Maintain humidity between 30 to 50%, run dehumidifier in summer months |
Use a moisture meter to check areas where you see mold, particularly behind toilets, under sinks, and in corners where water might collect. The meter shows moisture levels inside walls and behind surfaces you can’t see. Readings above 17% in wood or drywall indicate enough moisture for mold growth. Fix whatever is making those materials wet before you spend time cleaning mold off the surface.
Check for ongoing leaks by reading your water meter before bed, avoiding all water use overnight, then checking the meter again in the morning. If it moved, water is leaking somewhere even when all fixtures are off. Listen for running water inside walls when everything should be quiet.
Ongoing prevention means running the exhaust fan during your shower and for 20 to 30 minutes afterward, even if it seems dry. The fan removes humid air before condensation forms on cool surfaces. If your bathroom doesn’t have a window, consider adding a dehumidifier that runs automatically when humidity climbs above 50%. Open windows when weather allows to create cross ventilation that dries surfaces naturally. Set up a simple monthly check where you look at grout lines, caulk, under the sink, around the toilet base, and in shower corners for any early signs of moisture or mold. Catching problems when they’re small beats dealing with them after they spread.
Ongoing Maintenance and Early Detection Practices
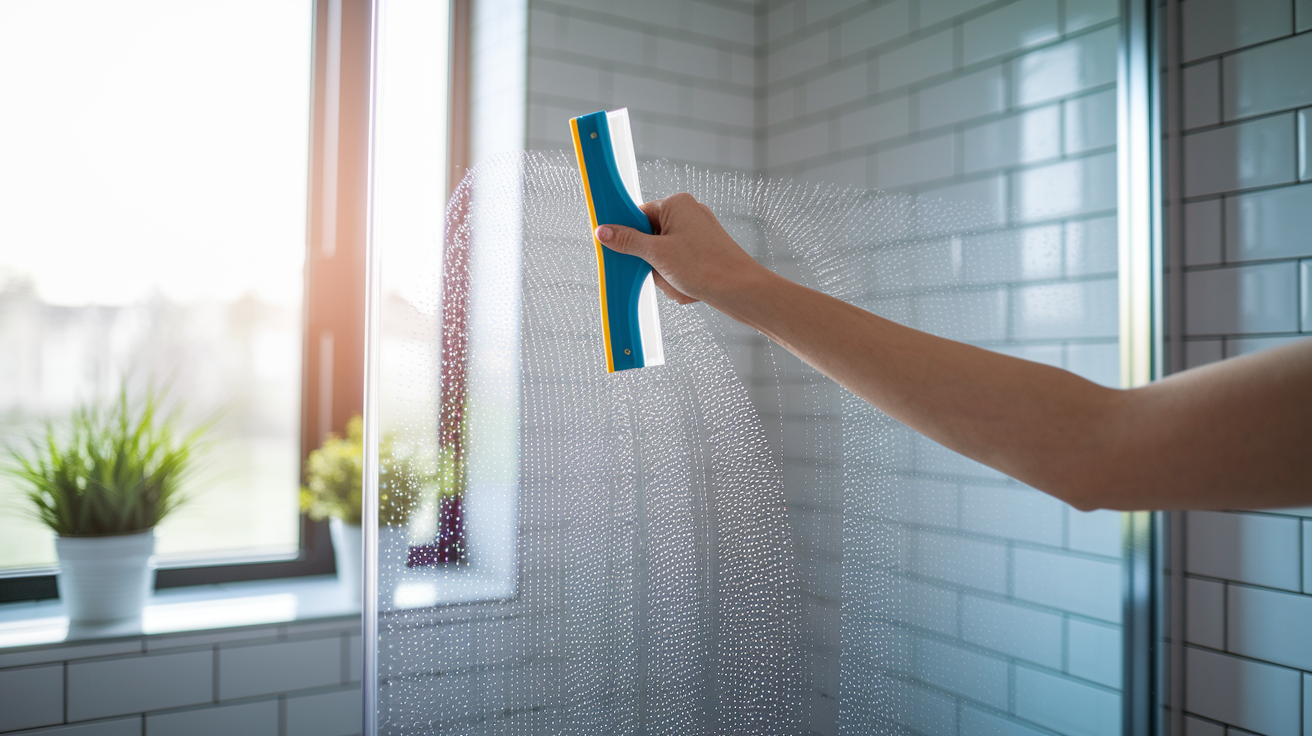
Regular cleaning and quick action when you spot early signs keeps small mold problems from becoming whole bathroom projects that eat up your weekend.
- Wash your bathroom weekly with a mildew resistant cleaner or a simple vinegar solution to remove soap scum and moisture before mold starts growing
- Squeegee shower walls and glass doors after each use to remove standing water that would otherwise sit on surfaces for hours
- Wash bath mats and shower curtains weekly, or at minimum every two weeks. They stay damp and grow mold faster than hard surfaces
- Leave the shower door or curtain open between uses so air circulates and surfaces dry instead of staying humid and enclosed
- Fix any leaks the same day you notice them, whether it’s a dripping faucet, a running toilet, or moisture under the sink
- Apply grout sealer once a year after deep cleaning the grout to make it less porous and more resistant to moisture absorption
- Ensure proper drainage in your shower and tub by clearing hair and debris from drains monthly so water doesn’t pool on surfaces
- Check caulking and grout monthly for cracks, gaps, or deterioration, and repair small problems before water gets behind surfaces
- Inspect high risk areas during a quick monthly walkthrough, looking specifically at corners, grout lines, and anywhere water collects
Walk through your bathroom once a month with purpose. Not just during regular cleaning but with a specific goal of spotting moisture problems. Look up at ceiling corners near the shower where condensation collects. Check grout lines between tiles for any darkening or soft spots. Peek under the sink for dampness on pipes or cabinet floors. Look at the base of your toilet for water stains or soft flooring. Run your hand along the bottom edge of the shower curtain to feel for slime. These problem areas show the earliest signs of trouble.
Watch for these specific warning signs that indicate mold is starting or already growing somewhere:
- Persistent musty or earthy smell that doesn’t go away after cleaning and airing out the bathroom
- Small black, dark green, or brown spots appearing in grout lines, especially in shower corners and along the tub edge
- Discoloration on walls or ceiling near the shower, even if it doesn’t look like typical mold spots yet
- Peeling or bubbling paint in moisture prone areas, which often means mold is growing behind the paint
- Increased sneezing, coughing, or respiratory symptoms when you’re in the bathroom that improve when you leave
- Visible water stains or moisture on surfaces that won’t dry even hours after the last shower
- Slimy or fuzzy texture when you touch grout, caulk, or corners, even if you can’t see obvious mold growth yet
Dealing with Stubborn Black Mold Stains and Discoloration
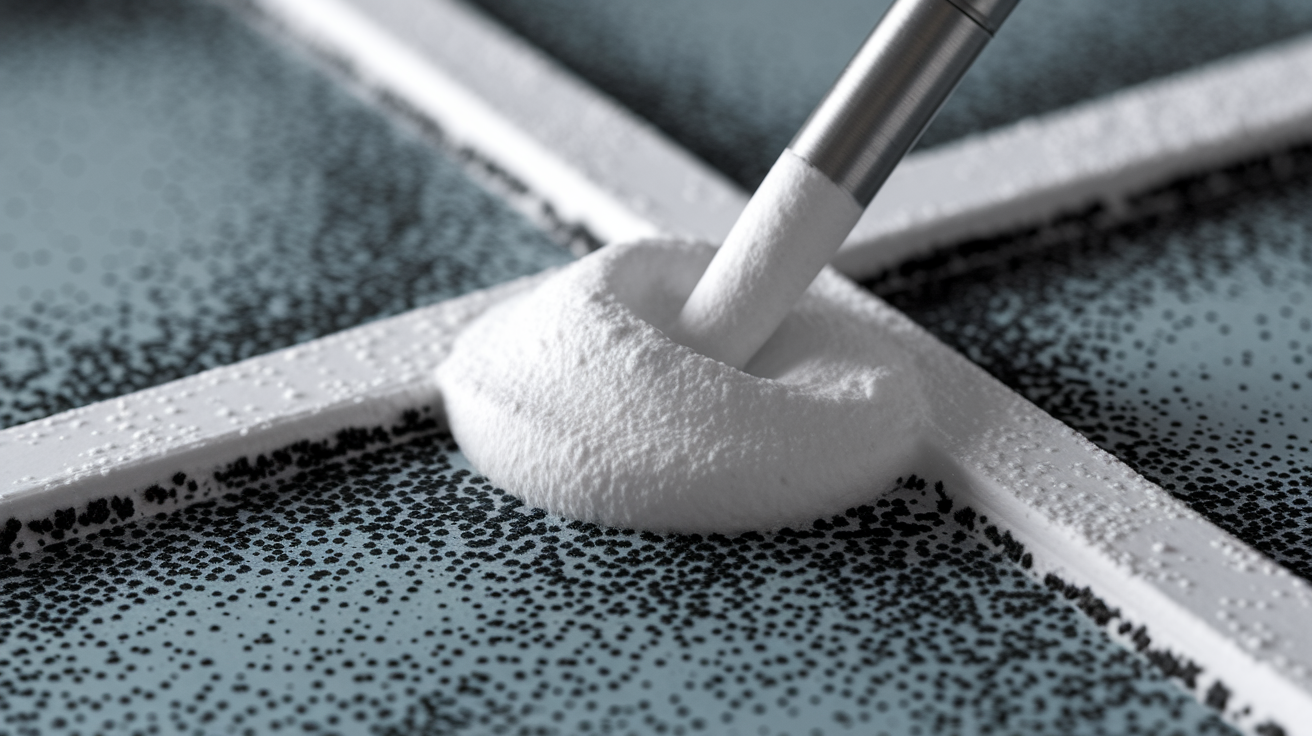
Sometimes you kill the mold but the stain stays, especially in porous grout where dead mold cells have penetrated below the surface and left permanent discoloration.
Dead mold won’t grow or spread, but it still looks bad. The dark staining comes from mold pigments that soaked into porous materials, and surface cleaning doesn’t always pull them out even though the living mold is gone.
For stubborn stains that didn’t lift during your first treatment, extend the contact time to 30 to 60 minutes. Spray your cleaning solution, then spray again every 10 minutes to keep the surface saturated while the solution works deeper into the material. For grout specifically, make a thick paste from baking soda and hydrogen peroxide, pack it directly into the stained grout lines, and let it sit for an hour before scrubbing. The paste stays in place longer than liquid spray and pulls stains out as it dries. Some stains need multiple rounds. Clean, let it dry completely, then treat again a day later.
Specialized stain removers work on different principles than mold killers. Oxalic acid based cleaners target the pigment stains mold leaves behind in grout and are available at most hardware stores in the tile section. Follow the product directions exactly because oxalic acid is stronger than household cleaners. Oxygen bleach (different from chlorine bleach) also works on organic stains and is gentler on colored grout. Apply it, wait the recommended time, scrub, rinse thoroughly, and repeat if needed.
Sometimes the staining is permanent. If you’ve tried multiple treatments with extended contact times and the discoloration remains in grout, your options are painting over it with grout paint or colorant, or removing and replacing the grout entirely. For stained drywall, once the mold is confirmed dead and the moisture source is fixed, primer designed to seal stains followed by fresh paint covers most discoloration. If painting doesn’t work or the staining keeps bleeding through, the drywall has absorbed too much and needs replacement.
Black Mold Health Impacts and When to Seek Medical Attention

Black mold releases spores and sometimes mycotoxins that can affect your respiratory system, trigger allergies, and cause other health issues, particularly during active removal when you’re disturbing mold colonies.
People with existing asthma, seasonal allergies, weakened immune systems from illness or medication, and young children face higher risks from mold exposure. Their bodies react more strongly to mold spores, and symptoms appear faster or more severely than in healthy adults.
Watch for these symptoms during or after mold exposure:
- Persistent coughing or wheezing that starts or worsens when you’re in the bathroom
- Nasal congestion, runny nose, and sneezing that feels like allergies but only happens in certain rooms
- Eye irritation, redness, and watering
- Skin rashes, itching, or irritation after touching moldy surfaces
- Headaches and difficulty concentrating that improve when you leave the house
- Unusual fatigue and general weakness without other explanation
- Asthma attack triggers in people with existing asthma when exposed to moldy areas
Not all black colored mold is the toxic species Stachybotrys chartarum. Plenty of common mold types appear dark green or black, especially in damp bathrooms. The only way to know exactly what species you’re dealing with is lab testing, where you send a sample to a professional service. Most bathroom mold isn’t the notorious toxic variety, but all mold should be taken seriously because any species can cause respiratory irritation and allergic reactions in sensitive people.
If you experience persistent respiratory symptoms, worsening asthma, recurring headaches, or other health issues that started when mold appeared and improve when you’re away from home, see your doctor. Mention the mold exposure specifically. For people with compromised immune systems, lung disease, or severe asthma, don’t attempt DIY mold removal at all. Hire professionals with proper containment so you’re not exposed to released spores during the work.
Post Removal Bathroom Restoration and Surface Sealing
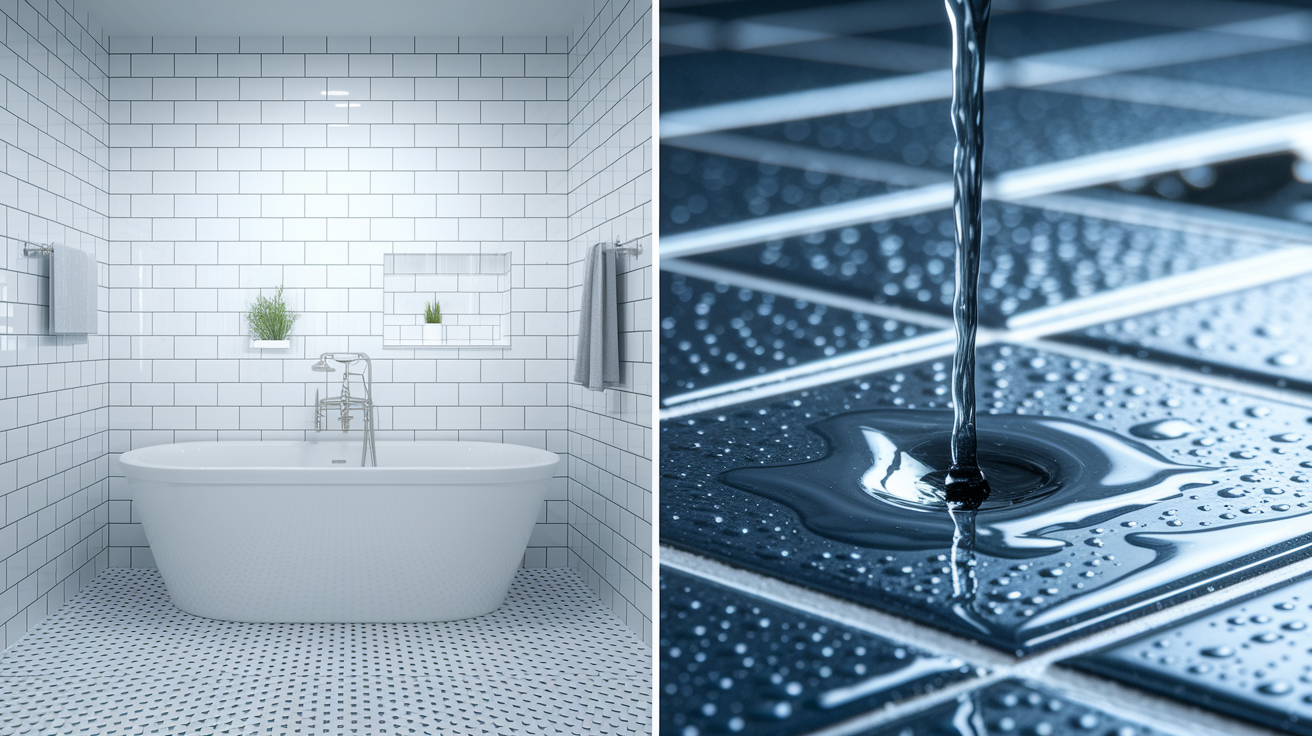
Proper restoration after cleaning seals surfaces against future moisture penetration and makes your bathroom less hospitable to new mold growth.
After removing mold and scrubbing surfaces clean, everything needs to dry completely before you seal or paint. Run fans pointed at the cleaned areas and use a dehumidifier if you have one. Open windows for air circulation. Give it a full 24 to 48 hours, especially for grout and any porous materials. Touch surfaces to verify they’re completely dry. If they feel cool to the touch or slightly damp, wait longer. Sealing moisture into grout or painting over damp drywall traps water inside and creates perfect conditions for mold to start growing again behind your fresh finish.
Once surfaces are bone dry, apply a penetrating grout sealer according to the product directions. Pour a small amount into a container, apply it to grout lines with a small brush or foam applicator, and let it soak in for the time specified on the label (usually 5 to 10 minutes). Wipe off excess before it dries completely. Sealed grout repels water instead of absorbing it, which means moisture can’t soak in and feed new mold growth. While you’re at it, replace all moldy or damaged caulk completely. Cut out old caulk with a utility knife, clean the joint with rubbing alcohol, let it dry, then apply fresh mold resistant silicone caulk designed for bathrooms. Smooth it with a wet finger or caulk tool, and let it cure for 24 hours before getting it wet.
If you removed mold from painted walls or ceiling, wait until the surface is completely dry, then assess the damage. Small cleaned areas might not need repainting if the paint is intact. Larger areas, spots where you had to scrub hard, or anywhere the mold stained through the paint should get fresh paint. Start with a stain blocking primer like Kilz or BIN to seal any remaining discoloration and prevent it from bleeding through your finish coat. Once the primer dries (usually 1 to 2 hours), apply mold resistant bathroom paint formulated to resist moisture and inhibit future mold growth. Sand any rough spots lightly before priming. Clean dust off with a damp cloth. Apply primer, let it dry, then one or two coats of paint depending on coverage.
Inspect your work one week after finishing all treatments and sealing. Check the areas where mold was growing for any new spots or discoloration. If everything still looks clean and dry, the job was successful. If you see new mold appearing in the same spots within a week, you didn’t fix the underlying moisture source, and you’ll need to track down where water is still getting in before cleaning again.
Final Words
Black mold removal works when you follow the right steps with proper safety gear and ventilation.
The process isn’t complicated, but it does require attention to detail and patience, especially during drying and follow-up checks.
If you’ve addressed the moisture source and sealed your surfaces, you’re setting up real prevention instead of just treating symptoms.
Most bathrooms stay mold-free with weekly cleaning and good airflow. But if you’re dealing with large areas, recurring growth, or health concerns, that’s when professionals step in with containment and equipment that goes beyond DIY methods.
Either way, you’ve got a clear path forward.
FAQ
How do I get rid of black mold in my bathroom permanently?
To get rid of black mold in your bathroom permanently, you need to remove all visible mold with proper cleaning solutions and protective gear, then fix the moisture source causing the growth. Without addressing leaks, poor ventilation, or humidity problems, the mold will return even after thorough cleaning.
What kills black mold instantly?
Bleach kills black mold on contact on non-porous surfaces like tile and glass, but it doesn’t truly work “instantly.” Most effective solutions, including bleach, hydrogen peroxide, and vinegar, need 10-15 minutes of contact time to fully penetrate and kill mold spores.
Do Clorox wipes kill mold?
Clorox wipes can kill surface mold on small non-porous areas, but they’re not practical for bathroom mold removal. The wiping motion spreads spores before the bleach can kill them, and wipes don’t provide enough solution or contact time for effective treatment on larger affected areas.
Does vinegar kill black mold?
White vinegar kills black mold effectively as a natural acid-based solution. Spray undiluted white vinegar directly on the mold, let it sit for 10-15 minutes, then scrub and rinse. Vinegar works on most bathroom surfaces and produces no toxic fumes like bleach.
Can I remove black mold myself or do I need professionals?
You can remove black mold yourself if it covers less than 10 square feet, stays on surface level, and you have proper safety gear. Call professionals if mold exceeds 10 square feet, penetrates drywall or structural materials, keeps returning after treatment, or anyone in your home has respiratory issues.
How long does it take to completely remove black mold from a bathroom?
Complete black mold removal from a bathroom typically takes 2-4 hours for small areas, including preparation, treatment, scrubbing, and drying time. Larger infestations or porous surfaces like grout may require multiple treatments over several days, with 24-48 hours of drying between sessions.
What causes black mold to grow in bathrooms?
Black mold grows in bathrooms due to consistent moisture and humidity above 60 percent. Common causes include poor ventilation, leaking pipes or fixtures, shower pan leaks, condensation on cold surfaces, failed caulking, and not running exhaust fans during and after showers.
How do I know if mold in my bathroom is the toxic kind?
You cannot identify toxic black mold (Stachybotrys chartarum) by appearance alone since many mold species look similar. Lab testing is the only way to confirm species. Treat all bathroom mold seriously regardless of type, using proper safety gear and removal techniques.
Why does black mold keep coming back in my shower?
Black mold keeps coming back in your shower because the underlying moisture problem hasn’t been fixed. Check for hidden leaks, ensure your exhaust fan runs 20-30 minutes after showering, reduce bathroom humidity below 50 percent, and seal porous grout that traps moisture.
What safety gear do I need before removing bathroom mold?
Before removing bathroom mold, you need an N95 or N100 respirator mask (not cloth masks), waterproof rubber gloves extending to mid-forearm, safety goggles or face shield, and long-sleeved protective clothing. These items protect you from inhaling mold spores and prevent skin contact during removal.
