
Most kitchen grease fires start small, maybe a forgotten pan or oil that got too hot, but the cleanup afterward? That’s where things get tricky. You’re not just dealing with a burnt pot. You’ve got smoke residue on your walls, grease baked into your cabinets, and a smell that won’t quit. The good news is you can handle a lot of this yourself if you know the right steps, the safe order to do them, and when to call in help. This guide walks you through the whole process, from making sure the fire’s actually out to getting your kitchen back to normal.
Immediate Post-Fire Safety and Scene Security
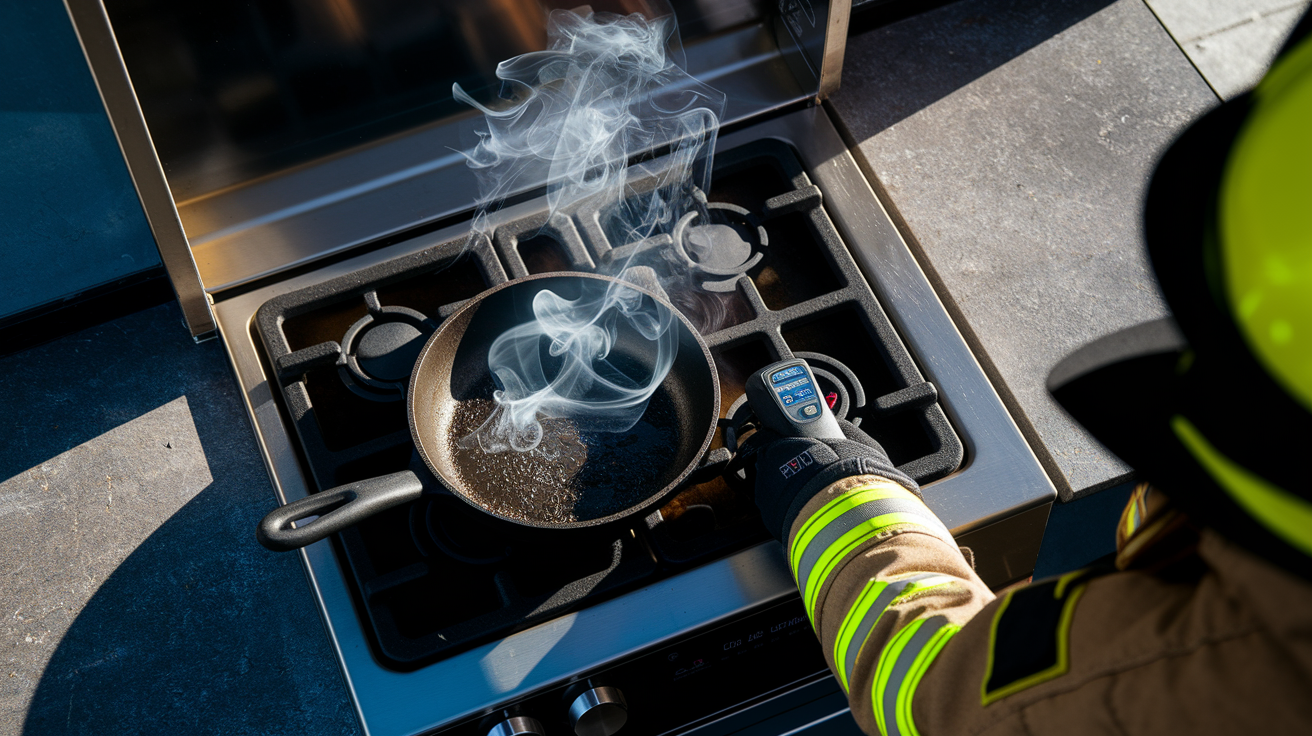
First things first: make absolutely sure the fire is out. Not just visibly out, but no glowing embers, no smoldering spots, nothing warm to the touch. Grease can reignite fast if there’s any heat left behind.
Immediate post-fire safety checklist:
- Verify the fire is completely extinguished with no visible flames, smoke, or smoldering materials
- Turn off the heat source and shut off the gas line at the valve if your stove uses gas
- Call 911 if the fire spread beyond the pan or stovetop, even if you think you contained it
- Don’t re-enter the kitchen if you evacuated until the fire department clears the space
- Open windows carefully to start ventilation, but don’t create strong drafts that could stir up hot ash
- Keep everyone, including pets, completely away from the affected area
- Wait for all surfaces, cookware, and appliances to cool down fully before touching anything
If there’s any question about whether the fire reached inside walls, cabinets, or ventilation ducts, call the fire department for an inspection. Even a small grease fire can spread to spaces you can’t see, and those hidden spots can smolder for hours.
Don’t rush this part. A kitchen that looks safe might still have hot grease trapped in the range hood, behind the stovetop, or in ductwork. Give everything at least 30 to 60 minutes to cool completely before you start assessing damage or cleaning anything.
Securing the scene means keeping the area untouched until you’ve cooled down, assessed what happened, and documented everything for insurance. Yeah, you want to clean it up right now, but waiting protects you and makes the whole process smoother.
Pre-Cleanup Assessment, Documentation, and Safety Preparation

Before you grab a sponge, you need to understand what you’re dealing with. FEMA recommends professional inspection of electrical systems, gas lines, and ductwork after any kitchen fire, even if the damage looks minor. Fire can compromise wiring, weaken gas connections, and leave residue inside ventilation systems that you can’t see from the outside. A pro can spot these problems before they become safety hazards. If you’re unsure about the extent of the damage, especially around electrical outlets, gas connections, or your range hood ductwork, contact a fire and smoke damage restoration company for an inspection.
Document everything before you move or clean a single item. Take photos from multiple angles: wide shots of the whole kitchen, close-ups of every burnt or smoke-stained surface, and detail shots of damaged appliances, cabinets, and contents. Make a written list of everything affected, with descriptions and estimated values if you can. This documentation supports your insurance claim and gives you a clear record of what needs repair or replacement. Contact your insurance provider as soon as the fire is out and the scene is safe. Most policies require prompt notification, and your insurer will want to evaluate the damage before you start repairs or throw anything away.
Smoke and soot don’t stay in the kitchen. Particles travel through your ventilation system and settle on fabrics, walls, and surfaces throughout your home. Check adjacent rooms, hallways, and anywhere connected by ductwork. You might find a light haze on walls or a faint smell in bedrooms even if the fire stayed small.
Cleaning up fire and smoke residue isn’t like regular housework. You need protective equipment to keep yourself safe from grease, soot, ash, and airborne particles. Here’s what to wear:
- Disposable nitrile gloves or heavy-duty rubber gloves to protect your hands from grease and cleaning chemicals
- N95 or higher-rated respirator mask to filter out smoke particles and soot
- Long pants and a long-sleeved shirt to prevent skin contact with residue
- Closed-toe boots or sturdy shoes with non-slip soles
- Safety glasses or goggles to protect your eyes from cleaning solution splashes
- A hat or head covering to keep soot and grease out of your hair
Soot and ash can irritate your skin and lungs. Grease residue mixed with burnt materials can contain chemicals you don’t want to breathe or absorb. Gear up before you start, and change gloves frequently as they get dirty.
Wait for your insurance company’s evaluation before you begin major cleanup or repairs. They may send an adjuster to assess damage, take their own photos, and determine coverage. Starting too early can complicate your claim or leave you paying out of pocket for work the insurer would have covered.
| Damage Category | What to Inspect | Why It Matters |
|---|---|---|
| Stovetop and Appliances | Burners, control knobs, oven interior, range hood, microwave if nearby | Direct fire exposure can melt components, damage electronics, or weaken structural integrity |
| Walls and Ceiling | Paint discoloration, soot deposits, heat blistering, smoke stains spreading from kitchen | Smoke travels upward and outward, staining and embedding in porous surfaces; heat can crack drywall |
| Electrical Systems | Outlets near stove, light fixtures, exposed wiring, circuit breaker panel if in kitchen | Heat can melt insulation on wires, creating fire or shock hazards even after the visible fire is out |
| Ventilation and Ductwork | Range hood interior, exhaust fan, ductwork behind hood, air vents in kitchen | Grease and smoke residue accumulate inside ducts and can spread contamination or become a future fire risk |
| Adjacent Rooms | Walls, ceilings, and fabrics in dining areas, hallways, living spaces connected to kitchen | Airborne soot particles settle on surfaces far from the fire source, requiring cleaning beyond the kitchen |
Ventilation and Air Quality Management During Cleanup

Keep air moving through your kitchen the entire time you’re cleaning. Proper ventilation pushes out smoke particles, reduces lingering odors, and makes the space safer to work in.
Open windows on opposite sides of the kitchen or in adjacent rooms to create cross-ventilation. If you only have one window, open it wide and prop open the door to another room with a window. Turn on your kitchen exhaust fan if it’s still functional and wasn’t directly damaged by the fire. Position a box fan in a window facing outward to pull smoky air out of the house. Don’t point fans inward, that just pushes contaminated air deeper into your home. The goal is to create a steady flow that carries particles outside, not circulate them around the house.
Turn off your central HVAC system during the initial cleanup. Running heating or air conditioning while soot and ash are still in the air will pull particles into your ductwork and distribute them throughout your home. Once you’ve finished the heavy cleaning, you can turn the system back on, but plan to replace every air filter in the house. Check filters in your furnace, air conditioner, return vents, and any standalone air purifiers. Smoke particles are small enough to clog filters fast, and a dirty filter will just keep recirculating contaminated air.
Plan to keep windows open and ventilation running for 24 to 48 hours, even after the visible mess is gone. Smoke odor lingers in porous materials like drywall, wood, and grout, and continued airflow helps those surfaces off-gas. If the smell is still strong after two days of ventilation, you’re dealing with deeper penetration that might need professional treatment.
Step-by-Step Cleanup Process for Grease Fire Surfaces

Grease fire residue is stubborn. You’re dealing with burnt oil, soot, and smoke that’s baked onto surfaces. The right cleaning solutions and techniques make a huge difference in what you can actually salvage.
Preparing Cleaning Solutions
Mix one gallon of warm water with 4 to 6 tablespoons of trisodium phosphate (TSP) and one cup of household bleach. TSP is a heavy-duty cleaner that cuts through grease and soot. You can find it at hardware stores. The bleach helps disinfect and remove stains. Wear your gloves and work in a ventilated area, this solution is strong.
For lighter cleanup or if you prefer a less harsh option, use distilled white vinegar. Dampen a sponge or cloth with vinegar, wring out most of the liquid so it’s not dripping, and wipe down surfaces. Vinegar cuts grease and neutralizes smoke odor. It won’t handle heavy buildup as well as TSP, but it works for areas with surface-level soot.
Cleaning Walls and Ceilings
Start by lightly misting any loose debris with water from a spray bottle. This keeps ash and soot from going airborne when you start wiping. Dampen, don’t soak.
Dip your sponge into the TSP-bleach solution and wring it out until it’s damp but not dripping. Start at the top of the wall or ceiling and work your way down. Soot and smoke residue are easier to remove when you’re pushing them downward instead of dragging them over clean areas. Use firm, even strokes. Rinse your sponge frequently in clean water, then re-dip in the cleaning solution.
After you’ve cleaned a section, go over it again with a sponge dipped in plain water to rinse off the cleaning solution. Wipe it dry with a clean cloth. If you leave TSP residue on the surface, it can interfere with paint or leave a hazy film.
Cleaning Stovetop and Appliances
For stainless steel surfaces like your stovetop, range hood, or refrigerator front, use a degreaser or the TSP solution. Wipe in the direction of the grain to avoid streaking. Stainless can show every smudge, so rinse thoroughly and dry with a microfiber cloth.
Plastic or painted surfaces on appliances need a gentler approach. Use a mild, alkaline, soap-free detergent mixed with warm water. Avoid abrasive scrubbers that can scratch the finish. If the surface has baked-on grease, let the cleaning solution sit for a minute to soften it before wiping.
Remove burner grates, drip pans, and knobs from your stovetop. Soak them in hot, soapy water with a degreaser. Scrub with a brush, rinse, and dry completely before putting them back.
Cleaning Countertops and Backsplash
Countertop materials react differently to cleaning solutions. For granite or stone, avoid acidic cleaners like vinegar. Use a pH-neutral cleaner or mild dish soap with warm water. For laminate, you can use the TSP solution, but rinse it off quickly to avoid discoloration.
Tile backsplashes can handle stronger cleaners, but grout is porous and holds onto soot. Scrub grout lines with a small brush dipped in the TSP solution or a baking soda paste. If the grout is heavily stained, you may need to reseal it after cleaning.
Cleaning Cookware and Kitchen Tools
Wash all pots, pans, utensils, and dishes that were out during the fire with hot, soapy water. Even if they weren’t directly in the flames, they’ve been exposed to airborne grease and smoke particles. Run everything through the dishwasher if possible, using the hottest cycle.
Check cookware for melted handles, warped bottoms, or cracked coatings. If a pan was in the fire or directly exposed to high heat, the structural integrity might be compromised. Toss anything that’s melted, severely discolored, or no longer safe to cook with.
After you’ve cleaned and rinsed all surfaces, give everything time to dry completely before you put the kitchen back together. Trapped moisture under a cleaned surface can lead to mold or mildew, especially if there’s still smoke residue in porous materials. Run fans, keep windows open, and don’t rush reassembly.
Range Hood, Cabinet, and Ventilation System Grease Fire Cleaning
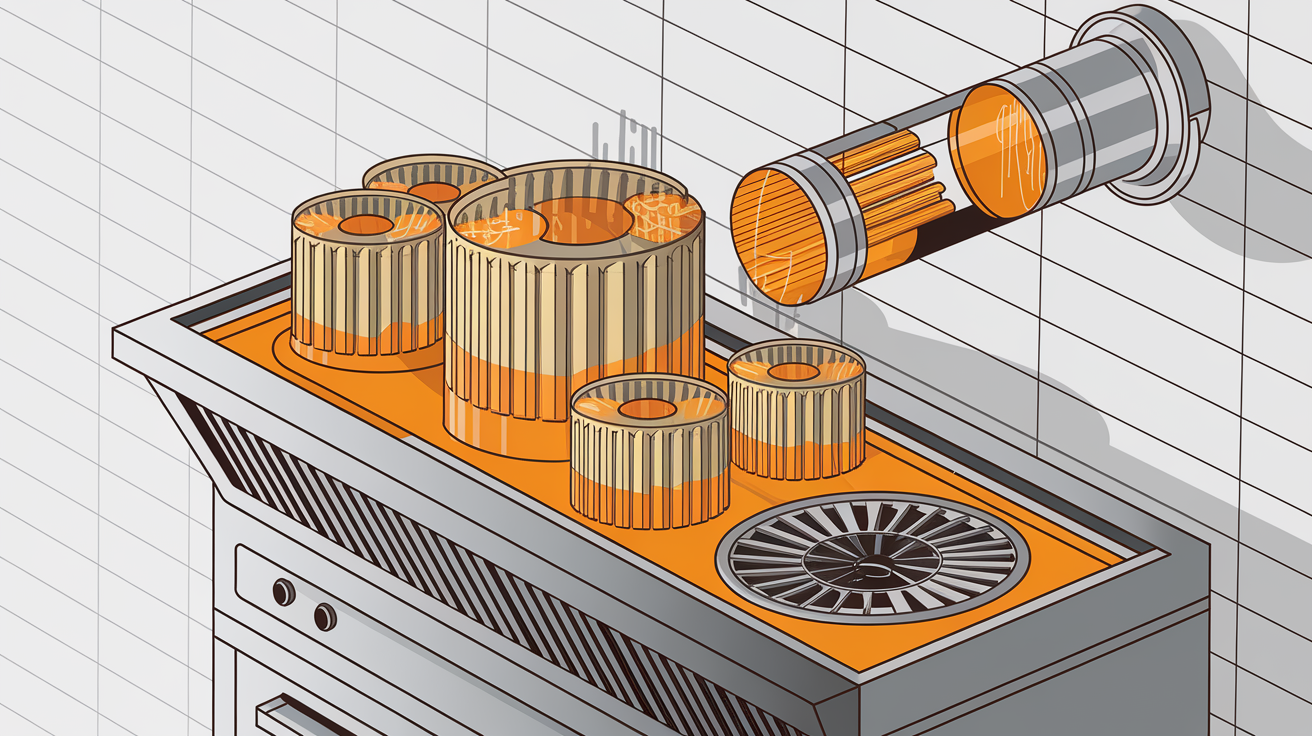
Your range hood, cabinets, and ventilation ducts take the worst of the grease and smoke. These areas need extra attention because residue builds up in layers and hides in spots you can’t see without disassembling things.
Remove the filters from your range hood and soak them in a sink or tub filled with hot water, dish soap, and a heavy-duty degreaser. Let them sit for 20 to 30 minutes to loosen baked-on grease. Scrub with a brush, rinse thoroughly, and let them air dry. If the filters are severely damaged, charred, or clogged beyond cleaning, replace them. Inside the hood itself, wipe down all surfaces with the TSP solution or a strong degreaser. Grease collects on the underside, around the fan housing, and along seams. Use a flashlight to check for hidden buildup.
Take cabinet doors and drawers off their hinges. Pull out everything inside, even if it looks untouched. Smoke particles settle on shelf surfaces, inside corners, and along the backs of cabinets. Wipe down every interior surface with the TSP solution, rinse, and dry. Don’t forget the tops of upper cabinets, they collect a surprising amount of soot. Wash or wipe down everything you’re putting back inside before returning it to the cabinets.
Ventilation ductwork is harder to assess without professional equipment, but you can check the visible sections. If your range hood connects to ductwork that vents outside, smoke and grease have traveled through that path. FEMA recommends professional inspection of ductwork after any kitchen fire because buildup inside ducts becomes a fire hazard and continues releasing odor into your home. If you notice heavy residue around vent openings or a strong smell when you turn on the exhaust fan, call a duct cleaning service. They’ll use specialized tools to clean the entire system, not just the parts you can reach. Replace all HVAC filters throughout your house after cleaning, even in rooms that seem unaffected.
Odor Removal and Smoke Smell Elimination After Grease Fires

Grease fire smoke smells different than regular smoke. It’s oily, heavy, and it clings. That’s because the particles aren’t just ash, they’re tiny droplets of burnt fat that embed in porous surfaces like drywall, wood, fabric, and grout. Cleaning the visible soot doesn’t always eliminate the smell.
DIY odor removal techniques:
- Place bowls of distilled white vinegar around the kitchen and adjacent rooms, vinegar absorbs and neutralizes odors over 24 to 48 hours
- Sprinkle dry baking soda liberally on countertops, floors, and inside cabinets, let it sit overnight, then vacuum or sweep it up
- Wipe down all hard surfaces with a vinegar-dampened cloth, even if they don’t look dirty, to remove invisible smoke residue
- Wash all textiles immediately, including curtains, dish towels, oven mitts, tablecloths, and any fabric that was in or near the kitchen
- Place activated charcoal in open containers around the kitchen, it pulls odor molecules out of the air
- Keep windows open and fans running to prevent odor from settling back into surfaces
- Use commercial odor-absorbing products designed for smoke, placed in corners and closed spaces like cabinets
If you’ve cleaned thoroughly, aired out the space for several days, and the smell is still strong, DIY methods have reached their limit. Smoke odor that persists after proper cleaning means particles have penetrated deeper into building materials than surface cleaning can reach. At that point, you’re dealing with odor embedded in drywall, insulation, subfloors, or ductwork.
Professional restoration companies use ozone treatment and thermal fogging for persistent smoke odor. Ozone generators produce ozone gas that breaks down odor molecules at a chemical level, but the space has to be completely unoccupied during treatment because ozone is harmful to breathe. Thermal fogging releases a deodorizing fog that penetrates the same porous materials where smoke particles are hiding, neutralizing odor from the inside out. If the smell won’t go away, these treatments work when nothing else does.
Assessing What to Salvage vs Replace After Kitchen Grease Fire Damage
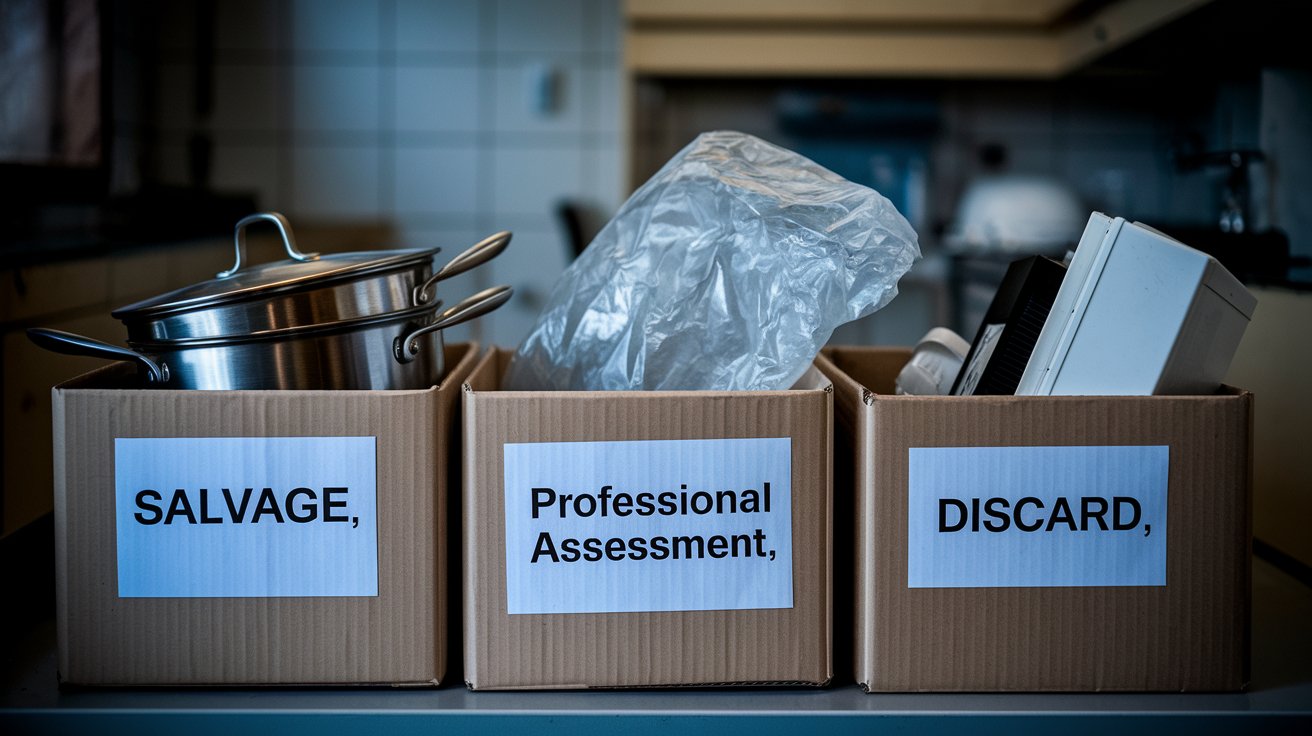
Not everything exposed to a grease fire is automatically trash, but some things are done. The decision comes down to safety, functionality, and whether cleaning will actually restore the item.
Start by removing obviously destroyed items. Anything visibly charred, melted, cracked from heat, or structurally compromised goes in the trash. This includes cookware with melted handles, plastic utensils that warped, wooden items that are blackened or falling apart, and any food that was out during the fire. If you’re not sure whether something is safe, don’t use it. Heat damage can weaken materials in ways that aren’t always visible.
Items with minor smoke exposure and surface soot can often be salvaged with thorough cleaning. Hard surfaces like glass, metal, and ceramic usually come clean. Stainless steel pots, ceramic dishes, and glass storage containers can be washed and reused if they weren’t directly in the flames. Solid wood cutting boards and utensils might clean up, but check for deep charring or cracks that can harbor bacteria.
For structural elements like drywall, cabinets, countertops, and flooring, the extent of heat and smoke exposure matters. Drywall that’s discolored from smoke can usually be cleaned and repainted, but drywall that’s blistered, cracked, or scorched needs replacement. Same with cabinets, surface smoke damage cleans up, but if the wood is charred or the laminate is peeling from heat, you’re looking at replacement or refinishing. When you’re unsure about structural components, countertops, or built-in appliances, get a professional assessment before you make the call.
| Item Category | Usually Salvageable | Usually Replace | Assessment Notes |
|---|---|---|---|
| Cookware and Utensils | Stainless steel pots, cast iron, glass bakeware, metal utensils with surface soot only | Items with melted handles, warped bottoms, cracked non-stick coating, charred wood | Heat can compromise non-stick surfaces and weaken handles even if they look intact |
| Cabinets | Solid wood or laminate with surface smoke stains, functional hardware, intact doors | Cabinets with blistered finish, warped doors, melted hardware, structural charring | Cabinet interiors often clean up even when exteriors look bad; check for heat damage to joints |
| Appliances | Appliances away from direct flame with smoke residue only, fully functional after cleaning | Appliances directly exposed to fire, with melted components, electrical damage, or persistent malfunction | Even minor electrical exposure can create safety hazards; test thoroughly or replace |
| Walls and Ceiling | Drywall with surface soot and smoke stains, no blistering or cracking | Drywall that’s blistered, cracked, scorched, or soaked from fire suppression efforts | Smoke-stained drywall cleans and repaints well; heat or water damage requires replacement |
| Countertops | Granite, quartz, laminate, or tile with surface stains and no heat cracks | Countertops with burn marks, heat cracks, melted laminate, or structural warping | Stone counters usually survive; laminate and some solid surfaces can melt or delaminate from heat |
| Textiles | Machine-washable items like towels, curtains, and fabric that responds to laundering | Items with baked-in grease stains, charring, or persistent odor after multiple washes | Smoke odor in fabric is hard to remove completely; some items may need professional cleaning or replacement |
Repainting and Surface Restoration After Grease Fire Cleanup

Even after you’ve scrubbed walls and ceilings clean, smoke-stained surfaces often need repainting. Soot particles embed in paint and drywall, leaving discoloration that doesn’t fully disappear with cleaning. Repainting covers the stains and seals in any remaining odor.
Before you prime or paint, make absolutely sure the surface is clean and residue-free. Wipe down walls and ceilings one more time with a damp cloth. Let everything dry completely. Run your hand over the surface, if it feels tacky, greasy, or leaves residue on your fingers, clean it again. Paint won’t adhere properly to a surface with leftover soot or cleaning solution.
Use an odor-sealing primer before you apply new paint. Regular primer won’t block smoke smell. Look for shellac-based primers or products specifically labeled as smoke and odor sealers. These primers create a barrier that prevents smoke particles in the drywall from bleeding through and releasing odor into the room. Apply the primer in even coats, covering all stained areas completely. Let it dry for the full recommended time, usually 24 hours, before you paint over it.
Once the primer is dry, you can paint with standard interior paint. If you’re matching existing kitchen paint, bring a sample or photo to the paint store for color matching. If the smoke damage spread beyond the kitchen, you might want to repaint adjacent rooms or hallways for a consistent look. Two coats of paint over sealed primer usually gives you full coverage and a fresh finish.
Cost Estimates and Timeline for Kitchen Grease Fire Cleanup
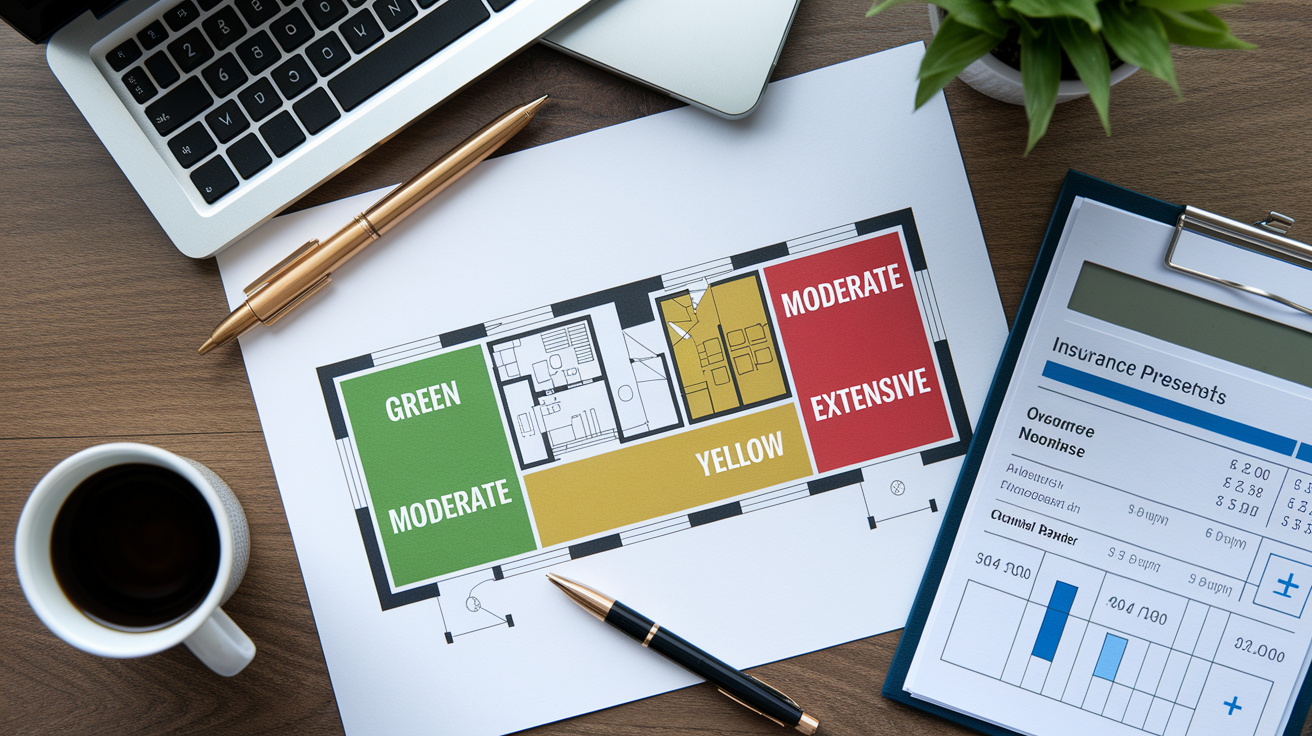
Cleanup costs depend on how much area the fire affected, whether you’re doing the work yourself or hiring professionals, and what needs replacing beyond basic cleaning. A small stovetop fire with surface damage costs a lot less to handle than a fire that spread to cabinets, walls, and ventilation systems.
DIY cleanup for minor grease fires typically costs between $50 and $300. That covers cleaning supplies like TSP, bleach, sponges, gloves, masks, degreaser, odor absorbers like baking soda and vinegar, and primer and paint for touch-ups. If you’re replacing a few damaged items like cookware, utensils, or a scorched pot holder, add those costs. DIY works when the fire stayed contained, you’re comfortable with the physical work, and there’s no structural or electrical damage.
Professional restoration costs range from $500 for basic smoke cleaning in a small area to $5,000 or more for extensive damage involving structural repairs, ductwork cleaning, and full kitchen restoration. Professionals bring specialized equipment, experience with smoke and soot removal, and the ability to handle hidden damage you might miss. They also coordinate with your insurance company and document everything for your claim.
Timelines vary by damage level. Minor surface cleanup takes one to two days if you’re working steadily. Moderate damage with smoke spread to adjacent rooms and odor treatment can take three to seven days. Extensive restoration involving drywall replacement, cabinet refinishing, appliance replacement, and ductwork cleaning can stretch to two to four weeks. Factor in drying time, insurance adjuster visits, and waiting for replacement materials.
Prompt action keeps costs down. The longer smoke residue sits on surfaces, the deeper it penetrates and the harder it is to remove. Delaying cleanup also increases the risk of secondary damage like persistent odor, mold growth from suppression water, or corrosion on metal surfaces. According to national data, fire departments responded to an average of 187,500 cooking fires in homes each year from 2017 to 2019, resulting in $444 million in property loss. Quick response and thorough cleanup reduce your share of that cost.
| Damage Level | DIY Cost Range | Professional Cost Range | Typical Timeline |
|---|---|---|---|
| Minor surface damage (stovetop and immediate area) | $50 – $150 | $500 – $1,200 | 1-2 days DIY, 1-3 days professional |
| Moderate with smoke damage (kitchen and adjacent rooms) | $150 – $300 | $1,200 – $3,000 | 3-5 days DIY, 3-7 days professional |
| Extensive with structural damage (cabinets, drywall, ventilation) | Not recommended for DIY | $3,000 – $7,000 | 1-3 weeks professional |
| Full kitchen restoration (replacement of appliances, cabinets, flooring) | Not recommended for DIY | $7,000 – $15,000+ | 2-4 weeks professional |
When to Hire Professional Restoration for Grease Fire Cleanup

You can handle a lot of grease fire cleanup yourself, but some situations require professional expertise and equipment. Knowing when to call in help keeps you safe and prevents hidden damage from becoming a bigger problem later.
Situations requiring professional restoration:
- Visible structural damage to walls, ceilings, or cabinets beyond surface staining
- Electrical system exposure or damage, including outlets, wiring, or appliances with electrical components
- Gas line involvement or concerns about gas connections near the fire area
- Ductwork contamination with heavy grease and smoke buildup that you can’t access
- Persistent smoke odor after thorough DIY cleaning and ventilation efforts
- Water damage from sprinkler activation or fire suppression that soaked floors, walls, or insulation
- Insurance claim requirements that specify professional assessment or restoration
- Damage that extends beyond the kitchen into multiple rooms or building systems
Professional restoration teams do more than deep cleaning. They assess hidden damage inside walls, above ceilings, and within ventilation systems. They use moisture meters to detect water damage from suppression efforts, infrared cameras to find heat damage you can’t see, and air scrubbers to remove particles that regular ventilation misses. They handle structural repairs, coordinate with your insurance company, and document everything for your claim. FEMA guidelines recommend professional inspection of electrical systems, gas lines, and ductwork after any kitchen fire, even when visible damage looks minimal, because these systems can fail later if they’ve been compromised.
Restoration companies like FireFloodFix.com and similar services offer emergency response. If your fire happens at night, on a weekend, or during a holiday, you can still get help immediately. Fast response matters, especially if there’s water damage from suppression or concerns about structural safety. Professionals arrive with equipment, assess the situation, start mitigation to prevent further damage, and create a restoration plan. They’ll handle everything from initial cleanup through final repairs, so you’re not coordinating multiple contractors.
Expect the restoration timeline to depend on damage extent and material availability. Simple professional cleaning and odor treatment might take three to five days. Full restoration with repairs, replacements, and repainting can take two to four weeks. Your restoration team will give you a timeline after the initial assessment.
Filing Insurance Claims for Kitchen Grease Fire Damage
Contact your insurance provider as soon as the fire is out and everyone is safe. Most homeowners policies cover fire damage, including smoke and soot cleanup, but you need to report the incident promptly. Waiting too long can complicate your claim or even lead to denial.
Insurance claim process for kitchen grease fires:
- Call your insurance company’s claims line immediately after the fire is contained and the scene is safe
- Provide basic information about when the fire happened, how it started, and the extent of visible damage
- Schedule an adjuster visit; the insurance company will send someone to assess damage and estimate repair costs
- Submit your documentation including photos, detailed lists of damaged items, and receipts for emergency repairs or temporary housing
- Wait for the insurance company’s damage assessment and coverage determination before starting major repairs
- Once approved, proceed with cleanup and restoration according to the claim settlement terms
Document everything before you start cleaning or throwing things away. Take photos from multiple angles showing the full extent of damage. Photograph the stovetop, range hood, walls, ceiling, cabinets, appliances, and any contents that were damaged. Make a written list of damaged items with descriptions, estimated ages, and replacement values if you can. Keep receipts for any emergency expenses like hotel stays if your kitchen is unusable, or immediate supplies you bought for safety.
Most homeowners insurance policies cover fire damage to the structure, built-in appliances, and personal property. This usually includes cleanup costs, smoke odor removal, and repairs to walls, ceilings, cabinets, and flooring. Some policies also cover temporary living expenses if the kitchen is unsafe or unusable while repairs are happening. What’s typically not covered: damage from lack of maintenance, gradual deterioration, or fires caused by intentional acts. If your range hood hadn’t been cleaned in years and grease buildup contributed to the fire, the insurer might reduce coverage or question the claim. Read your policy or ask your agent about specific coverage limits and exclusions before you file.
Preventing Future Kitchen Grease Fires
Grease fires happen when cooking oil gets too hot, comes into contact with an ignition source, or interacts with water. The good news is most grease fires are preventable with consistent safe cooking habits and the right equipment on hand.
Prevention strategies to reduce grease fire risk:
- Never leave pots or pans unattended on the stove, especially when cooking with oil or grease
- Heat cooking oil slowly and watch for smoke, which signals the oil is approaching its ignition point
- Avoid adding frozen or wet food to hot oil; moisture causes violent spattering and can spread grease onto the burner
- Remove excess moisture from food items by patting them dry before adding to hot grease
- Add food gently into hot oil to minimize splashing that can send grease onto open flames or heating elements
- Keep a Class K or Class ABC fire extinguisher within easy reach of the stove, mounted in a visible location
- Store baking soda and salt near the stove for smothering small grease fires
- Clear the stovetop area of dish towels, paper towels, wooden utensils, and anything else that can catch fire
- Clean your range hood and grease filters regularly to prevent buildup that can ignite
- Use appropriately sized cookware for your burners to prevent oil from overheating in a pan that’s too small
The single biggest prevention step is staying in the kitchen while you’re cooking with oil. Grease fires start fast, often in less than 30 seconds once oil reaches its smoke point. If you’re standing there, you can turn off the heat, cover the pan, and stop the fire before it spreads. If you walk away, even for a minute, that’s when things go wrong.
Keep the right fire suppression tools accessible. A Class K fire extinguisher is designed specifically for kitchen grease fires. It uses a wet chemical agent that cools the fire and creates a barrier between the fuel and oxygen. Class ABC extinguishers work too, but Class K is more effective for cooking oil. Mount the extinguisher on the wall near an exit, not right next to the stove where you’d have to reach through flames to grab it. And make sure everyone in your household knows where it is and how to use it. Practice the PASS method: Pull the pin, Aim at the base of the fire, Squeeze the trigger, Sweep side to side.
Final Words
Kitchen grease fire cleanup starts the moment the flames are out. Verify the fire is completely extinguished, document everything for insurance, and wear proper protective gear before you touch anything.
Work through the process methodically: ventilate the space, clean from top to bottom with the right solutions, tackle hidden grease in range hood and ductwork, and address stubborn smoke odors with vinegar and baking soda.
If the damage spread beyond the stovetop, electrical systems got involved, or odors won’t budge, call a pro. We’ll handle the deep cleaning, structural repairs, and coordination so you can get back to cooking safely.
FAQ
What should you do when you start a grease fire in your kitchen?
When you start a grease fire in your kitchen, turn off the burner immediately, slide a metal lid or cookie sheet over the flames to smother them, and keep the pan covered until it cools completely. Never move the pan or use water.
Is baking soda or salt better for grease fires?
Baking soda and salt are both effective for small grease fires, but baking soda works slightly better because it releases carbon dioxide when heated, which helps smother flames. Keep either product within reach of your stovetop.
How do you clean kitchen cabinets after a grease fire?
You clean kitchen cabinets after a grease fire by removing doors and drawers, wiping all surfaces with a TSP-bleach solution (4-6 tablespoons TSP and 1 cup bleach per gallon of warm water), rinsing with clean water, and drying thoroughly.
What two things should you never put on a grease fire?
You should never put water or flour on a grease fire. Water causes grease to splatter and spread flames, while flour is combustible and can create an explosion when it contacts flames or extreme heat.
How long should you ventilate your kitchen after a grease fire?
You should ventilate your kitchen for 24 to 48 hours after a grease fire, even after visible cleanup is complete. Open windows, run exhaust fans, and turn off central HVAC during initial cleanup to prevent smoke particle distribution.
When should you hire professional restoration after a grease fire?
You should hire professional restoration after a grease fire if you see structural damage, electrical system exposure, gas line involvement, extensive ductwork contamination, or damage that spreads beyond the kitchen. FEMA recommends professional inspection even for minimal visible damage.
Can you salvage cookware after a grease fire?
You can salvage cookware after a grease fire if it shows only minor smoke residue without melting, warping, or structural damage. Wash thoroughly with hot soapy water, but discard any items that are charred, melted, or compromised by heat.
How much does professional grease fire cleanup cost?
Professional grease fire cleanup costs range from $500 for minor surface damage to $5,000 or more for extensive restoration with structural repairs. DIY cleanup typically costs $50 to $300 in supplies, depending on damage severity.
Do you need to replace drywall after a grease fire?
You need to replace drywall after a grease fire if it shows charring, structural damage, or extensive smoke penetration that cleaning can’t resolve. Professional assessment determines whether cleaning and repainting is sufficient or replacement is necessary.
What kind of fire extinguisher should you keep in your kitchen?
You should keep a Class K or Class ABC fire extinguisher in your kitchen, specifically designed for grease and cooking oil fires. Mount it in an accessible location away from the stove but easy to reach quickly.
How do you remove smoke smell after a grease fire?
You remove smoke smell after a grease fire by maintaining ventilation, placing bowls of distilled vinegar around affected areas, sprinkling baking soda on surfaces, washing all textiles, and using odor-sealing primer before repainting walls and ceilings.
Should you contact insurance immediately after a kitchen grease fire?
You should contact insurance immediately after a kitchen grease fire is contained and safe. Wait for the insurance adjuster’s evaluation before starting cleanup or repairs, and document all damage with photos and detailed lists.
