
A microwave fire happens faster than you think. One minute you’re reheating leftovers, the next you’re staring at smoke, soot, and a kitchen that smells like burned plastic. The good news? If the fire stayed inside the microwave and didn’t spread, you can often clean and restore the appliance yourself with the right steps. This guide walks you through safe cleanup, how to assess real damage, and when to replace instead of repair.
Initial Cleanup Steps: Removing Soot, Debris, and Fire Residue
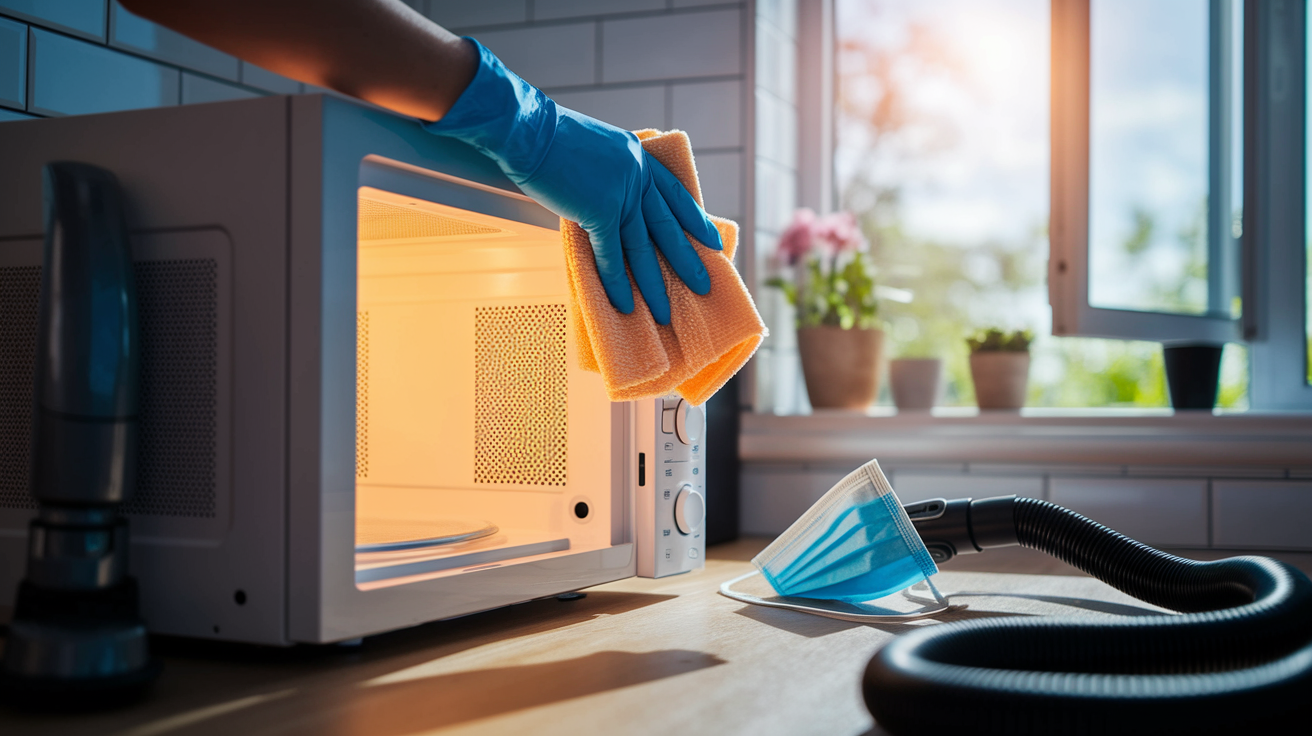
Before you touch anything, make sure the fire’s completely out and the area’s safe. Unplug the microwave right away. Never work on a plugged-in appliance after a fire. Open every window and door in the kitchen to get air moving, and put on rubber gloves plus a respirator mask. Burned plastic and soot particles release toxic fumes you don’t want to breathe.
-
Wait for complete cooling. The microwave stays dangerously hot for 30 to 60 minutes after a fire. Don’t touch it or open the door until it reaches room temperature.
-
Assess whether damage is to food only or microwave hardware. Look through the door window. Did only the food burn, or did interior surfaces melt, crack, or warp? This tells you whether cleaning’s possible or if you need a replacement.
-
Remove the turntable and racks. Once everything’s cool, take out all removable parts and set them aside for separate cleaning. Check each piece for melting, warping, or cracks.
-
Dispose of burned food safely in sealed bags. Double bag any burned food or debris in plastic, seal it tight, and put it in the outdoor trash immediately. This prevents lingering odors from taking over your house.
-
Dry wipe loose soot with disposable cloths working from top to bottom. Use dry paper towels or disposable cleaning cloths to remove the loose black soot and ash. Start from the ceiling of the microwave cavity and work down so you’re not contaminating areas you’ve already cleaned.
-
Vacuum with HEPA filter if available. If you’ve got a vacuum with a HEPA filter, carefully vacuum loose debris from corners and crevices. Don’t vacuum fire extinguisher powder. It’ll damage the vacuum and create dangerous dust clouds.
-
Address fire extinguisher residue with damp cloth if present. If you used a fire extinguisher, the powder needs special handling. Use a damp cloth to wipe it away instead of dry methods that spread it into the air.
-
Complete a preliminary wipe down of surfaces. After removing loose debris, do a gentle wipe of all interior surfaces with a barely damp cloth to capture remaining dust before deep cleaning starts.
Dry removal before wet cleaning prevents soot from spreading and embedding deeper. When you add moisture to soot before removing most of it, you create a paste that smears and stains instead of lifting away. This preliminary dry removal captures most of the loose residue and makes deep cleaning way more effective.
Stop immediately and call professionals if electrical components appear damaged with exposed wiring or burn marks, if smoke damage extends beyond the microwave cavity into walls or cabinets, or if you or anyone in the household experiences respiratory symptoms like persistent coughing or chest tightness during cleanup.
Assessing Fire Damage and Deciding Repair vs. Replacement
Evaluating the damage thoroughly before you proceed helps you avoid wasting time on an appliance that can’t be safely restored. This assessment determines whether cleanup and repair make sense or if the microwave needs to be replaced for safety reasons.
Signs Your Microwave Can Be Cleaned and Saved
- Only food burned with no hardware damage. The fire stayed contained to food items inside the cavity, with no melting, warping, or damage to the microwave structure itself.
- Interior discoloration but no melting. Surfaces show yellowing, browning, or black marks from smoke, but the plastic and metal components remain structurally intact without bubbling or deformation.
- Soot on intact surfaces. Black residue covers walls, ceiling, and door, but wipes away without revealing damaged material underneath.
- Removable smoke odor. The smell’s strong but responds to cleaning and deodorizing treatments instead of being permanently embedded.
- Functional door seal. The rubber gasket around the door remains flexible, attached, and creates a complete seal when closed.
- All buttons and display working normally. The control panel responds properly, the display shows correct information, and all functions operate as intended without flickering or dead sections.
Damage That Requires Replacement
- Melted control panel. Buttons have deformed, the display casing has warped, or plastic components on the exterior have melted from heat exposure.
- Magnetron damage. The magnetron (the component that generates microwaves) shows burn marks, unusual sounds, or fails to heat food after the fire.
- Warped interior cavity. Metal or plastic surfaces inside have buckled, creating gaps where they previously fit flush, or the ceiling has separated from walls.
- Compromised electrical components showing sparking. Any visible arcing, sparking when operating, or scorch marks on wiring indicate dangerous electrical damage.
- Cracked door seal. The rubber gasket has split, torn, or pulled away from the door frame, allowing microwave radiation to potentially escape during operation.
- Damaged waveguide cover. The mica or plastic cover protecting the magnetron opening has burned through, melted, or developed holes.
Check the warranty status before you make disposal decisions. Some manufacturers cover fire damage or offer replacement programs. Contact manufacturer customer care for damage assessment guidance, especially if you’re uncertain about whether specific damage makes the appliance unsafe. They can provide model specific safety information. When comparing costs, professional repair for fire damaged microwaves typically runs $150 to $300, while replacement units range from $100 to $500 depending on features. That makes replacement the more economical choice in many cases. Safety instructions from the manufacturer always take precedence over general cleanup advice.
Deep Cleaning the Microwave Interior After Fire Damage

The steam cleaning approach for fire damaged interiors loosens stubborn soot, melted materials, and fire residue without aggressive scrubbing that might damage already stressed surfaces. Steam penetrates into crevices and softens baked on deposits, making removal significantly easier and more thorough.
Vinegar Steam Cleaning Method
Combine tepid water, one cup distilled white vinegar, and fresh lemon slices (from one whole lemon) in a microwave safe bowl that holds at least four cups. Place the bowl in the center of the microwave and heat on high power for seven minutes until the solution’s actively steaming and the interior surfaces are foggy. Leave the door closed for five additional minutes after the timer sounds, letting the steam continue working on loosening stubborn soot and grime. Don’t open the door during this waiting period. After the five minute rest, carefully remove the hot bowl using oven mitts, then wipe the entire interior with a sponge dampened with warm water and a few drops of dish soap solution. Work from the ceiling down to the floor, rinsing your sponge frequently in clean water.
Baking Soda Paste for Stubborn Residue
Mix two parts baking soda with one part water in a small bowl to create a thick paste with the consistency of toothpaste. Spread this paste directly onto baked on food, melted plastic spots, and areas with heavy fire damage using a cloth or old toothbrush. Let the paste sit for three to five minutes to penetrate the residue. The baking soda provides gentle abrasive action while the moisture continues softening deposits. Remove the paste with a wet sponge using circular motions, applying moderate pressure only where necessary. For especially stubborn spots, reapply the paste and let it sit for up to ten minutes before the second removal attempt.
Cleaning Removable Components
Wash the glass turntable, racks, and roller ring in your sink using hot water and regular dish soap, exactly as you’d wash any dish. These components can tolerate more aggressive scrubbing than the microwave interior, so use the abrasive side of a sponge on stubborn spots without concern. Soak heavily soiled pieces in hot soapy water for 15 to 20 minutes before scrubbing to loosen debris. Rinse thoroughly and dry completely before returning them to the microwave.
Inspect all surfaces carefully after the first cleaning cycle. The cleaning process takes about 15 minutes per cycle, and you may need to repeat it if all dirt wasn’t removed on the first attempt. Multiple cycles are normal for severe fire damage. Before testing the appliance, make sure no cleaning residue remains by wiping all surfaces with a clean, damp cloth and allowing the interior to air dry completely for at least one hour.
Eliminating Smoke Odor and Burned Plastic Smell

Plastic used in microwave construction retains and holds odors more stubbornly than other materials because it’s porous at a microscopic level, trapping smoke molecules deep within its structure. This makes smoke and burned plastic smells particularly difficult to remove even after thorough physical cleaning.
The overnight baking soda method works through absorption instead of masking. Fill a microwave safe bowl with one to two cups of fresh baking soda and place it inside the closed microwave overnight, or ideally for 24 hours. The baking soda draws odor molecules out of the plastic surfaces and absorbs them, neutralizing the smell at its source. Replace the baking soda and repeat for several consecutive nights if the odor persists after the first treatment.
- Overnight baking soda absorption. Place bowl of fresh baking soda inside closed microwave for 24 to 48 hours, replacing with fresh baking soda every 24 hours until odors dissipate.
- Activated charcoal placement. Set several pieces of activated charcoal (available at pet stores or aquarium supply stores) on a plate inside the microwave for 48 to 72 hours to absorb embedded odors.
- Lemon steam method. Microwave half a lemon with one tablespoon water for one minute until steaming, then immediately wipe the steam from the door and sides while still hot to deposit fresh citrus scent.
- Vinegar air out with door propped open. After cleaning, place a small bowl of white vinegar inside and leave the door propped open for 6 to 8 hours to neutralize lingering smoke smell.
- Heating bowl of baking soda or lemon water as active deodorizer. Warm a bowl of baking soda solution (two tablespoons in one cup water) or lemon water for 2 to 3 minutes to release deodorizing steam that penetrates surfaces.
- Commercial deodorizers for persistent smells. Enzyme based odor eliminators designed for smoke damage can break down odor molecules that household methods can’t fully remove.
- Professional ozone or thermal fogging. For severe odor retention, professional treatments use ozone generators or thermal foggers to penetrate deeply embedded smoke molecules.
Test whether odors have been eliminated by heating one cup of plain water on high for two minutes, then immediately smelling the steam and the water itself. Since smoke smell affects the flavor of food heated in the microwave, this test reveals whether odor molecules will transfer to your food. If the water tastes or smells like smoke, continue deodorizing treatments. Multiple treatment cycles over several days to weeks may be necessary for severe cases, particularly when plastic components absorbed significant smoke during extended fire exposure.
Cleaning Surrounding Kitchen Surfaces Affected by Fire

Smoke smell affects surrounding areas beyond just the microwave, and black soot spreads to cabinets, walls, and ceilings whenever a fire produces visible smoke. Even small microwave fires create surprising amounts of airborne particles that settle on every surface within several feet of the appliance.
| Surface Type | Cleaning Method | Special Considerations |
|---|---|---|
| Kitchen Cabinets (wood or laminate) | Mild dish soap and warm water with soft cloth, dry immediately to prevent water damage | Test in inconspicuous area first; avoid excessive moisture on wood; may need wood polish after cleaning |
| Countertops (various materials) | Material appropriate cleaner (stone cleaner for granite, all purpose for laminate); wipe soot before scrubbing | Never use acidic cleaners on natural stone; porous surfaces may retain smoke odor requiring sealing |
| Walls (painted or wallpapered) | Dry chemical sponge first to lift soot, then gentle cleaner; wallpaper may require professional cleaning | Painted walls tolerate light moisture; wallpaper very sensitive to water; ceiling to floor direction prevents streaking |
| Ceiling and Smoke Stains | TSP (trisodium phosphate) solution or degreaser on flat paint; test first on textured finishes | May require primer and repainting if staining penetrated; protect floors from drips; wear eye protection |
| Ventilation Hood and Filters | Degrease filters in hot soapy water or dishwasher; wipe hood exterior with degreasing cleaner | Replace charcoal filters rather than cleaning; metal mesh filters dishwasher safe; check manufacturer guidelines |
| Nearby Appliances | Wipe exteriors with appliance appropriate cleaner; unplug during cleaning; dry thoroughly before reconnecting | Check vents and seams where soot accumulates; coffee makers and toasters may need interior inspection |
Prevent cross contamination during cleanup by working from top to bottom throughout the entire kitchen. Start with the ceiling, move to upper cabinets and walls, then lower cabinets and countertops, finishing with the floor. This sequence ensures that soot and cleaning solution dislodged from upper surfaces don’t contaminate areas you’ve already cleaned. Protect finished surfaces by covering them with clean drop cloths while working on adjacent areas, and use separate cleaning cloths for each surface type to avoid transferring grease or chemicals inappropriately.
When surrounding damage requires professional kitchen fire restoration services, the scope has exceeded what household cleaning can address. Extensive soot coverage beyond the immediate microwave area affecting multiple rooms, porous surfaces like drywall or unsealed wood with deep smoke penetration that reappears after cleaning, or structural discoloration that doesn’t respond to appropriate cleaning methods. Regular frequent cleaning after the initial restoration prevents odor accumulation from any remaining trace particles and stops residual smoke residue from building up over time.
Health Risks and Toxic Fume Concerns from Microwave Fires

When microwave plastics and internal components burn, they release complex mixtures of toxic fumes including hydrogen chloride, carbon monoxide, and various volatile organic compounds. These chemicals irritate respiratory passages immediately and can cause longer term health effects depending on exposure duration and concentration.
Short term respiratory problems appear within minutes to hours of exposure and include coughing, throat irritation, and headaches as the most common immediate symptoms. Longer term risks from exposure to smoke residue and chemical off gassing from burned plastic materials include persistent respiratory sensitivity, aggravation of pre existing conditions like asthma, and in rare cases, chemical pneumonitis if significant smoke was inhaled during the fire itself. The lingering chemical smell you notice days after a fire indicates continued off gassing as burned plastic materials slowly release trapped compounds.
- Persistent coughing or wheezing. Respiratory irritation that continues more than two hours after leaving the area or worsens over time instead of improving.
- Severe headaches or dizziness. Head pain that doesn’t respond to normal remedies, or feelings of lightheadedness and disorientation indicating possible carbon monoxide exposure.
- Nausea or vomiting. Digestive symptoms triggered by chemical exposure, especially if multiple household members experience them simultaneously.
- Eye irritation that doesn’t resolve. Burning, watering eyes, or vision changes that persist after washing eyes with clean water and leaving the contaminated area.
- Chest tightness or difficulty breathing. Sensation of pressure on the chest or inability to take full breaths, particularly concerning for individuals with no history of respiratory problems.
- Lingering chemical smell after ventilation attempts. Strong plastic or burning odor that remains detectable after 24 to 48 hours of continuous ventilation, indicating ongoing toxic off gassing.
Professional air quality testing is recommended when symptoms persist despite adequate ventilation, when vulnerable populations live in the home (children, elderly, individuals with pre existing respiratory conditions who face higher risk from exposure), or when the fire involved significant plastic melting beyond just food burning. Continue ventilation for a minimum of 24 to 48 hours with windows open and fans running to create active air circulation, not just passive airflow. Position fans to blow contaminated air out of the kitchen toward open windows instead of circulating it throughout the house.
When to Call Professional Fire Restoration Services
Professional fire restoration services handle situations that exceed the scope of household cleaning, bringing IICRC certified expertise, specialized equipment, and proven protocols that ensure complete remediation instead of surface level cleanup. The difference between minor cleanup and professional restoration lies in the extent of contamination, the types of materials affected, and whether health or safety concerns make DIY approaches inadequate.
-
Extensive smoke damage beyond the microwave area affecting multiple rooms. Soot and smoke traveled through ventilation systems or open doorways, depositing residue in areas far from the original fire location.
-
Structural damage to cabinets or walls. Heat or flames caused warping, discoloration, or weakness in surrounding structures, not just surface staining.
-
Electrical system concerns or exposed wiring. Any visible damage to electrical outlets, wiring, or the circuit that powers the microwave, creating shock or fire hazards.
-
Persistent odors after multiple cleaning attempts indicating deep contamination. Smoke smell remains strong after three or more deodorizing cycles using different methods, suggesting molecular level penetration.
-
Health symptoms in occupants that worsen over time. Respiratory problems, headaches, or other symptoms increase in severity instead of improving as cleanup progresses.
-
Insurance claim requirements for documentation. Your insurance company requires professional assessment and remediation to process the claim or guarantee work meets restoration standards.
-
Large scale soot contamination on porous surfaces. Drywall, unsealed wood, fabric, or other absorbent materials throughout the kitchen absorbed smoke and can’t be adequately cleaned with household methods.
-
Suspected air quality issues requiring testing. Concerns about carbon monoxide, chemical residues, or particulate matter concentrations that need professional measurement.
-
When decontamination protocol is needed for safety. The fire involved materials beyond typical food items, such as plastic containers or packaging that created especially toxic smoke requiring specialized handling.
Professional restoration includes comprehensive structural assessment to identify hidden damage behind walls or in ventilation systems, specialized equipment like thermal foggers that penetrate porous materials, ozone generators that chemically neutralize odor molecules, and HEPA air scrubbers that remove particulate contamination from the air. Proven decontamination protocols ensure complete remediation of smoke and odor instead of temporary masking, following IICRC S500 and S520 standards for fire and smoke damage. Complete remediation addresses not just visible damage but also hidden contamination in ductwork, insulation, and structural cavities. Fire and Smoke Damage Restoration services restore air quality to pre loss conditions through multi phase cleaning, sealing, and verification testing.
Typical costs for professional kitchen fire restoration range from $500 for isolated microwave area treatment to $3,000 or more when damage extends into multiple rooms or requires structural repairs. The timeline runs 1 to 3 days for assessment and treatment in most cases. Day one for damage assessment and initial mitigation, day two for deep cleaning and deodorization treatments, and day three for verification and final restoration work.
Insurance Claims and Documentation for Microwave Fire Damage

Microwave fire damage is typically covered by homeowners or renters insurance under the dwelling coverage (for homeowners) or personal property coverage (for renters), though coverage depends on the cause and circumstances. Homeowner responsibilities include maintaining the property and reporting claims promptly, while tenant obligations typically involve notifying the landlord immediately and filing a renters insurance claim for personal property damage, leaving structural repairs to the landlord’s policy.
The documentation process begins the moment you ensure everyone’s safety and the fire is out. Before touching anything or beginning cleanup, photograph and record every aspect of the damage scene while conditions remain exactly as they were when the fire occurred. This immediate documentation provides the strongest evidence for your claim and prevents disputes about the extent of damage. Take photos from multiple angles showing context (the entire kitchen) and close ups (specific damage details), ensuring timestamps are enabled on your camera or phone.
- Timestamped photos of all damage. Minimum 20 to 30 images showing the burned microwave interior and exterior, surrounding cabinet damage, wall discoloration, ceiling stains, floor damage, and the overall kitchen from multiple angles with visible date/time stamps.
- Fire department report if emergency services were called. Official incident report from responding firefighters documenting the cause, extent, and response to the fire, typically available from the fire department within 3 to 5 business days.
- Fire marshal inspection report if applicable. Professional assessment from fire officials if the incident required investigation, particularly important for establishing cause in potential liability situations.
- Microwave manufacturer information and age. Model number, serial number, purchase date, and age of appliance (often needed to establish whether equipment failure contributed to the fire).
- Repair estimates from contractors. Written quotes from licensed contractors or restoration companies for all repair work needed on kitchen structures, electrical systems, and surrounding damage.
- Receipts for cleaning supplies or professional services. Documentation of all out of pocket expenses incurred for emergency cleanup, temporary housing, or professional services hired before the adjuster’s visit.
- Detailed damage inventory with replacement costs. Line item list of damaged items beyond the microwave (ruined food, damaged cabinets, contaminated dishes) with current replacement cost estimates.
Working with adjusters requires understanding the difference between actual cash value (replacement cost minus depreciation) and replacement cost coverage. Actual cash value for a five year old microwave might be $150 even if replacement costs $400, while replacement cost coverage pays the full $400. Review your policy to understand which coverage applies to appliances and structural elements. Timeline expectations for claim processing typically run 30 to 60 days from initial report to settlement, though complex claims involving structural damage may extend to 90 days. In rental situations, involve property management or landlords immediately. They need to file claims for structural damage while you handle personal property claims separately. Keep all receipts for temporary housing expenses, meals eaten out due to kitchen unavailability, and cleaning supplies purchased during the restoration process, as many policies reimburse these additional living expenses.
Preventing Future Microwave Fires in Your Kitchen
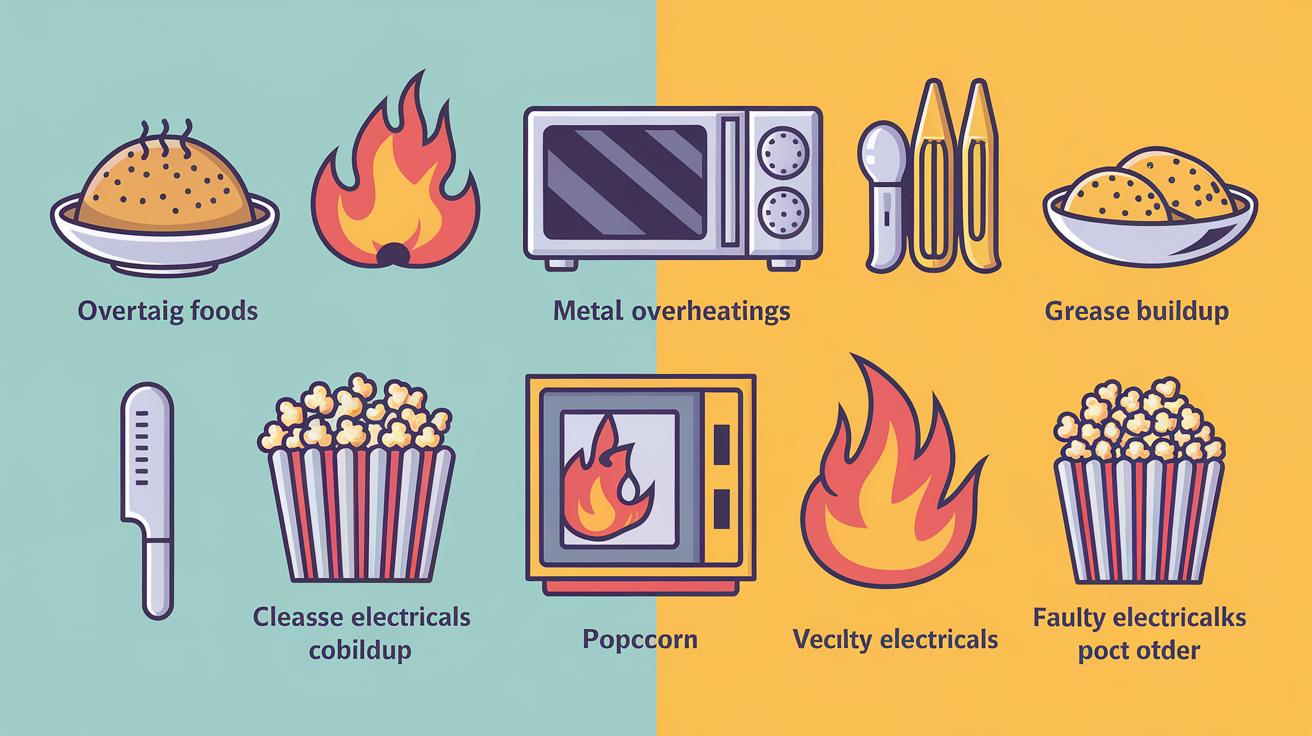
The most common causes of microwave fires include overheating foods with high sugar or fat content, metal objects accidentally left inside, and grease buildup from neglected cleaning. Following manufacturer guidelines for cooking times, appropriate containers, and regular maintenance reduces fire risk significantly and extends appliance lifespan.
| Fire Cause | Prevention Strategy | Warning Signs |
|---|---|---|
| Overheating food (especially high sugar or high fat items) | Follow package instructions exactly; never exceed recommended cooking times; use 50% power for longer cooking instead of high power for shorter periods | Food appears dry or darkened around edges; steam escaping becomes smoke; unusual burning smell before fire appears |
| Metal objects accidentally left inside | Check containers for hidden metal trim, staples, or decorative elements; remove all aluminum foil; inspect for forgotten utensils before starting | Sparking or arcing visible through window; metallic crackling sounds; immediate flames upon starting microwave |
| Paper products or packaging catching fire | Never use brown paper bags, newspaper, or non microwave safe paper products; supervise paper towel use; ensure paper plates are labeled microwave safe | Paper browning or curling at edges; smoke appearing from paper before food is hot; charring on paper products |
| Grease buildup from lack of cleaning | Clean interior monthly or whenever visibly dirty; wipe up spatters immediately after each use; remove grease deposits that can ignite | Visible brown or yellow film on walls and ceiling; strong grease smell when microwave operates; splatters darkening over time |
| Popcorn burning from extended cooking times | Never leave popcorn unattended; listen for popping to slow to 2 to 3 seconds between pops; stop before timer ends; never add extra time | Burning smell before popping stops; smoke escaping from bag vents; popping sounds become irregular or stop completely |
| Faulty electrical components in aging appliances | Replace microwaves older than 10 to 15 years; schedule professional inspection if microwave sparks during normal operation; unplug when not in use | Sparking with no metal present; unusual sounds during operation; burning smell when running empty; scorch marks appearing on interior |
Monthly prevention maintenance routines reduce fire risk by eliminating the accumulated debris and grease that can ignite. Clean the interior monthly or whenever visibly dirty using the vinegar steam method described earlier, which takes only 15 minutes and prevents debris accumulation before it becomes a fire hazard. Regular frequent cleaning removes the buildup that develops gradually and can ignite if it becomes thick enough. Inspect the door seal and interior components during each monthly cleaning for cracks, tears, or unusual wear that might indicate developing problems. Following proper maintenance schedules as outlined in your owner’s manual typically includes checking the waveguide cover for damage and ensuring the turntable rotates freely without grinding or catching.
Recognize warning signs that a microwave is becoming a fire hazard before an actual fire occurs. Sparking during normal operation with no metal objects inside indicates deteriorating electrical insulation or magnetron problems. Unusual sounds like grinding, buzzing, or humming that didn’t exist when the appliance was new suggest mechanical failure. Burning smells when running the microwave empty signal overheating components or damaged wiring, and scorch marks appearing spontaneously on interior surfaces reveal hot spots from malfunctioning parts. Age itself increases risk dramatically. Microwaves 10+ years old have significantly higher failure rates and should be replaced even if they appear to function normally, as internal component deterioration happens invisibly over time.
Final Words
Microwave fire cleanup starts with safety first, then moves through careful assessment, thorough cleaning, and persistent odor elimination.
If the damage is limited to burned food and removable soot, the steps above can bring your microwave back. But if you’re dealing with melted components, electrical concerns, or smoke damage that’s spread beyond the appliance, it’s time to call in pros.
Keep the area ventilated until all smells are gone, and test with plain water before you heat any food.
With patience and the right approach, most minor microwave fires can be handled at home.
FAQ
How do you clean a microwave that caught fire?
To clean a microwave that caught fire, start by unplugging the unit and waiting for it to cool completely, then remove burned food and debris with dry cloths before wiping surfaces with a vinegar steam solution and dish soap.
Can you use a microwave after something caught fire in it?
You can use a microwave after something caught fire in it only if the damage is limited to burned food and all internal components remain intact, functional, and undamaged after thorough cleaning and odor removal.
What happens if you put a spoon in the microwave for 30 seconds?
Putting a spoon in the microwave for 30 seconds causes the metal to arc and spark, potentially damaging the magnetron, scorching interior surfaces, and creating a fire hazard that can ignite nearby materials.
What does putting a wet paper towel in the microwave do?
Putting a wet paper towel in the microwave creates steam that helps loosen dried food and grease on interior surfaces, making cleanup easier, but overheating can cause the paper to dry out and catch fire.
When should you replace a microwave instead of cleaning it after a fire?
You should replace a microwave instead of cleaning it after a fire if the control panel melted, the magnetron is damaged, the interior cavity warped, electrical components show sparking, or the door seal cracked during the incident.
How long does it take to remove smoke odor from a microwave?
Removing smoke odor from a microwave typically takes several days to weeks depending on severity, using methods like overnight baking soda absorption, activated charcoal placement for 24-48 hours, and repeated lemon steam treatments.
What toxic fumes come from microwave fires?
Toxic fumes from microwave fires include burned plastic chemicals from the heavy-duty interior construction, which can cause respiratory irritation, headaches, nausea, and require extended ventilation of 24-48 hours minimum with windows open.
Do you need professional help for microwave fire cleanup?
You need professional help for microwave fire cleanup when smoke damage extends beyond the immediate area, persistent odors remain after multiple cleaning attempts, health symptoms worsen, or structural damage affects cabinets and walls.
How do you document microwave fire damage for insurance?
To document microwave fire damage for insurance, take timestamped photos of the damaged appliance from multiple angles, surrounding surfaces, fire department reports if applicable, and keep all receipts for cleaning supplies and professional services.
What causes most microwave fires?
Most microwave fires are caused by overheating high-sugar or high-fat foods, metal objects accidentally placed inside, burned popcorn from extended cooking times, grease buildup from infrequent cleaning, and paper products catching fire.
