
One crew member takes their N-95 mask off early because it’s uncomfortable, and three weeks later they’re coughing up soot at the doctor’s office. That’s the reality of restoration work when safety protocols slip. Every residential restoration site has hazards waiting to hurt someone or damage property further, but most incidents are preventable when you follow the right procedures from entry to final cleanup. This guide walks you through the complete safety framework that protects your restoration team from electrical hazards, structural collapse, airborne contaminants, and chemical exposure while keeping the property secure throughout recovery.
Essential Safety Checklists and PPE Requirements

Personal protective equipment is what stands between restoration workers and the hazards waiting on damaged properties. Before anyone steps into a restoration site, every team member needs properly fitted, inspected, and scenario-appropriate PPE ready to go.
Pre-Entry Safety Verification Steps:
- Verify official clearance obtained from fire department, building inspector, or other appropriate authority
- Complete PPE inspection confirming all equipment is clean, undamaged, and functional
- Confirm emergency procedures established including evacuation routes and emergency contact protocols
- Check respiratory protection properly fitted with current fit test documentation on file
- Ensure communication devices functional with backup power sources available
- Document all personnel on site including arrival times and assigned work zones
| PPE Type | Restoration Scenario | Specific Requirements |
|---|---|---|
| Water Damage | Standing water removal and structural drying | Waterproof boots with slip-resistant soles, nitrile gloves, safety glasses, N-95 mask minimum, long pants and sleeves |
| Fire Damage | Soot and ash cleanup in fire-affected structures | Hard-soled safety boots, chemical-resistant gloves, N-95 mask (minimum), eye protection, long-sleeved shirts, pants, hard hat in compromised structures |
| Mold Remediation | Containment area work and material removal | Full-body disposable coveralls, N-95 or half-face respirator with P100 filters, nitrile gloves with extended cuffs, eye protection, boot covers |
| Biohazard/Sewage | Category 3 water damage and sewage backup | Full-body chemical-resistant suit, full-face respirator, double-layer nitrile gloves, waterproof boots with steel toe, face shield over respirator |
| General Demolition | Material removal and structural tear-out | Hard hat, safety glasses with side shields, work gloves (leather or cut-resistant), steel-toe boots, hearing protection, dust mask minimum |
| Confined Space | Crawlspaces, attics, tight mechanical areas | All standard PPE plus continuous air monitoring equipment, harness with retrieval system, supplied air respirator when atmospheric testing indicates hazards |
Proper fit matters just as much as having the right equipment. N-95 masks block ash particles that get kicked up when you’re moving around inside damaged structures, but only when they’re sealed tight against your face. Facial hair, wrong sizing, or damaged straps? Your respiratory protection just failed. Teams should run user seal checks before every entry, not just during annual fit testing.
You’ll need to upgrade from basic respiratory protection to half-face or full-face respirators with P100 cartridges when you’re dealing with heavy mold contamination, spending extended time in soot-heavy environments, or working in any scenario where chemical odors punch through N-95 masks. Before each use, inspect all PPE for tears, cracks, degraded elastic, fogged lenses, clogged filters, and expired components. Gloves with even small punctures let contaminated water, ash, and soot contact your skin. Safety boots with worn soles increase slip risks on wet surfaces and won’t protect against puncture hazards from debris.
Foundational Safety Protocol Framework and Site Entry Requirements

OSHA regulations establish minimum safety standards for residential restoration work, but treating these as starting points rather than finish lines keeps people safe. Every restoration project needs official clearances and professional structural assessments before workers enter the property. You can’t attempt property re-entry without fire department clearance. You need a building inspector’s assessment of structural integrity before entering the property, even when external damage looks minimal.
Steps in the Restoration Safety Protocol Sequence:
- Obtain fire department or other official clearance confirming property safe for controlled entry
- Secure building inspector structural integrity assessment documenting load-bearing capacity and compromise areas
- Conduct initial risk assessment identifying electrical hazards, standing water, trip and fall risks, and hazardous material presence
- Establish site inspection procedures including entry logs, buddy system requirements, and communication protocols
- Implement emergency response procedures with designated assembly points and emergency contact information posted
Fire damage messes with structural stability even when damage looks minimal from outside. Burned floor joists, weakened roof trusses, and fire-damaged support beams might look intact but they’ve lost significant load-bearing capacity. Water damage from firefighting efforts adds weight to already compromised structures. The additional weight from people entering can cause weakened structures to collapse without warning.
You should assume all roofs, stairs, and elevated floors are unsafe until they’ve been professionally inspected. A building inspector’s structural integrity assessment documents safe load limits, identifies areas needing shoring before entry, and establishes restricted zones where nobody should enter. This assessment protects restoration workers from collapse hazards and provides liability protection when structural failures happen despite proper precautions. These protocols protect both restoration workers and occupants throughout the project by preventing premature entry into unstable structures and making sure everyone on site understands which areas stay off limits until repairs restore structural integrity.
Comprehensive Electrical Safety Protocols

Electrical hazards are one of the most dangerous and least visible threats on restoration sites. Water-damaged and fire-damaged properties require complete electrical shutdown and lockout tagout procedures before anyone enters affected areas. Don’t turn on the electrical power supply until a trained electrician inspects all circuits and equipment. Don’t enter areas with standing water from firefighting efforts until electrical power is shut off at the main panel and physically locked out.
Professional electrician inspection is required because of damaged cables, components, and water-related electrical shortage risks that aren’t visible from outside junction boxes or outlets. Fire damage melts wire insulation, loosens connections, and creates short circuits that might not trip breakers right away. Water infiltration corrodes connections, creates ground faults, and lets current travel through unexpected paths including metal framing, plumbing pipes, and standing water itself.
Electrical Safety Protocols Across All Restoration Scenarios:
- Complete power shutdown at main breaker before initial entry into water-damaged or fire-damaged structures
- Lockout tagout implementation with individual locks for each crew member entering electrical hazard areas
- Trained electrician inspection requirement before any power restoration attempts
- Circuit and equipment assessment documenting all damaged components requiring replacement before re-energization
- Ground fault protection for all power tools and equipment used during restoration work
- Proper extension cord specifications meeting amperage requirements with ground fault circuit interrupter (GFCI) protection
- Generator ventilation and carbon monoxide monitoring when using gas or diesel-powered equipment
- Load calculations for drying and dehumidification equipment preventing circuit overload from multiple high-draw units
Carbon monoxide also comes from gas or diesel-powered equipment like pumps, generators, and pressure washers used during restoration. These tools need outdoor placement with exhaust directed away from building openings, or industrial ventilation systems when outdoor placement isn’t possible. Continuous carbon monoxide monitoring protects crews from accumulation in occupied work areas.
Power restoration follows a specific sequence after electrical system repairs. The trained electrician conducts circuit testing, verifies ground integrity, and confirms proper breaker operation before removing lockout tagout devices. Propane tanks and water heater tanks need professional damage assessment before reactivation because fire damage can compromise pressure relief valves, gas lines, and electrical components that create explosion or carbon monoxide hazards when systems restart.
Hazardous Materials and Contamination Control Procedures
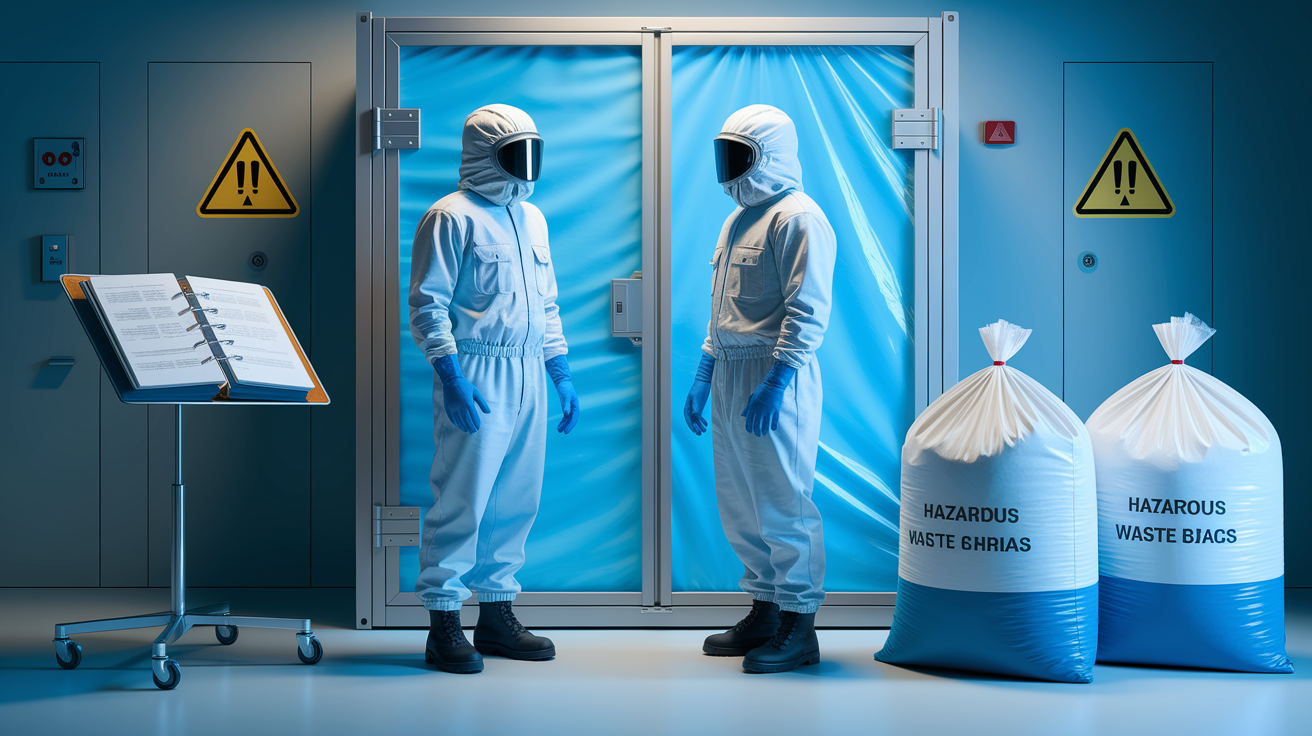
Homes built before 1980 require presumption of asbestos and lead paint presence until testing proves otherwise. Disturbing these materials without proper protocols creates airborne hazards that affect both restoration workers and occupants long after project completion. Smoke contains dangerous chemicals and soot poses respiratory system hazards even in modern homes with newer building materials.
Chemical exposure risks go beyond obvious sources. Burning synthetic materials releases toxic compounds that settle into porous surfaces throughout the structure. Firefighting chemicals contaminate everything they contact. Sewage backup introduces bacteria, viruses, and parasites that survive on surfaces for extended periods.
Hazardous Material Categories in Restoration Work:
- Asbestos in insulation, flooring, ceiling tiles, and pipe wrap requiring certified abatement contractors for any disturbance
- Lead paint on walls, trim, windows, and doors creating dust hazards during demolition or cleaning
- Mold growth on any organic material exposed to moisture for 24 to 48 hours
- Sewage and biohazards from toilet overflow, sewer backup, or Category 3 water containing bloodborne pathogens
- Chemical contaminants from smoke, soot, and firefighting foam requiring specialized cleaning agents
- Damaged electrical components containing PCBs in older ballasts and transformers
- Compromised structural materials releasing fiberglass particles, wood preservatives, and bonding agents when disturbed
- Contaminated food and consumables including sealed packages exposed to smoke, heat, or chemical infiltration
Sewage backup scenarios need bloodborne pathogen protocols identical to medical cleanup. Category 3 water contains fecal matter, urine, soil contaminants, and potentially dangerous microorganisms. Workers need full-body chemical-resistant suits, full-face respirators, and double-layer gloves. All porous materials contacted by sewage require disposal, not cleaning, because sanitization can’t reliably eliminate biological hazards from carpet, drywall, insulation, and upholstered furniture.
All items with ash contamination must be cleaned and sanitized by professionals, but many items require disposal instead. Discard all food, drinks, medication, and consumables exposed to fire-damaged rooms immediately because of heat damage or contamination with fumes and firefighting chemicals. Food and beverages in kitchen areas are likely contaminated even if packaging appears sealed because smoke particles penetrate cardboard, plastic wrap, and even some sealed containers. Heat exposure degrades medications and vitamins regardless of visible contamination.
Hard, non-porous objects like glass, ceramic, and metal are likely salvageable after professional cleaning. Contaminated water, ash, and soot present health risks requiring professional handling because proper sanitization and disinfection procedures use specific chemical concentrations, contact times, and application methods that vary by contaminant type. Cross-contamination prevention between work zones and occupied spaces requires physical barriers, dedicated equipment for contaminated areas, and disposal protocols for single-use PPE worn in hazardous zones.
Material safety data sheets (MSDS) compliance documentation must be maintained on site for every cleaning agent, antimicrobial, and chemical product used during restoration. These sheets provide emergency response information if workers experience chemical exposure and document proper handling procedures that protect both workers and occupants from chemical hazards during and after application.
Water Damage Restoration Safety Procedures

Standing water assessment starts with categorization that determines appropriate safety protocols. Clean water from supply line breaks requires basic PPE and standard electrical safety protocols. Gray water from dishwasher or washing machine overflow contains detergents, food particles, and mild contaminants requiring upgraded gloves and eye protection. Black water from sewage backup or flooding demands full biohazard protocols with chemical-resistant suits and supplied air if atmospheric testing indicates hazardous gas presence.
Water category can change during a project. Clean water sitting for more than 48 hours becomes gray water as bacteria multiply. Gray water contacting building materials becomes black water as it pulls contaminants from insulation, drywall, and soil. Reassess water category daily and upgrade PPE accordingly.
Slip and fall prevention on wet surfaces requires constant attention throughout water damage projects. Water on tile, hardwood, and vinyl creates skating-rink conditions. Wet carpet conceals underlying pad deterioration and subfloor damage that create uneven walking surfaces. Proper footwear with slip-resistant soles helps but doesn’t eliminate hazards. Mark wet areas with caution tape, use absorbent walkway mats in high-traffic zones, and restrict access to areas with standing water until extraction equipment reduces depth to safe levels. Moisture monitoring procedures track drying progress and identify hidden water pockets that create ongoing slip hazards and mold growth risks.
Reference the Comprehensive Electrical Safety Protocols section for detailed lockout tagout requirements and power restoration procedures specific to water-damaged properties. Electrical safety in water damage scenarios goes beyond initial shutdown to include ground fault protection for all drying equipment and proper load calculations preventing circuit overload when running multiple dehumidifiers and air movers at the same time.
Fire Damage Cleanup Safety Protocols

Fire department clearance requirements exist because fires create hazards that stick around long after flames are out. Officials assess structural stability, confirm complete extinguishment, and verify that utilities are safe for controlled access before authorizing re-entry. Waiting for this authorization prevents workers from entering buildings where smoldering materials might reignite or where weakened structures might collapse. For more detailed information about initial property assessment, see What Safety Precautions Should I Take When Entering a Fire-Damaged Property?
Smoldering wood and debris can reignite when contacting flammable materials after the fire. Visual inspection doesn’t reliably identify smoldering because it happens deep inside burned timbers, beneath ash layers, and within wall cavities. Use thermal imaging cameras during initial assessment to identify hot spots requiring extinguishment before crews begin work. Keep fire extinguishers at every entry point and establish watch periods after initial entry to catch re-ignition before it spreads.
Carbon dioxide buildup during fires causes incomplete combustion, releasing carbon monoxide that lingers in structures even after ventilation. Carbon monoxide also comes from gas or diesel-powered equipment like pumps, generators, and pressure washers used during restoration. Continuous carbon monoxide monitoring throughout fire damage projects protects crews from accumulation that causes headaches, dizziness, and unconsciousness without obvious warning signs. Place monitors at floor level where heavier-than-air gases accumulate and at breathing height where crews actually work.
Soot and smoke damage precautions during cleanup operations require proper containment even though the fire is out. Soot particles become airborne during material handling, creating respiratory hazards and spreading contamination to unaffected areas. HEPA filtration, negative air pressure in work zones, and proper respiratory protection prevent workers from inhaling ash particles kicked up during movement inside damaged structures. Physical barriers between cleanup areas and unaffected spaces prevent cross-contamination that requires cleaning previously undamaged rooms.
Reference the Foundational Safety Protocol Framework section for structural assessment requirements including floor load limits and collapse hazards specific to fire-damaged buildings. Reference the Comprehensive Electrical Safety Protocols section for electrical system inspection requirements before any power restoration in fire-damaged properties.
Mold Remediation Safety Standards

Mold is a health hazard requiring specialized containment protocols that prevent spore spread during removal. Disturbing mold colonies releases millions of microscopic spores that become airborne, travel through HVAC systems, and settle in previously unaffected areas where they establish new growth when moisture returns.
| Safety Measure | Purpose | Implementation Standard |
|---|---|---|
| Containment Barriers | Physical separation preventing spore migration to unaffected areas | 6-mil polyethylene sheeting sealed at all edges with double-sided tape, airlock entry with separate clean and dirty chambers |
| Negative Air Pressure | Ensures airflow moves from clean areas into contaminated work zone | Minimum negative pressure differential of 5 Pascals measured with manometer, air changes per hour calculated by containment volume |
| Respiratory Protection Upgrades | Prevents mold spore inhalation during disturbance and removal | N-95 minimum for small areas under 10 square feet, half-face respirator with P100 filters for areas 10-100 square feet, full-face respirator or supplied air for areas over 100 square feet or immunocompromised occupants |
| Air Quality Testing | Establishes baseline, monitors work zone containment effectiveness, verifies successful remediation | Pre-remediation indoor and outdoor samples, post-remediation clearance testing before containment removal, comparison to outdoor baseline confirming indoor levels below exterior counts |
| Cross-Contamination Prevention | Stops transfer of spores on workers, tools, and materials leaving containment | HEPA vacuum all materials before removal from containment, disposable coveralls and boot covers removed before exiting airlock, separate tool staging for contaminated and clean equipment |
Cross-contamination prevention between affected and unaffected areas goes beyond physical barriers. Workers track spores on boots, clothing, and tools when moving between containment and clean areas. Negative air pressure maintains directional airflow that pulls air into containment zones rather than letting contaminated air escape, but only when containment barriers maintain complete seals. Even small gaps around doors, penetrations for electrical lines, or torn polyethylene sheeting compromise the pressure differential and allow spore escape.
Post-remediation verification and air quality testing protocols confirm that mold levels inside the structure match or fall below outdoor baseline counts. Professional services include treating odor and contamination to make sure you’ve got healthy indoor environments before occupants return. Clearance testing happens after remediation completion but before containment removal, providing final confirmation that the project successfully eliminated the mold problem rather than spreading it to new locations.
Reference the Ventilation Systems and Indoor Air Quality Management section for HEPA filtration specifications and air scrubber requirements that support proper containment during mold remediation projects.
Ventilation Systems and Indoor Air Quality Management
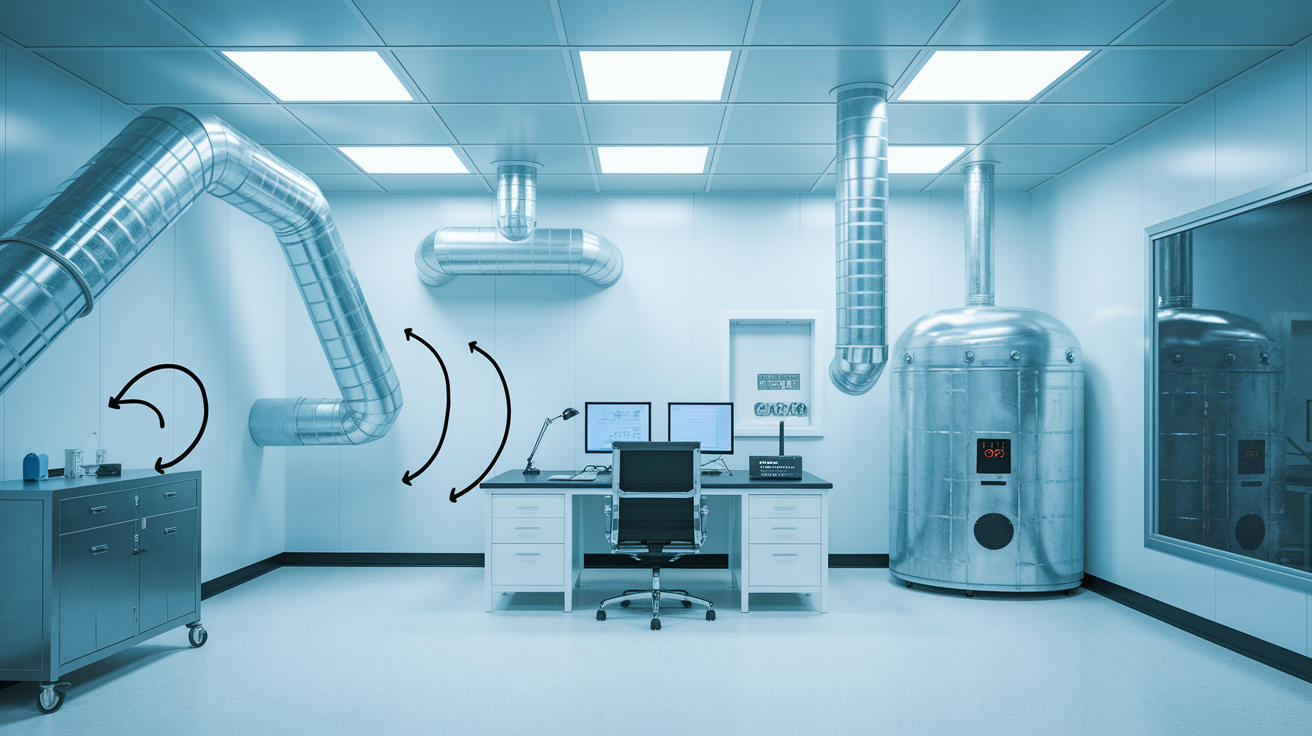
Controlled ventilation is fundamentally different from just opening windows. Restoration work requires directional airflow that moves from clean areas toward contaminated zones, preventing the spread of particles, odors, and moisture to unaffected spaces.
Only use vacuum cleaners with HEPA filters for cleanup. Regular shop vacuums blow soot particles into the air through exhaust, spreading contamination rather than collecting it. Never use leaf blowers for fire damage cleanup because they create massive airborne particle clouds that settle throughout the entire structure and require cleaning areas that weren’t originally damaged.
Air Quality Management Steps During Restoration:
- Baseline air testing documenting pre-existing conditions and contamination levels before work begins
- HEPA filtration deployment with appropriate equipment for project scope and contamination type
- Controlled ventilation establishing negative pressure in work zones and positive pressure in occupied areas
- Continuous monitoring tracking particle counts, carbon monoxide levels, and relative humidity throughout project duration
- Post-remediation verification confirming air quality meets or exceeds pre-damage conditions before final clearance
HEPA filtration requirements apply across water damage, fire damage, and mold remediation scenarios because all three create airborne particulate hazards when materials are disturbed. HEPA filters capture 99.97% of particles 0.3 microns or larger, trapping mold spores, soot particles, and dust that standard filters let through. Air scrubbers with HEPA filtration continuously clean work zone air during active restoration. Negative air machines pull contaminated air from containment areas, filter it through HEPA media, and exhaust clean air outside the structure.
N-95 masks block ash particles that get kicked up during movement inside damaged structures, but HEPA filtration protects the entire indoor environment, not just individual workers. Standard equipment is insufficient because it collects large debris while exhausting fine particles back into the breathing zone. This makes contamination worse by breaking settled particles into smaller sizes that travel farther and penetrate deeper into respiratory systems.
Odor control methods and making sure you’ve got healthy indoor environments before occupant return require more than masking smells with deodorizers. Professional services include treating odor and contamination at the molecular level using hydroxyl generators, ozone treatment (in unoccupied spaces only), thermal fogging, and source removal of contaminated materials that continue releasing odor compounds. Air quality verification confirms that particle counts, chemical vapor levels, and biological contamination all meet acceptable standards for occupancy.
Waste Disposal Regulations and Contaminated Material Removal

Legal requirements for contaminated waste disposal vary by material type and local jurisdiction, but restoration contractors face potential liability and regulatory penalties when waste ends up in standard construction dumpsters instead of appropriate facilities. Asbestos requires certified disposal sites. Medical waste needs licensed haulers. Some contaminated materials classify as hazardous waste requiring manifest documentation tracking from generation to final disposal.
| Waste Category | Examples | Disposal Method |
|---|---|---|
| Non-Salvageable Contaminated Items | Carpet, padding, upholstered furniture, mattresses, drywall, insulation contacted by sewage or mold | Double-bag in 6-mil plastic, seal with tape, transport to municipal solid waste facility accepting contaminated construction debris |
| Hazardous Materials | Asbestos insulation, lead paint chips, mercury-containing devices, PCB ballasts, chemical containers | Certified abatement contractor removal, manifest documentation, licensed hazardous waste facility disposal |
| Biohazards | Sewage-contaminated materials, blood-soaked items, medical waste, animal waste, decomposition residue | Red bag medical waste containers, licensed biohazard hauler, incineration or autoclave treatment before landfill |
| General Construction Debris | Uncontaminated lumber, clean drywall, metal framing, glass, ceramic tile | Standard construction dumpster, recycling facilities for metal and clean wood when available |
Salvageable versus non-salvageable item determination follows clear criteria based on material porosity. Hard, non-porous objects like glass, ceramic, and metal are likely salvageable after professional cleaning because contamination stays on the surface rather than penetrating into the material structure. Porous materials including carpet, drywall, insulation, and upholstered furniture absorb contamination that cleaning can’t reliably eliminate. When sewage, smoke chemicals, or mold penetrate these materials, disposal is the only safe option.
Proper segregation prevents cross-contamination during removal. Salvageable items move to cleaning areas through routes that don’t pass through contaminated zones. Disposal materials seal in bags before transport through occupied spaces. Staging areas separate contaminated waste awaiting disposal from cleaned items awaiting pack-out to storage facilities.
Chemical storage requirements for cleaning agents and antimicrobials on site follow OSHA standards for proper labeling, secondary containment preventing spills, and separation of incompatible materials. Flammable cleaning solvents require isolation from ignition sources. Acids and bases need separate storage preventing accidental mixing. All chemicals need MSDS documentation accessible to workers who might encounter them during emergency response.
Training Requirements and Certification Standards
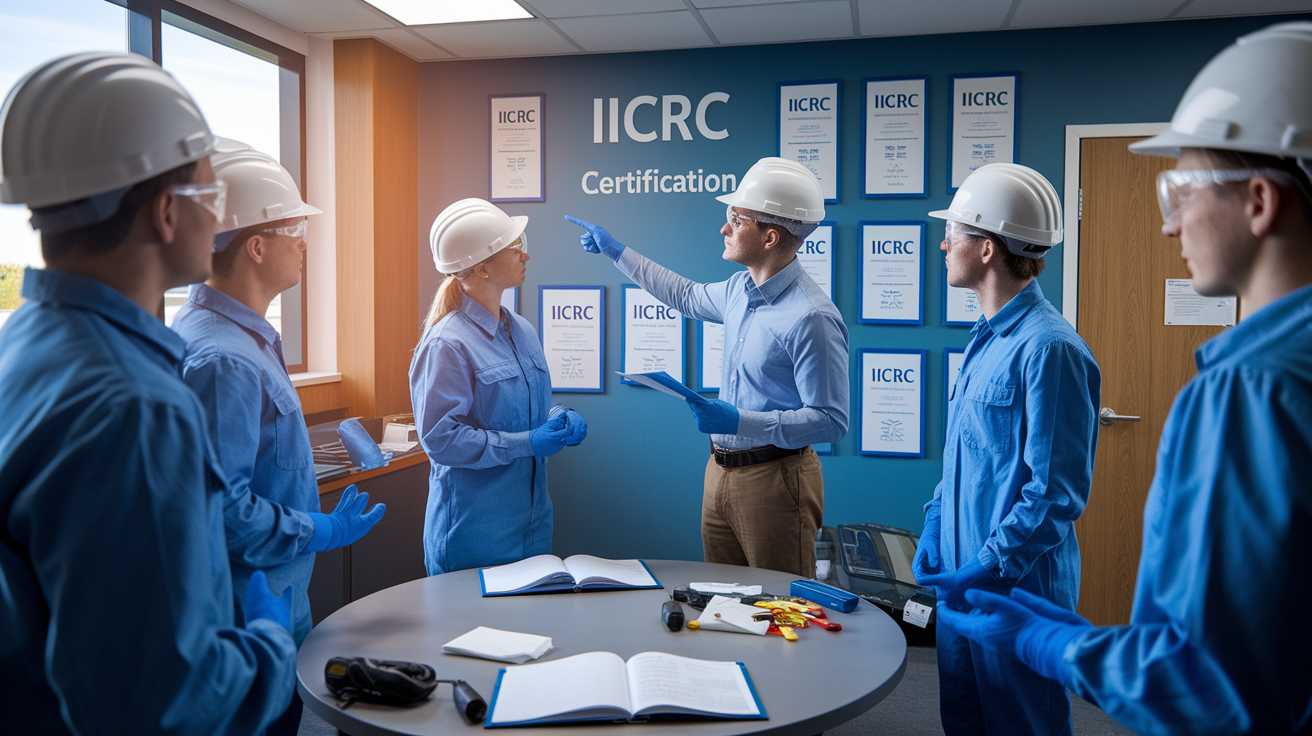
IICRC certification standards establish competency benchmarks for water damage restoration, fire and smoke restoration, and mold remediation. These aren’t just resume credentials. They’re documented proof that technicians understand proper protocols for each restoration scenario. IICRC-certified restoration companies provide professional protective equipment and structural integrity evaluation because their training emphasizes these safety fundamentals.
OSHA training requirements for hazardous materials handling and confined space entry create baseline safety knowledge that applies across multiple restoration scenarios. The OSHA 10-hour construction safety course covers fall protection, electrical safety, and personal protective equipment. The OSHA 30-hour course adds hazard recognition, accident prevention, and regulatory requirements. Both establish foundational safety awareness that prevents common mistakes during restoration projects.
Ongoing education through toolbox talks and safety meetings keeps protocols current as situations change during project execution. A morning safety meeting might emphasize electrical hazards before starting water extraction. A midday toolbox talk could address heat stress when working in full PPE during summer. End-of-day reviews identify near-miss incidents and procedure gaps requiring adjustment before the next shift. Professional restoration specialists should handle cleaning and sorting of burned items rather than property owners because their training includes hazard recognition that prevents injuries and contamination spread.
Certification and Training Areas for Restoration Workers:
- OSHA 10-hour or 30-hour construction safety for foundational hazard awareness and regulatory compliance
- IICRC Water Damage Restoration covering water categories, extraction techniques, drying protocols, and moisture monitoring
- IICRC Fire & Smoke Restoration addressing safety assessment, soot chemistry, odor control, and contents cleaning procedures
- IICRC Mold Remediation detailing containment, removal techniques, air quality management, and post-remediation verification
- Respiratory protection fit testing (annual requirement) ensuring proper seal for all workers using tight-fitting respirators
- Confined space entry training for attic access, crawlspace work, and mechanical room restoration
- Bloodborne pathogens training (annual requirement) for sewage backup and Category 3 water damage scenarios
Site-Specific Risk Assessment and Documentation
Pre-project site inspection procedures establish what hazards exist before crews start work. Building inspector assessment of structural integrity is required before entering the property, but restoration-specific risk assessment goes further. It identifies electrical hazards requiring lockout tagout, maps standing water locations requiring Category 3 protocols, and documents trip, fall, and slip hazards requiring constant attention during property inspection.
Documentation requirements for insurance compliance and liability protection create a paper trail showing that proper protocols were followed. Photographic evidence captures conditions before, during, and after restoration work. Incident reports document near-misses and actual injuries. Safety inspection checklists confirm that PPE requirements were met and hazards were properly controlled. This documentation protects restoration companies when property owners or workers file claims alleging negligence or improper procedures.
Elements of Restoration Project Risk Assessment Documentation:
- Structural integrity evaluation documenting floor load limits, restricted areas, and shoring requirements for compromised structures
- Hazardous material identification noting asbestos presence in pre-1980s homes, lead paint locations, mold growth areas, and chemical contamination from smoke or sewage
- Electrical system assessment recording main panel location, lockout tagout implementation, circuit damage requiring professional inspection before restoration
- Fall and trip hazard mapping identifying wet surfaces, elevated work areas, debris accumulation zones, and uneven flooring requiring attention
- Photographic evidence showing pre-existing damage, work zone conditions, containment setup, and final post-remediation conditions
- Incident reporting procedures establishing how near-misses, injuries, and property damage get documented and communicated to project management
Documentation serves as protection for both workers and property owners by establishing clear expectations, recording compliance with safety protocols, and providing evidence of professional standards when questions come up months or years after project completion.
Homeowner Communication and Occupant Safety Protocols
Pre-project safety briefing requirements for homeowners establish clear boundaries about who can enter the property during restoration work. Parents often leave children with family or friends during initial fire damage assessments because of emotional trauma risks, but safety concerns go beyond emotions. Children and pets create trip hazards, distract workers, and risk exposure to contaminated materials when they enter active work zones.
Occupancy restrictions during hazardous phases protect homeowners from exposure to cleaning chemicals, airborne particulates from demolition, and biological hazards from sewage or mold remediation. Some restoration phases require complete evacuation. Others allow occupancy in areas separated from work zones by containment barriers. The pre-project briefing clarifies these restrictions, explains the timeline for different work phases, and establishes communication protocols for questions that come up during the project. For more information about why professional handling is necessary, see How To Safely Handle Fire Damage Restoration.
Job site security measures prevent unauthorized entry by neighbors, contractors from other trades, and even homeowners during restricted work phases. Locked containment areas protect both the restoration work and building occupants. Signs posted at entry points warn about hazards and restricted access. Daily communication updates homeowners about when areas become safe for re-entry and what precautions they should take when inspecting completed work.
Professional restoration specialists should handle cleaning and sorting of burned items rather than property owners because training and PPE protect workers from hazards that homeowners don’t recognize. Liability waivers and homeowner acknowledgment of safety protocols document that restrictions were explained and understood. These signed documents clarify that the restoration company established appropriate safety measures and that any unauthorized entry or DIY attempts happen against professional recommendations. Pack-out services relocate salvageable items to climate-controlled storage facilities, protecting them from further damage during restoration and keeping homeowners from entering contaminated work zones to retrieve belongings.
Final Words
Residential restoration safety protocols aren’t optional add-ons. They’re the framework that keeps everyone safe while bringing damaged homes back to livable condition.
From PPE requirements and electrical lockout procedures to hazardous material handling and air quality management, each protocol serves a specific protective purpose. Every step matters, especially when dealing with contaminated water, compromised structures, or toxic smoke residue.
The good news? Trained restoration teams know these protocols inside and out. They bring the right equipment, follow the clearances, and handle everything from structural assessments to final air quality testing.
You don’t have to figure this out alone. Professional teams manage the safety details so you can focus on getting your home back.
FAQ
What are the 5 safety rules at home?
The 5 safety rules at home during restoration work include obtaining official clearance before entry, shutting off electrical power in affected areas, wearing required PPE, avoiding contaminated materials, and keeping children and pets away from work zones.
What are some examples of safety protocols?
Safety protocols include lockout/tagout procedures for electrical systems, HEPA filtration requirements for air quality, containment barriers for mold remediation, proper waste segregation for contaminated materials, and mandatory structural inspections before property re-entry.
What are the five safety procedures?
The five safety procedures in residential restoration are obtaining fire department and building inspector clearance, conducting initial risk assessment, implementing proper PPE requirements, establishing emergency response procedures, and maintaining continuous site monitoring throughout the project.
What’s the difference between remediation and restoration?
Remediation focuses on removing hazards like mold, contaminated water, or hazardous materials to make a space safe, while restoration repairs and rebuilds damaged structures to return the property to its pre-loss condition after hazards are eliminated.
When do I need N-95 respiratory protection?
N-95 respiratory protection is required when entering fire-damaged structures to block ash particles, during initial assessment of smoke-damaged areas, and any time soot disturbance occurs, as these particles become airborne and pose serious respiratory hazards.
Why can’t I use a regular shop vacuum for fire cleanup?
Regular shop vacuums blow soot particles into the air through their exhaust systems, spreading contamination throughout the property and creating respiratory hazards, while HEPA-filtered vacuums capture microscopic particles without releasing them back into the air.
When is electrical power restoration safe after water damage?
Electrical power restoration is safe only after a trained electrician inspects all circuits and equipment for water damage, damaged cables, and potential electrical shortage risks, with proper lockout/tagout procedures maintained until professional clearance is given.
What items must be discarded after fire damage?
All food, drinks, medication, and consumables exposed to fire-damaged rooms must be discarded immediately due to heat damage and contamination from smoke fumes and firefighting chemicals, even if packaging appears sealed or undamaged.
Why do I need building inspector approval before re-entry?
Building inspector approval is required because fire damage compromises structural stability even when damage appears minimal from outside, and additional weight from people entering can cause weakened roofs, stairs, and floors to collapse without warning.
What is cross-contamination prevention in restoration?
Cross-contamination prevention uses physical barriers, negative air pressure, and containment systems to keep hazardous materials like mold spores, ash, and contaminated water from spreading from affected areas into clean, unaffected spaces during restoration work.
When should I upgrade from basic to specialized respiratory protection?
Upgrade to specialized respiratory protection when mold remediation begins, when asbestos or lead paint is identified in pre-1980s homes, during biohazard cleanup involving sewage, or when carbon monoxide monitoring detects elevated levels from equipment.
What are the three water damage categories for safety?
Water damage categories are clean water from supply lines requiring basic PPE, gray water from appliances needing increased protection, and black water from sewage requiring biohazard protocols with specialized respiratory protection and contamination control.
