
Ever notice your water pressure drop for no reason, or smell something musty in a room that should be dry? You might be living with a burst pipe you can’t see. Hidden breaks dump gallons into your walls and floors every day, and the longer they go unnoticed, the bigger your repair bill becomes. The good news? There are clear warning signs that tell you exactly when to act, and catching them early can save you thousands in damage and weeks of disruption.
Recognizing the Warning Signs of a Hidden Pipe Burst
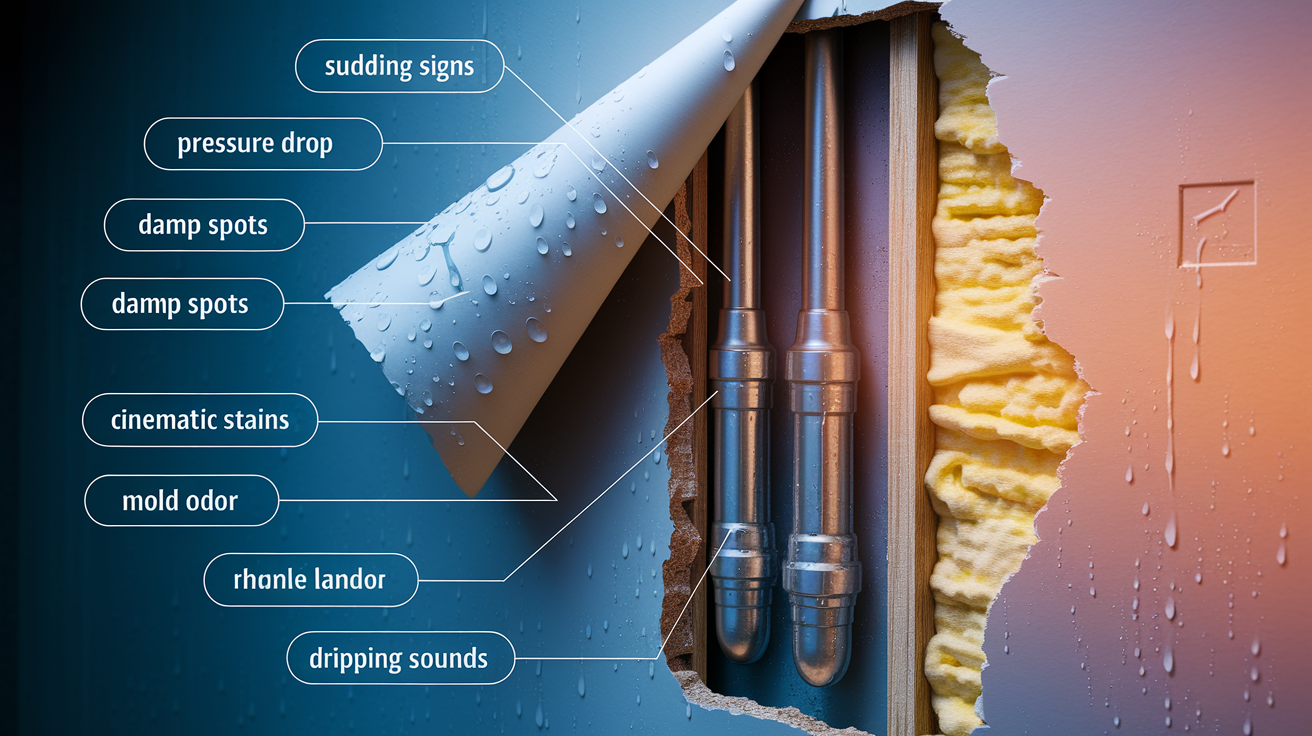
A pipe burst behind your walls can dump hundreds of gallons into your home before you even realize there’s a problem. The difference between a $500 repair and a $15,000 restoration project? How quickly you spot the early warning signs.
Hidden bursts happen where you can’t see them. Behind drywall, under floors, above ceilings, buried in concrete slabs. Because the water damage spreads silently, you’ve got to watch for indirect symptoms that signal a pipe has failed somewhere in your plumbing system.
Common warning signs include:
Sudden water pressure drop. When multiple faucets throughout your home produce weak, sputtering flow or the shower pressure drops noticeably, water’s escaping somewhere before it reaches your fixtures.
Unexplained wet spots. Damp patches on walls, ceilings, or floors that appear without obvious cause, especially if they grow larger over time or feel soft to the touch.
Ceiling stains and discoloration. Yellowish brown rings, streaks, or patches on ceilings and walls indicate water has been seeping through building materials, often from a burst pipe in the floor above.
Wall moisture and temperature changes. Sections of wall that feel damp, cool, or unusually cold compared to surrounding areas suggest water’s pooling behind the surface.
Musty or moldy odors. A persistent damp smell in rooms, closets, or cabinets signals hidden moisture feeding mold growth, often from a slow leak or small burst you haven’t located yet.
Dripping or hissing sounds. Water sounds inside walls when no fixtures are running, especially rhythmic dripping, steady hissing, or rushing water noises that continue 24/7.
Banging or hammering noises. Sudden loud bangs when you turn faucets on or off, caused by pressure fluctuations from a compromised pipe section.
Gurgling or bubbling sounds. Air trapped in pipes makes gurgling noises as water escapes through a crack or break, particularly noticeable in smaller diameter supply lines.
Unexpected water bill spike. A monthly bill that jumps 25% or more without increased usage points to significant ongoing water loss somewhere in your system.
Visible water pooling. Standing water in basements, under sinks, around water heater bases, or soggy patches in your yard with no recent rain.
Paint bubbling or peeling. Wallpaper separating from walls or paint forming blisters indicates moisture pushing through from behind.
Floor warping or soft spots. Hardwood that buckles, laminate that lifts, or carpet that stays damp even after cleaning suggests water damage underneath.
When you notice two or three of these symptoms happening at the same time, especially if they’re getting worse over days or weeks, you’re likely dealing with an active burst that needs immediate professional attention. A single faint water stain might be old damage. But fresh wetness plus a pressure drop plus a spike in your water bill means you need to act now.
Simple Detection Methods to Confirm a Hidden Pipe Burst
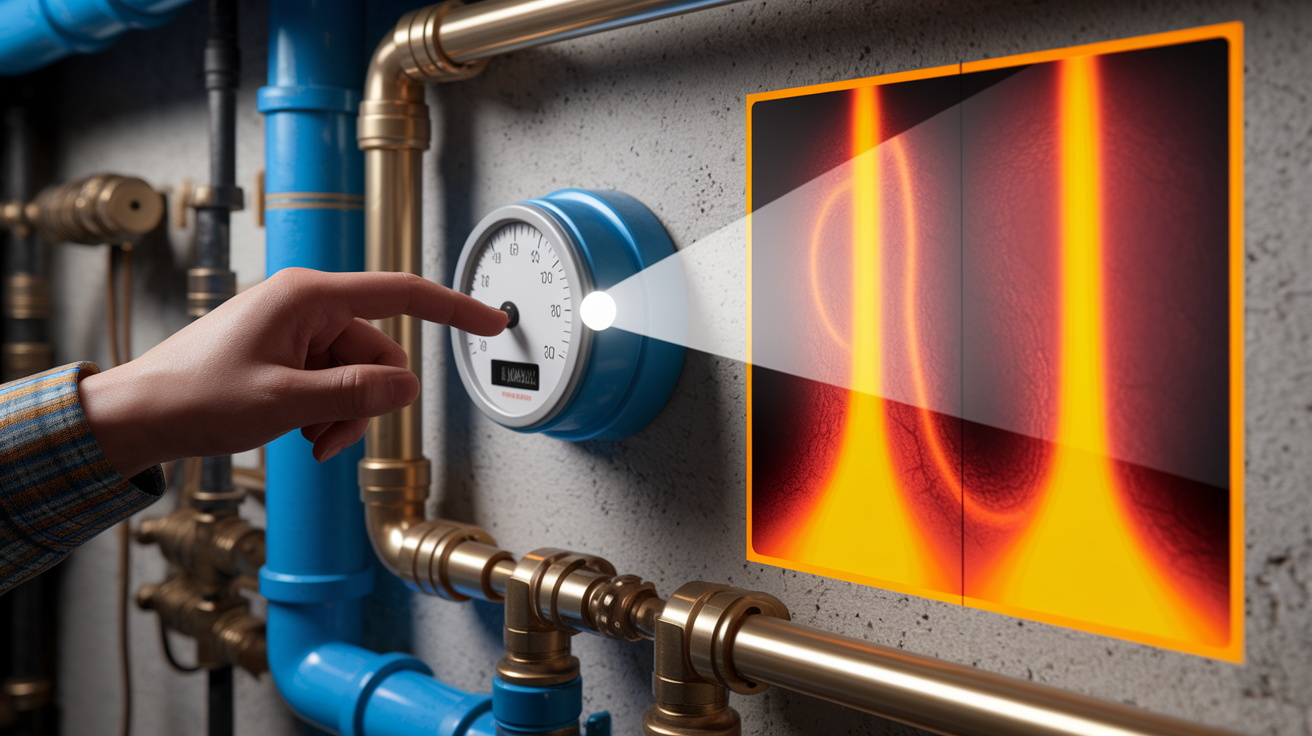
The water meter test gives you a definitive answer in about two hours. Turn off every water using appliance and fixture in your home. Shut off ice makers, stop washing machines mid cycle, make sure no toilets are running, close all faucets completely. Go to your water meter (usually in the basement, garage, or outside near the street) and write down the exact number showing on the dial. Don’t use any water for the next one to two hours, then check the meter again. If the numbers have changed at all, water’s flowing somewhere in your system even though nothing’s turned on, confirming you have a leak or burst pipe.
You can also conduct a physical inspection of accessible areas. Run your hands along walls near plumbing fixtures, checking for dampness, temperature differences, or soft spots in the drywall. Cold or unusually cool sections often indicate water evaporation happening behind the surface. Check baseboards for warping, separation from walls, or water stains along the bottom edge. In basements and crawl spaces, look for standing water, wet insulation, or rust stains on pipe fittings. Use a flashlight to examine ceiling areas below bathrooms and kitchens for discoloration or sagging.
Comparing your water bills over the past six to twelve months reveals patterns that point to hidden leaks. Pull out statements from the same season last year and calculate the percentage increase. A jump of 20% to 30% or more, especially if your household size and habits haven’t changed, suggests ongoing water loss. Small drips waste over 100 gallons annually, but a burst pipe or significant crack can waste thousands of gallons per month. If your winter bills are suddenly double what they were last winter, that’s a red flag.
Professional detection equipment locates problems DIY methods can’t find. Thermal imaging cameras show temperature variations inside walls where water’s evaporating or pooling, creating cold spots invisible to the naked eye. Acoustic listening devices amplify the sound of water escaping under pressure, helping plumbers pinpoint the exact location of a break even through concrete or multiple layers of building materials. Moisture meters measure water content inside drywall, wood framing, and flooring without cutting holes, mapping the extent of hidden saturation. When your own inspection raises suspicions but you can’t confirm the source, or when the burst might be in a slab foundation or buried supply line, calling for professional leak detection saves time and limits destructive exploratory work.
Immediate Actions When You Suspect a Burst Pipe

The first five minutes after discovering a burst pipe determine how much of your home you’ll save. Fast action prevents thousands of gallons from spreading through walls, ceilings, and floors.
Follow these steps in order:
-
Shut off the main water valve. Find your main shut off valve (typically in the basement, utility closet, or mechanical room near where the main line enters your house) and turn it clockwise until it stops. This cuts off all water flow to your home and stops the burst from getting worse.
-
Turn off electrical breakers. Before you step into any area with standing water or approach wet walls, go to your electrical panel and flip off breakers for affected rooms. Water and electricity create deadly shock hazards.
-
Open cold water faucets. Turn on several cold water faucets throughout your home to drain remaining water from the pipes and relieve pressure in the system. This reduces strain on the burst section and helps prevent additional cracks.
-
Remove standing water immediately. Use towels, mops, buckets, or a wet/dry shop vacuum to pull up as much water as you can. Every gallon you remove in the first hour is one less gallon soaking into subflooring, drywall, and framing. Work from the outside edges of the wet area toward the center.
-
Start the drying process. Set up fans to move air across wet surfaces and run dehumidifiers if you have them. Open windows if weather permits. The faster you can dry affected materials, the better your chances of avoiding mold growth and permanent damage.
-
Document everything for insurance. Take photos and videos of the wet areas, damaged property, the burst pipe location once visible, and any standing water. Write notes about when you first noticed the problem and what actions you took. This documentation supports your insurance claim.
-
Call an emergency plumber. Contact a licensed plumber immediately to locate the exact break point, make repairs, and assess your entire plumbing system for additional risks. Don’t wait until morning if this happens at night. Every hour counts.
The biggest mistake homeowners make is delaying professional help while trying to handle everything themselves. You can manage the initial water removal and drying, but locating hidden bursts, making code compliant repairs, and confirming your system is safe requires professional equipment and expertise. The sooner a plumber gets there, the less your total damage bill will be.
Damage Severity and Health Risks from Hidden Pipe Bursts

A hidden pipe burst creates two separate problems that both get worse with time. Structural damage to your home and health hazards from mold contamination. Water colonization by mold can begin within 24 to 48 hours of the initial burst, so even a “small” leak becomes a serious health issue if you don’t catch it quickly.
Minor damage shows up as small water stains on ceilings or walls, slight drops in water pressure, or occasional damp spots that dry between wetting cycles. At this stage, you might have a hairline crack or pinhole leak that’s releasing water slowly. The damage is limited and usually repairable without major reconstruction. But it won’t stay minor for long. Even slow drips saturate drywall, wood framing, and insulation over weeks, creating conditions for mold growth and weakening structural elements.
Moderate damage appears as visible bubbling paint, peeling wallpaper, persistent moisture in walls or ceilings, expanding water stains, and small patches of visible mold growth. You might notice a musty smell that doesn’t go away even after cleaning. At this point, the burst has been active long enough to saturate building materials and likely requires opening walls to dry framing and replace damaged drywall. Mold’s actively growing behind surfaces you can see, and every day of delay allows it to spread to new areas.
Severe damage includes sagging ceilings from water accumulation above, buckled or warped flooring, visible cracks in walls or separation of baseboards, extensive mold growth spreading across multiple surfaces, and structural compromise of ceiling joists or floor supports. A ceiling that sags or bulges is holding significant weight in trapped water and can collapse without warning. Floors that feel soft or springy when you walk on them have damaged substructure underneath. This level of damage requires major restoration work, often including structural repairs, mold remediation, and rebuilding sections of your home.
The health consequences start with respiratory irritation. Coughing, sneezing, throat irritation, and sinus congestion from breathing mold spores released into your indoor air. People with asthma or allergies experience worsened symptoms and more frequent attacks. Prolonged exposure can trigger skin rashes, eye irritation, headaches, and fatigue. Young children, elderly household members, and anyone with compromised immune systems face higher risks of serious fungal infections and long term respiratory problems. Some mold species produce mycotoxins that cause neurological symptoms and immune system damage with extended exposure.
Long term consequences of untreated bursts extend beyond health issues to permanent structural damage. Water saturated wood framing loses strength and can rot, compromising your home’s structural integrity. Electrical wiring and fixtures exposed to moisture corrode and create fire hazards. Insulation that gets wet loses its R value permanently and needs replacement. Foundation walls exposed to ongoing water intrusion can develop cracks and settling problems that cost tens of thousands to repair.
After you fix the burst pipe itself, you still need professional mold remediation and water damage restoration to address contamination and hidden moisture in building cavities. Specialized restoration services like those from FireFloodFix.com use industrial drying equipment, antimicrobial treatments, and containment procedures to fully remediate mold growth and restore your home to safe conditions.
Common Locations for Hidden Pipe Bursts in Your Home
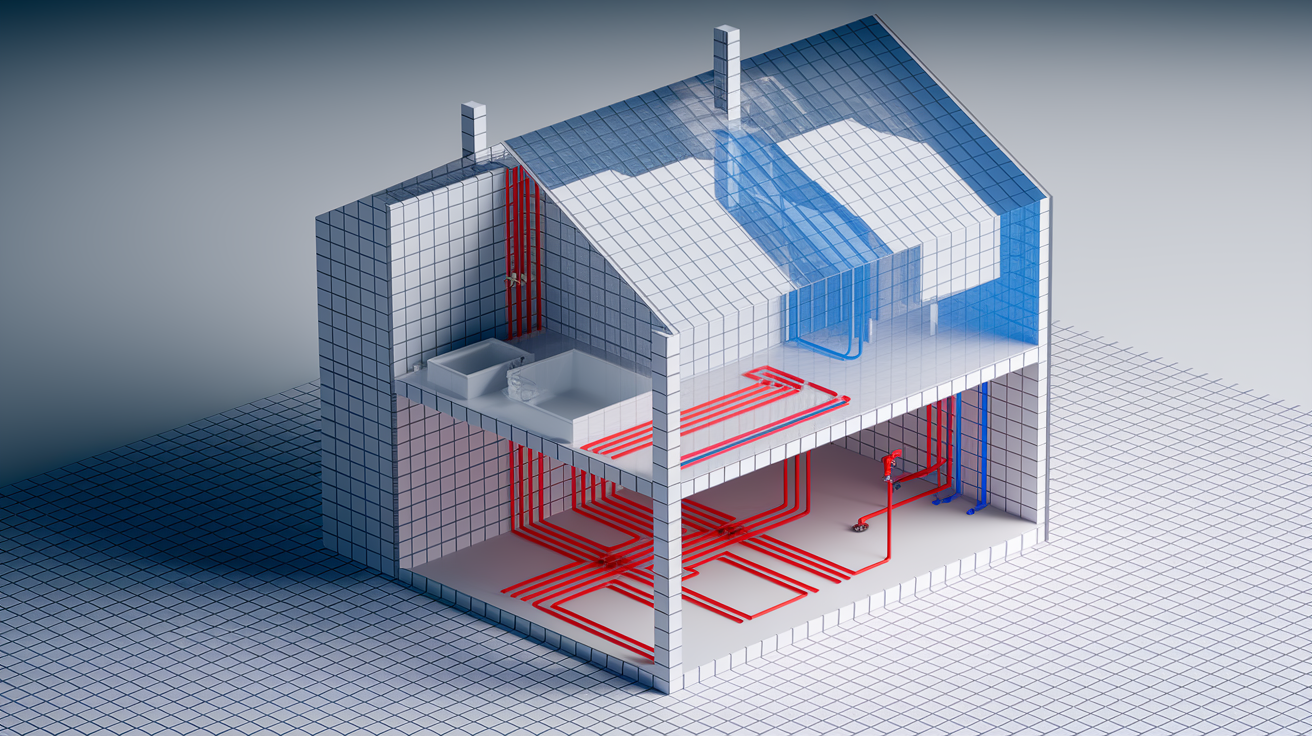
Pipe failures cluster in predictable locations based on exposure to temperature extremes, installation challenges, and how frequently connections get stressed by use. Knowing where bursts most often happen helps you focus your inspection efforts and catch problems early.
High risk locations to check:
Behind bathroom walls. Supply lines running to showers, tubs, and sinks sit in wall cavities where small leaks go unnoticed until you see water stains on the opposite side of the wall or in the room below. Mixing valve connections and shower arm fittings are common failure points.
Under kitchen sinks. Cabinet bases hide supply line connections and drain traps that corrode over time or loosen from vibration. Look for dampness on the cabinet floor, warped wood, or musty smells when you open the doors.
Crawl spaces and basements. Exposed pipes in these unheated areas face direct temperature fluctuations and often have older fittings that fail first. Check for standing water, wet insulation wrapped around pipes, or rust stains on metal fittings during seasonal inspections.
Attic pipe runs. Supply lines or drain vents routed through attics experience extreme heat in summer and freezing temperatures in winter if insulation’s inadequate. Bursts here dump water directly onto ceiling drywall below, causing rapid staining and potential collapse.
Exterior walls with interior plumbing. Bathrooms and kitchens located on outside walls put pipes close to cold exterior sheathing. During hard freezes, these pipes freeze first. Look for water damage on interior walls that face outside.
Concrete slab foundations. Homes built on slabs have supply lines embedded in or running beneath the concrete. Slab leaks are among the hardest to detect and locate because symptoms appear far from the actual break. Watch for warm spots on floors, unexplained increases in water bills, or the sound of running water when all fixtures are off.
Garage walls. Unheated garages that share plumbing walls with bathrooms or laundry rooms create freeze risk for pipes passing through. Check walls adjoining heated spaces for dampness or temperature differences.
Water heater connections. Supply and discharge fittings on water heaters vibrate and stress over years of heating cycles. Corrosion around tank connections or pressure relief valve discharge pipes can cause sudden failures.
Washing machine supply lines. Rubber washing machine hoses deteriorate over time and can burst under normal water pressure, flooding laundry rooms and adjacent spaces. Look for bulging, cracking, or worn spots on hoses, and replace them every five years.
What Causes Pipes to Burst Without Warning

Understanding why pipes fail helps you identify risk factors in your own home and take preventive action before a burst happens. Most failures result from gradual weakening over months or years, not sudden random events.
Freezing and Temperature Related Failures
Water expands roughly 9% when it freezes, creating enormous pressure inside rigid pipe walls. When temperatures drop below 32 degrees Fahrenheit, water sitting in pipes begins forming ice crystals that grow until they completely block the pipe. The expanding ice forces pressure to build in the section between the ice blockage and a closed faucet, eventually splitting the pipe wall. Freeze damage happens most often in unheated crawl spaces, attics, exterior walls, and garages where pipes aren’t protected by building heat. Inadequate insulation around pipes in these areas leaves them vulnerable during cold snaps, especially when outdoor temperatures stay below freezing for multiple days. The burst itself might not appear until the ice thaws and high pressure water starts flowing through the new crack.
Corrosion and Pipe Age Deterioration
Metal pipes corrode from both the inside and outside over decades of use. Galvanized steel pipes, common in homes built before 1970, deteriorate as the zinc coating wears away and the steel underneath rusts. The corrosion creates rough interior surfaces that restrict flow and thin weak spots in the pipe wall that eventually split. Copper piping lasts longer but still degrades, especially in areas with acidic water or high mineral content. Pinhole leaks form where corrosion eats through the copper, starting as tiny drips that enlarge into full cracks over time. Discolored or rusty tap water signals that corrosion has progressed to the point where contaminated material is entering your water supply through cracks and deteriorated pipe sections.
Excessive Water Pressure and Pressure Fluctuations
Municipal water systems typically deliver water at 50 to 80 psi, but pressure can spike above 100 psi during certain times of day or after maintenance work on water mains. High sustained pressure stresses every joint, fitting, and weakened section in your home’s plumbing, pushing against vulnerable spots until something gives. Pressure fluctuations, sudden changes between high and low pressure, create repeated stress cycles that fatigue pipe material and loosen connections. Water hammer, the banging sound you hear when closing a faucet quickly, indicates pressure surges slamming through your pipes, accelerating wear on joints and weakened areas. Homes without pressure regulators or with failing regulators face higher burst risk from these pressure related stresses.
Physical Damage and Installation Problems
Construction accidents, remodeling work, or even hanging heavy pictures can drive nails or screws through pipes hidden in walls and ceilings. The penetration might create a slow leak initially, then enlarge into a full burst as corrosion spreads from the puncture point. Poor installation practices, over tightened fittings, improper pipe support, incompatible materials joined together, create weak points that fail prematurely. Pipes installed without adequate fastening vibrate during use, loosening joints over years until connections separate. Joints where different metals connect (copper to galvanized steel, for example) corrode faster due to galvanic reactions between dissimilar materials.
Multiple risk factors often combine to cause failures. A pipe with minor corrosion might hold for years until a freeze cycle adds pressure stress, or an installation defect might not matter until age related deterioration weakens the surrounding area. That’s why older homes with original plumbing in cold climates face the highest burst risk. Age, corrosion, and temperature extremes all working together.
Professional Pipe Burst Detection and Repair Costs
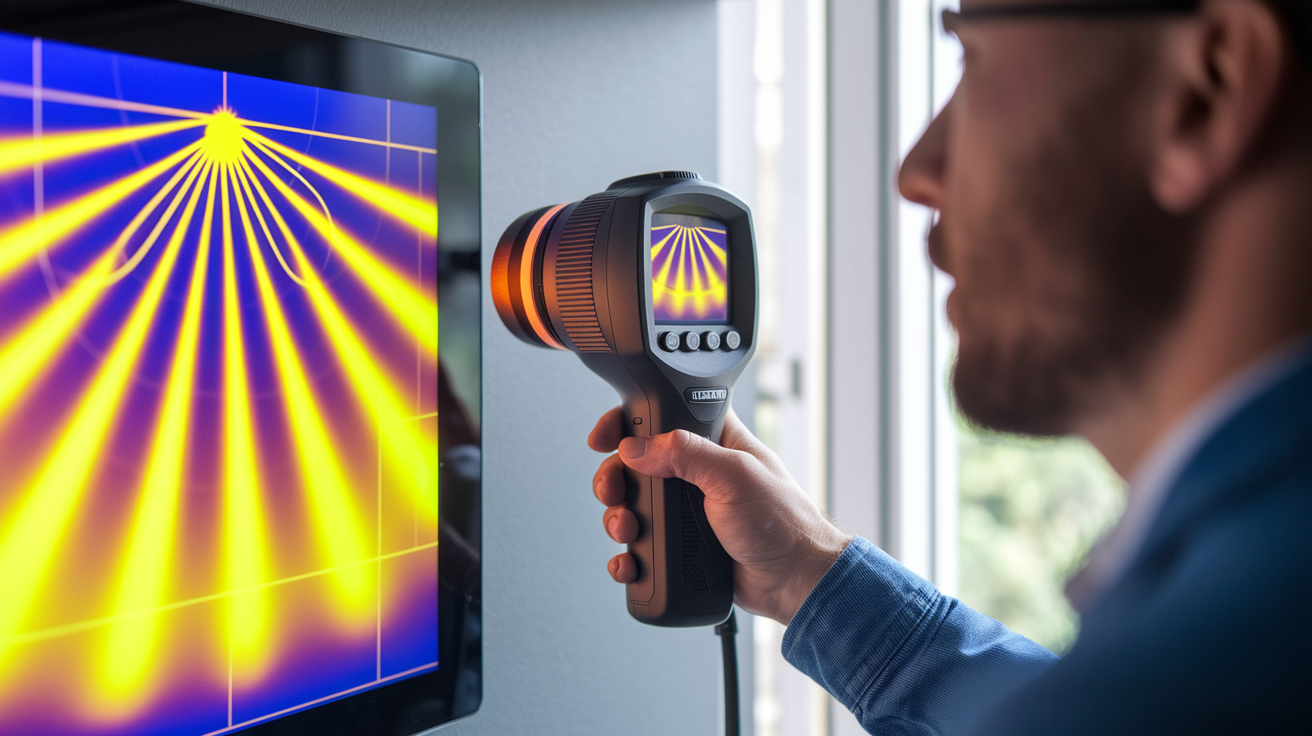
Early detection and fast professional repair cost a fraction of what you’ll pay if hidden water damage spreads for weeks or months. A $300 leak detection service that finds a small crack before it becomes a full burst can save you $10,000 in restoration work.
The cost difference between catching a problem early versus dealing with extensive damage comes down to how much material gets saturated and whether mold remediation becomes necessary. Fixing an accessible pipe section and replacing a few square feet of damaged drywall runs maybe $800 to $1,500. But if that same leak goes undetected for two months, you’re looking at structural drying, mold remediation, replacing insulation, rebuilding wall sections, and repairing secondary damage to flooring and ceilings. Easily $8,000 to $15,000 or more.
Location accessibility drives repair costs significantly. A burst in an exposed basement pipe might only require cutting out the damaged section and installing a new fitting, one or two hours of plumber labor. But when the burst’s behind a finished wall, above a ceiling, or under a concrete slab, access becomes the expensive part. Cutting through drywall, removing fixtures, or breaking concrete to reach the pipe adds labor time and material costs for reconstruction after the repair is complete.
| Service Type | Typical Cost Range | Timeline |
|---|---|---|
| Professional leak detection service | $200 – $500 | 2-4 hours |
| Pipe repair (exposed/accessible) | $300 – $800 | 2-4 hours |
| Pipe repair requiring wall/ceiling access | $1,000 – $3,000 | 1-2 days |
| Emergency after-hours call-out fee | $100 – $300 additional | Immediate response |
| Full water damage restoration | $3,000 – $15,000+ | 3-10 days |
Most homeowners insurance policies cover sudden and accidental water damage from burst pipes, but coverage specifics vary significantly. Your policy typically covers the cost of repairs, water extraction, drying, and restoration of damaged building materials and contents. However, you’ll pay your deductible first, commonly $500 to $2,500, before insurance kicks in. Policies generally don’t cover damage from slow leaks or deferred maintenance, so if the adjuster determines the burst resulted from pipes you should have replaced years ago, you might face claim denial or reduced coverage. That’s why thorough documentation matters. Photos showing the burst happened suddenly, maintenance records proving you’ve kept up with inspections, and a timeline of when you discovered the problem and took action all support your claim and help ensure full coverage. Save all receipts for emergency repairs, water extraction equipment rentals, and temporary lodging if the damage makes your home unlivable during restoration.
Preventing Future Hidden Pipe Bursts in Your Property

Every dollar you spend on prevention saves you roughly ten dollars in avoided emergency repairs and restoration costs. A $500 investment in pipe insulation and pressure regulation prevents a $5,000 insurance claim and the hassle of living through water damage restoration.
Follow these prevention measures:
-
Insulate all exposed pipes. Wrap foam pipe insulation around supply lines in basements, crawl spaces, attics, and garages. Pay special attention to pipes along exterior walls and in unheated areas where freezing risk is highest. Insulation costs about $0.50 per linear foot but prevents thousands in freeze damage.
-
Maintain minimum home temperature. Keep your thermostat at 55 degrees Fahrenheit or higher even when you’re away on vacation during cold months. Letting your home get too cold saves maybe $50 in heating costs but risks a burst that costs thousands to repair.
-
Let faucets drip during hard freezes. When temperatures drop below 20 degrees Fahrenheit for extended periods, open faucets slightly to maintain a steady drip. Moving water resists freezing better than standing water, and the small amount of wasted water costs far less than a burst pipe repair.
-
Open cabinet doors during cold weather. Kitchen and bathroom cabinets along exterior walls trap cold air around supply lines. Opening the doors during freezing weather allows warm room air to circulate around pipes and prevents freeze damage.
-
Seal air leaks around pipes. Use spray foam or caulk to seal gaps where pipes pass through walls, floors, or ceilings near windows, vents, and exterior penetrations. Cold air infiltration through these gaps lowers pipe temperatures and increases freeze risk.
-
Disconnect outdoor hoses before winter. Water trapped in hoses can freeze and back up into the pipe inside your wall, causing a burst. Disconnect all hoses, drain them, and store them before the first hard freeze.
-
Shut off and drain exterior faucet lines. Most homes have interior shut off valves for outdoor hose bibs. Close these valves in fall, then open the exterior faucet to drain remaining water from the line. This protects the pipe section that runs through your exterior wall.
-
Schedule annual professional plumbing inspections. A licensed plumber can spot early signs of corrosion, test your water pressure, check for hidden leaks, and identify aging pipe sections that need replacement before they fail. Annual inspections cost $150 to $300 but catch problems while they’re still cheap to fix.
-
Test and regulate water pressure. Install a pressure gauge on an outdoor hose bib to check your home’s water pressure. If it regularly exceeds 80 psi, install a pressure reducing valve to protect your pipes from stress. High pressure is one of the leading causes of premature pipe failure.
-
Replace aging pipe systems proactively. If your home still has original galvanized steel pipes and it was built before 1970, or if you have polybutylene pipes installed between 1978 and 1995, plan for full replacement before widespread failures start. Whole house repiping costs $4,000 to $12,000 depending on home size, but it eliminates the risk of multiple burst incidents over coming years.
-
Know your main shut off valve location. Make sure every adult in your household knows exactly where the main water shut off valve is located and how to operate it. Test the valve annually to confirm it still turns freely and fully stops water flow.
-
Create a written emergency response plan. Post instructions near your water heater or main shut off valve listing the steps to take if someone discovers a burst pipe. Include your plumber’s emergency number, insurance company contact information, and the locations of shut off valves and electrical panels.
Prevention works because it addresses the root causes, freezing, corrosion, and pressure stress, before they damage your pipes. The small ongoing investment in maintenance, insulation, and monitoring gives you peace of mind and protects your home’s value while avoiding the disruption and expense of dealing with water damage emergencies.
Final Words
Hidden pipe bursts don’t always announce themselves with a dramatic flood. Sometimes the signs are subtle—a damp spot here, a strange sound there, or a water bill that creeps up for no clear reason.
Catching those early signs of hidden pipe burst can save you thousands in repairs and spare you from serious structural damage or mold issues down the line.
If you spot multiple warning signs at once, don’t wait. Shut off the water, document what you’re seeing, and call in a pro to locate and fix the problem.
A little vigilance now means a dry, safe home later.
FAQ
Can you have a burst pipe and not know it?
Yes, you can have a burst pipe and not know it if the break occurs behind walls, under floors, or in ceilings where it’s not immediately visible. Hidden bursts often show subtle warning signs like slight water pressure drops, small ceiling stains, or a gradual water bill increase before major damage becomes obvious.
How do you tell if you have a hidden water leak?
You can tell if you have a hidden water leak by performing a water meter test when all fixtures are off and checking if the meter still moves after one to two hours. Other signs include unexplained damp spots on walls or ceilings, musty odors, unusual sounds like hissing or dripping inside walls, and unexpected spikes in your water bill.
How to tell if a pipe bursts underground?
You can tell if a pipe bursts underground by looking for wet spots or standing water in your yard, soft or sinking areas in the ground, unusually green patches of grass, and a sudden drop in water pressure throughout your home. A water meter test showing continuous usage when all fixtures are off also confirms an underground leak.
Where do pipes usually burst in a house?
Pipes usually burst in exposed areas like attics, basements, and crawl spaces, along exterior walls with interior plumbing, behind bathroom walls near showers and tubs, and under kitchen sinks. Pipes in unheated spaces, concrete slab foundations, and near water heater connections are also common failure points due to freezing temperatures and aging materials.
How quickly can a burst pipe cause damage?
A burst pipe can cause damage within minutes as water floods walls, floors, and ceilings. Mold growth can begin within 24 to 48 hours of water exposure, making immediate response critical. The longer water flows, the more extensive the structural damage and potential health hazards become.
What should I do first if I suspect a burst pipe?
If you suspect a burst pipe, shut off your main water supply valve immediately to stop water flow and prevent further damage. Then turn off electrical breakers in affected areas before approaching any standing water. Document the damage with photos for insurance claims and contact a professional plumber right away.
Will my insurance cover burst pipe damage?
Most homeowners insurance policies cover sudden and accidental burst pipe damage, including water removal and structural repairs. Coverage typically excludes damage from lack of maintenance or gradual deterioration. Document all damage thoroughly with photos and notes, and contact your insurance company promptly to file a claim.
How much does it cost to fix a burst pipe?
The cost to fix a burst pipe ranges from a few hundred dollars for accessible pipe repairs to several thousand for breaks behind walls or under slabs requiring demolition. Emergency call-out fees, full water damage restoration, and mold remediation can increase total costs significantly depending on damage severity and how quickly you respond.
