
A burst pipe releases gallons of water into your home every minute it stays open. If you’re reading this right now while water’s pouring into your basement or walls, you don’t have time to read a full article. You need three immediate actions: shut off your main water valve, kill power to wet areas, and call an emergency plumber. This guide walks you through the exact emergency steps to stop water damage from getting worse, then shows you how to dry out your home before mold takes over in the next 24 to 48 hours.
Critical Emergency Response: First Actions When Your Pipe Bursts
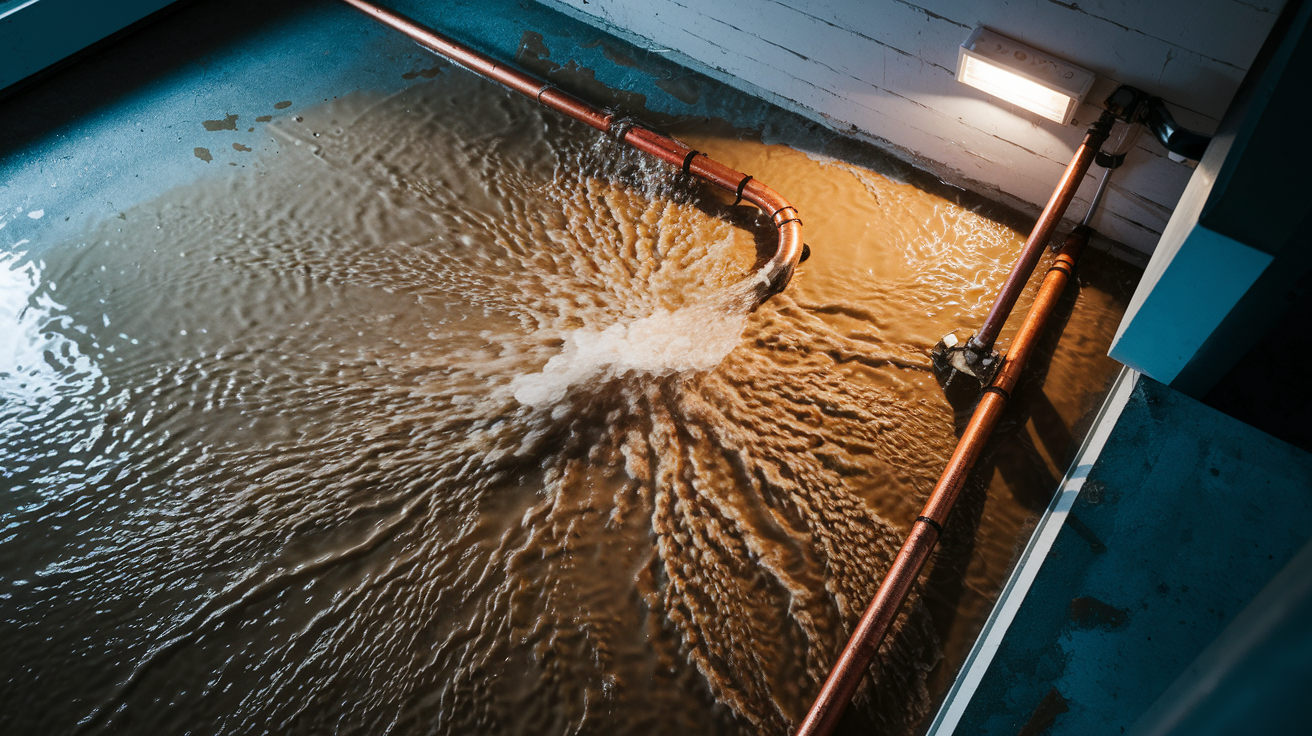
The first five minutes after you discover a burst pipe decide how much damage your home’s going to suffer. Every second counts when water’s pouring into your walls, floors, or ceilings. Knowing exactly what to do right now can save you thousands in repairs.
Shut Off Water Supply Immediately
Finding and shutting off your water supply is the single most important thing you can do. Here’s the exact sequence:
-
Locate your main water shut-off valve. Check your basement near the water heater or exterior wall first. If it’s not there, look in your crawl space, utility room, or near your pressure tank if you’ve got a well system.
-
Turn the valve clockwise until it stops completely. Gate valves need several full rotations. Keep turning until you can’t turn anymore. Ball valves only need a quarter turn (90 degrees) to shut off.
-
If you can’t find or reach the main valve, use individual shutoff valves. Look under sinks, behind toilets, and near your water heater. These smaller valves can stop water flow to specific fixtures.
-
Open all faucets throughout your home, starting with cold taps. This drains remaining water from your pipes and relieves pressure. Flush toilets to empty those lines too.
The main shutoff valve typically has a round wheel handle (gate valve) or a straight lever handle (ball valve). If you’ve never used it before, it might be stiff. But keep turning or pulling until water stops flowing.
Address Electrical Hazards and Safety
Water and electricity create deadly conditions. Before you step into any wet area, take these safety steps:
-
Turn off electricity at your circuit breaker for all affected areas. If you’re not sure which circuits cover the wet zones, shut off power to your entire house. Better safe than electrocuted.
-
Never wade through deep standing water near outlets or appliances. Even shallow water can conduct electricity if it’s touching a live outlet, power cord, or appliance.
-
Avoid any area where water is actively contacting electrical sources until power is completely shut off. This includes water dripping onto outlets, pooling around the refrigerator, or soaking into walls where wiring runs.
-
Note the exact location of the burst pipe while you’re assessing the situation. Take a quick photo if it’s safe. Your plumber will need to know where the damage is. “Somewhere in the basement” wastes time when they arrive.
Contact Emergency Plumbing and Apply Temporary Measures
Call an emergency plumbing service immediately, even if you’ve successfully shut off the water. Most emergency plumbers in Burlington and Rutland areas arrive within 60 to 90 minutes, and they’re available 24 hours a day, every day of the year.
While you’re waiting for professional help, you can apply temporary fixes to slow water loss. But understand these are stopgap measures only, not permanent repairs. For small cracks, a pipe repair clamp or sleeve can create a temporary seal. Epoxy putty works for pinhole leaks once you’ve dried the pipe surface. Rubber patches secured with hose clamps can contain small splits. If the burst is near a fixture, shutting the individual valve for that sink or toilet can isolate the problem. Place buckets under any remaining drips.
These temporary patches might hold for a few hours or even a day, but they’re not safe long term solutions. Water pressure will eventually overcome most quick fixes, and you can’t see what’s happening inside your walls where pipes might be cracked without obvious leaks yet.
All temporary repairs must be followed by professional pipe repair and full system assessment. A plumber needs to inspect the burst section, check surrounding pipes for stress damage, and install proper permanent repairs. Skipping this step just sets you up for another emergency next week or next month.
Containing Water Damage and Removing Standing Water After a Burst Pipe

Once the water supply is shut off and electrical hazards are addressed, your next priority is stopping water from spreading to undamaged areas and beginning the removal process. The faster you contain and remove standing water, the less damage your floors, walls, and belongings will suffer.
Your first move should be getting vulnerable items out of the water’s path:
- Electronics and appliances (computers, TVs, gaming systems, microwaves, small appliances)
- Important documents and papers (insurance policies, passports, birth certificates, tax records, deeds)
- Furniture and upholstered items (couches, chairs, mattresses, cushions)
- Valuables and jewelry (watches, rings, family heirlooms, collectibles)
- Photos and family heirlooms (photo albums, framed pictures, irreplaceable keepsakes)
- Carpets and rugs if you can roll them up and move them quickly
- Medications and medical supplies (prescription bottles, first aid supplies, medical equipment)
- Clothing and personal items from dressers and closets in affected rooms
Move these items to a dry room or upper floor if water is spreading across your main level. Don’t waste time organizing or cleaning things now. Just get them out of the water zone.
For water removal, work with whatever tools you have available. Towels and mops soak up shallow water from hard floors. A wet/dry shop vacuum removes water much faster than towels and can handle deeper puddles. Buckets are useful for scooping water from corners and low spots. If you’re dealing with several inches of standing water, you might need a submersible pump. Direct pooling water toward floor drains if you have them, or sweep it toward exterior doors where it can run outside onto your lawn or driveway instead of soaking deeper into your flooring.
Never use a regular household vacuum on water. You’ll destroy the motor and risk electrical shock. Only wet/dry vacuums or shop vacs designed for water pickup are safe for this job.
If there’s any chance your burst pipe released sewage or contaminated water (which can happen if the burst occurred in a drain line or if sewage backed up because of the pressure change), stop removal efforts and wait for professional assessment. Contaminated water carries bacteria and pathogens that require specialized cleanup and sanitization. You can’t tell just by looking whether water is contaminated, so if the burst happened anywhere near bathroom plumbing or you see any discoloration or smell anything foul, treat it as hazardous and keep people and pets away until a plumber confirms what you’re dealing with.
Starting the Drying Process to Prevent Mold Growth
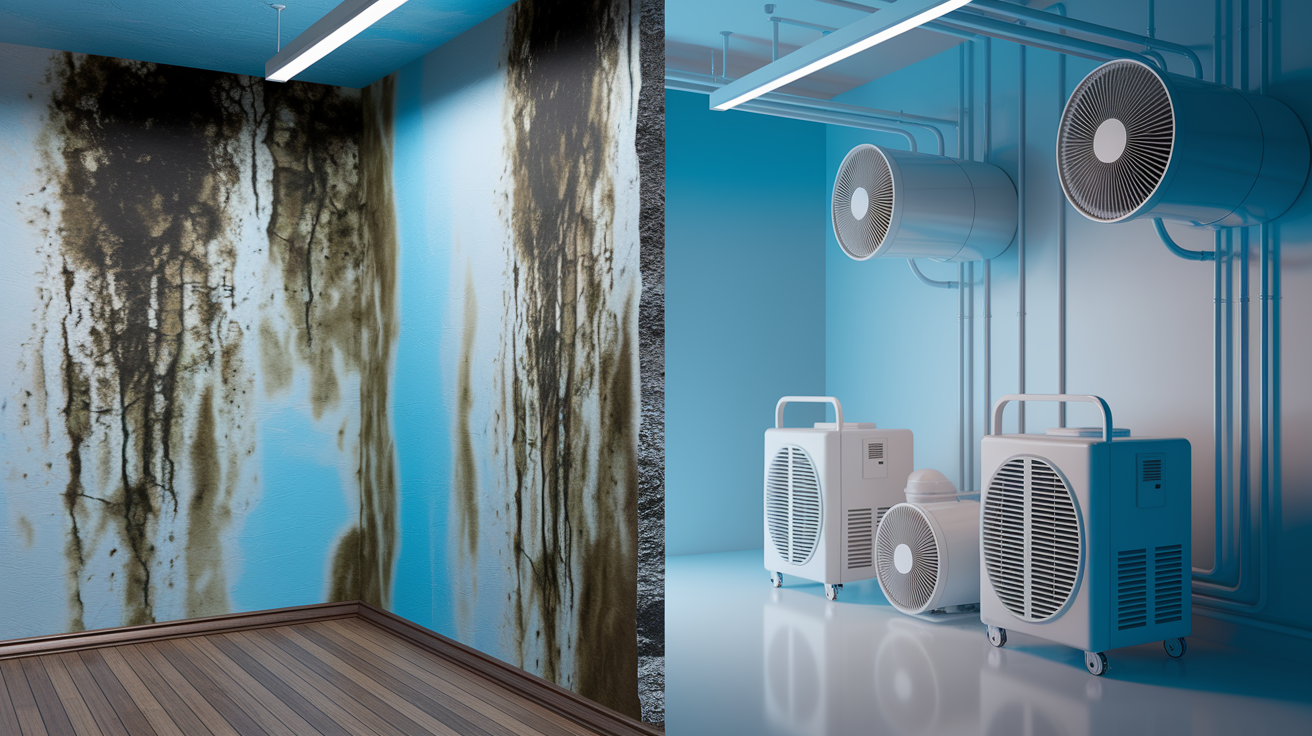
You have a narrow window to prevent mold growth after water damage. Typically 24 to 48 hours before mold and mildew start taking hold. The drying process needs to start immediately after you’ve removed standing water.
Here’s the step by step drying sequence:
-
Open windows and doors for ventilation if outdoor weather permits. Fresh air circulation helps moisture escape. Skip this step if it’s raining, extremely humid outside, or if opening windows creates security concerns.
-
Position fans to promote air circulation across all wet surfaces. Point fans toward wet walls, floors, and ceilings. Don’t aim them directly at one spot. You want sweeping air movement across the entire affected area.
-
Run dehumidifiers in affected areas. Place them centrally in the room and empty the collection bucket frequently. If you don’t own a dehumidifier, consider renting one. Hardware stores and equipment rental companies stock them.
-
Remove wet carpets, rugs, and fabrics that trap moisture. Roll up area rugs and take them outside. Pull up carpet padding if it’s soaked. It rarely dries properly and becomes a mold factory. Wet curtains, blankets, and other fabrics should go into the dryer or outside to air dry.
-
Monitor humidity levels and drying progress daily. Feel walls and floors with your hand. If they still feel damp or cool to the touch after 48 hours, your drying efforts aren’t working fast enough.
Here’s the critical timeline you’re racing against: In the first 24 hours, water absorbs deep into drywall, wood flooring, subflooring, carpets, and furniture, causing swelling, warping, and material deterioration. Between 24 and 48 hours after the burst, mold and mildew begin growing in damp areas, drywall starts breaking down and crumbling, metal surfaces tarnish or develop rust, and wooden floors begin to cup or buckle. From 48 hours to one week, mold growth becomes visible and widespread, structural damage extends into wood framing, and complete replacement of carpets and drywall often becomes necessary. Beyond one week, you’re looking at serious structural damage, extensive mold infestation that requires professional Mold Mitigation, potential health hazards from airborne spores, and dramatically increased restoration costs.
Complete drying typically takes three to seven days depending on how much water was released, which materials got wet, and your environmental conditions. Vermont winters with low indoor humidity can actually help drying, while summer humidity can extend drying times beyond the standard range.
Industrial dehumidifiers used by professional restoration companies can remove over 100 pints of moisture per day. Far more than consumer models. Professional technicians use moisture meters to measure water content inside walls and floors, and thermal imaging cameras to spot hidden wet areas you can’t see. They visit daily or every few days to track drying progress and adjust equipment placement. When mold becomes visible after that 48 hour mark, professional mold remediation becomes the safer choice over DIY attempts. Mold spores spread easily when disturbed, and proper containment and removal requires specialized equipment and training.
Wait to use fans and heaters if there’s any chance your water is contaminated with sewage or hazardous materials. Running fans in those situations spreads bacteria and contaminants throughout your home instead of just drying things out. Get a professional assessment first.
Complete Insurance Documentation and Claim Filing for Burst Pipe Damage

Contact your homeowners insurance company within 24 to 48 hours of discovering the burst pipe, and document all damage before you start any cleanup or repairs that aren’t necessary to prevent further damage. Your insurance company needs this documentation to process your claim fairly.
Documentation Requirements and Claim Filing Steps
Follow this sequence to file your claim properly:
-
Contact your insurance company and file an initial claim report within 24 to 48 hours. Don’t wait until you’ve cleaned everything up. Most policies require prompt notification, and delays can complicate your claim.
-
Provide a detailed timeline of when the burst occurred and what immediate actions you took. Explain when you discovered the problem, how you shut off water, what emergency steps you took, and when you contacted a plumber.
-
Submit photographic and video documentation of all damage. Take these before you move anything or start repairs. Your adjuster needs to see the full extent of what happened.
-
Present an itemized inventory of damaged belongings with brand, model, age, and original purchase price when possible. The more specific you are, the more accurate your reimbursement will be.
-
Coordinate the insurance adjuster visit and inspection. They’ll need to see the damage in person. Be present during this visit to answer questions and point out all affected areas.
-
Keep organized records of all repair receipts and contractor invoices. File every receipt from emergency plumbing services, water removal, equipment rental, material replacement, and restoration work.
Make sure you collect these specific documentation items:
- Wide angle photos of each affected room from multiple angles showing the full scope of damage
- Close up photos of damaged walls, ceilings, floors, and fixtures showing detail of deterioration
- Video walkthroughs showing how water spread and which areas were hit hardest
- Photos of the burst pipe location and any visible cause like corrosion or freezing damage
- Detailed inventory of damaged belongings with estimated values and replacement costs
- Receipts for emergency repairs and water removal services you paid for immediately
- Written timeline of discovery and actions taken, including times and dates
Understanding Coverage, Limits, and What’s Excluded
Most homeowners insurance policies cover sudden and accidental water damage from burst pipes, including emergency mitigation costs to stop the damage, structural repairs to walls and floors, and damaged belongings like furniture and electronics.
However, coverage comes with limits. The maximum dollar amount your policy will pay, and your deductible, which is the amount you pay out of pocket before insurance coverage kicks in. A typical deductible might be $500 to $2,500 depending on your policy terms.
What’s often not covered can surprise homeowners. Gradual damage from slow leaks that developed over weeks or months usually isn’t covered because insurance expects you to maintain your home and catch problems early. Lack of maintenance (like failing to insulate pipes in cold areas or ignoring visible corrosion) can lead to claim denials. Pipe freezing in vacant homes without proper winterization is typically excluded because it’s considered preventable. Negligence in responding to warning signs or failing to shut off water promptly can reduce your payout.
Read your specific policy terms carefully, and ask your insurance representative questions about coverage limits and out of pocket expenses you should expect. Knowing this before you file helps you make informed decisions about which repairs to prioritize.
| Documentation Type | Timing | Purpose |
|---|---|---|
| Emergency photos and videos | Within first hours of discovery | Show initial damage extent before any cleanup or repairs |
| Detailed belongings inventory | Within 24-48 hours | List all damaged items with values for reimbursement calculation |
| Repair and service receipts | Ongoing throughout restoration | Prove expenses for reimbursement and track total claim costs |
| Adjuster meeting notes | During insurance visit | Record what adjuster observed and any verbal commitments made |
| Final completion photos | After restoration is complete | Document that repairs returned property to pre-damage condition |
Understanding Water Damage Restoration and Professional Mitigation Services

Emergency mitigation and full restoration are two different things. Mitigation means stopping the damage from getting worse. Shutting off water, extracting standing water, starting the drying process. Restoration means repairing and rebuilding everything the water damaged. Replacing drywall, fixing floors, repainting, replacing fixtures.
When Professional Water Mitigation Is Necessary
Some burst pipe situations are manageable with quick action and basic tools. Others need professional equipment and expertise from the start.
You need professional water mitigation services when you’re dealing with extensive flooding affecting multiple rooms, water damage to ceilings that could lead to collapse, a flooded basement with several inches of standing water, visible structural concerns like sagging floors or buckling walls, or hidden moisture trapped inside walls where you can’t reach it to dry properly. If the burst happened inside a wall or ceiling and you can’t see how far the water spread, professionals have detection equipment to find every wet area.
Professional teams bring extraction equipment that removes water far faster than household tools, industrial drying equipment that works in days instead of weeks, moisture detection technology that finds problems you’d miss, and the experience to know which materials can be saved and which need replacement.
The Professional Restoration Process Timeline
Professional Water Damage and Flooding Cleanup follows five distinct phases, each with specific equipment and goals.
Emergency response happens in hours 1 through 4. Most restoration companies in Burlington and Rutland arrive within 60 to 90 minutes of your call. The team assesses damage, confirms water is shut off, addresses immediate safety hazards, and sets up initial extraction equipment.
Water extraction runs from hours 4 through 24. Truck mounted water extractors can remove hundreds of gallons per hour from carpets and flooring. Submersible pumps handle deep standing water in basements. Wet vacuums pull water from corners, closets, and hard to reach spaces. The goal is removing every bit of standing and absorbed water as quickly as possible.
Drying and dehumidification takes days 1 through 7. Industrial dehumidifiers run continuously, removing over 100 pints of moisture per day. Air movers (high powered fans) create airflow across all wet surfaces. Technicians visit daily to measure moisture levels using moisture meters and thermal imaging cameras, adjusting equipment placement based on drying progress. This phase continues until moisture readings confirm everything is completely dry.
Cleaning and sanitizing happens after drying is complete. All affected surfaces get cleaned and disinfected. Antimicrobial treatments prevent mold growth. Odor removal addresses any musty smells from the water damage.
Restoration and reconstruction is the final phase. This includes replacing damaged drywall, repairing or replacing flooring, repainting walls and ceilings, replacing baseboards and trim, and restoring your home to its pre damage condition.
IICRC certification (Institute of Inspection, Cleaning and Restoration Certification) means technicians follow industry best practices and use proven methods. Ask whether your restoration company holds this certification. It’s the professional standard for water damage restoration work.
Estimated Costs and Recovery Timeframes
Water damage restoration costs vary widely based on how much water was released, which materials got damaged, and how many square feet need attention. A small burst affecting one bathroom might cost $1,500 to $3,000 for professional mitigation and repairs. A major burst flooding multiple rooms or an entire basement can run $10,000 to $25,000 or more once you factor in drying, mold prevention, material replacement, and reconstruction.
Timeline expectations also depend on damage extent. Minor incidents with quick water shutoff and limited spread typically take 3 to 7 days for complete drying and another week for repairs. Total recovery in two to three weeks. Major incidents with extensive flooding, structural damage, or mold growth can take 2 to 4 weeks for drying and mitigation, plus another 2 to 6 weeks for full reconstruction.
Your homeowners insurance coverage affects your out of pocket expenses significantly. If your policy covers the burst pipe damage, you’ll pay your deductible (typically $500 to $2,500) and insurance covers the rest up to your policy limits. If the damage falls under an exclusion or you don’t have coverage, you’re responsible for the full restoration cost.
Recognizing Burst Pipe Warning Signs and Frozen Pipe Prevention
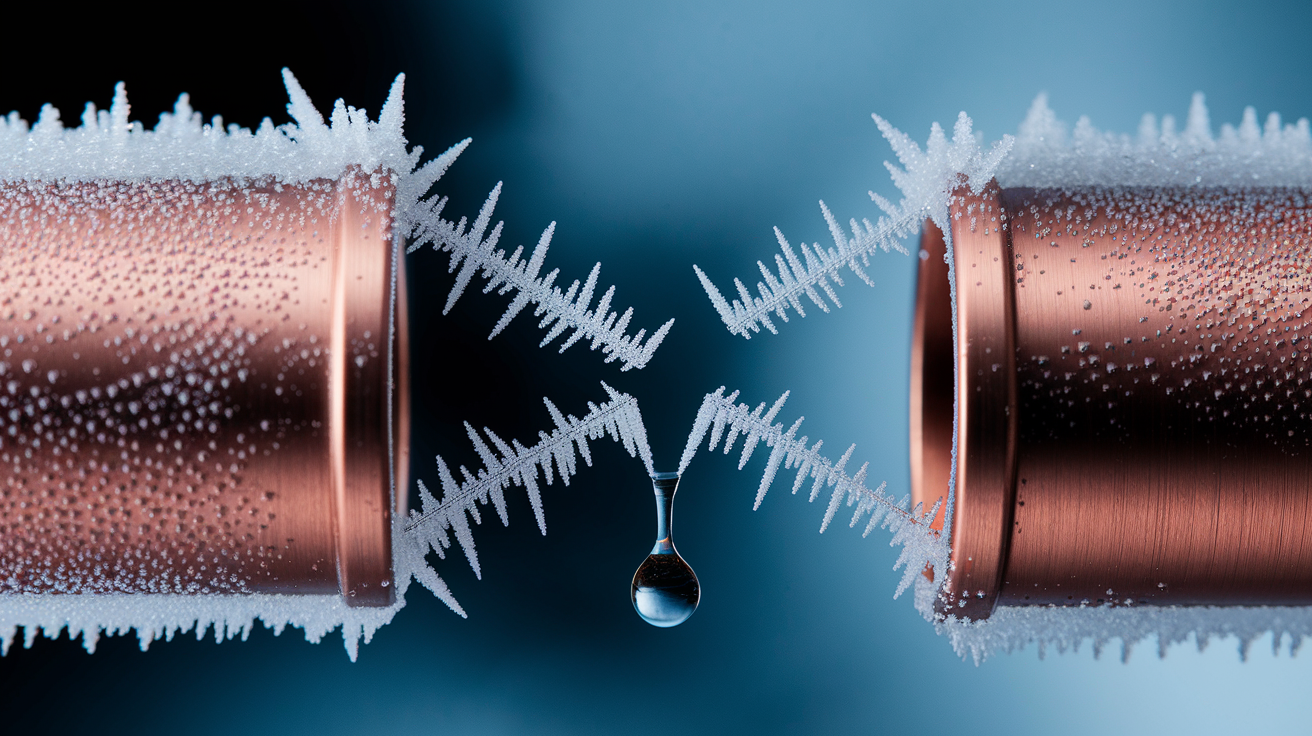
Most burst pipes don’t happen without warning. If you know what to look for, you can catch problems early and prevent a full burst that floods your home.
Watch for these seven warning signs:
- Visible water leakage around pipes or fixtures, even small drips or wet spots near pipe connections
- Sudden spike in your water bill without any change in your usage habits, which suggests water is leaking somewhere in your system
- Discolored or rust colored water from taps, indicating corrosion inside pipes that’s breaking down metal and releasing rust particles into your water supply
- Foul or unusual odor from water, which can mean bacteria growth inside pipes or contamination from corroded pipe material
- Noticeably reduced water pressure throughout your home, especially if it affects multiple fixtures at once
- Water stains, discoloration, or bubbling paint on walls and ceilings, showing water is leaking inside your walls or above your ceilings
- Banging, clanking, or gurgling sounds in your pipes, called water hammer, which indicates pressure problems that stress pipe joints and connections
Low temperatures are the main cause of pipe bursts because freezing water expands and creates internal pressure that pipes can’t withstand. Water expands about 9% when it freezes, and that expansion force can crack copper, PVC, or steel pipes.
The most vulnerable areas in your home are basements, garages, crawlspaces, under sinks against exterior walls, and inside closets on outside walls. Anywhere pipes run through unheated or poorly insulated spaces where cold air reaches them.
Prevent frozen pipe bursts by opening cabinet doors and closet doors that contain plumbing during cold weather. This allows warm air from your heated home to circulate around pipes and keep them above freezing. Use portable space heaters in unheated areas like garages or basement workshops during extreme cold snaps, but never leave them running unattended. Install pipe insulation on any exposed pipes in vulnerable areas. Foam pipe sleeves are inexpensive and easy to install yourself. During periods of extreme cold (below 20°F), let faucets drip slightly overnight. Moving water is much harder to freeze than standing water. Maintain a consistent indoor temperature throughout your home, even in rooms you don’t use regularly. If you’re leaving your property vacant during winter months, either keep heat on at 55°F minimum or completely winterize the plumbing by draining all pipes and adding antifreeze to drain traps.
Never consume discolored, contaminated, or odd smelling water. It’s a sign of serious pipe problems and potential health hazards. Use bottled water until a plumber can inspect and resolve the issue.
Additional Causes of Burst Pipes Beyond Freezing Temperatures
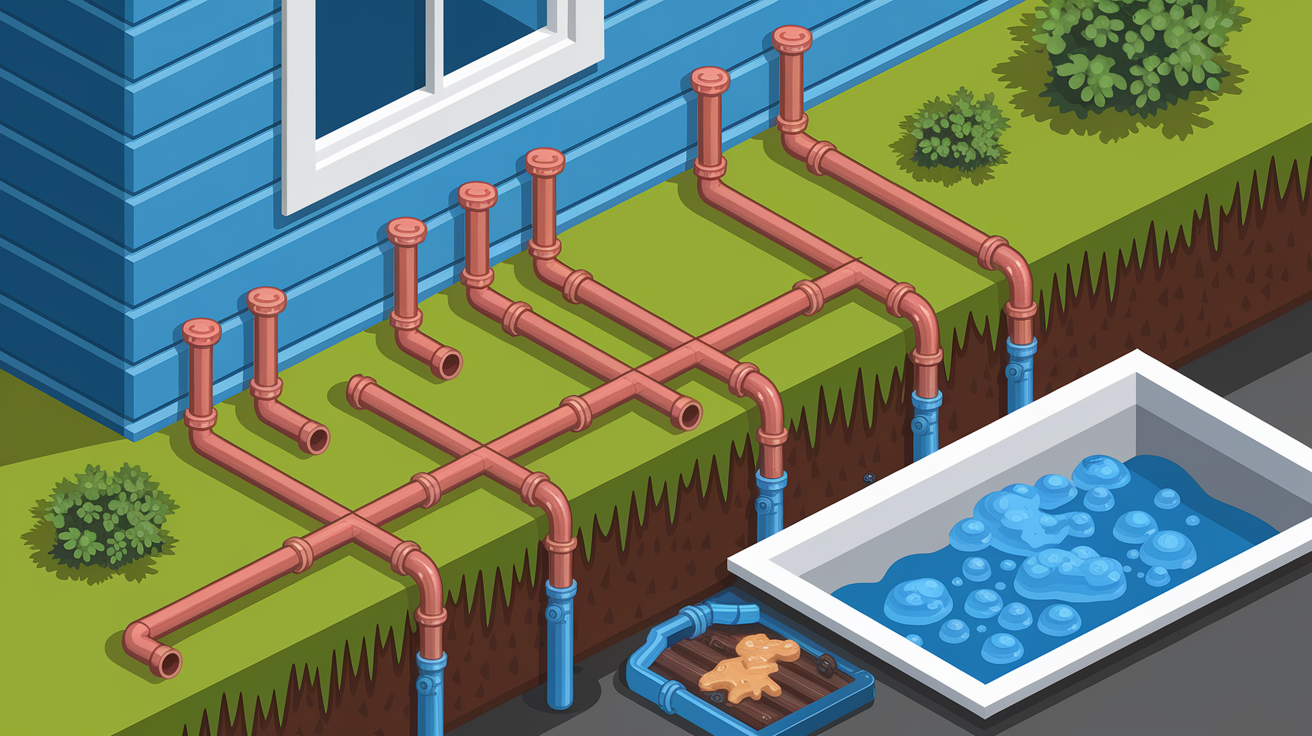
Freezing temperatures get most of the attention, but several other common causes lead to burst pipes year round, even in warm weather.
Clogs and Pressure Buildup
Blockages inside your plumbing create pressure that has nowhere to go except outward through the pipe walls. A severe clog forces water to push against pipe joints and seams with increasing force until something gives.
Kitchen sink clogs are frequent culprits. Grease, food particles, and soap residue combine to create tough blockages that build up over months. Never pour fats, oils, or grease down your drains. They solidify as they cool and coat pipe interiors, gradually narrowing the opening until water can barely pass through. Once the clog is nearly complete, normal water pressure can’t push through, so it pushes outward instead.
Toilet clogs can also create system wide pressure if the blockage is in your main drain line rather than just the toilet trap. Tree roots infiltrating sewer lines create similar pressure problems.
Schedule routine drain cleaning and maintenance with a plumber every 1 to 2 years to prevent clogs before they cause damage. Use drain screens to catch hair and debris. Avoid chemical drain cleaners that can corrode pipes over time. A plumber’s mechanical cleaning is safer and more effective.
External Physical Damage and Root Intrusion
Tree roots and construction work damage pipes from the outside. Tree roots naturally grow toward water sources, and they’re surprisingly strong. Roots can infiltrate even small cracks in underground pipes, then expand as they grow, splitting pipes wide open. This usually happens gradually, but the final burst can release a lot of water quickly.
Construction and excavation create risks if contractors dig without knowing where underground pipes run. Heavy machinery can crack or sever pipes with a single movement. Ground shifting from heavy rain, erosion, or freeze thaw cycles can also stress buried pipes until they crack.
Always contact your utility company or call 811 (the national “Call Before You Dig” number) before any digging project. They’ll send locators to mark underground pipes, electrical lines, and other utilities for free. This prevents accidental pipe damage and keeps you safe from hitting gas lines or electrical conduits.
Corrosion and Aging Plumbing Systems
Metal pipes corrode over time from water flow and mineral content dissolved in your water supply. Copper pipes, which are common in homes built from the 1950s through the 1990s, develop pinhole leaks and cracks after decades of use. The constant water flow wears away the inside surface of the pipe, creating rust (in steel pipes) or corrosion (in copper) that thins the pipe walls until they can’t handle normal water pressure anymore.
Older plumbing systems are particularly vulnerable because the pipes have been corroding for 40, 50, or 60 years. If your home was built before 1970, consider a professional plumbing inspection to assess pipe condition.
Signs of corrosion include discolored brown or orange water from rust particles, metallic taste in drinking water, and visible rust or green corrosion on exposed pipe sections. Once you see visible corrosion on the outside of pipes, the inside is usually worse.
Professional inspections can identify when pipes are approaching failure, allowing you to schedule repairs or replacements before an emergency burst happens. Sometimes a plumber can replace a single corroded section. Other times, especially in older homes, repiping major sections or the entire house is the safer long term solution. This sounds expensive, and it can be. But it’s still cheaper than repeated emergency repairs, water damage restoration, and the stress of unexpected flooding.
Dealing With Specific Types of Water Damage From Burst Pipes
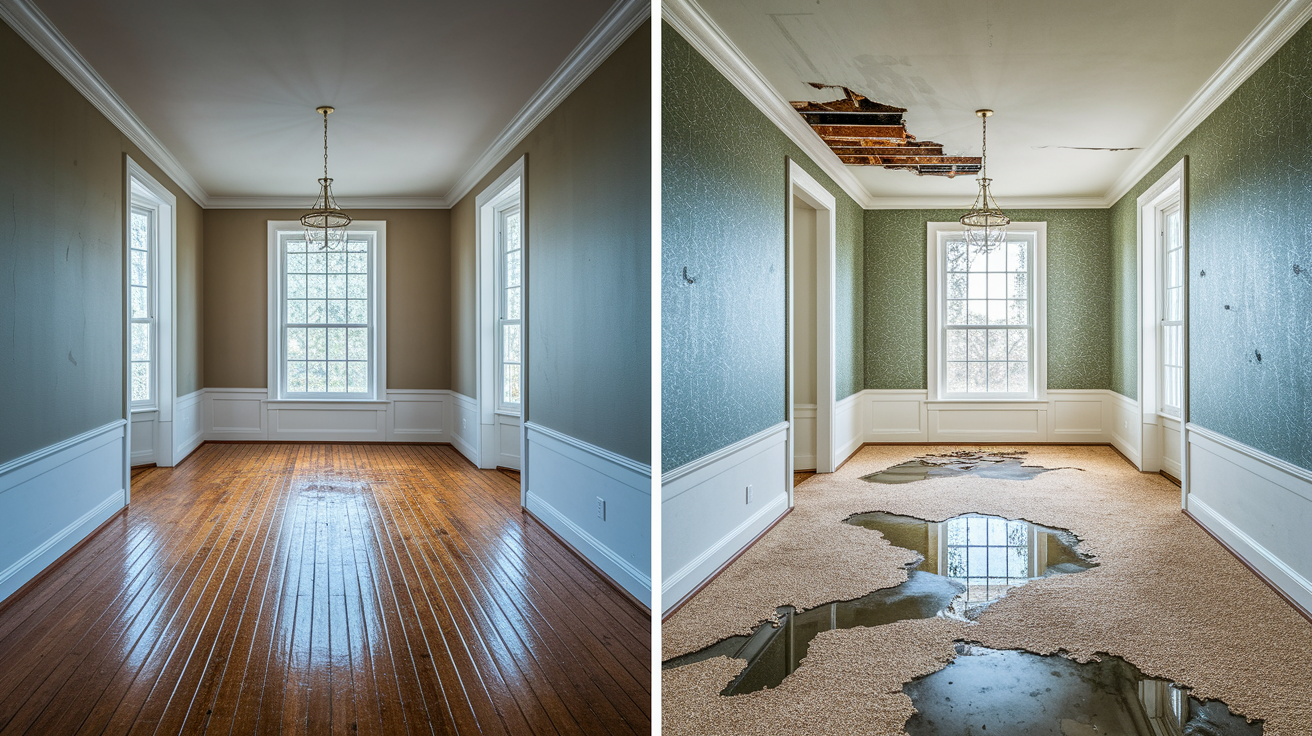
Different building materials respond differently to water exposure, and understanding these differences helps you know what can be saved versus what needs replacement.
| Material | 24-Hour Damage | 48-Hour+ Damage | Typical Solution |
|---|---|---|---|
| Drywall | Absorbs water, becomes soft and swollen | Crumbles, loses structural integrity, mold growth begins | Replacement if saturated; can sometimes dry and repaint if minimally wet |
| Carpet and padding | Soaks through to padding and subfloor | Padding deteriorates, mold and odor develop | Padding almost always replaced; carpet can sometimes be cleaned and reinstalled |
| Hardwood flooring | Begins swelling, edges start to cup | Severe cupping, buckling, warping, gaps between boards | Professional drying and refinishing if caught early; replacement if badly warped |
| Subfloor | Absorbs water, begins to swell | Warps, loses strength, separates from joists | Replacement in most cases once severely saturated |
| Ceiling materials | Sags from water weight, discoloration | Collapse risk, structural damage, mold above | Replacement usually required for safety |
| Insulation | Becomes saturated and heavy | Loses insulating value, promotes mold growth | Replacement; wet insulation cannot be effectively dried |
Wet drywall assessment depends on saturation level and how long it stayed wet. If water only dampened the surface and you started drying within a few hours, the drywall might dry completely and only need fresh paint. If water soaked through the drywall, causing it to swell, sag, or crumble when you touch it, replacement is necessary. Moisture meters help professionals measure water content inside drywall that looks dry on the surface but is still wet inside. Drywall that stays wet for more than 48 hours almost always develops mold inside the paper backing and requires replacement.
Ceiling damage creates serious risks. Water collects above ceilings, making the drywall or plaster heavy. Sagging ceilings can collapse without warning, especially if a lot of water is trapped above. Never stand directly under a sagging ceiling, and get it inspected immediately. Hidden moisture above ceilings also leads to mold growth on the ceiling joists and insulation that you can’t see until you remove the damaged ceiling material.
Flooded basements present unique challenges because the space is below grade. Water can seep through foundation walls and floors even after you’ve removed standing water. Below grade drying takes longer because air circulation is limited and humidity naturally settles into lower areas. Basement floods also raise questions about foundation damage, cracks that let water in, and whether the flooding could happen again during the next heavy rain.
Carpet and padding respond poorly to water. Carpet padding disintegrates when saturated, losing its cushioning structure and developing odors and mold within 24 to 48 hours. Professionals almost always recommend replacing padding even if the carpet itself can be cleaned and saved. Carpets that stayed wet for more than two days or were soaked with contaminated water should be replaced entirely. Wooden floors show damage through cupping (edges curl up higher than the center of each board) and buckling (boards warp upward and separate from the subfloor). Solid hardwood can sometimes be sanded and refinished after professional drying brings moisture content back to normal levels, but this only works if you catch the water damage within the first day or two. Engineered wood flooring with a thin hardwood veneer over plywood usually can’t be saved after significant water exposure.
Subfloor moisture testing determines whether the plywood or OSB (oriented strand board) underneath your flooring needs replacement. Moisture meters inserted into the subfloor measure water content as a percentage. Normal subfloor moisture is around 10% to 12%. Readings above 18% to 20% indicate saturation that requires drying. Readings that stay high after several days of drying mean the subfloor is damaged and needs replacement. Warped or separated subflooring also needs replacement regardless of moisture readings. It’s lost structural integrity and won’t support new flooring properly.
Health and Safety Concerns After a Pipe Bursts in Your Home
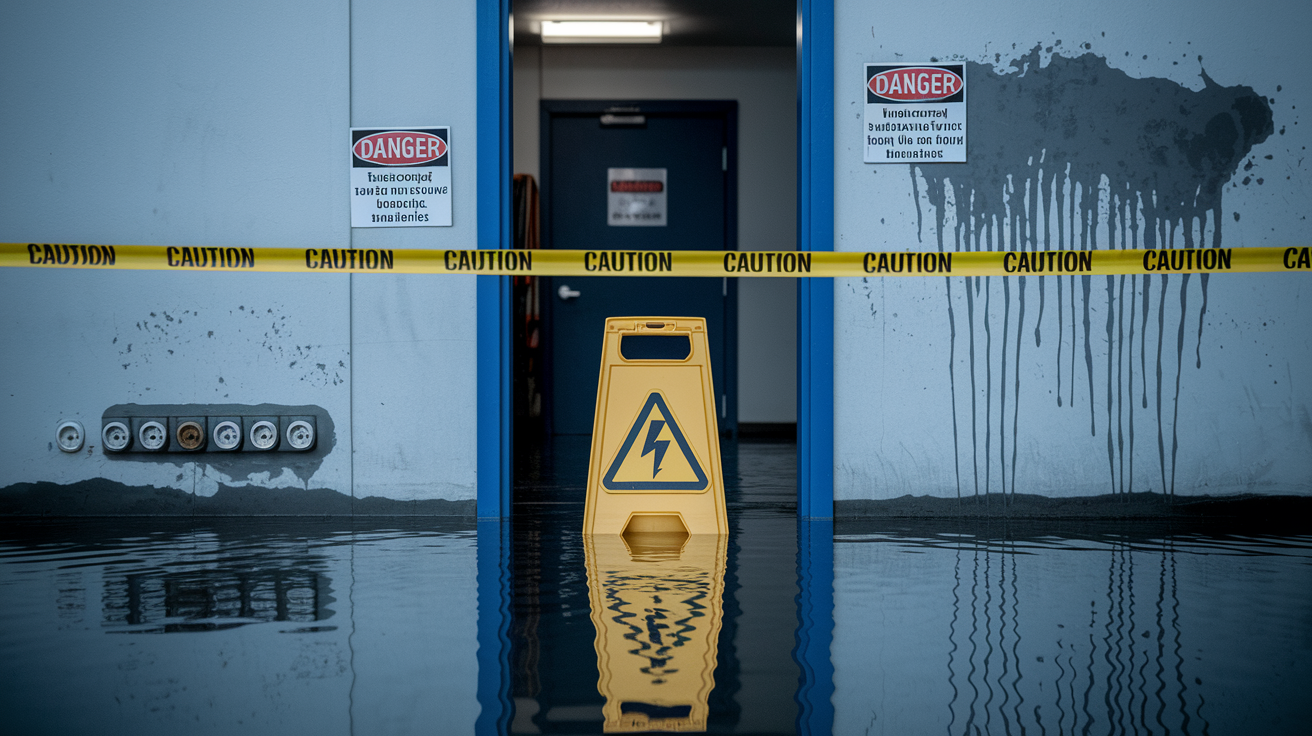
Water damage creates several health and safety hazards beyond the obvious inconvenience of wet floors and damaged belongings. Understanding these risks helps you protect yourself and your family during cleanup and restoration.
Electrical safety is the most immediate danger. Standing water conducts electricity, so any water near outlets, light switches, appliances, or electrical panels creates electrocution risk. Water doesn’t have to be deep. Even a puddle can conduct enough electricity to cause serious injury or death if it contacts a live electrical source. Shut off electricity at the circuit breaker before entering areas with standing water. If your electrical panel is in the flooded area and you can’t safely reach it, call an electrician or your utility company for assistance. Don’t turn electricity back on until a licensed electrician has inspected the affected circuits and confirmed it’s safe. Water damaged outlets, switches, and wiring often need replacement even after everything dries.
Water contamination falls into three categories that determine cleanup requirements and health risks. Clean water comes from supply pipes. It’s potable water from your municipal system or well. This is the least dangerous category, though it still supports mold and bacteria growth if not dried quickly. Gray water contains some contamination from appliances. Think dishwasher discharge, washing machine water, or water that’s been sitting in pipes or on floors for hours. Gray water can cause illness if ingested and requires thorough cleaning and disinfection. Black water is sewage or water contaminated with sewage, soil, or other serious hazards. This happens when drain lines burst, sewage backs up, or floodwater mixes with drain water. Black water requires professional cleanup with full protective equipment, containment barriers, and specialized sanitization. Never assume you know which category your water falls into based on appearance. Discolored water could be corroded pipe residue (relatively safe) or sewage contamination (dangerous). When in doubt, treat it as contaminated and get professional assessment.
Bacterial growth and contamination spread happens quickly in wet environments. Even clean water develops bacteria colonies within 24 to 48 hours if materials stay wet. This is why immediate drying is so critical. Using fans and heaters is normally helpful for drying, but if you’re dealing with contaminated water or sewage backup, fans spread bacteria throughout your home instead of just drying surfaces. Wait for professional assessment before running air circulation equipment if there’s any chance of contamination. Professional cleaning services use containment barriers, HEPA filtration, antimicrobial treatments, and proper disposal methods to prevent contamination spread. They also wear protective equipment (gloves, masks, and sometimes full hazmat suits for sewage cleanup) that homeowners typically don’t have access to.
Structural safety concerns emerge as water damage progresses. Wet flooring, especially hardwood and laminate, becomes slippery and can hide weakened spots where the subfloor has separated from floor joists. Walk carefully and test floors before putting your full weight on saturated areas. Ceiling collapse is a real risk when water collects above drywall or plaster. Look for sagging, discoloration, or water dripping through ceiling fixtures. If you see a ceiling sagging noticeably, evacuate that room and call professionals. It could collapse within hours or even minutes. Water damaged stairs lose structural strength, making them unsafe to use until they’re dried and inspected. Weight bearing walls that absorb significant water can compromise structural integrity, though this usually takes sustained water exposure over days rather than hours. When you’re uncertain about structural safety in any area, mark it off limits and get a professional inspection before allowing anyone to enter.
Long Term Recovery and Preventing Future Burst Pipe Incidents

Moving from emergency response mode to prevention requires a shift in perspective. The time and money you just spent dealing with a burst pipe proves that prevention is worth the effort.
The recovery process teaches important lessons about your home’s vulnerabilities. Now that you know where problems can develop, you’re in the best position to prevent the next incident.
Prevention costs are always a fraction of emergency repair and restoration expenses. A $200 pipe insulation project beats an $8,000 water damage restoration bill. An hour spent locating your main shutoff valve saves days of stress and cleanup work. Annual maintenance catches small problems before they become emergencies.
Here’s your prevention checklist moving forward:
Schedule annual professional plumbing system inspections. A plumber can spot early signs of corrosion, test water pressure, check pipe connections, and identify vulnerable areas before they fail.
Insulate pipes in vulnerable areas including basements, crawlspaces, garages, exterior walls, and anywhere pipes run through unheated spaces. Foam pipe sleeves cost less than a dollar per foot and take minutes to install yourself.
Maintain consistent heating in all areas of your home during winter. Set a minimum temperature of 55°F if you’re away, and never turn heat completely off in freezing weather.
Replace aging pipes before they fail. Typical lifespans are 50+ years for copper pipes and 25 to 40 years for PVC pipes. If your plumbing is approaching these ages, plan for proactive replacement instead of waiting for emergency failures.
Install water leak detection systems and automatic shutoff devices. Smart home water sensors alert you immediately when they detect moisture. Automatic shutoff systems can cut water supply the moment sensors detect a leak, even when you’re not home.
Know the location of your main shutoff valve and test it annually. Make sure everyone in your household knows
Final Words
A burst pipe turns your day upside down fast, but knowing what to do after a pipe bursts keeps the damage from spiraling. Shut off water, handle electrical risks, remove standing water, and start drying within those first critical 24 to 48 hours.
Document everything for insurance, understand when you need professional help, and watch for warning signs before the next freeze hits.
The faster you act, the more of your home you’ll save. And once things settle, a little prevention goes a long way toward keeping pipes intact when temperatures drop again.
FAQ
What should I do immediately after a pipe bursts in my home?
Immediately after a pipe bursts in your home, shut off the main water supply by turning the valve clockwise, turn off electricity to affected areas at the circuit breaker, and contact an emergency plumber right away.
How long does it take to dry a house after a burst pipe?
Drying a house after a burst pipe typically takes 3 to 7 days, depending on the extent of water damage, materials affected, and environmental conditions like humidity levels and airflow.
At what temperature should I worry about my pipes bursting?
You should worry about your pipes bursting when temperatures drop below freezing (32°F), especially in unheated areas like basements, crawlspaces, garages, and exterior walls where pipes are most vulnerable to freezing.
What happens if a pipe bursts inside your home?
If a pipe bursts inside your home, water floods affected areas within minutes, causing damage to drywall, flooring, furniture, and belongings while creating immediate electrical hazards and potential for mold growth within 24 to 48 hours.
Can I remove standing water myself after a burst pipe?
You can remove standing water yourself using towels, mops, buckets, or a wet/dry shop vacuum, but avoid water removal if sewage contamination is possible and never use regular household vacuums near water.
When should I call a professional restoration company for burst pipe damage?
You should call a professional restoration company for burst pipe damage when multiple rooms are affected, ceiling damage occurs, basement flooding happens, structural concerns exist, or hidden moisture is suspected behind walls.
How do I prevent mold growth after a burst pipe?
You prevent mold growth after a burst pipe by starting the drying process within 24 hours, opening windows for ventilation, running dehumidifiers, using fans to circulate air, and removing wet materials that trap moisture.
Will my homeowners insurance cover burst pipe damage?
Your homeowners insurance will typically cover burst pipe damage if the burst is sudden and accidental, but may exclude gradual damage from slow leaks, lack of maintenance, or frozen pipes in unheated vacant homes.
What are the warning signs that a pipe might burst?
The warning signs that a pipe might burst include visible water leakage, sudden water bill increases, discolored or foul-smelling water, reduced water pressure, wall stains, and banging or gurgling sounds in pipes.
How much does professional water damage restoration cost after a burst pipe?
Professional water damage restoration cost after a burst pipe varies based on extent of damage, materials affected, and square footage involved, with minor incidents typically taking 3 to 7 days and major incidents requiring 2 to 4 weeks.
Can wet drywall be saved or does it need replacement?
Wet drywall can sometimes be saved if dried within 24 to 48 hours, but typically needs replacement when saturated beyond surface level, showing structural breakdown, warping, or visible mold growth after 48 hours.
Is burst pipe water safe or contaminated?
Burst pipe water safety depends on the source—clean supply line water is generally safe, but water mixed with sewage backup or sitting stagnant for over 48 hours is contaminated and requires professional sanitization.
How can I prevent pipes from bursting in winter?
You can prevent pipes from bursting in winter by insulating exposed pipes, maintaining consistent indoor heating, opening cabinets to allow warm air circulation, letting faucets drip during extreme cold, and winterizing vacant properties.
What causes pipes to burst besides freezing temperatures?
Pipes burst besides freezing temperatures due to clogs creating pressure buildup, corrosion thinning pipe walls over time, tree root intrusion, physical damage from construction or ground shifting, and excessive water pressure spikes.
